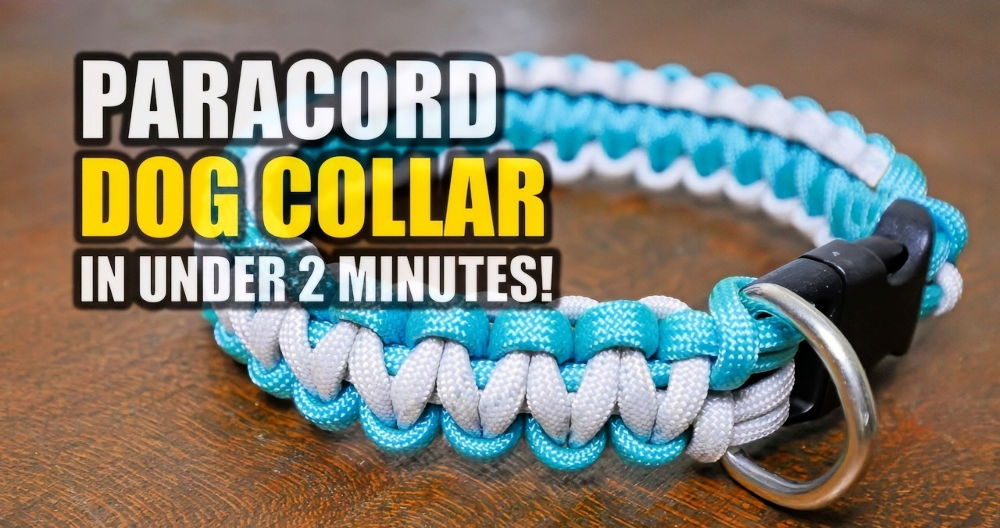
Crafting your own two-tone paracord bracelet is not only fun but also a great way to make a unique accessory. Whether you're looking to add a stylish element to your outdoor adventures or simply want to wear a bracelet with a personal touch, this guide will walk you through making a beautiful two-color paracord bracelet.
Learn to make a stylish two-color paracord bracelet with this easy-to-follow tutorial. Perfect for beginners, it guides you through each step so you can craft a bracelet to wear proudly or gift with love.
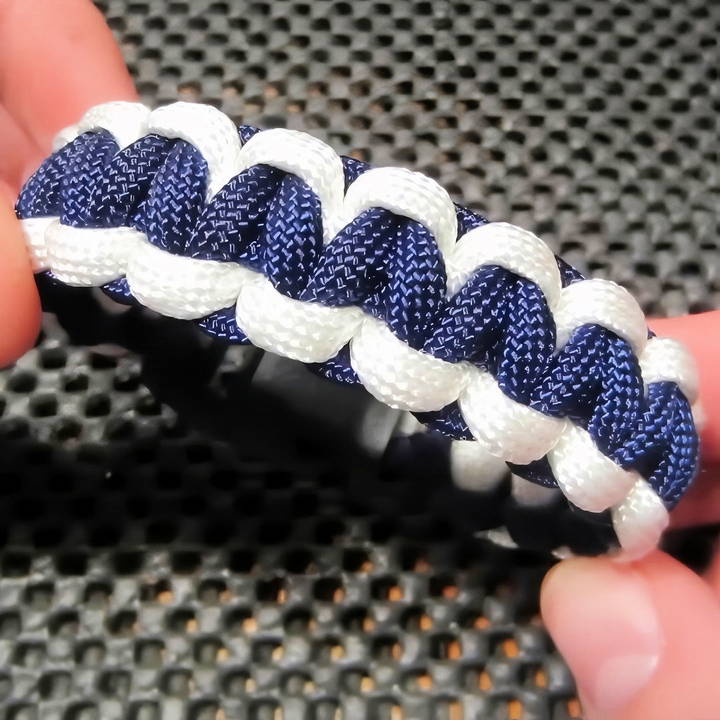
Materials You'll Need
Before diving into the steps, make sure you have the necessary tools and materials. Here's what you'll need to get started:
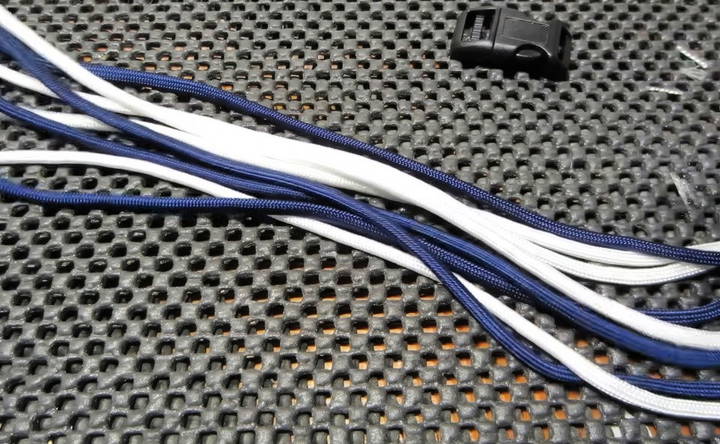
- Paracord (two colors): You'll need approximately 5 feet of each color. In this tutorial, the example uses navy blue and white.
- Buckle/Clip: A standard contoured buckle or clip is ideal. A 58mm size works well for most wrists.
- Lighter: For fusing the ends of the paracord and finishing the bracelet.
- Scissors: To cut the paracord to length.
- Measuring Tape: This will help ensure your bracelet fits properly.
Optional
- Needle-Nose Pliers: Helpful for tightening the knots and making adjustments, though not essential.
Step by Step Instructions
Learn how to make 2 color paracord bracelet patterns with our step-by-step guide, including the cobra weave, for a unique and personalized accessory.
Step 1: Measure and Prepare Your Paracord
Start by cutting two pieces of paracord, one of each color. Each piece should be 5 feet in length. This will give you enough cord to make the bracelet while leaving some room for adjustments.
Once you have your two lengths of cord:
- Melt the ends of the cords with a lighter to prevent fraying. Be careful not to hold the lighter too close for too long to avoid burning.
- Fuse the ends together by pressing them firmly after melting. This will join the two cords and ensure a smooth transition between the colors.
Step 2: Attach the Paracord to the Buckle
Now that your cords are ready, it's time to attach them to the buckle.
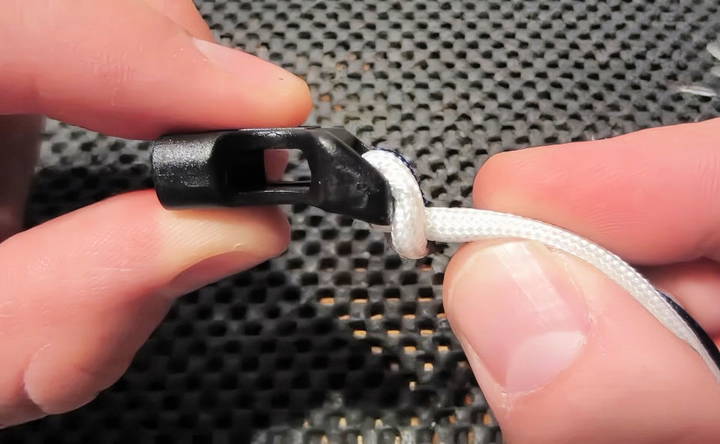
- Take half of the buckle and feed the two cord ends through the top of the buckle. Make sure you're feeding the melted and fused end through so that both colors pass through the clip at once.
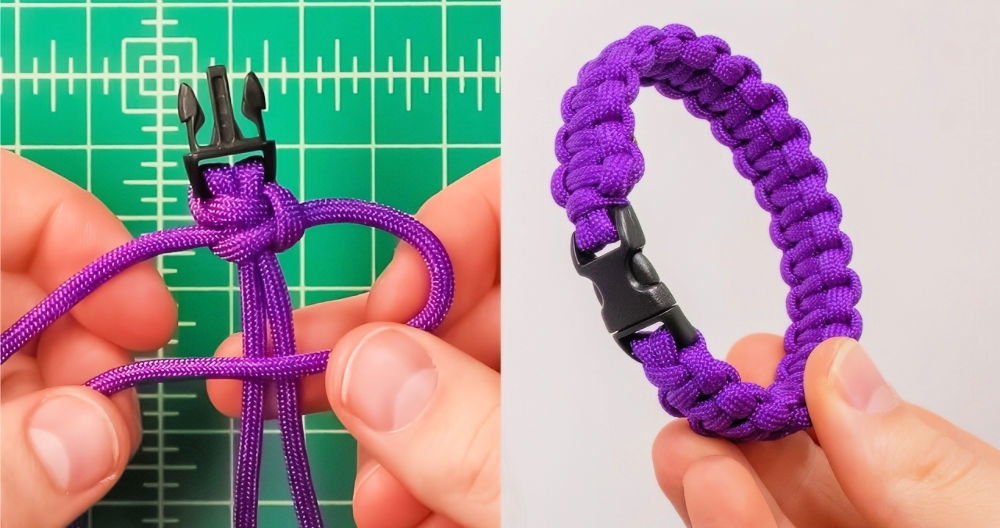
- Make a loop by pulling the cords back up and through the loop you just made. This is called a “lark's head knot.” Pull tight and adjust the melted part of the cord so that it sits at the bottom, out of sight.
Step 3: Measure the Bracelet
The next step is to measure your bracelet to make sure it fits well. Here's how to do it:
- Clip the buckle together and wrap the paracord around your wrist to get the measurement.
- Leave a bit of wiggle room so that the bracelet isn't too tight. A snug fit is fine, but you don't want it cutting off circulation.
Once you've adjusted it to your wrist size, unclip the buckle, and you're ready to start weaving.
Step 4: Decide Which Color Goes in the Middle
At this point, it's time to decide which color you want to appear as the central strand in your bracelet. The color you choose here will be the one that appears most prominently in the middle of the weave.
For example, if you want navy blue in the middle, you will cross over that color first during the weaving process.
Step 5: Start the Cobra Weave
The cobra weave is one of the simplest and most common patterns for paracord bracelets. It's easy to learn and produces a clean, attractive design.
Here's how to Do the Cobra Weave:
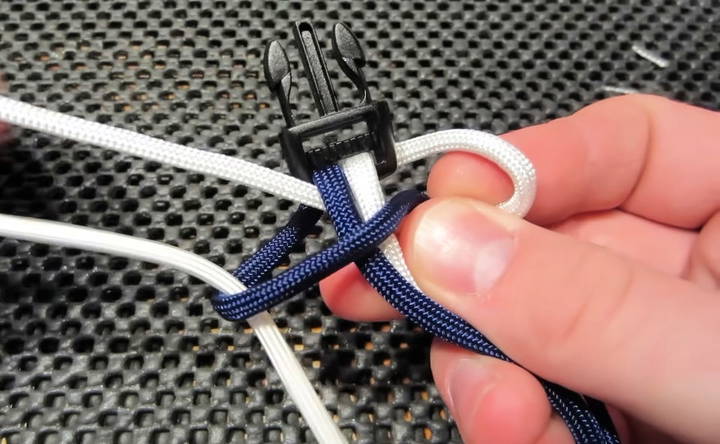
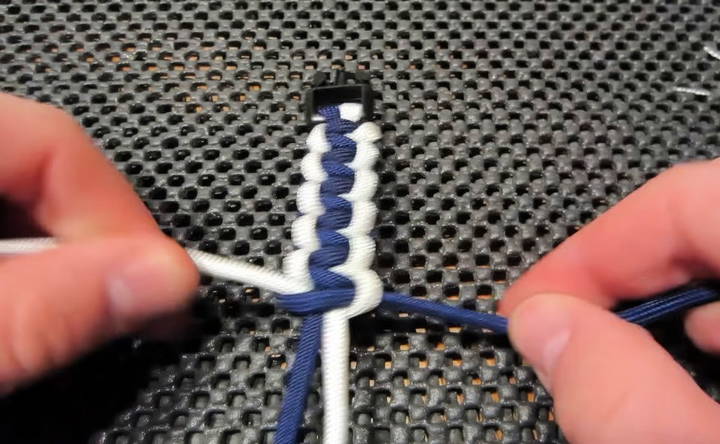
- Cross the first color over the center. For example, take the navy blue cord and cross it over the middle, from left to right.
- Bring the second color over the navy blue. Take the white cord, bring it over the top of the navy, and then wrap it under the two main strands of the bracelet.
- Pull it through the loop maked by the navy cord. Tighten both ends to complete the first knot.
Pro Tip: Make sure to pull tight on each knot. The tighter and more even your knots are, the better your bracelet will look.
Continue Weaving by Alternating Sides:
- Navy crosses over the middle.
- White comes over the navy, wraps under the bracelet, and feeds through the loop.
- Tighten the cords after every weave.
Repeat this process until you reach the end of the bracelet.
Important Note on Tension:
Consistency is key. If your knots aren't tight or even, your bracelet will look sloppy. Keep pulling the cords tight after each weave to maintain a uniform appearance. If your cords get tangled or knotted, take a moment to smooth them out before continuing.
Step 6: Finishing the Bracelet
Once you've woven enough to cover the entire length of your bracelet, it's time to finish up.
- Clip the ends of the paracord close to the bracelet, leaving a small amount of excess.
- Melt the cut ends with a lighter. Be cautious here, as the melted paracord can get hot and sticky. You may want to use a tool, like pliers, to press the melted ends down, giving the bracelet a clean, finished look.
- Avoid Overheating: Don't hold the lighter on the cord too long. The goal is to melt just enough to secure the ends without burning them.
Step 7: Optional Reversible Pattern
One of the cool aspects of this two-tone design is that, if you're using a flat buckle, the bracelet can be reversible. This means the colors on the inside and outside can be flipped, giving your bracelet a slightly different look depending on how you wear it.
To make a reversible bracelet:
- Simply finish the bracelet and flip it over.
- The side that was navy in the middle will now show white in the middle, and vice versa.
This gives your bracelet more versatility and a unique look every time you wear it.
Step 8: Customize Your Bracelet
Now that you've mastered the basic two-color pattern, feel free to get creative! You can try experimenting with different color combinations, add charms, or even make a multicolored bracelet using three or more paracords.
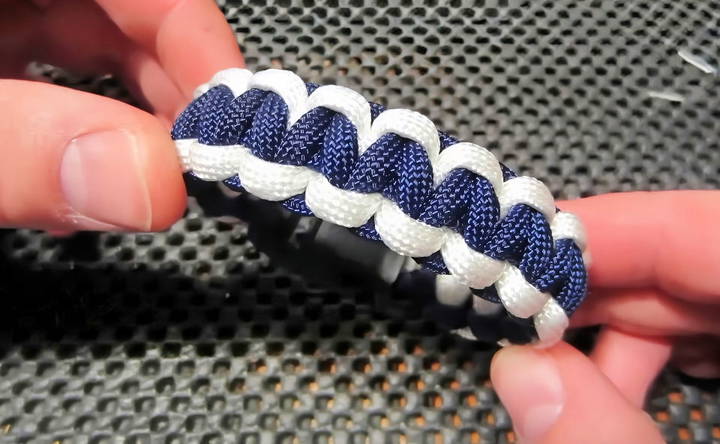
Some ideas for customization:
- Try different patterns: Once you feel comfortable with the cobra weave, there are plenty of other paracord patterns to explore.
- Use beads or charms: Adding beads in between weaves or at the end of your bracelet can add a personal touch.
- Make matching accessories: With leftover paracord, you can make matching keychains, lanyards, or even belts.
Troubleshooting Common Problems
Discover effective solutions and tips for troubleshooting common issues with 2 color paracord bracelet patterns.
- Uneven Knots: If your knots look uneven or loose, it's likely because you're not pulling tight enough. Make sure to give a firm tug on each knot as you go, keeping an eye on the tension.
- Paracord Won't Fit Through the Buckle: If you're struggling to get the paracord through the buckle, try melting and flattening the ends of the cord a bit more with a lighter. This will make it easier to thread through the buckle.
- Paracord Frays Easily: If your paracord starts to fray while you're working, you can quickly seal it by running a lighter over the ends. Be careful not to melt too much of the cord, as this can cause it to burn or become brittle.
Final Thoughts
Crafting a two-color paracord bracelet is a great way to learn the basics of paracord weaving while making a functional and stylish accessory. With just a few materials and a little bit of practice, you can make these bracelets quickly and even customize them to match your style or the needs of your outdoor adventures.
Whether you're new to paracord crafting or looking to add another pattern to your repertoire, this guide gives you everything you need to get started. Happy crafting!
FAQs About 2-Color Paracord Bracelet Pattern
Discover answers to common questions about the 2-color paracord bracelet pattern. Learn techniques, styles, and tips in this detailed FAQ.
The trick to maintaining the right fit is to clip the buckle together and measure it around your wrist before starting the weave. Leave a little wiggle room so it’s not too tight, and ensure to tighten the knots evenly as you work.
To prevent fraying, melt the ends of the paracord with a lighter before starting the weave. If fraying occurs during the process, you can lightly melt the ends again and reshape them carefully.
Melt the ends of both colors with a lighter and press them together while they’re still hot. Be careful not to burn yourself as the melted nylon can be very hot. Hold them until the fused part cools down to form a secure bond.
No, you don’t need a jig for a basic two-tone paracord bracelet. A jig can help keep your work more stable, but for simple designs like the cobra weave, your hands are enough to guide the process.
To add beads or charms, you can thread them onto the paracord before starting the weaving process or weave around the charms as you create the bracelet. Make sure they are securely placed within the bracelet pattern.
When melting lighter-colored cords, hold the flame near the end but not directly on it to avoid a burnt look. You can use pliers or a flat tool to press the melted ends for a clean finish.
Yes, you can make a paracord bracelet without a buckle by using a simple knot to finish it off. There are other techniques such as the sliding knot, which allows the bracelet to be adjustable without a clip.
If the bracelet starts twisting while you’re weaving, check your tension. Be sure to pull both cords evenly and consistently tight. Regularly adjust the bracelet as you work to keep it flat.
It’s best to use the same thickness for both colors in a two-tone bracelet. Mixing thicknesses can cause uneven tension and affect the appearance and durability of the bracelet.
For a child's bracelet, around 4 feet of each color should be sufficient, depending on wrist size. Measure the wrist first and adjust the paracord length accordingly, allowing for some extra cord for knots.


