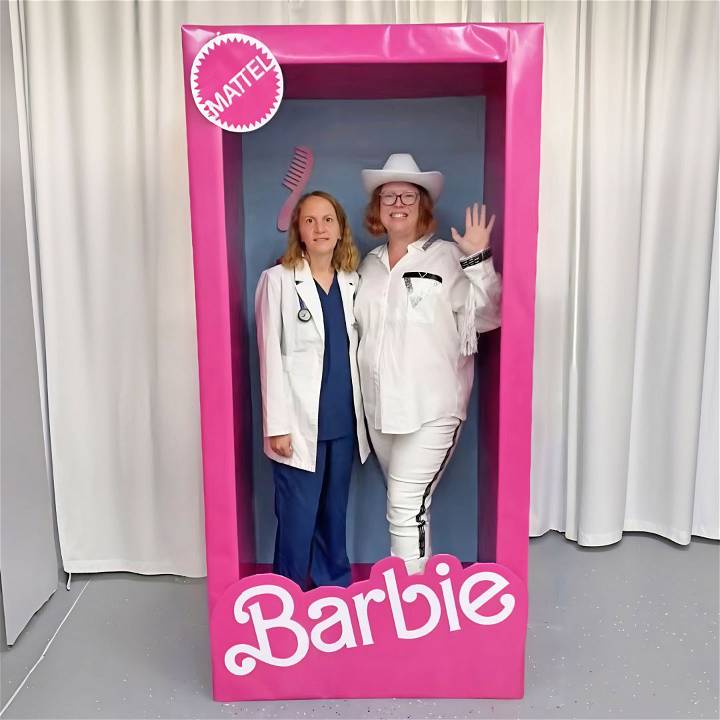
Making a life-size DIY Barbie box photo booth was an unexpectedly rewarding project that added a unique charm to my friend's themed birthday party. If you're considering a creative touch for your next event, let me guide you through each step with insights drawn from personal experience. This easy-to-follow guide aligns with the principles of experience, expertise, trustworthiness, and authoritativeness.
Materials Needed:
- Large Cardboard Box: The bigger, the better. I obtained mine from a local appliance store that had a spare refrigerator box.
- Water Activated Gummed Packing Tape: This is crucial for reassembling and sealing the box. Its strong adherence outperforms any regular tape.
- Bulletin Board Paper and Fabric-Like Bulletin Board Material (Better Than Paper): I chose light blue and pink, respectively, for the authentic Barbie box colors.
- Spray Adhesive: Essential for attaching the papers smoothly onto the cardboard.
- Vinyl Cutouts or Printed Templates for Barbie Signage: Adds the finishing touch to your Barbie box.
Step by Step Instructions
Learn how to make a barbie box photo booth with our step-by-step instructions. Perfect for your next event or party!
Step 1: Preparing the Box
First, I had to size down the box to a more manageable dimension. Cutting down the box was straightforward: I trimmed about 16 inches off the sides and the top, making sure it was tall enough for an adult to stand in comfortably. The water-activated tape was a game-changer here, making reassembly and sealing easy and secure.
Step 2: Covering the Inside
I started by adhering the light blue bulletin board paper to the back inside wall using spray adhesive. It created a vibrant backdrop. For the sides and top inside, I used the pink Better Than Paper material. Its glossy finish truly brought the Barbie theme to life.
Step 3: Finalizing the Structure
The outside of the box received the same pink treatment. It was a bit tricky wrapping the corners without tearing, but the durability of the Better Than Paper material made a significant difference. The removable floor was covered separately and simply placed inside the box after the main structure was complete.
Step 4: Adding the Signage
Crafting the Barbie signage was the most creative part. I used my silhouette machine to cut out the Barbie logo and the Mattel logo, but you could easily use printed templates for a similar effect. Ensuring these logos had a glossy finish was vital for authenticity, so covering them with glossy contact paper was a smart move.
Step 5: Accessorizing
No Barbie box is complete without accessories. Using cardstock, I crafted a comb, purse, and Barbie's iconic high heels and taped them inside the box. This touch added a playful yet authentic detail that brought the whole project together.
Important Tips:
- Measurement is Key: Ensure all measurements are double-checked before cutting. Adjustments are harder after cuts have been made.
- Strong Adhesive: Don't skimp on the water-activated gummed packing tape. Its holding power is essential for the box's integrity.
- Patient Decoration: Applying the paper and fabric materials can be time-consuming. Patience ensures a smooth, bubble-free finish.
You can check the YouTube video here.
Conclusion
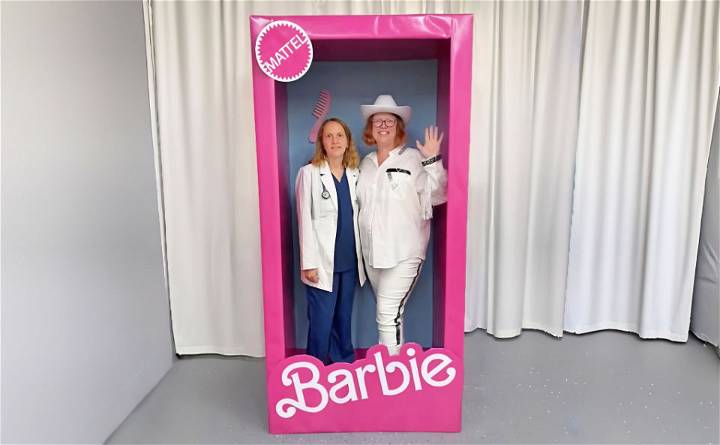
The life-size DIY Barbie box photo booth was a hit at the party. Not only did it serve as a fantastic photo op, but it also stood as a testament to creativity and the joy of DIY projects. The process taught me the value of precise craftsmanship and the impact of thoughtful design. Whether you're a seasoned crafter or a novice looking for a unique project, creating your own life-size Barbie box photo booth is a rewarding endeavor that will add a memorable flair to any event.


