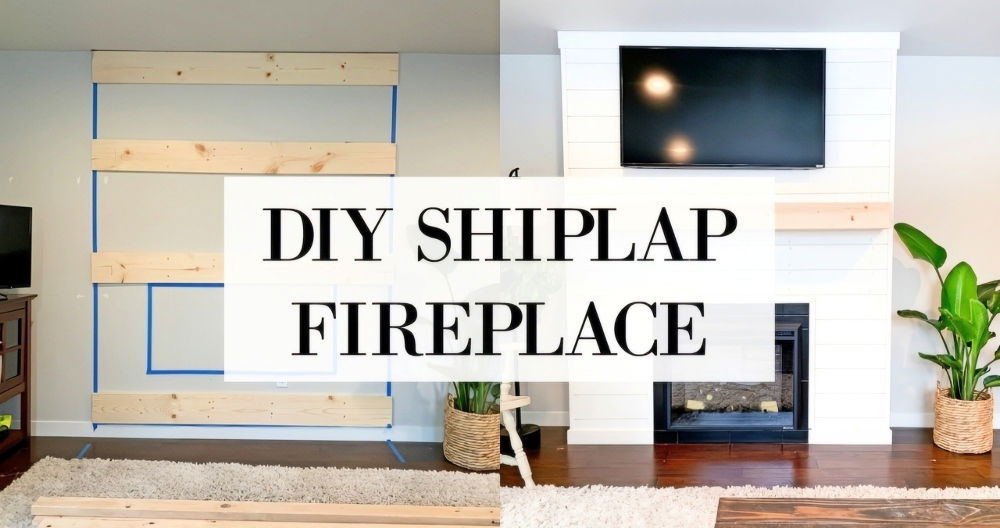
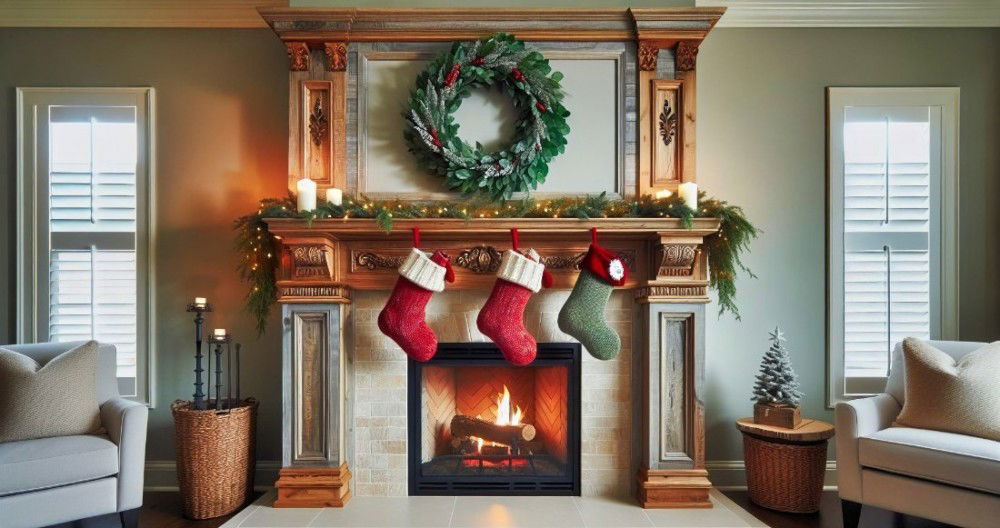
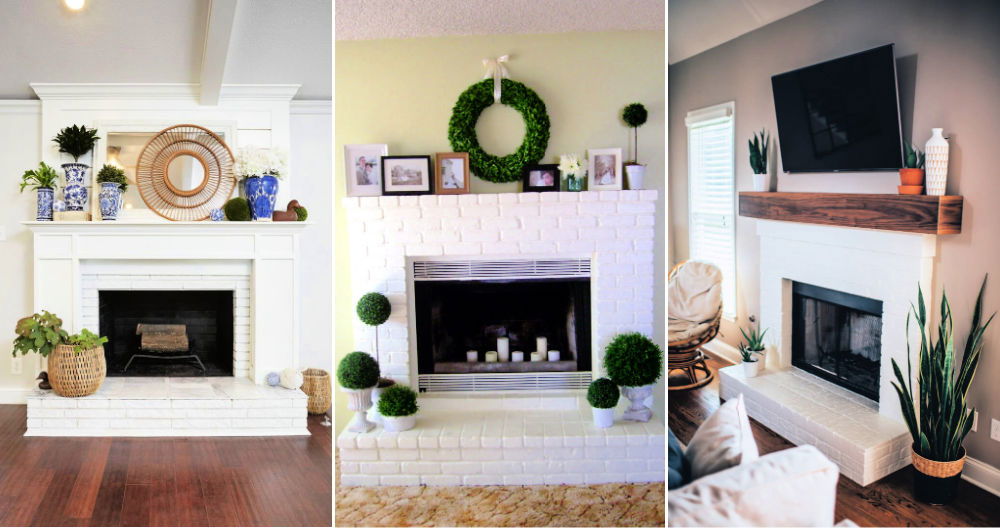
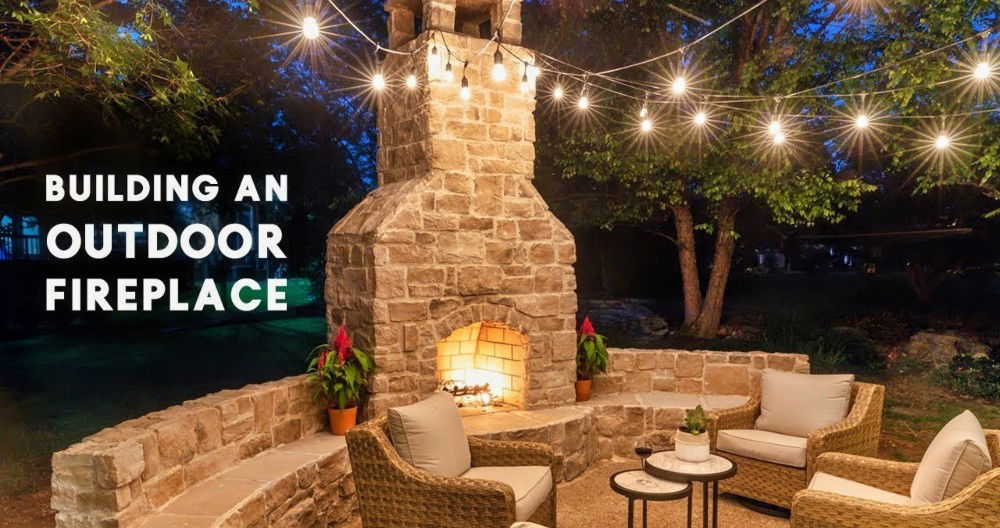
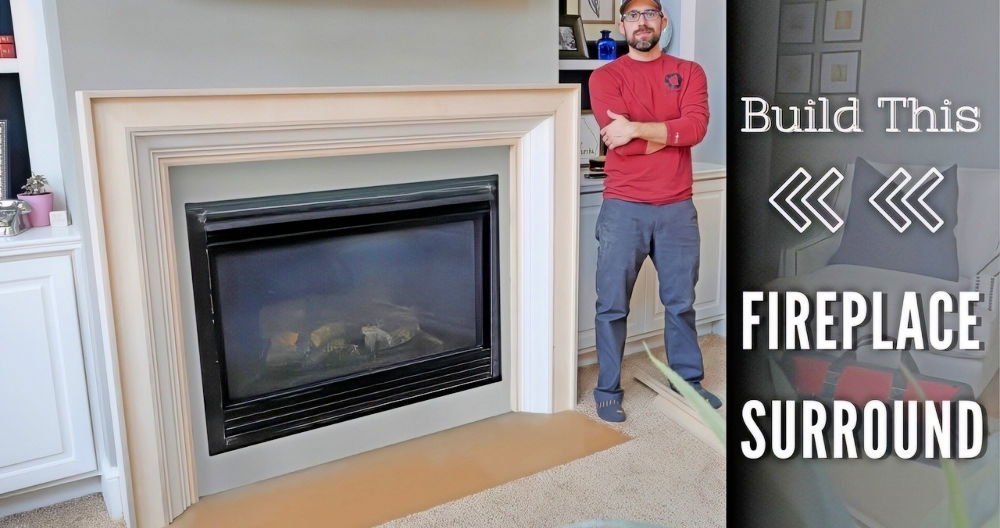
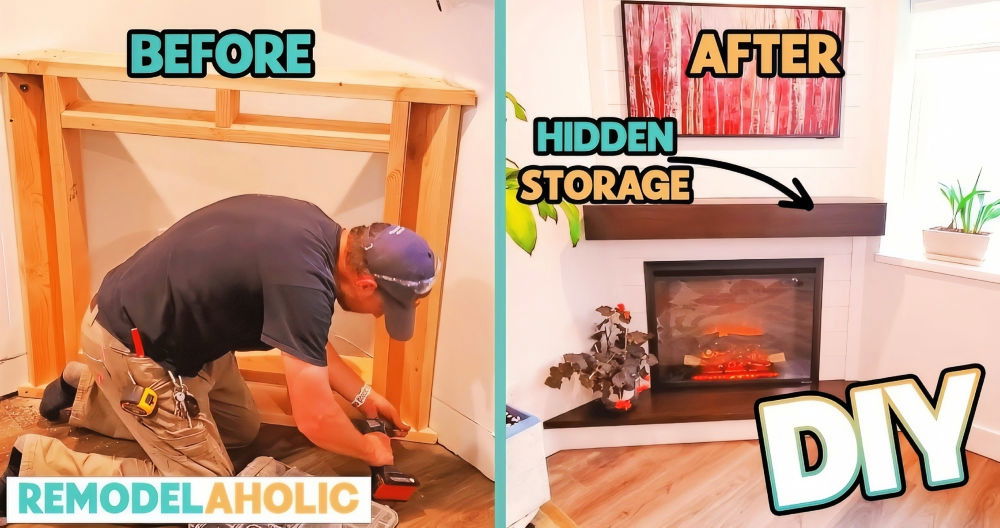
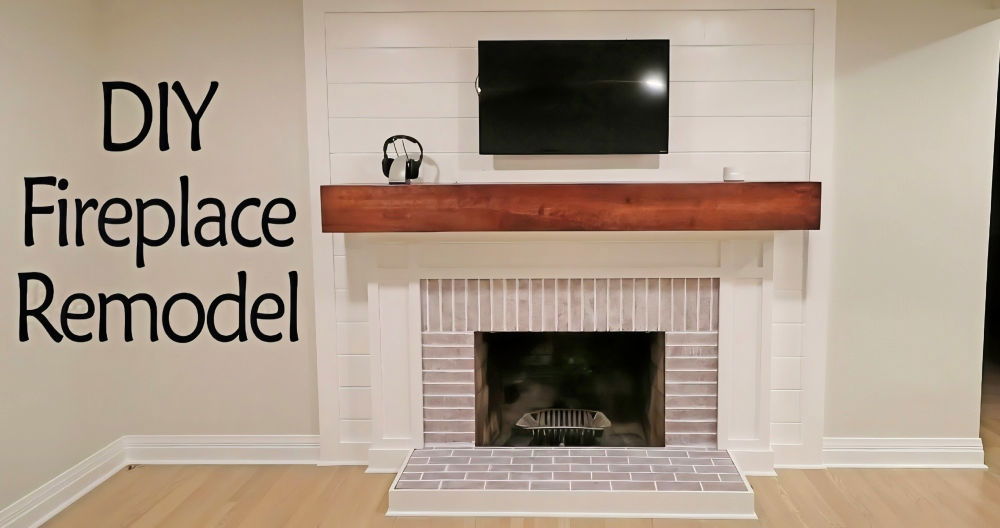
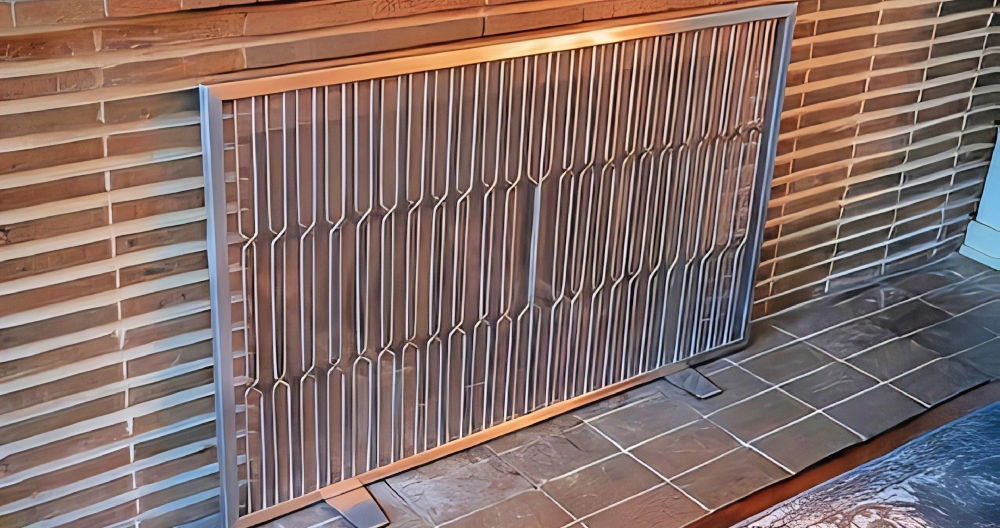
A remarkable discovery sparked my journey of giving our old fireplace a makeover. The fireplace was the heart of our home, but it hadn't been updated in years. It had dark, stained bricks and made the living room seem gloomy. My family often gathered around it, and I thought it deserved a fresh look. With some tools, paint, and patience, I decided to give it the makeover it deserved.
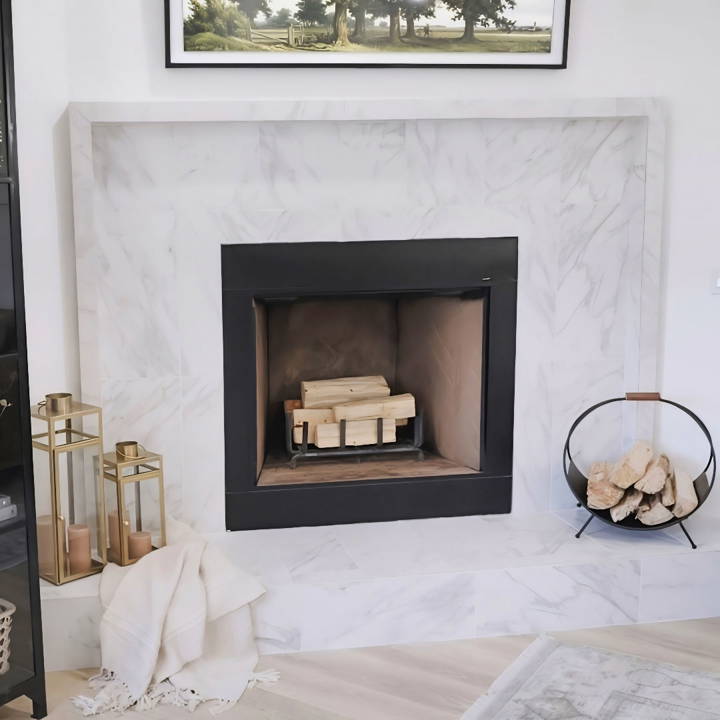
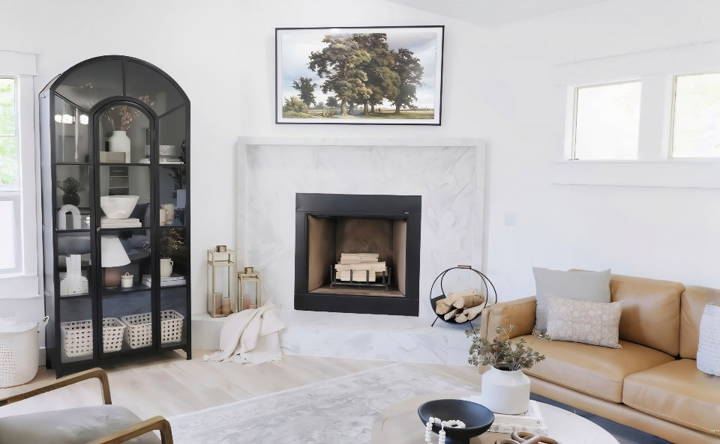
Weeks later, the transformation was astonishing. The dark, old bricks were now covered with bright white paint, and new tiles were added to the hearth. It felt like a brand-new space and brought a lot of light into our living room. Our family gathered around it even more now, admiring and appreciating the effort. This project showed me that with a bit of effort, a significant change is possible. This guide I'm sharing can help turn ideas into beautiful spaces, too.
So, if you're ready to refresh your space, jump into the steps provided below. I'm confident that this will help you turn your ordinary fireplace into the centerpiece it deserves to be.
Gathering Materials and Tools
To embark on this transformation, we needed specific materials and tools, ensuring a smooth process without hindering quality. Here's why each was essential:
- Large Slate/ Marble-looking Porcelain Tiles: For the modern, sleek look we envisioned.
- Cement Board: To serve as a sturdy base for the tiles, ensuring they adhere well and stay in place.
- Thinset Mortar: The "glue" to install the tiles onto the cement board.
- A Variety of Trowels: Each served a specific purpose, from spreading the thinset to ensuring the tiles were level.
- Tile Cutter and Wet Saw: Essential for achieving precise cuts, especially for the custom sizes and shapes we anticipated needing.
Step by Step Instructions
Follow our step-by-step DIY fireplace makeover, from demolition to decorating, for a stunning transformation you'll love. Easy guide inside!
The Transformation
The transformation: from demolition to decorating, follow every step of our journey, including installing the cement board, tiling, and grouting.
Demolition
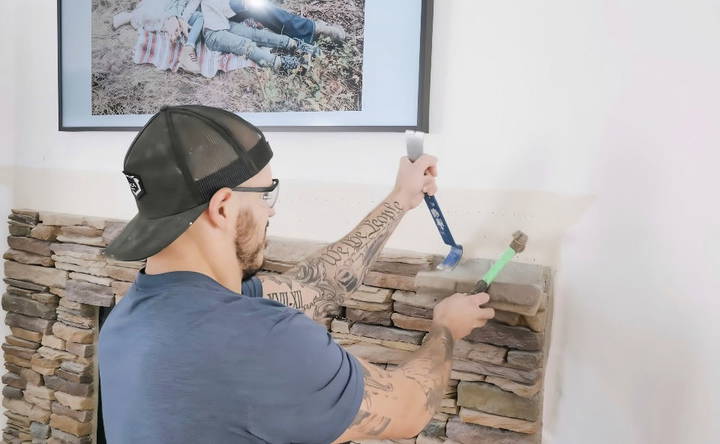
The first step was the most physically demanding - removing the old stone facade. Armed with safety gear and determination, we carefully dismantled the stone, revealing the original fireplace structure. It was a tedious process, but necessary to make the clean slate we needed for our transformation.
Installing the Cement Board
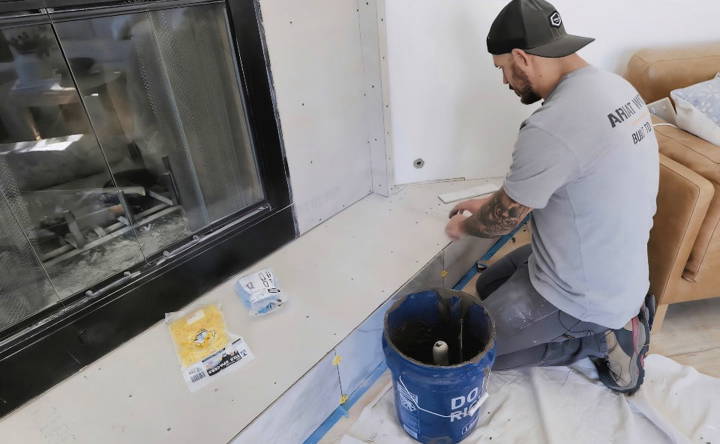
With the stone gone, we installed the cement board. This board acted as a new, reliable surface for our tiles. Cutting and attaching it meticulously ensured that our tiles would have a perfectly leveled foundation.
Tiling Begins
Choosing marble-looking porcelain tiles was a decision made from both an aesthetic and practical point of view. Porcelain's durability was a significant factor, as was the luxurious look of marble. We started by laying out the tiles, measuring twice, and cutting once to ensure precision. The installation process was methodical, applying thinset to both the cement board and the back of each tile (a technique known as "back buttering"), then placing each tile carefully, using spacers to maintain uniform gaps.
Grouting and Finishing Touches
After allowing the thinset to cure, we moved on to grouting. The color choice of our grout was critical; we opted for a shade that complemented the tiles, enhancing the overall look without dominating it. Applying the grout required patience and a steady hand to fill in every gap and wipe away the excess.
Decorating and Enjoying
The final step, after the grout had dried and the area had been cleaned up, was to add those personal touches that would make the fireplace ours. Whether it was a vase, a stack of books, or simply a few candles, each item added was a reflection of our taste and the ambiance we wanted to project.
Common Mistakes to Avoid in DIY Fireplace Makeover
When embarking on a DIY fireplace makeover, it's easy to get caught up in the excitement and overlook some critical aspects that could lead to less-than-desirable results. Here are some common mistakes to avoid, ensuring your project is successful and safe:
- Ignoring Safety Precautions: The foremost priority is safety. Always turn off any gas supply lines and consult with professionals if you're unsure about handling any part of the fireplace. Wear protective gear like gloves and goggles when working.
- Skimping on Preparation: Proper preparation is key. Clean the fireplace thoroughly before starting, and protect surrounding areas with drop cloths to avoid damage from paint or construction materials.
- Choosing the Wrong Materials: Not all materials are suitable for high-temperature areas. Use materials that are fire-rated and non-combustible to prevent any fire hazards.
- Overlooking Ventilation: Ensure that your fireplace makeover doesn't obstruct the ventilation system. Good airflow is essential for the fireplace to function correctly and safely.
- Inaccurate Measurements: Double-check all measurements before cutting or installing anything. Mistakes here can be costly and time-consuming to fix.
- Forgetting About Functionality: While aesthetics are important, don't sacrifice the functionality of your fireplace. Make sure that any decorative elements don't interfere with the operation.
- Neglecting Local Codes and Regulations: Always check with your local building authority to ensure your makeover complies with all regulations and codes, especially concerning structural and fire safety.
- Rushing the Process: Take your time with each step. Rushing can lead to mistakes that might require starting over or even ruin the project.
- Failing to Plan for Waste Disposal: Remodeling can generate a lot of waste. Plan ahead for how you will dispose of old materials and debris responsibly.
- Underestimating the Project: A fireplace makeover can be more complex than it seems. Be realistic about your skills and the project scope, and don't hesitate to seek help if needed.
By avoiding these common pitfalls, you'll be on your way to a beautiful and safe fireplace makeover that you can enjoy for years to come.
Maintenance and Upkeep for Your Fireplace
After giving your fireplace a fresh new look, maintaining its beauty and functionality is crucial. Here's a straightforward guide to keeping your fireplace in top condition:
- Regular Cleaning: Dust and ash can accumulate quickly. Make it a habit to sweep or vacuum the hearth area regularly. For deeper cleaning, use a damp cloth and a mild detergent to wipe down the surfaces.
- Inspect for Damage: Periodically check for any signs of wear or damage, such as cracks or loose bricks. Early detection can prevent more significant issues down the line.
- Check the Chimney: Ensure your chimney is free of blockages and consider having it professionally cleaned once a year to prevent soot and creosote buildup, which can be a fire hazard.
- Monitor for Soot: Excessive soot can indicate incomplete combustion. If you notice this, it may be time to adjust your burning practices or consult a professional.
- Replace Gaskets: If your fireplace has a door, the gaskets can wear out over time. Check them annually and replace them if they're damaged to maintain an efficient seal.
- Use the Right Wood: Always burn dry, seasoned wood. It burns cleaner and more efficiently, reducing the risk of creosote buildup.
- Protect the Exterior: If you've painted or applied a finish to the exterior, touch it up as needed to protect against heat and moisture.
- Be Mindful of Decor: Keep flammable materials, like drapes or furniture, at a safe distance from the fireplace when in use.
- Install Detectors: For added safety, have smoke and carbon monoxide detectors nearby and test them regularly.
- 10. Professional Assessment: Have a certified professional inspect your fireplace and chimney system every few years to ensure everything is functioning correctly.
Follow these simple steps to maintain your fireplace makeover, extend its life, and enjoy a safe, warm atmosphere at home.
FAQs About DIY Fireplace Makeover
Discover answers to all your questions about DIY fireplace makeovers! Get tips, tricks, and ideas for a successful transformation.
A DIY fireplace makeover can transform the look and feel of your living space. It’s an opportunity to update an outdated design, improve the ambiance of your room, and potentially increase your home’s value. Whether you’re looking to sell your home or simply want to enjoy a more aesthetically pleasing hearth, a fireplace makeover can be a rewarding project.
Popular makeover ideas include painting the fireplace, adding or replacing tiles, installing a new mantel, or building a faux stone surround. For a more dramatic change, some homeowners opt to remove old brickwork or paneling and replace it with modern materials. Adding built-in shelving or cabinets around the fireplace is also a common upgrade that combines style with functionality.
The duration of a DIY fireplace makeover can vary greatly depending on the extent of the changes and your level of experience. Simple updates like painting or tiling could take a weekend, while more extensive renovations that involve structural changes might take several weeks. It’s important to plan and prepare to ensure a smooth process.
Many aspects of a fireplace makeover can be done as a DIY project, especially if you have some home improvement experience. Tasks like painting, tiling, and minor carpentry are within reach for many homeowners. However, if your makeover involves gas lines, electrical work, or structural changes, it's safer and often required by law to hire a professional.
The cost of a DIY fireplace makeover can range from a few hundred dollars for minor cosmetic changes to several thousand for a full renovation. The final cost will depend on the materials you choose, whether you need to hire professionals for certain tasks, and the size and condition of your existing fireplace. To keep costs down, consider which aspects you can realistically do yourself and where you can source affordable materials.
Conclusion
In conclusion, building a before and after DIY fireplace makeover can bring a fresh and cozy atmosphere to your home. With the right tools and materials, you can transform your fireplace into a stunning focal point. Whether you're painting, tiling, or adding a mantle, your personal touch will make all the difference. Enjoy the process and the warmth of your newly revamped space.


