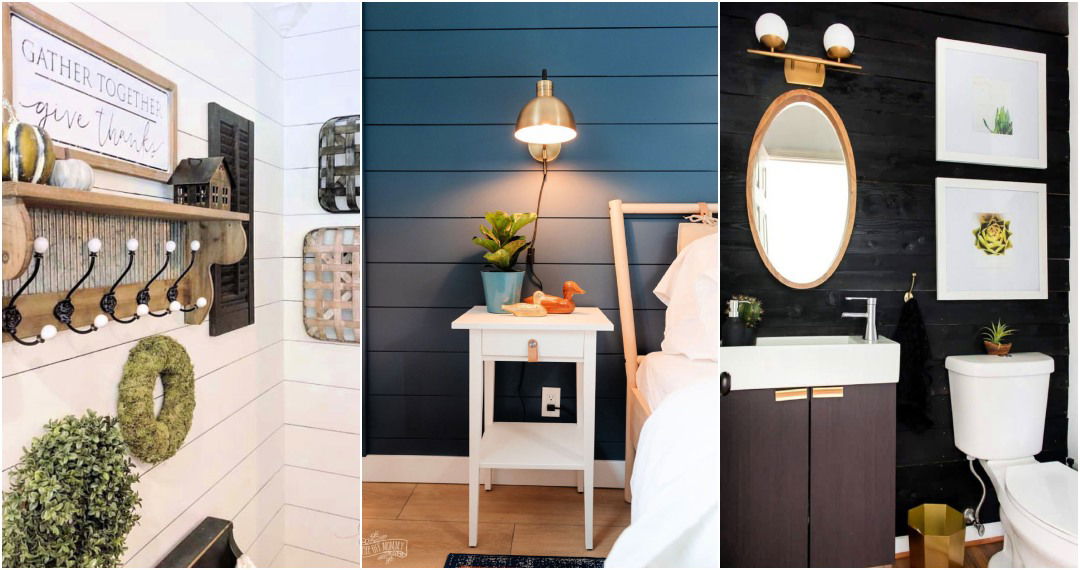
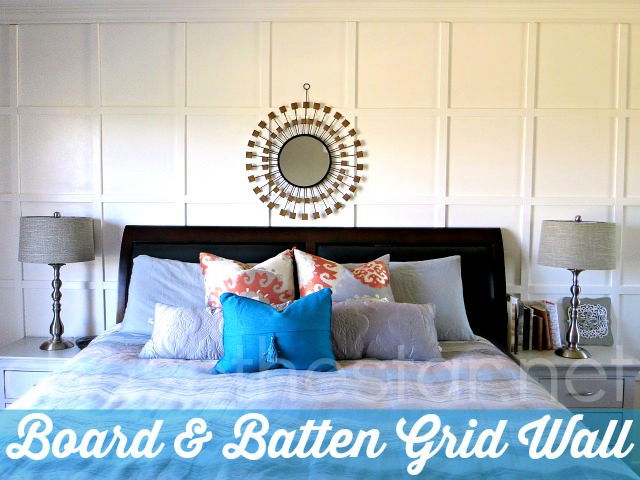
When I first moved into my house about 2 years ago, it seemed like the perfect place to add customizations and really turn it into my dream house! I loved working on this DIY board and batten wall for my bedroom– my dream board and batten project into reality. I was a little skeptical when first moving in as this house is pretty old - was made in the 50's - but I've always been fond of ghosts and other things so I decided to choose it! You probably won't believe me but I spend the first few weeks just trying to find unusual things around the house but I was not successful in doing so. This is why I had to delay working on the house.
After those first few weeks, my husband and I decided to finally start woodworking on the house. We looked up pictures and aesthetics on Pinterest Crafts! The old walls in the house were full of spider webs and all sorts of those things. It was a challenge to clean everything up! That's when we started working on the kitchen and then other rooms - children's rooms, patio, kitchen, living room, etc. Just last week, I got done with the patio and it turned out looking absolutely stunning! Now, guess what? It's FINALLY time to work on our master bedroom and add my superb board and batten accent wall! I couldn't be more excited to start working on it!
Step 1: Gather the Materials to Install Board and Batten Wall
My husband and I decided to visit the home improvement stores in this new town and to my surprise - they were actually very cool! There were two options for the boards - pine and MDF. We chose the least expensive option which is MDF - it looks just like pine after a few coats of paint - for the boards and crown molding! Your market may have packs available which will cost you even less money. I will recommend you to get pre-primed boards as it will be super easy to work with them.
The materials listed down below are not in exact measurements. Everyone has a different wall and sizing so just be sure to measure your own wall and get the materials according to that to DIY board and batten wall:
- Boards: whatever size and material you'll like - I measured it according to the 2"x2" squares I wanted
- Crown Molding: totally optional - I found a pack for around $50 which covered the entire room!
- Jig Saw: you will need to make angle cuts
- Nail Gun: you can also use a hammer instead
- Air Compressor: can be borrowed if you don't own one
- Paint: 1 gallon of Primer and paint. I chose a beautiful white shade - all about that minimalistic life!
- Level: a necessary tool required
- Painting Supplies: paintbrushes, etc.
- Wood filler, Spatula: this will be important to get flawless results!
- Sanding block: another necessary tool.
Maybe I'm not that great at using a hammer but I really messed up one of my previous projects using it. I would recommend you to get a nail gun and air compressor instead! Home Depot had a sale on these tools so I knew what I had to do! Buying them was the best decision EVER!
Step 2: Prepping
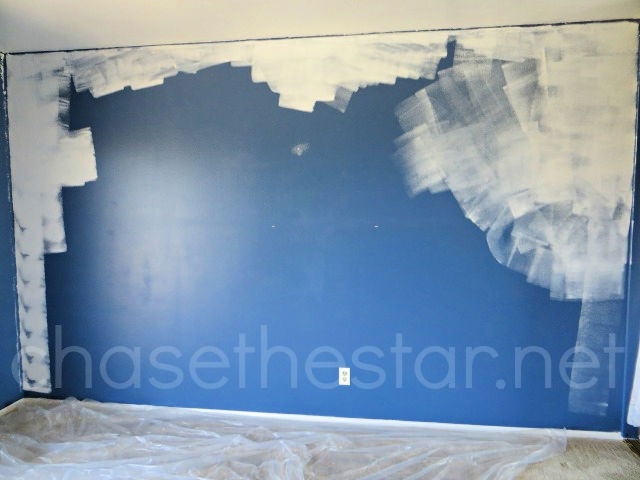
It is important to prep before moving onto the other steps. Start off by protecting the edges with painter's tape. Add the primer and paint one inch below the ceiling! Make sure to let the coat of primer dry and then add a coat of white paint. You need to let everything dry completely before moving on to the next step. If your wall is already very light in color, you can always skip the primer. My wall was very old and painted a dark blue so I had to use two coats of paint!
Step 3: Add the Crown Molding
Add the crown molding the cut the ends according to the size of your wall! Use a jigsaw to cut the ends at a 45° angle. Once you've done this, attach it in place with a nail gun! It is really easy to get the 45° angle with a jigsaw so you won't have any problem doing so.
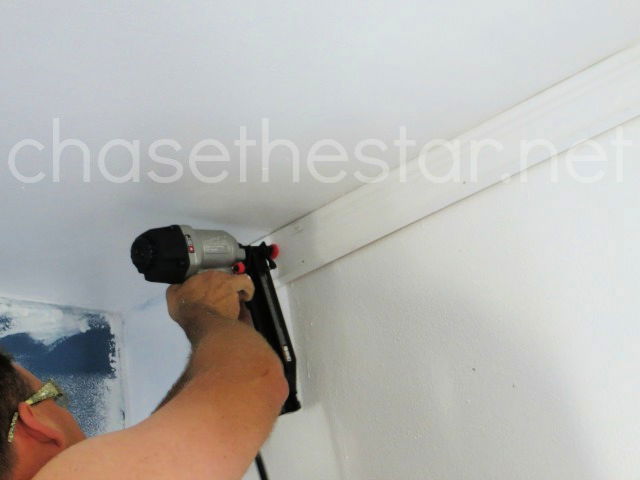
Step 4: Make Sure to Measure
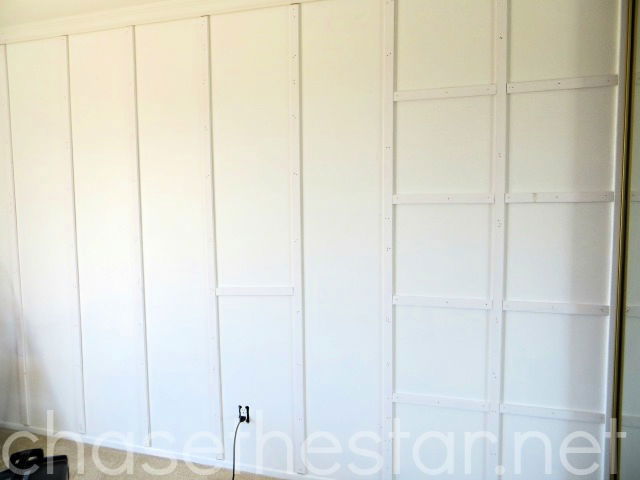
You need to measure as you go! It will help you keep a track of your plan. I started off by measuring vertically and adding a mark every 2"! You can change this up depending on the size of your wall.
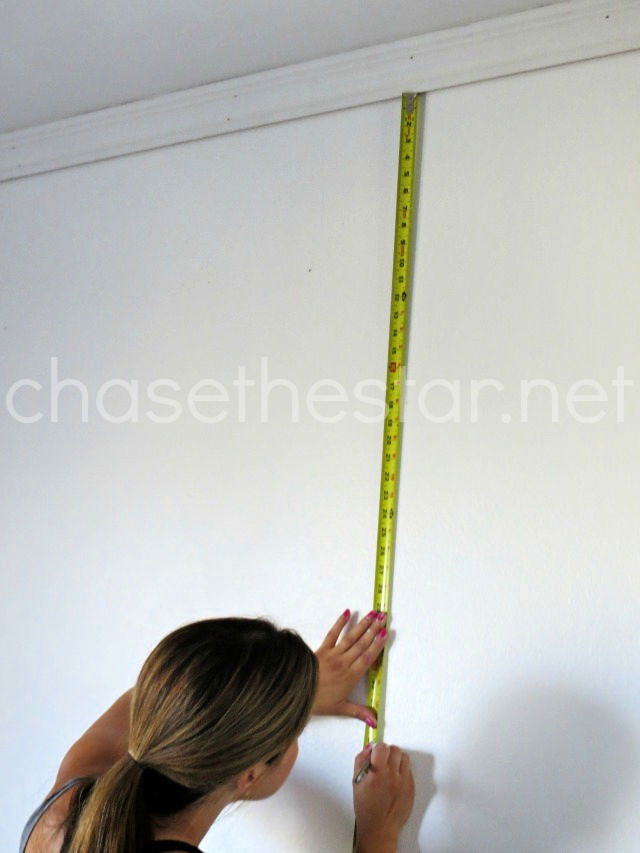
Step 5: Add the Boards
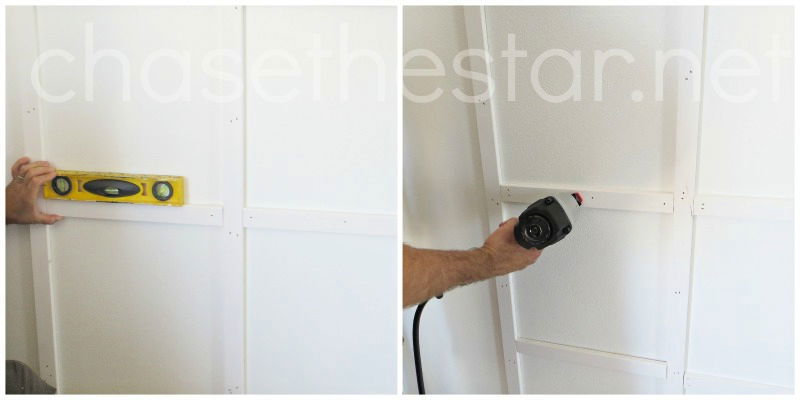
You will need to cut the boards just like the crown moldings! The boards need to be cut at a 45° angle using a Jig Saw and then nailed onto the wall using a nail gun. That's simple, right? If you're a beginner in woodworking, it will be super fun to get the hang of a nail gun.
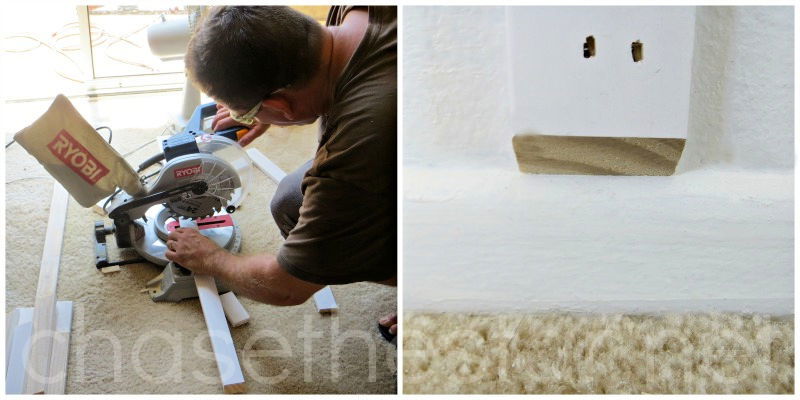
Step 6: Add the Horizontal Boards
Alright, now you can finally add the horizontal blocks! I've already mentioned this but my boards were 2' each - you need to cut straight ends. It is important to align everything together and make it look perfect! I asked my husband to stand a little far away and tell me if I was attaching everything completely straight. If your walls are uneven, measure each board and then cut.
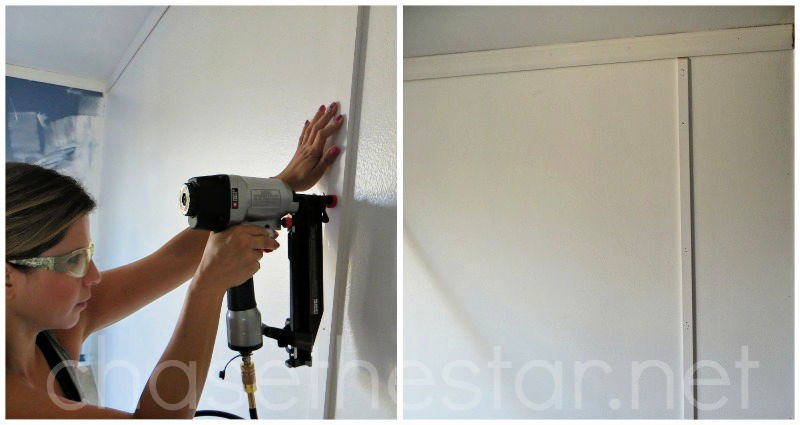
Step 7: Add Filler and Wipe off the Dust
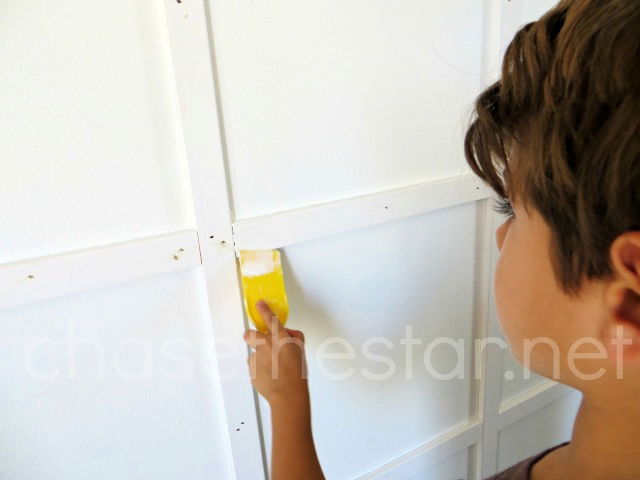
In order to give my board and batten wall the perfect look, I used wood filler to make it look flawless! Don't use regular spackle as it doesn't work well on wood. I added filler to the nail holes and then went over it with a sanding block. I don't like to work with a sanding block but it's necessary for DIY projects like these. The final step was to clean everything up and then let it dry!
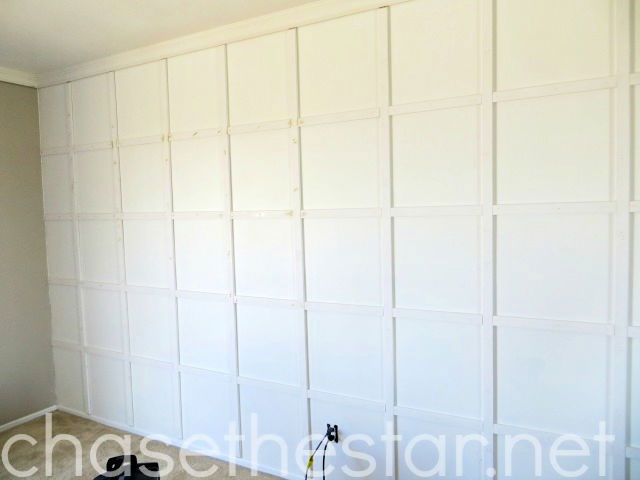
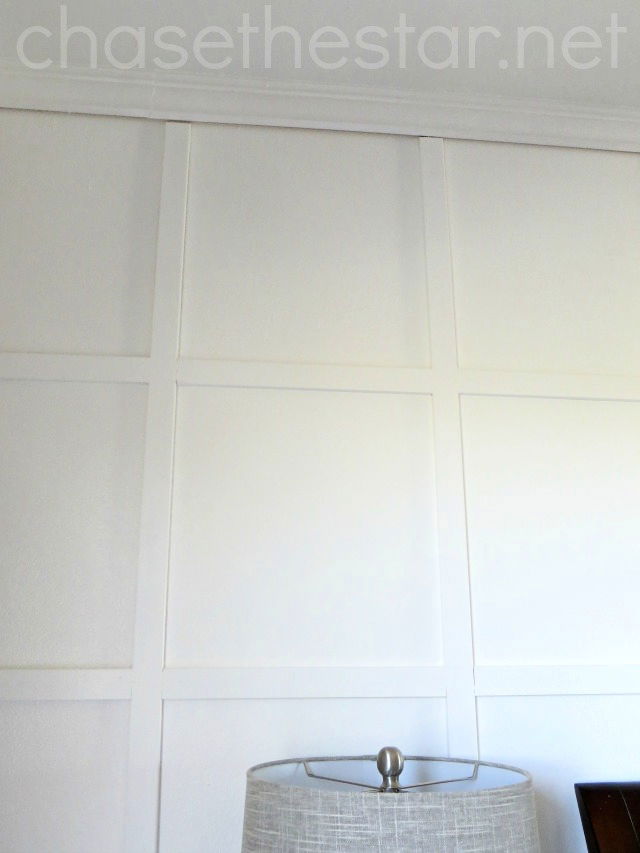
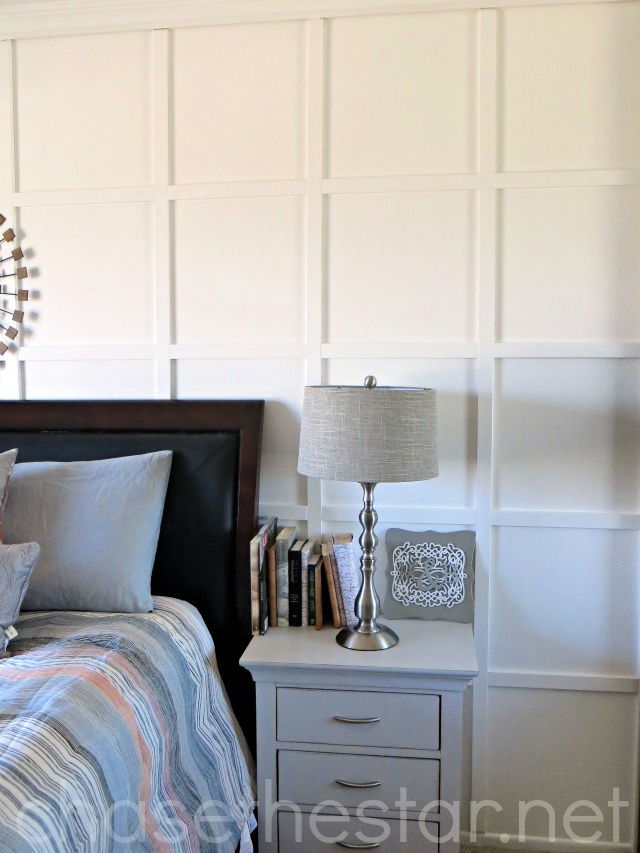
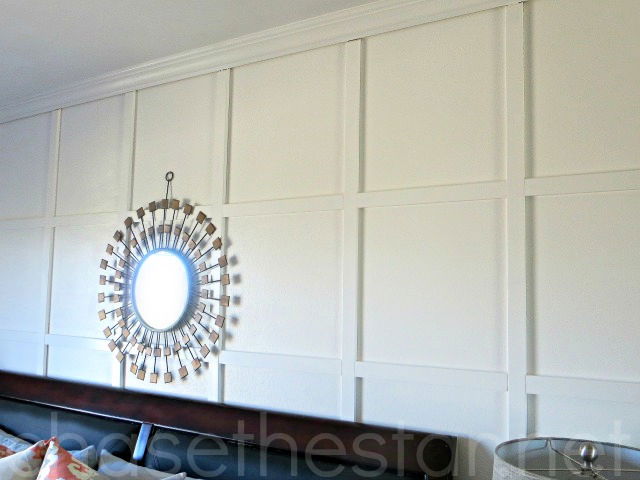
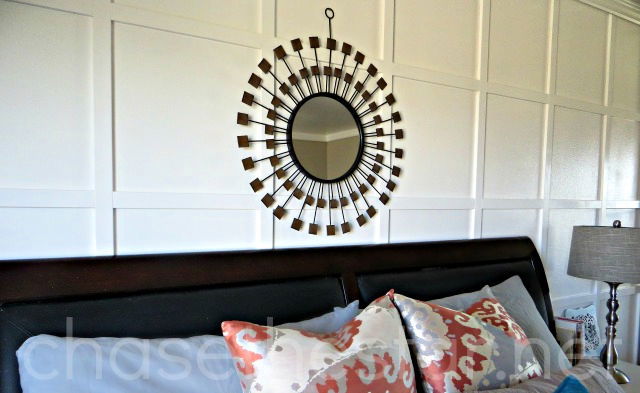
So, wasn't this just so simple? I loved the final result of my board and batten wall and still can't stop obsessing over it. It looks super white and minimalistic - exactly how I wanted it to look! My master bedroom has turned into my dream and I'm here to give you some motivation!
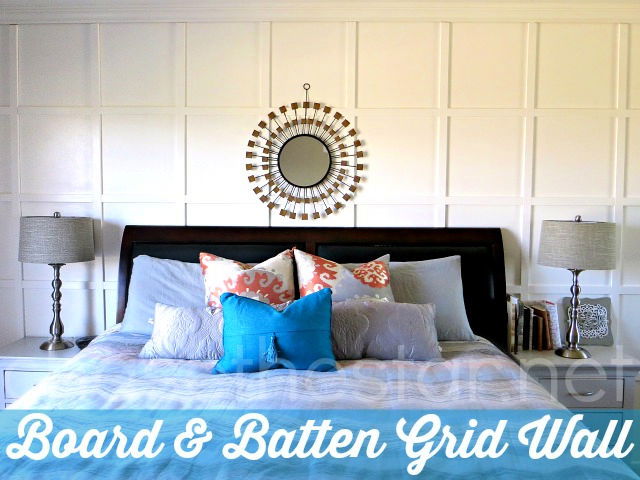
You can also transform your room and make it look absolutely stunning! To be honest, I wasn't working on my room because I had a tight budget but my 10 years old gave me a great idea - a backyard sale! Since my house is very old; I found many antique items around and decided to sell them. It made me earn some extra coins and spend them here! Best of luck to you if you're going to follow this plan!


