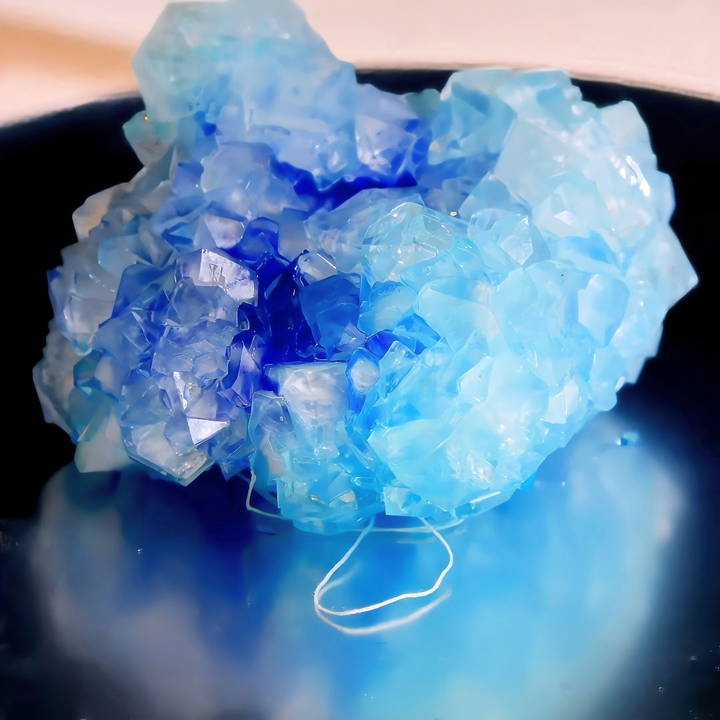
Borax crystals are a fun and fascinating way to engage with chemistry through a hands-on experiment. They offer the perfect blend of creativity and scientific learning, making them particularly enjoyable for children and hobbyists. Not only are these crystals easy to make, but they also result in beautiful, gem-like structures that can be used as decorations, like ornaments or window hangings.
This article will guide you through everything you need to know about borax crystals. You'll learn how to make them step by step, and we'll also explain the chemistry behind the process.
What Is Borax?
Before diving into the DIY experiment, let's get familiar with borax, the key ingredient in this crystal-making process.
Borax, or sodium tetraborate, is a compound of boron and is commonly found in cleaning agents. It is known for its cleaning properties, natural deodorizing ability, and ability to soften water. In science, borax is often used in experiments related to crystallization, as it can easily dissolve in water and recrystallize when cooled.
- Chemical Composition of Borax: Chemically, borax is represented as Na₂[B₄O₅(OH)₄]·8H₂O. This means it is a sodium borate salt that contains water molecules in its crystalline form, which is why it can form large and well-defined crystals when cooled in a supersaturated solution.
What Are Borax Crystals?
Borax crystals are formed when a supersaturated solution of borax cools down, and the borax molecules begin to come out of the solution. These molecules re-organize themselves into a crystal structure around a seed agent, such as a pipe cleaner or string.
This crystal-growing process mimics how minerals and crystals form in nature, making it a great way to introduce the concept of crystallization to young learners or hobbyists.
The Science Behind Borax Crystals
Discover the science of borax crystals through supersaturated solutions and solubility curves. Explore the chemistry behind crystal formation.
Supersaturated Solutions
The key to making borax crystals lies in the concept of a supersaturated solution. A solution is maked when a solute (in this case, borax) dissolves in a solvent (water). The maximum amount of solute that can dissolve in a solvent at a particular temperature is known as the saturation point.
However, if you heat the solution, more borax can dissolve because the solubility of substances increases with temperature. When the heated solution cools, it becomes supersaturated, meaning it holds more dissolved borax than it can at the lower temperature. As the solution cools down, the excess borax molecules start to leave the solution and form solid crystals around a "seed" object, such as a pipe cleaner or string.
Solubility Curves
Solubility curves are graphs that show how the solubility of a substance changes with temperature. In the case of borax, the solubility curve indicates that borax dissolves better at higher temperatures. This is why heating the water is essential in the crystal-making process.
According to the solubility curve for borax, at 90°C, the solution can hold about 400 grams of borax per liter of water. As the temperature decreases, the amount of borax the solution can hold decreases, leading to crystallization.
How to Make Borax Crystals at Home
Now that we understand the chemistry behind the crystals, let's get hands-on and make our own borax crystals!
Materials Needed:
- Borax powder (easily found in the cleaning aisle)
- Water
- Pipe cleaners (or another object to form the base of the crystals)
- String
- A glass jar or heat-resistant beaker
- A spoon or stick (to suspend the pipe cleaner)
- Food coloring (optional, for colored crystals)
- A stove or microwave for heating water
- Thermometer (optional, for measuring water temperature)
- Safety glasses and gloves (recommended for safe handling)
Step by Step Instructions
Learn how to make stunning borax crystals with easy, step-by-step instructions, from shaping pipe cleaners to forming and using crystals safely.
Shape the Pipe Cleaners
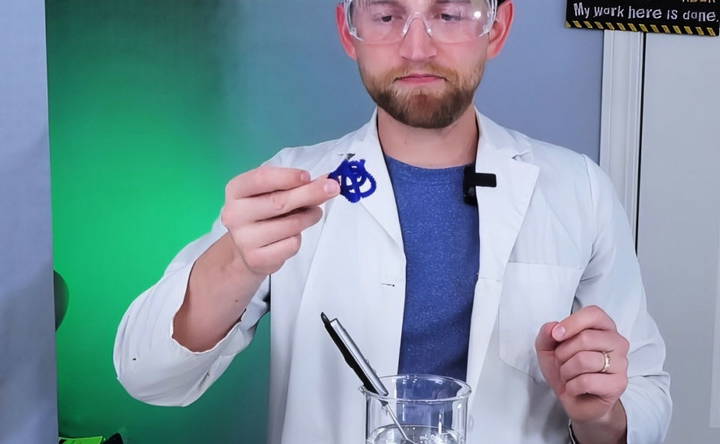
Start by shaping your pipe cleaner into any form you'd like your crystals to take. Some popular shapes include stars, hearts, or spirals. The shape acts as a "seed" where the borax crystals will begin to grow.
Prepare the Suspension
Tie a piece of string to your pipe cleaner and attach the other end to a spoon or stick. The goal is to suspend the pipe cleaner in the solution so that it doesn't touch the sides or bottom of the container.
Heat the Water
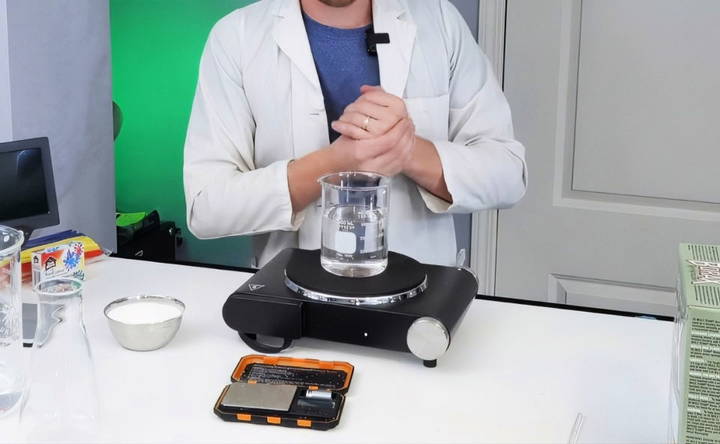
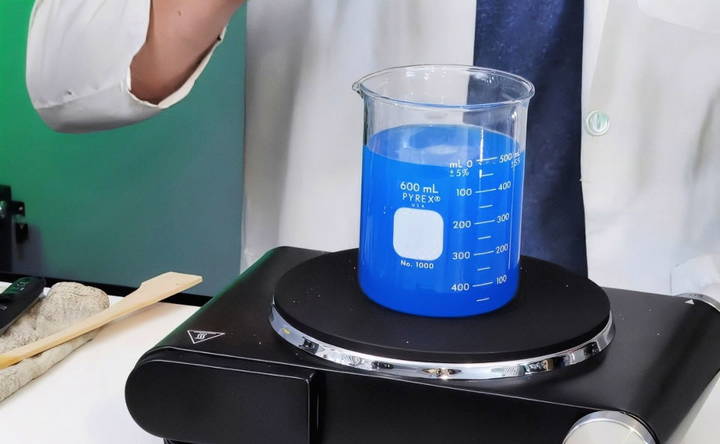
Boil water in a pot or microwave it in a heat-resistant beaker. You will need approximately 500 milliliters (about 2 cups) of water for every ¾ cup of borax. The water must be heated to near boiling, around 90°C (194°F).
Dissolve the Borax
Once the water is hot, slowly add the borax while stirring constantly. You should continue adding borax until no more can dissolve, and some begins to settle at the bottom. This ensures you have maked a supersaturated solution.
Add Food Coloring (Optional)
For colored crystals, you can add a few drops of food coloring into the solution. The more food coloring you add, the more intense the color of your crystals will be.
Suspend the Pipe Cleaner
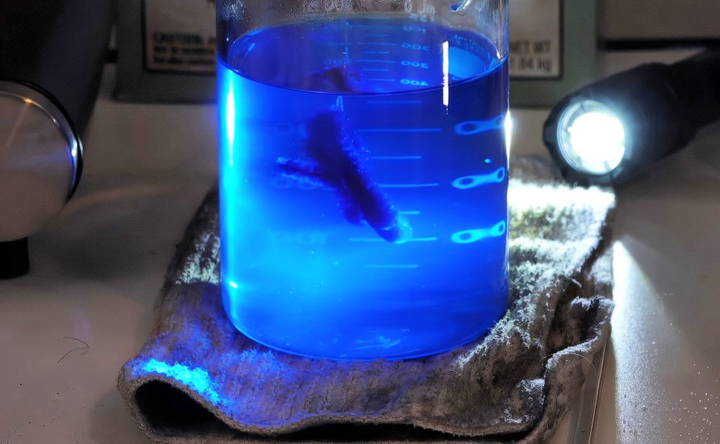
Place the shaped pipe cleaner into the solution, making sure it is fully submerged and not touching the sides or bottom. The string should help suspend it in the middle of the jar or container.
Wait for Crystals to Form
Now comes the waiting part. Cover the jar with a piece of paper or cloth to prevent dust from falling into the solution. Let it sit undisturbed for several hours or overnight. The longer you leave it, the more crystals will grow.
Examine and Remove Crystals
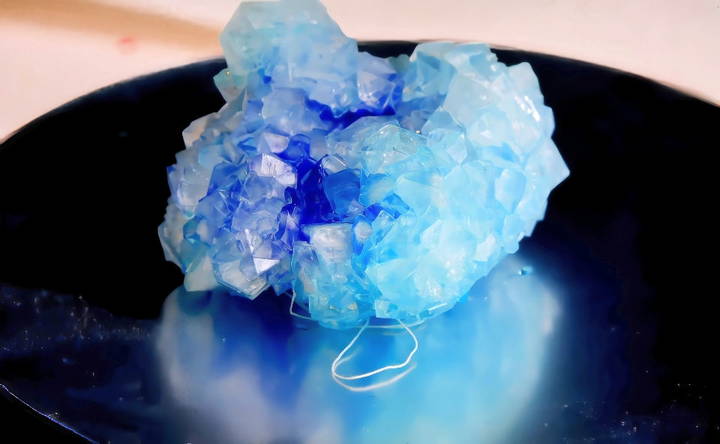
After several hours, check the jar. You should see crystals forming on the pipe cleaner. For larger crystals, you can leave it for several days. Once you're satisfied with the size, carefully remove the pipe cleaner and let it dry on a paper towel.
- Pro Tip: If you want your crystals to be large and well-defined, cool the solution slowly. You can wrap the container in tin foil or place it in a well-insulated area. Rapid cooling will result in many small crystals, while slow cooling encourages the growth of fewer, larger crystals.
How to Use Borax Crystals
Once you've made your borax crystals, the possibilities for using them are endless. You can:
- Hang them in a window as sun catchers.
- Use them as Christmas tree ornaments.
- Make crystal jewelry or keychains.
- Make science-themed decorations for your home or office.
- Give them as homemade gifts to friends and family.
Troubleshooting Common Issues
While making borax crystals is a relatively simple process, there are a few common issues that may arise:
- Crystals not forming: If you don't see crystals forming, your solution may not have been saturated enough. Try adding more borax or reheating the solution to dissolve more.
- Crystals are too small: Small crystals can result from rapid cooling. To grow larger crystals, try cooling the solution more slowly by wrapping the container in tin foil.
- Crystals only forming on the bottom of the jar: This may happen if your seed object (pipe cleaner) touches the bottom of the jar. Ensure that it is fully suspended in the solution.
Safety Considerations
Although borax is commonly used in cleaning products, it should still be handled with care. Avoid ingesting it or getting it into your eyes, and wash your hands after handling. If you are working with young children, supervise them closely and encourage safe science practices, such as wearing gloves and safety goggles.
Conclusion
Making borax crystals is an excellent DIY science project that offers a mix of creativity and chemistry. By understanding the science of supersaturated solutions and solubility curves, you can grow your own sparkling crystals at home with just a few basic materials. Whether you use them as decorations or simply enjoy the process of watching them form, borax crystals are a fun and educational way to explore the wonders of crystallization. So gather your materials, follow the steps, and watch as chemistry turns into beautiful crystal art!
FAQs About Borax Crystals
Explore comprehensive FAQs about borax crystals, covering growth tips, safety, uses, and benefits for your crafting and educational needs.
Crystals can grow on the bottom of the container if the seed object touches it. To avoid this, make sure your seed (pipe cleaner or string) is fully suspended in the solution without touching the container’s sides or bottom. If crystals still form on the bottom, removing them can break the glass.
Yes, you can reuse the solution by adding some water and reheating it. Make sure the solution is fully saturated again before re-submerging your seed object.
To clean the container, gradually heat water and pour it into the beaker to dissolve the remaining crystals. Avoid adding boiling water directly, as sudden temperature changes could crack the glass.
Yes, slow cooling generally results in larger crystals. You can wrap the container in tin foil or use an insulated environment to slow the cooling process. Rapid cooling typically leads to smaller, snow-like crystals.
Porous materials like pipe cleaners work best because they provide a surface for the crystals to adhere to. Smooth surfaces might not allow crystals to form as readily. However, avoid materials that could react chemically with the borax solution.
Borax is not toxic in small quantities, so it can usually be disposed of down the drain with plenty of water. However, if you're concerned about the environment, you can also check local guidelines for chemical disposal.
Borax crystals can last a long time but may degrade in humid conditions or extreme temperatures. Storing them in a dry, stable environment will help preserve their appearance.
Yes, you can continue to grow more crystals by submerging the object in a freshly supersaturated solution. Just make sure the solution has cooled slightly before adding the already crystallized object, or the existing crystals might dissolve.


