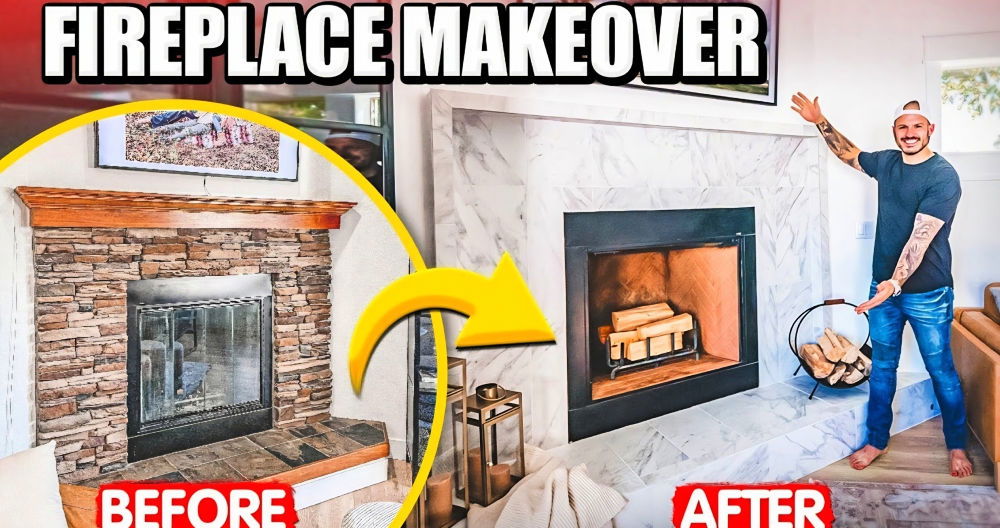
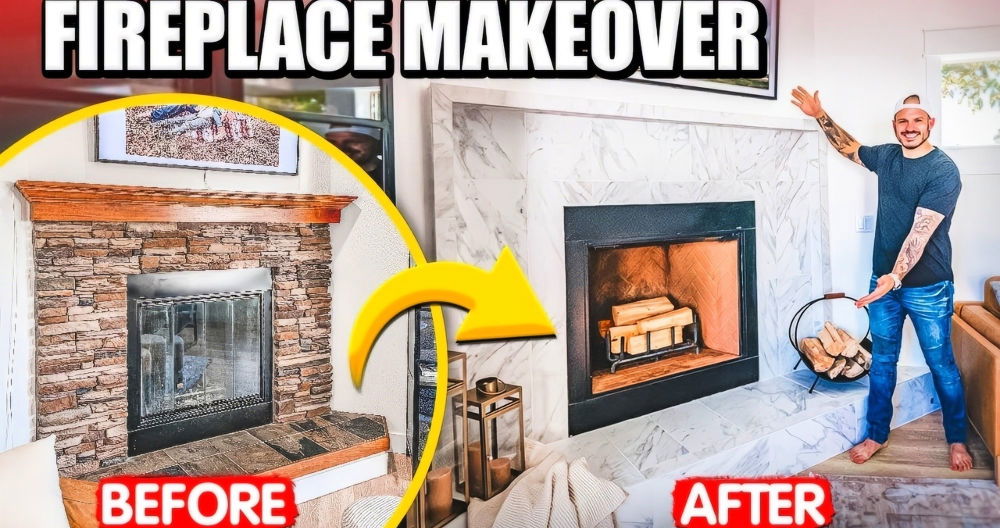
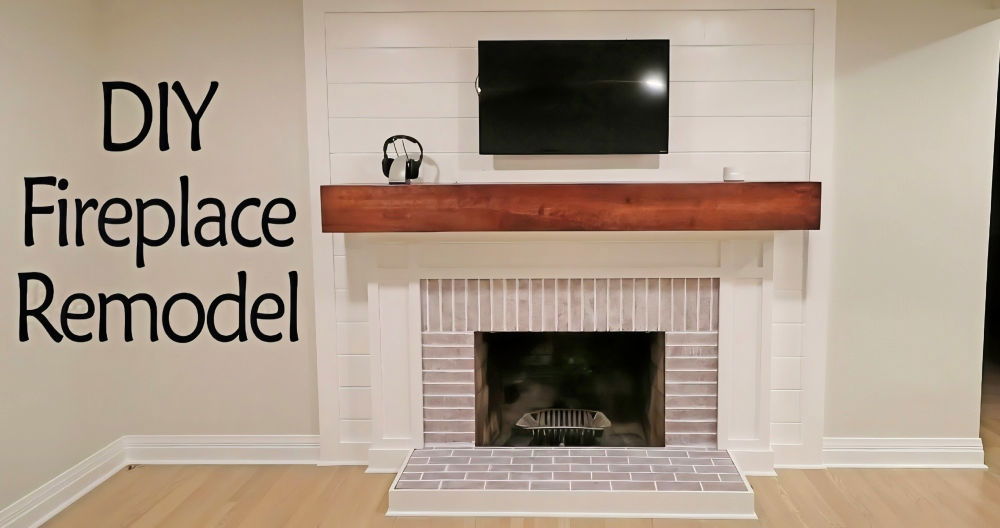
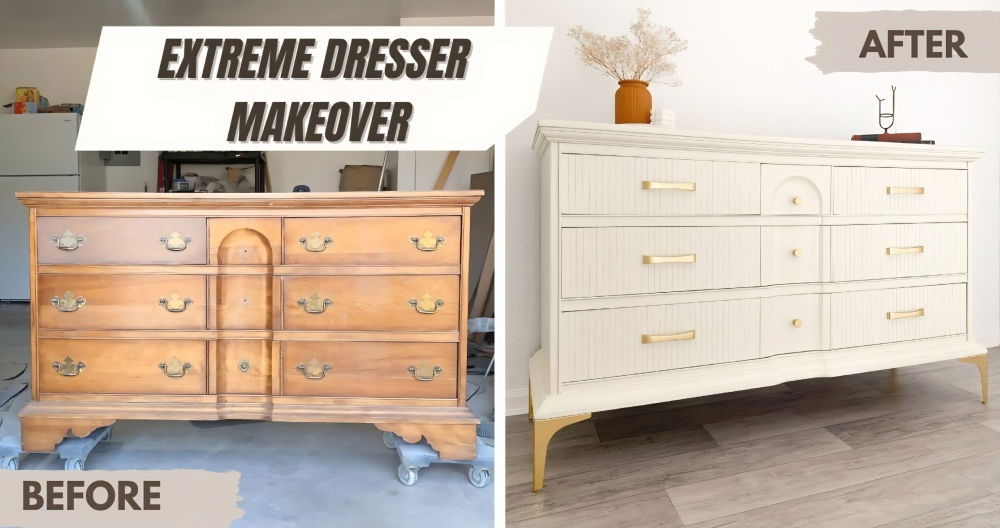
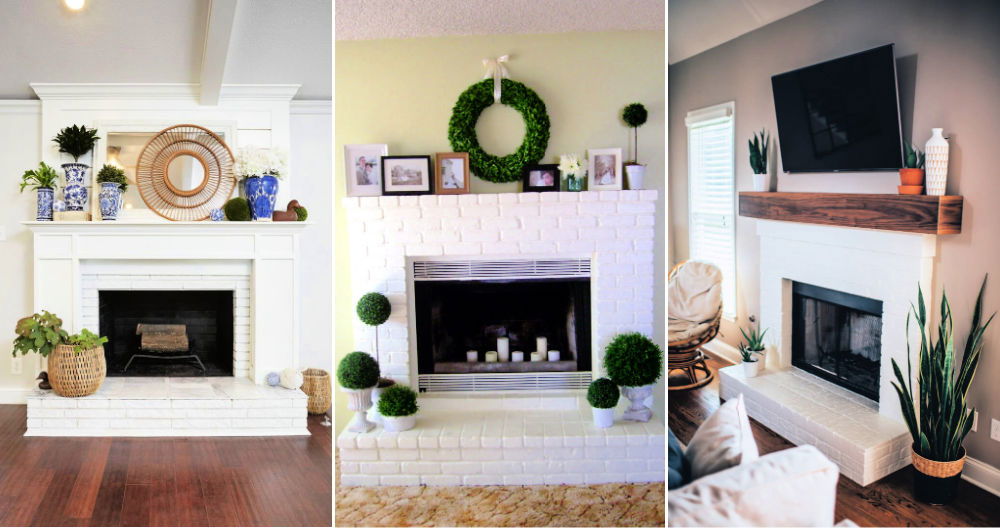
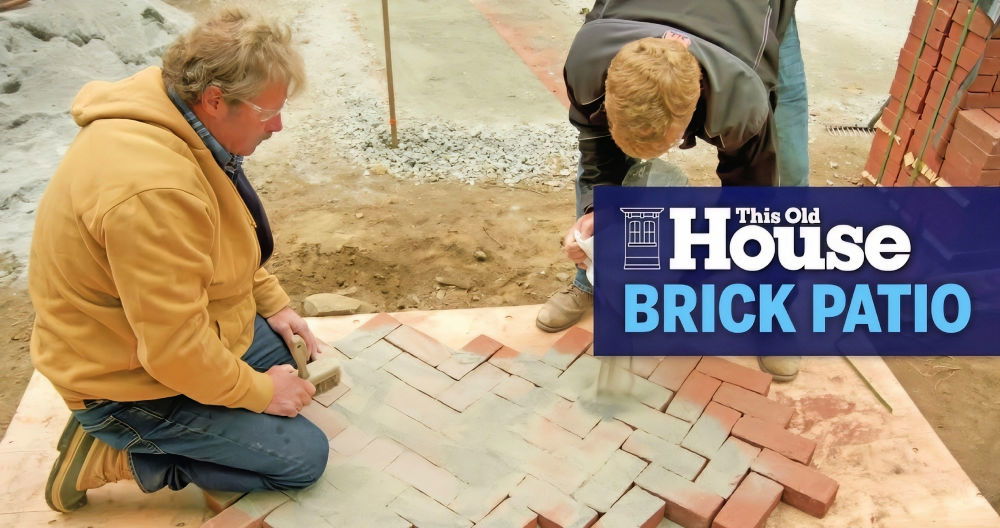
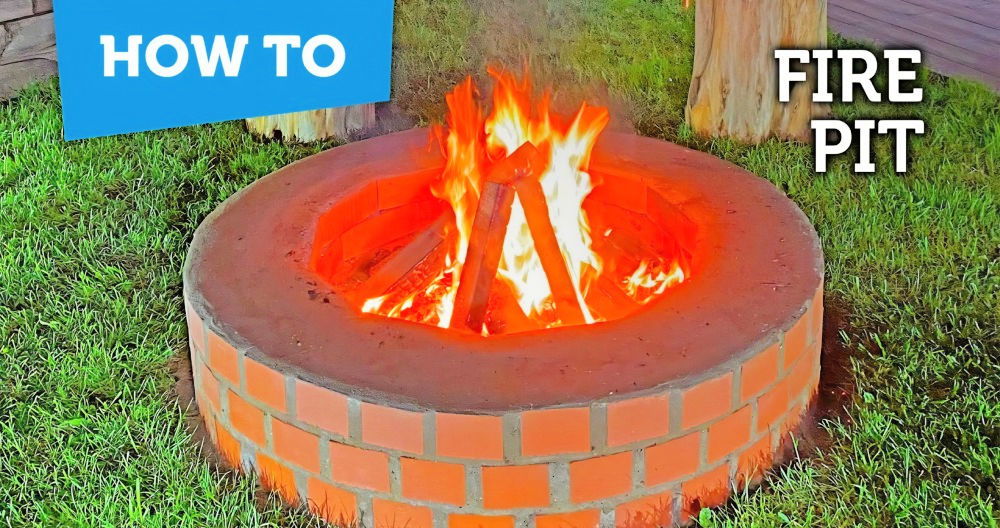
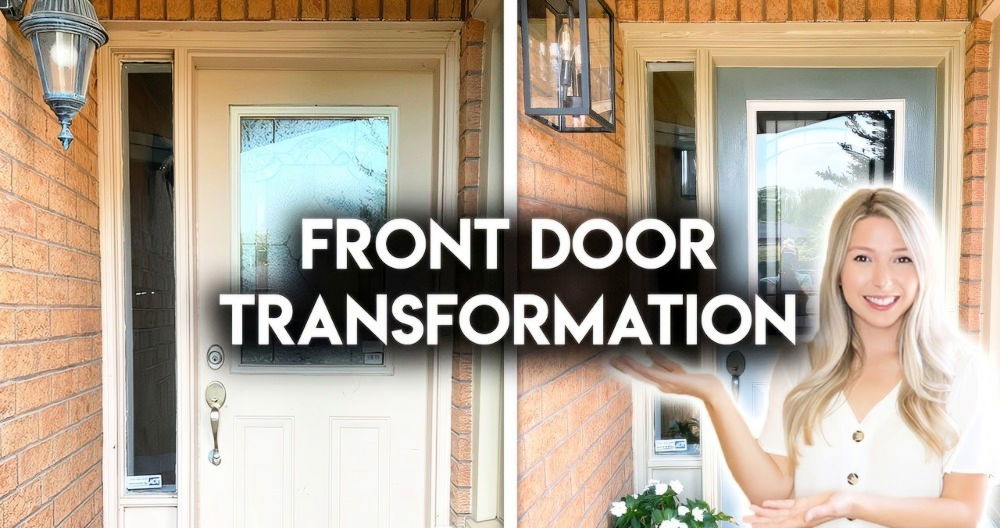
Transforming my brick fireplace changed the whole feel of my living room. At first, it looked old and unused, making the space feel dull. I wanted to breathe life into it and make a cozy spot for my family. After some research, I found a simple plan to give it a fresh and welcoming look. I was excited and ready to tackle this project while keeping it easy and fun.
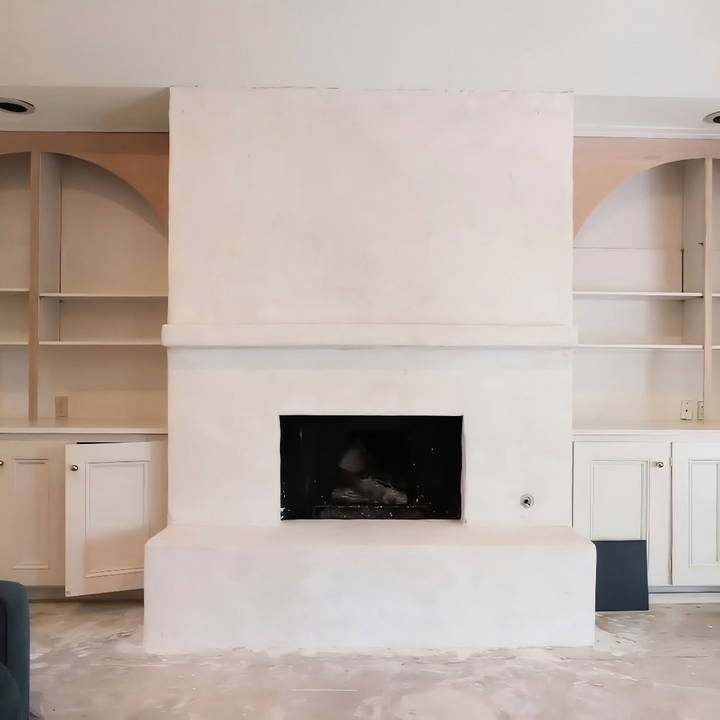
In the end, you will find that little effort can lead to big changes. I hope my experience inspires you to start your own brick fireplace makeover. I'm here to help with tips and tricks to make it easy and enjoyable.
Materials Needed for a Brick Fireplace Makeover
Before jumping into the step-by-step instructions, it's crucial to gather all the materials and tools you'll need for this project. Trust me, you don't want to be running back and forth to the store multiple times (though we did—more on that later).
Materials:
- Base Coat Stucco Mix: We chose Whip Cream's Base Coat Stucco Mix. You'll need around three bags, depending on the size of your fireplace.
- Finish Coat Stucco Mix: Two bags should suffice for a standard-sized fireplace.
- Bonding Agent (Plaster Weld): This ensures the stucco adheres properly to the existing brick surface.
- Masonry Screws and Bolts: For attaching any wood or additional structural elements.
- 4x4 Wooden Beam: To make a new mantel base that you can stucco over.
- Masking Tape and Plastic Sheets: To protect surrounding areas from dust and debris.
- Basic Stucco Tools: Including a hawk, trowel, and mixing bucket.
Tools:
- Drill with masonry bits
- Angle grinder or bolt cutter
- Paintbrush for applying bonding agent
- Level for checking alignment
Step by Step Instructions
Transform your brick fireplace with our step-by-step stucco makeover guide. Learn prepping, mantel base installation, bonding, and finishing touches.
Step 1: Preparing the Fireplace for Stucco
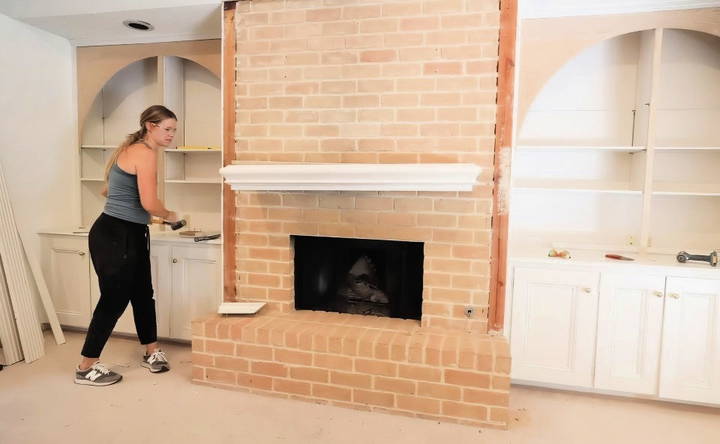
The first step in our project was to remove the old trim and mantel from the brick fireplace. This was easier said than done. Whoever built the original mantel clearly never intended for it to be removed, so we had to break it apart piece by piece. If you're dealing with a stubborn installation like we did, patience is key. A pry bar and a hammer were our best friends for this part.
After getting the trim and mantel off, I noticed that some bolts were sticking out of the brick where the old mantel had been attached. I had initially planned to reuse these bolts, but I had forgotten that I had banged them up pretty badly during the demo process, ruining the threads. So, off to the store again to grab new masonry screws—a reminder that it's always good to double-check your materials list before starting!
Step 2: Installing the New Mantel Base
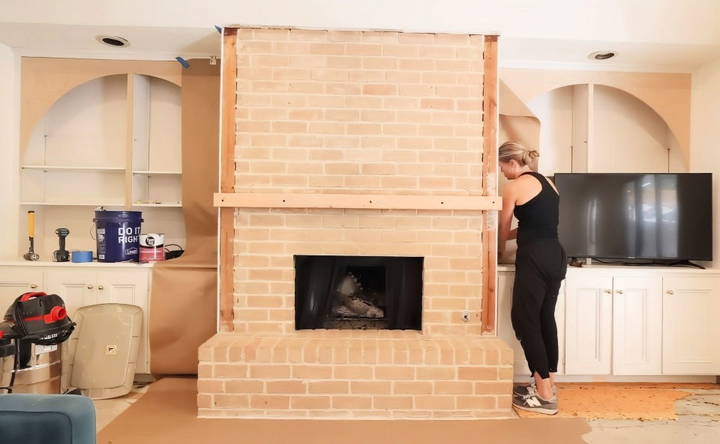
With the old bolts removed and the new screws in hand, we moved on to the next step: making a new base for the mantel. I cut a 4x4 piece of wood to size and used a large drill bit to make countersink holes for the screws. Countersinking is important because you don't want the screw heads sticking out when you apply the stucco later. We then marked the brick where the pilot holes needed to be drilled and carefully drilled into the brick with a masonry bit.
Once the holes were drilled, I attached the 4x4 beam to the brick using masonry screws. A quick check with the level confirmed that it was perfectly aligned—a small win in the midst of a labor-intensive project.
Step 3: Applying the Bonding Agent
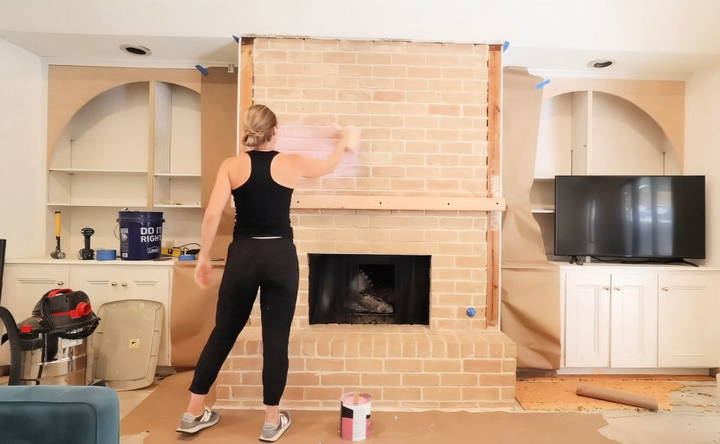
Before we could apply any stucco, we needed to ensure the new surface would adhere well to the existing brick. That's where the bonding agent comes in. We used Plaster Weld, which is a pink liquid that acts as a glue between the old brick and the new stucco. I applied it generously with a paintbrush and let it dry according to the instructions on the bottle.
A quick tip from experience: make sure to cover any nearby surfaces with plastic sheets or tape. The bonding agent is very sticky and can be tough to remove once it dries.
Step 4: Mixing and Applying the Base Coat Stucco
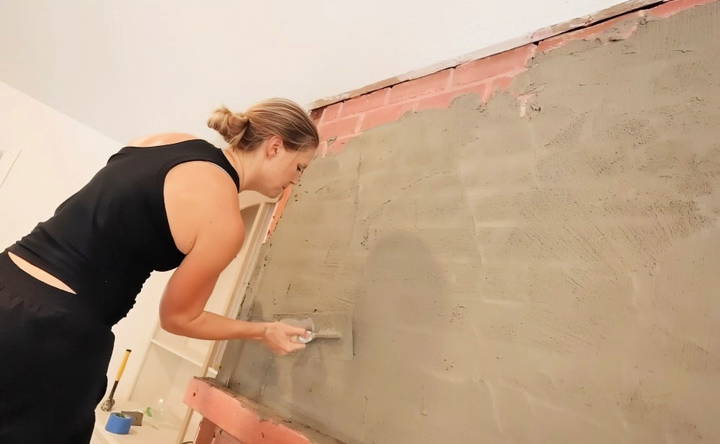
Now came the messy part—mixing the stucco. If you've never mixed stucco before, it's quite the workout. We used a large bucket and a powerful mixing drill attachment to blend the stucco to a peanut butter-like consistency. It's important to get this part right; if the mix is too watery, it won't adhere well to the brick.
Starting with the base coat, I applied the stucco to the fireplace using a hawk and trowel. The technique involves spreading the stucco in a thin layer over the brick, pressing it firmly into the grooves and texture. This is where we realized that applying stucco is much harder than it looks. The trick is to keep your layers thin and even.
It took us almost an entire day to finish this first coat. I won't lie—it was exhausting. My arms were sore, and there were moments when I doubted whether it was worth the effort. But by the end of the day, the brick was entirely covered, and we could start to see the transformation taking shape.
Step 5: Applying the Finish Coat
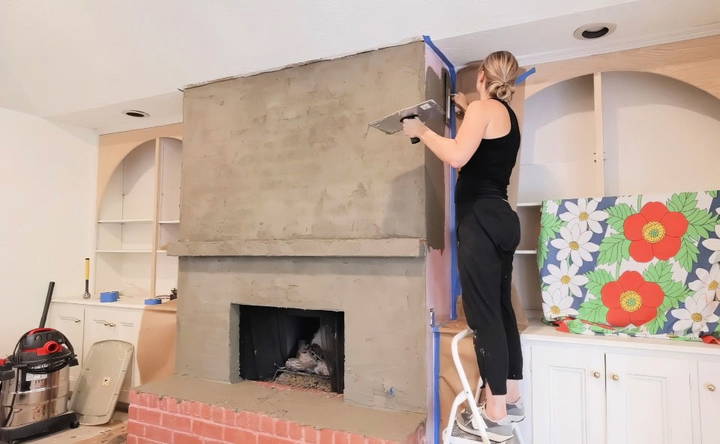
After letting the base coat dry for 24 hours, we were ready to move on to the finish coat. This is the coat that would give our fireplace its final look, so I was really excited to see how it would turn out. The finish coat is a bit smoother and whiter than the base coat, which made the whole fireplace look clean and modern.
Just like with the base coat, we mixed the finish stucco to a workable consistency. This layer requires a bit more finesse, as any imperfections will be more noticeable once it dries. I took my time, smoothing out each section and making sure there were no bumps or rough patches.
Step 6: Final Touches and Clean-Up
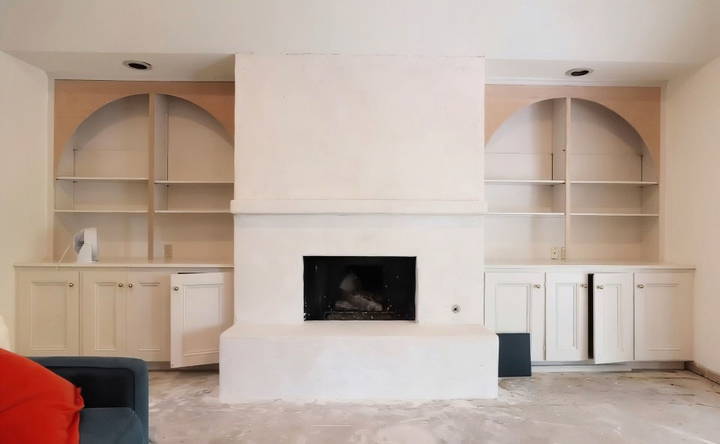
Once the finish coat dried, it was time for some final touch-ups. There were a few areas where the stucco wasn't as smooth as I wanted, so I went back with a sanding sponge and carefully evened out those spots. We also needed to reattach some trim pieces around the fireplace to complete the look.
Finally, we removed all the masking tape and plastic sheets and gave the area a good clean. After all that hard work, it was incredibly satisfying to see the final result: a beautiful, modern stucco fireplace that looked like it belonged in a design magazine.
Lessons Learned and Tips for Your DIY Stucco Project
- Preparation is Everything: Make sure to have all your materials on hand before starting. A well-prepared workspace makes the project smoother and less stressful.
- Stucco is Hard Work: Don't underestimate the physical effort involved. Take breaks as needed and don't rush the process.
- Mixing Consistency Matters: Getting the right consistency for your stucco mix is crucial. Too dry, and it won't stick; too wet, and it will slump.
- Take Your Time with the Finish Coat: This is the layer that everyone will see, so take your time to ensure it's smooth and even.
- Work in Pairs: Having a partner makes the job easier and more enjoyable. Plus, you'll need the extra muscle for mixing and lifting those heavy bags!
Common Mistakes to Avoid
When undertaking a brick fireplace makeover, it's easy to make mistakes that can lead to frustration and extra costs. Here are some common pitfalls and how to avoid them:
1. Skipping Surface Preparation
One of the biggest mistakes is not properly preparing the brick surface. Dirt, soot, and grime can prevent paint or mortar from adhering correctly. Always clean the bricks thoroughly with a wire brush and a suitable cleaner before starting your makeover.
2. Using the Wrong Materials
Choosing the wrong type of paint or mortar can lead to poor results. For instance, regular interior paint won't withstand the heat from a fireplace. Use heat-resistant paint and mortar specifically designed for fireplaces to ensure durability and safety.
3. Ignoring Safety Precautions
Safety should always be a priority. Failing to protect surrounding areas from dust and debris can make a mess and potential hazards. Use drop cloths, tape off areas, and wear protective gear like masks and goggles.
4. Rushing the Process
A fireplace makeover requires patience. Rushing through steps like drying times for paint or mortar can compromise the quality of your work. Follow the manufacturer's instructions for drying and curing times to achieve the best results.
5. Not Testing Colors
Colors can look different once applied to a large surface. Always test a small area first to see how the color looks in different lighting conditions. This can save you from the disappointment of an unexpected result.
6. Overlooking Ventilation
Proper ventilation is crucial when working with paints and sealants. Fumes can be harmful if inhaled. Ensure the area is well-ventilated by opening windows and using fans to circulate air.
7. Neglecting Maintenance
After completing your makeover, regular maintenance is key to keeping your fireplace looking great. Neglecting to clean and inspect it periodically can lead to deterioration. Schedule regular cleanings and check for any signs of wear or damage.
8. Underestimating the Project Scope
A fireplace makeover can be more complex than it seems. Underestimating the time, effort, and skills required can lead to incomplete or unsatisfactory results. Plan thoroughly and consider seeking professional help if needed.
By being aware of these common mistakes and taking steps to avoid them, you can ensure a smoother and more successful brick fireplace makeover.
Maintenance Tips
Maintaining your newly made-over brick fireplace is essential to keep it looking great and functioning well. Here are some practical tips to help you with regular upkeep:
1. Regular Cleaning
Dust and soot can accumulate quickly on a fireplace. Use a soft brush or vacuum with a brush attachment to remove loose dirt and debris. For deeper cleaning, use a mixture of warm water and mild detergent. Avoid harsh chemicals that can damage the brick.
2. Inspect for Damage
Periodically check your fireplace for any signs of damage, such as cracks in the bricks or mortar. Small cracks can be repaired with fireplace mortar or sealant. Addressing these issues early can prevent more significant problems later.
3. Check the Chimney
A clean chimney is crucial for safe fireplace operation. Have your chimney inspected and cleaned by a professional at least once a year. This helps prevent chimney fires and ensures proper ventilation.
4. Seal the Bricks
If you haven't already, consider applying a sealant to your bricks. A good sealant can protect the bricks from moisture and stains, making them easier to clean. Follow the manufacturer's instructions for application and reapply as needed.
5. Maintain the Hearth
The hearth is often overlooked but is an integral part of your fireplace. Clean it regularly and check for any signs of wear or damage. If you have a tiled hearth, inspect the grout and replace it if it starts to crack or crumble.
6. Use the Right Wood
Burning the right type of wood can make a big difference. Use seasoned hardwoods like oak or maple, which burn cleaner and produce less creosote. Avoid burning softwoods like pine, which can make more soot and creosote buildup.
7. Monitor Smoke and Odors
If you notice excessive smoke or unusual odors, it could indicate a problem with your fireplace or chimney. Check for blockages and ensure the damper is open when the fireplace is in use. If the issue persists, consult a professional.
8. Protect Surrounding Areas
Use a fireplace screen to prevent sparks from escaping and damaging your floor or furniture. Also, keep flammable materials away from the fireplace to reduce the risk of fire.
9. Schedule Professional Inspections
Even with regular maintenance, it's a good idea to have a professional inspect your fireplace and chimney annually. They can identify and address issues that you might miss.
10. Keep a Maintenance Log
Keeping a log of your maintenance activities can be helpful. Note the dates of cleanings, inspections, and any repairs. This can help you stay on top of regular upkeep and identify patterns or recurring issues.
By following these maintenance tips, you can ensure your brick fireplace remains a beautiful and functional centerpiece in your home for years to come.
FAQs About Brick Fireplace Makeover
Explore FAQs about brick fireplace makeovers for tips, costs, and ideas to transform your fireplace into a beautiful home centerpiece.
There are several popular methods to update a brick fireplace:
Painting: You can paint the bricks in a solid color like white, black, or a bold shade to match your decor.
Whitewashing: This technique involves applying a diluted paint mixture to give the bricks a lighter, more rustic look.
German Schmear: This method uses mortar to create a textured, old-world appearance.
Tiling: Adding tiles over the brick can give a modern and clean look.
Adding a Mantel: Installing a new mantel can change the fireplace’s style, whether you prefer a modern or traditional look.
You can do many brick fireplace makeovers yourself, especially if you have some DIY experience. Painting, whitewashing, and adding a mantel are relatively straightforward projects. However, for more complex tasks like tiling or applying a German Schmear, you might want to consider hiring a professional to ensure a high-quality finish.
If you're looking to be environmentally conscious, consider these options:
Eco-Friendly Paints: Use low-VOC (volatile organic compounds) or zero-VOC paints to reduce harmful emissions.
Reclaimed Materials: Use reclaimed wood for mantels or surrounds to give your fireplace a rustic look while recycling materials.
Natural Stone Veneer: Opt for natural stone veneer instead of synthetic materials to create a beautiful, eco-friendly finish.
Energy-Efficient Inserts: Install an energy-efficient fireplace insert to improve heating efficiency and reduce energy consumption.
Here are a few design ideas to enhance your fireplace:
Built-In Shelving: Add built-in shelves on either side of the fireplace for storage and display.
Accent Wall: Make an accent wall by painting or wallpapering the wall around the fireplace.
Decorative Mantel: Decorate the mantel with artwork, plants, or seasonal decor to make it a focal point.
Lighting: Install sconces or overhead lighting to highlight the fireplace and make a cozy ambiance.
Improving the energy efficiency of your fireplace can save on heating costs:
Fireplace Insert: Install a high-efficiency fireplace insert to improve heat output and reduce energy loss.
Glass Doors: Adding glass doors can help contain heat and prevent drafts.
Chimney Damper: Ensure the chimney damper is in good condition and seals properly when not in use.
Insulation: Insulate around the fireplace and chimney to prevent heat loss through the walls.
Final Thoughts
In conclusion, my experience with the brick fireplace makeover showed me how a simple change could refresh my space. If I can do it, you can too! Your home deserves a touch of love and care. I'm excited for you to get started and see how great it can turn out.
Whether you're a seasoned DIYer or just getting started, I hope our experience inspires you to take on your own home improvement adventures.


