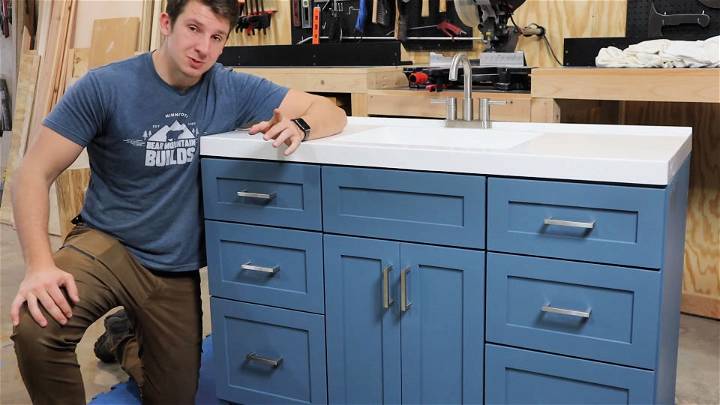
As a fledgling DIY enthusiast, the idea of renovating my bathroom felt like a mountainous challenge, especially when it came to building a custom vanity from scratch. Inspired by a video guide from Bear Mountain Builds, I embarked on this project to replace an outdated vanity in my home. The video served as a stepping stone, walking me through the process with clear instructions and visual aids. Here, I'll share my personal journey in building a custom bathroom vanity, incorporating valuable insights and practical advice for beginners like myself.
Planning and Materials
The first step was to gather all necessary materials. I decided on * ¾-inch sanded plywood for the carcass (the body of the vanity) because of its durability in moist environments, like bathrooms. It's also more affordable than hardwood plywood, and since I planned to paint it, the grain wasn't a concern. Additionally, I picked up ¼-inch plywood for the drawer bottoms and Poplar boards for the face frame and door fronts.
Why each material?
- ¾-inch sanded plywood: Offers structural integrity and withstands moisture well.
- ¼-inch plywood: Ideal for drawer bottoms due to its lightweight yet sturdy nature.
- Poplar boards: Easy to work with and paint, making it perfect for the face frame and doors.
Building the Carcass
With materials in hand, I began by cutting the plywood into pieces for the carcass. Since I don't have a large table saw, I used a circular saw for the initial cuts to make the plywood more manageable. Building pocket holes for assembly was an essential step to ensure the pieces could be joined securely. The carcass assembly included attaching the back, sides, bottom, and toe kick. This foundational step was crucial for the vanity's overall structure and required precision to ensure everything was square and aligned.
Making the Face Frame
Once the carcass was assembled, I moved on to constructing the face frame from the Poplar boards. This involved stripping the boards down to the desired widths and using pocket holes to join them. The face frame would eventually frame out the drawer and door openings, so getting its dimensions right was key. I continuously checked for squareness during assembly to prevent any issues with drawer installation later on.
Why make a face frame?
A face frame:
- Provides structural support to the vanity.
- Enhances aesthetic appeal by framing the doors and drawers.
- Ensures drawers and doors align correctly.
Drawer Assembly
Building the drawers was perhaps the most rewarding part. I cut the sides from * ½-inch plywood and used a router to build a groove for the ¼-inch plywood bottoms to slide into. Assembling the drawer boxes with pocket holes ensured they were sturdy. Then came the meticulous process of installing the drawer slides. Precision was vital to ensure smooth operation.
Why use * ½-inch plywood for drawers?
- Strikes a balance between durability and keeping the drawers light.
- Easier to work with compared to thicker materials.
Painting and Finishing Touches
With the construction complete, it was time to move on to painting. I applied a coat of primer followed by two coats of latex paint in a color that complemented the bathroom's color scheme. Patience during the drying process between coats was crucial for achieving a smooth, durable finish.
Mounting Drawer Fronts and Doors
I meticulously measured and adjusted the placement of each drawer front and door to ensure even gaps and alignment. This step was perhaps the most tedious but was essential for the vanity's final appearance.
The Big Reveal
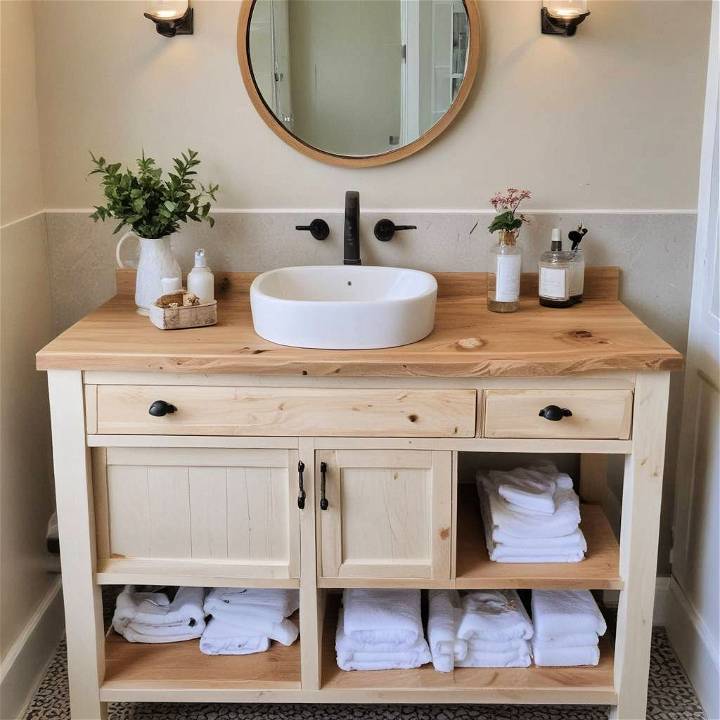
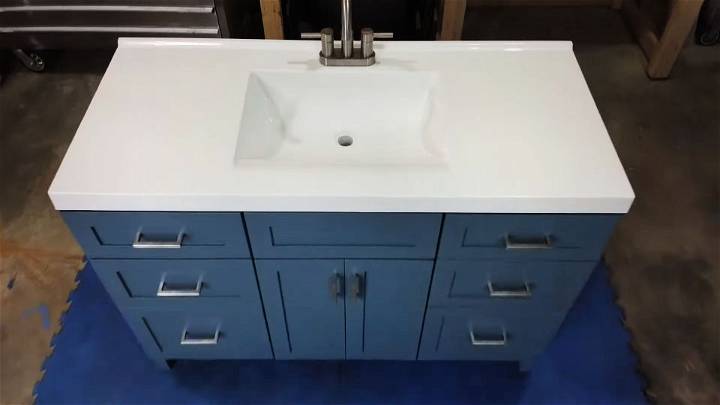
After attaching the hardware (handles and door hinges), the project was finally complete. The transformation was astonishing—not only did I have a functional and stylish new vanity, but I also gained invaluable skills and confidence in my DIY abilities.
Reflection
Building a bathroom vanity from scratch was a challenging yet thoroughly rewarding project. While the video from Bear Mountain Builds was an excellent guide, diving into the process revealed the importance of patience, precision, and adaptability. Each step, from cutting the plywood to painting the finished vanity, taught me something new.
For fellow beginners looking to embark on a similar project, here's my advice: don't rush the process, double-check your measurements, and embrace the learning curve. Building a custom vanity is not just about improving your home's aesthetics; it's about challenging yourself and growing your DIY skills.
Customization Ideas for Your DIY Bathroom Vanity
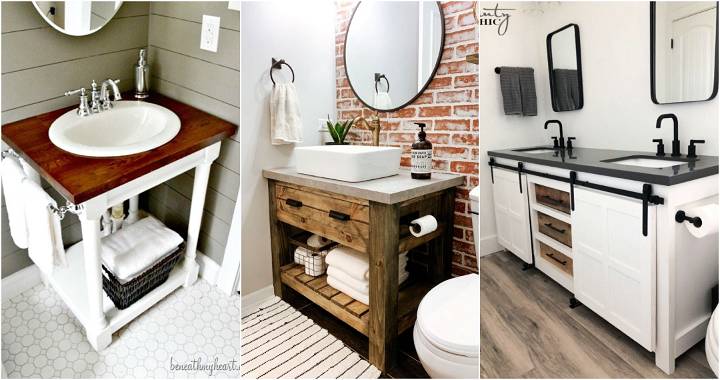
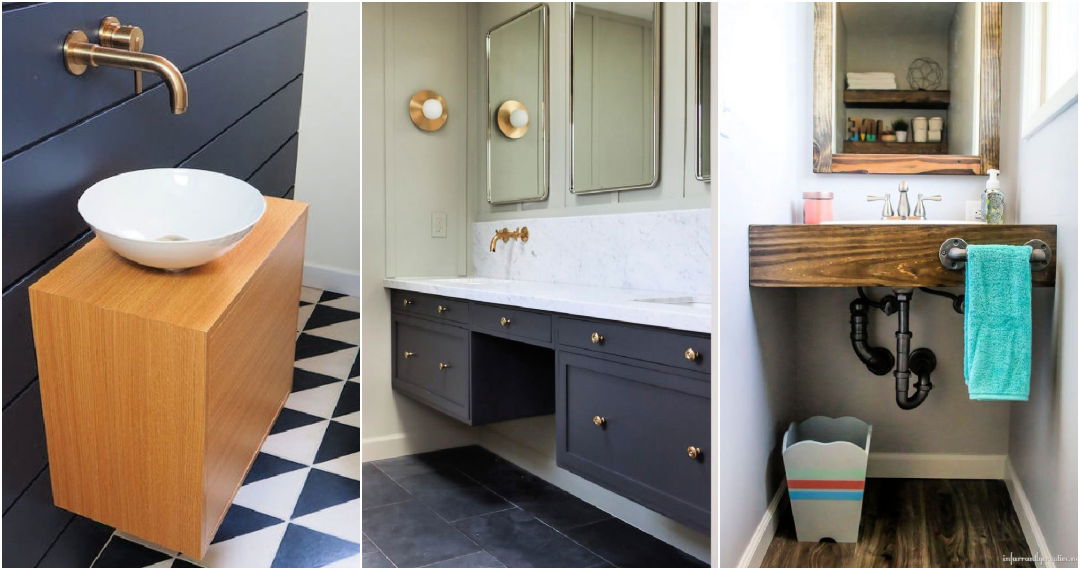
Building a DIY bathroom vanity offers a wonderful opportunity to add a personal touch to your bathroom. Here are some unique and practical ideas to inspire your project:
Choose a Theme
Start by deciding on a theme that reflects your personality or the overall design of your home. Whether it's modern, rustic, or vintage, your theme will guide your choices in materials and design.
Paint It Up
A fresh coat of paint can transform your vanity. Consider using high-gloss paint for a sleek look or chalk paint for a matte finish. Don't be afraid to use bold colors to make it stand out.
Upgrade the Hardware
Changing the knobs and pulls is an easy way to update the look of your vanity. Brass or matte black hardware can add a touch of elegance, while unique shapes can provide a playful element.
Add Creative Storage
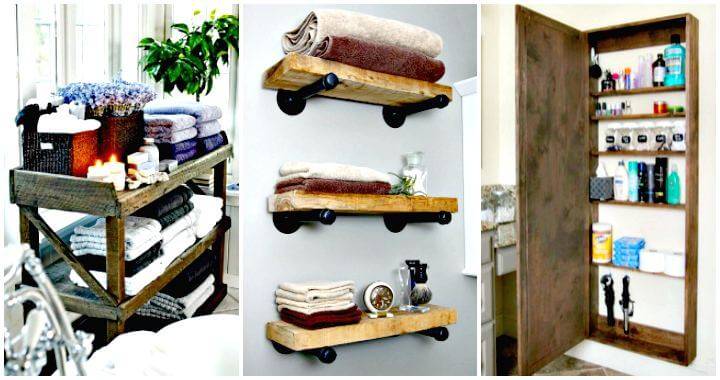
Think outside the box for storage. Mason jars or vintage tins can hold small items. Install sliding baskets under the sink for easy access to toiletries.
Incorporate Natural Elements
Use natural wood for shelves or countertops for warmth and texture. Stones and pebbles can be used as decorative elements or even as a sink basin for a spa-like feel.
Use Wallpaper
Line the drawers or the sides of the vanity with wallpaper for an unexpected pop of pattern when you open them.
Lighting Matters
Good lighting is crucial in a bathroom. Install sconces on the sides of the mirror or LED strips underneath the vanity for a modern look and better illumination.
Reflect Your Style with Mirrors
Choose a mirror that complements your vanity. An ornate mirror can add a luxurious feel, while a simple, framed mirror can keep things chic and straightforward.
Repurpose Furniture
An old dresser or table can be repurposed into a vanity. This not only gives a unique look but also contributes to sustainability.
Accessorize
Finish off your vanity with accessories like a stylish soap dispenser, a vase of fresh flowers, or a tray for perfumes and lotions.
Maintenance and Care Tips for Your DIY Bathroom Vanity
Ensuring your DIY bathroom vanity remains in pristine condition involves regular maintenance and care. Here's a straightforward guide to help you keep your vanity looking as good as new:
Regular Cleaning
Dust and wipe your vanity weekly with a soft, damp cloth to prevent dust accumulation and grime build-up. For a deeper clean, use a mild detergent or an all-purpose bathroom cleaner, but avoid abrasive pads, especially on wooden surfaces.
Protect from Water Damage
Water is the enemy of most vanity materials, particularly wood. Always wipe off any spills immediately. Consider installing quality bathroom mats to prevent water pooling near your vanity. For wooden vanities, consider a floating design to minimize direct contact with water.
Handle with Care
Be gentle with your vanity's hardware. Regularly check and tighten handles and knobs to prevent them from becoming loose over time.
Avoid Harsh Chemicals
Keep harsh chemicals away from your vanity surface. If you must use them, ensure they do not sit on the surface for extended periods to avoid damage to the finish.
Humidity Control
Bathrooms can get humid, which can warp or discolor your vanity over time. Reduce humidity by ventilating your bathroom well after showers or baths.
Organize Smartly
Keep the interior of your vanity organized. Avoid overloading drawers and shelves to prevent damage to the tracks and hinges.
FAQs About DIY Bathroom Vanities
Building a bathroom vanity on your own can be a rewarding project. Here are answers to some common questions that might arise during the process:
What materials do I need for a DIY bathroom vanity?
You'll need wood for the frame and shelves, screws, brackets, a countertop material, sink, faucet, and paint or sealant for finishing. Tools might include a saw, drill, sander, and measuring tape. Always choose materials that suit your bathroom's humidity and usage.
How do I ensure my vanity is the right size?
Measure your bathroom space carefully. Consider the size of the sink and countertop, as well as storage needs. Leave enough room for door openings and ensure the vanity height is comfortable for daily use.
Can I repurpose furniture for my vanity?
Absolutely! An old dresser or table can be converted into a vanity. Ensure it's properly sealed and protected against moisture. This is a great way to add character and save money.
How do I protect my vanity from water damage?
Use water-resistant materials and finishes. Seal wood surfaces with a waterproof sealant. Regularly check for leaks and wipe up any spills immediately to prevent water damage.
What's the best way to add a personal touch to my vanity?
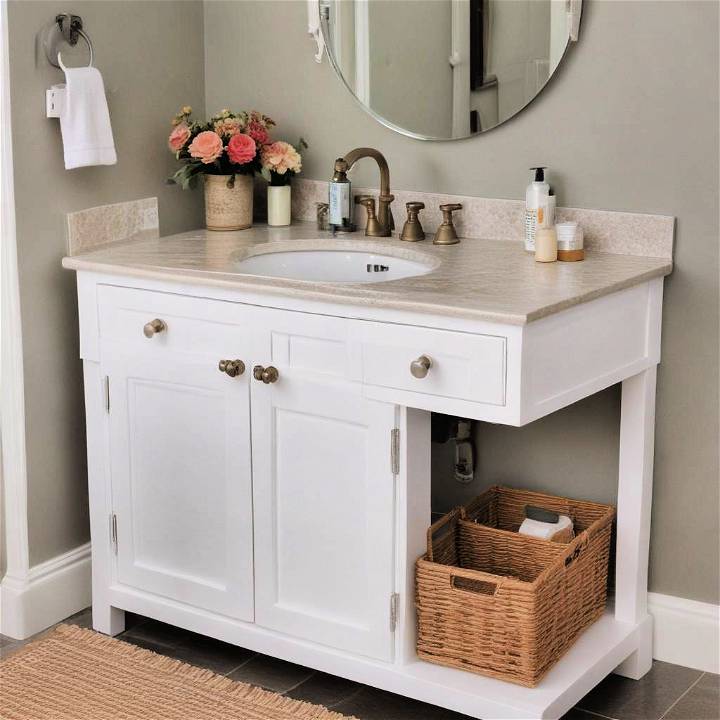
Personalize your vanity with paint, unique hardware, or decorative elements. Consider adding built-in organizers or using baskets for a blend of style and function.
Conclusion:
Wrapping up, building your DIY bathroom vanity can be a rewarding and cost-effective project. By following our guide, you can customize your space and add a personal touch to your bathroom décor. Happy crafting!


