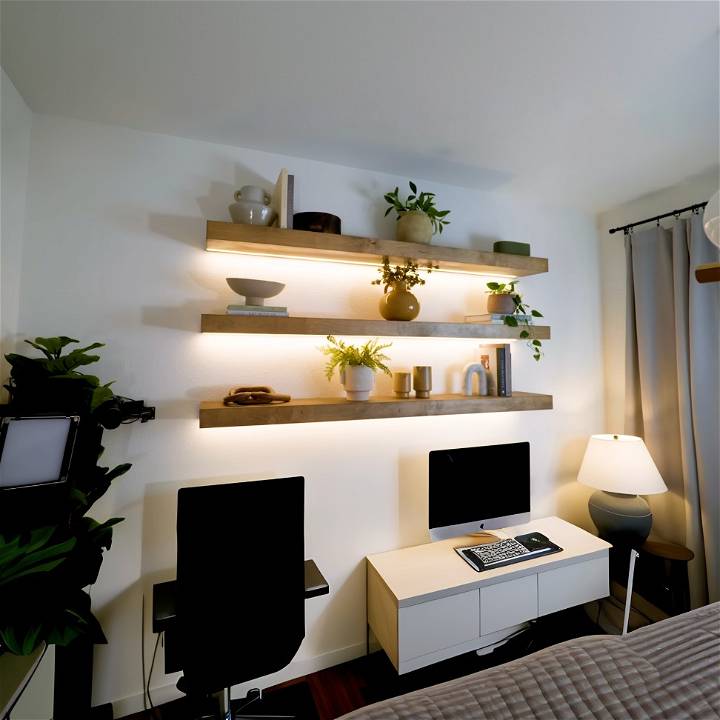
As someone who has embarked on numerous DIY projects - from upgrading my living room space to redoing the backyard - I've always found a peculiar satisfaction in building something with my own hands. This time, I decided to take on a slightly more ambitious project: building the fanciest floating shelves ever, complete with LED lights. If you're looking to elevate your living space with a touch of sophistication, follow my step-by-step guide to replicate this project in your own home.
Materials Needed
- Plywood: Provides the base material for the shelves - sturdy and versatile.
- LED Light Kits: These will be integrated into the shelves for that fancy illumination.
- Miter Saw: Essential for making precise cuts, especially for the miter joints.
- Wood Stain: To give the shelves a polished look that matches your decor.
- Electrical Supplies (including a dimmer switch): For integrating and controlling the LED lights.
- Bracket Materials: For securely mounting the shelves onto the wall.
- Soldering supplies: Needed for connecting the LED lights.
Why Each Material Is Needed
- The Plywood acts as the soul of our project, providing a durable surface that will hold up over time.
- LED light kits are crucial for the "fancy" aspect of our project, as they add a modern touch.
- A Miter Saw is necessary for cutting angles accurately, particularly for those seamless joins that give the floating shelves their sleek look.
- Wood Stain enhances the aesthetic appeal of the shelves, ensuring they complement your existing d* écor.
- Electrical Supplies, including a dimmer, allow us to integrate the lighting seamlessly and control it according to our mood.
- Bracket Materials ensure that our shelves are not just decorative but functional, capable of holding weight without sagging.
- Lastly, Soldering Supplies are essential for establishing a secure connection between the LED strips.
The Building Process
Learn how to build DIY shelves step-by-step, from cutting plywood to installing LED lights. Perfect for organizing any space.
Step 1: Cutting the Plywood
First things first, I measured and marked the plywood according to the dimensions I desired for my shelves. Using the miter saw, I cut the plywood precisely, ensuring each piece would fit together perfectly for that seamless look.
Step 2: Assembling the Shelf Frames
With all the pieces cut, I began assembling the shelf frames. This involved some intricate miter cuts, but the final look was worth every effort. At this point, I also drilled holes for the electrical wiring for the LED lights, ensuring they'd be hidden in the final setup.
Step 3: Staining the Wood
Once the frames were assembled, I applied the wood stain. The choice of walnut brought a modern yet timeless feel to the shelves, adding depth and warmth to the wood.
Step 4: Preparing the Electrical Setup
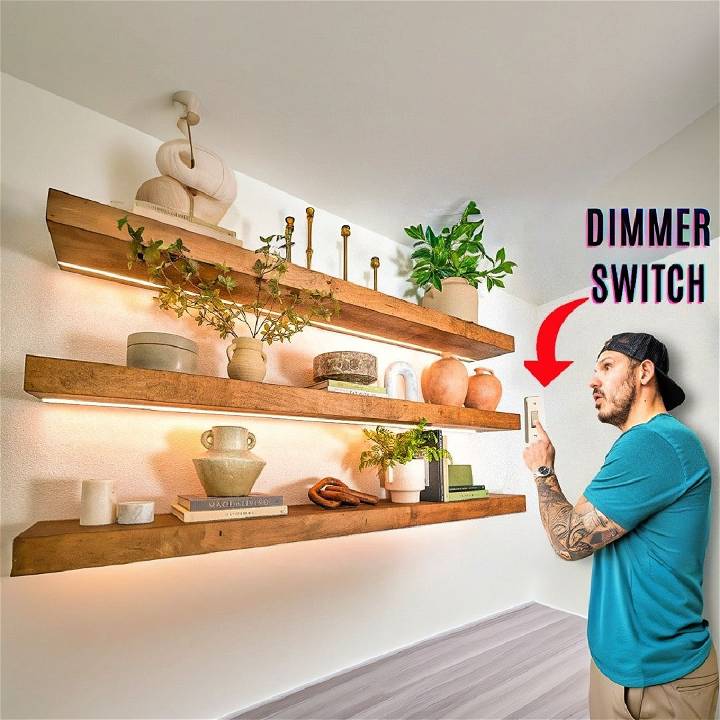
Now, this was slightly challenging for someone not very versed in electrical work, but with some patience, it turned out well. I routed the wires through the holes drilled earlier, connecting the LED strips and ensuring everything was properly insulated. The dimmer switch was installed close to the bed for easy access, keeping in mind the possibility of the room's future use as a guest bedroom.
Step 5: Mounting the Brackets
The brackets were the backbone of this project, ensuring the shelves would float with grace while being sturdy. I found the studs in the wall and secured the brackets, double-checking for level and stability.
Step 6: Installing the LED Lights
With the brackets up, it was time to focus on the LED lights. I meticulously connected each strip, soldering where necessary, and made sure they were evenly placed to achieve a uniform glow. This step significantly tested my patience, but the anticipation of the final result pushed me through.
Step 7: Putting It All Together
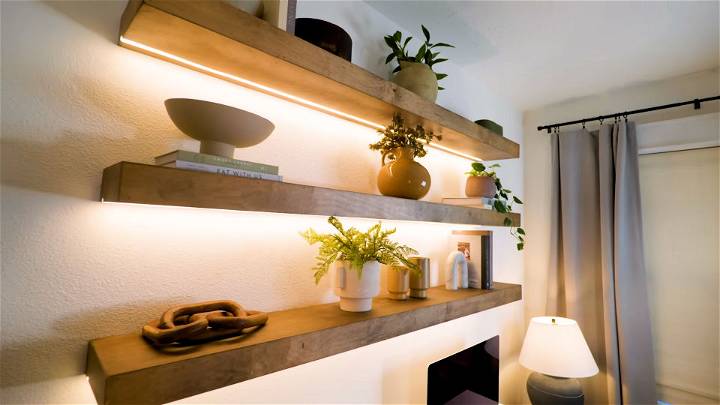
Finally, I slid the shelve onto the brackets, connected the electrical components, and held my breath as I flipped the switch. The LED lights came to life, casting a warm, inviting glow that accentuated the items I chose to display.
Design Inspiration for DIY Shelves
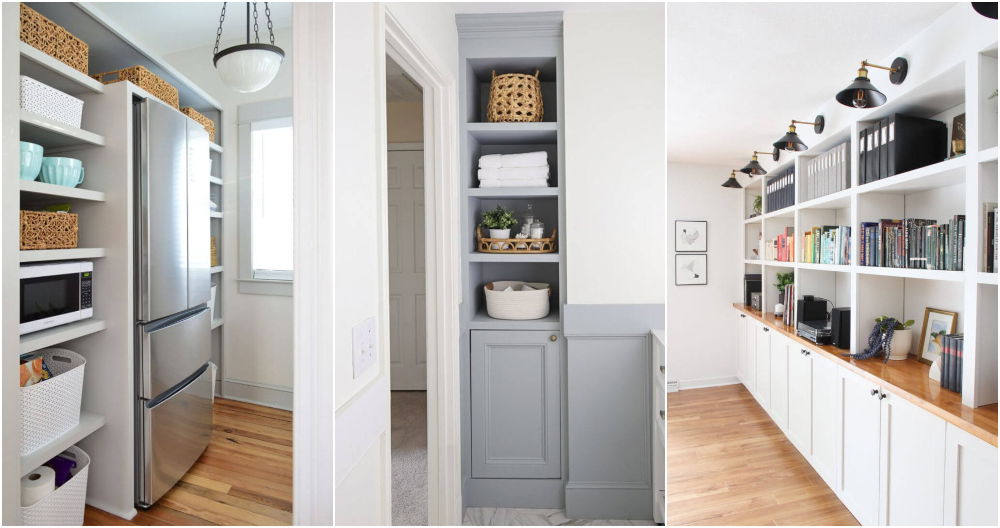
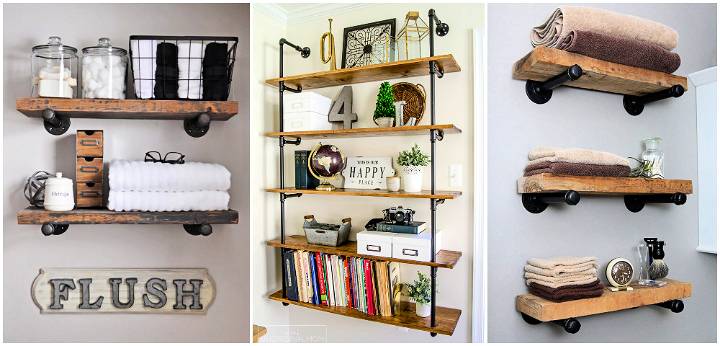
Building DIY shelves is not just about adding storage; it’s about expressing your style and personality. Whether you’re a minimalist or a maximalist, there’s a shelf design that’s perfect for you. Let’s explore some unique and inspiring ideas that can transform your space.
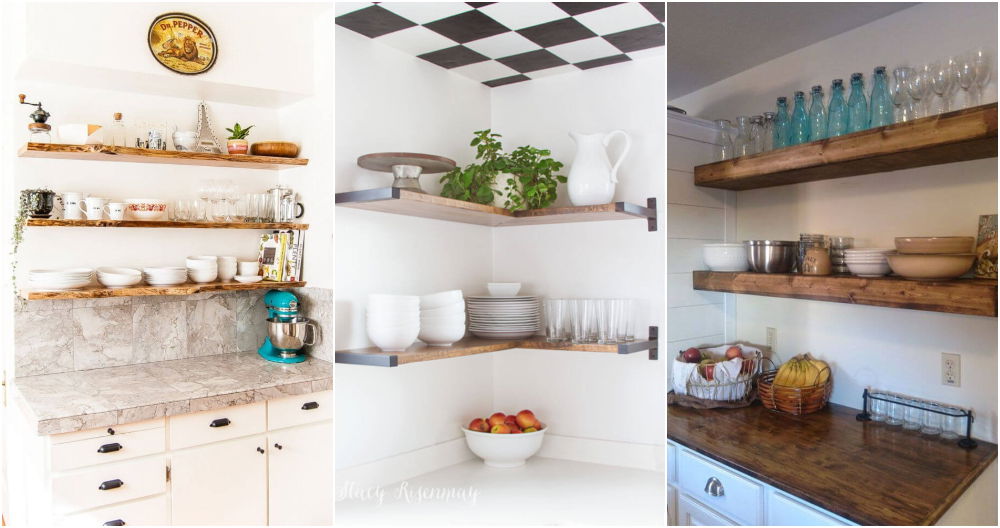
Floating Shelves: The Magic of Levitation
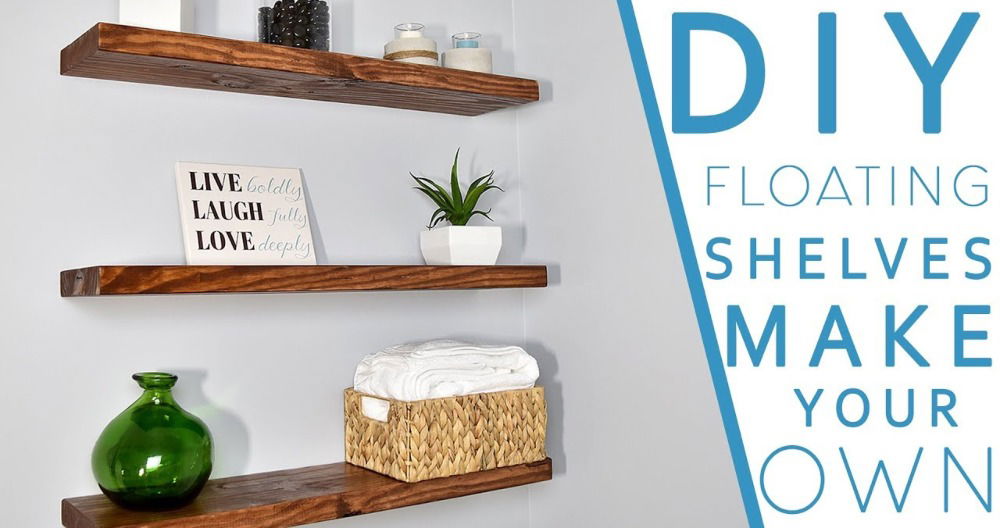
Floating shelves are a sleek and modern choice that works in any room. They appear to ‘float’ on the wall without visible supports, offering a clean and uncluttered look. Here’s how you can make them stand out:
- Paint them bold: Choose a vibrant color that contrasts with your wall for a pop of energy.
- Light them up: Install LED strips underneath for a warm ambiance.
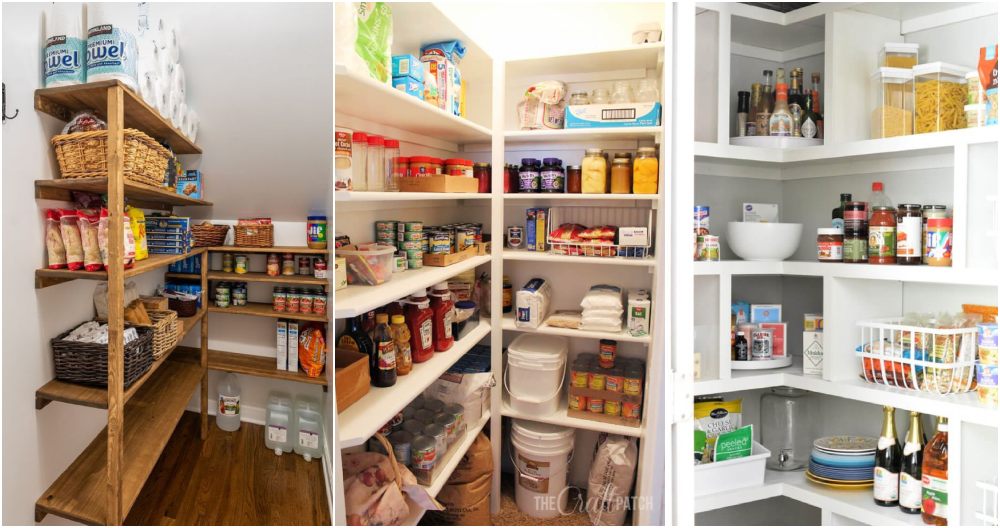
Corner Shelves: Maximizing Space
Corner shelves can turn an awkward angle into a functional asset. They are ideal for:
- Displaying collectibles: Show off your favorite items in a unique way.
- Organizing essentials: Keep your daily items within easy reach.
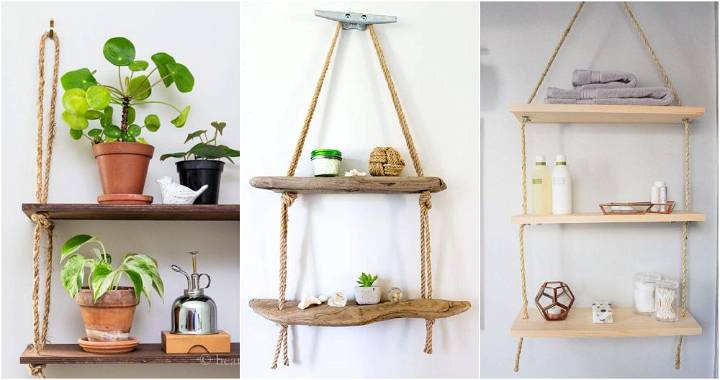
Ladder Shelves: A Step Up in Style
Ladder shelves offer a rustic charm and are incredibly versatile. They’re perfect for:
- Books and plants: Create a mini library with greenery.
- Bathroom storage: Organize towels and toiletries beautifully.
Customization: Make It Yours
The beauty of DIY is the ability to customize. Here are some tips:
- Measure twice, cut once: Ensure your shelves fit perfectly in your designated space.
- Mix materials: Combine wood with metal or glass for a unique look.
Safety First: Secure Your Creations
Safety is paramount when installing shelves. Always:
- Use the right anchors: Choose wall anchors that match your wall type and the weight of items you’ll place on the shelves.
- Check stability: Test your shelves before you start using them.
Maintenance: Keeping Your Shelves Beautiful
To keep your DIY shelves looking great over time, remember to:
- Dust regularly: A soft cloth can keep your shelves dust-free.
- Refresh the finish: Apply a new coat of paint or varnish when needed.
FAQs About DIY Shelves
When embarking on a DIY shelving project, questions are bound to arise. Here’s a compilation of frequently asked questions that will help you navigate the process with ease and confidence.
What materials do I need for DIY shelves?
To start your DIY shelf project, you’ll typically need:
- Wood planks: Choose the size and type based on your design.
- Brackets or metal pipes: These will provide support.
- Screws and wall anchors: Ensure they’re suitable for your wall type.
How do I choose the right wood for my shelves?
Selecting wood involves considering:
- Durability: Hardwoods like oak and maple last longer.
- Aesthetics: Pick a grain and color that match your decor.
- Budget: Balance quality with what you can afford.
Can I use reclaimed wood for my shelves?
Absolutely! Reclaimed wood is:
- Eco-friendly: It’s a sustainable choice.
- Unique: Each piece has its own history and character.
- Cost-effective: Often cheaper than new lumber.
What tools will I need to build my shelves?
The basic tools for shelf-building include:
- Saw: For cutting wood to size.
- Drill: To make holes for screws.
- Level: To ensure your shelves are perfectly horizontal.
How do I ensure my shelves are sturdy?
For sturdy shelves:
- Use proper anchors: Match them to your wall material.
- Don’t overload: Be mindful of the weight capacity.
- Double-check fittings: Make sure everything is tight and secure.
How can I add a personal touch to my shelves?
Personalize your shelves by:
- Staining or painting: Choose a color or finish that reflects your style.
- Adding decorations: Use shelf liners or decorative brackets.
- Incorporating unique designs: Try geometric patterns or asymmetrical layouts.
Conclusion
This project wasn't just about adding another piece of furniture to my home; it was about challenging myself and adding a personal touch to my living space. The total cost came up to $340, a reasonable price considering the customization and the upscale look it added to my room.
Building these floating shelves with integrated LED lights might seem daunting, but with a little patience and persistence, it's certainly achievable. Not only did it enhance the aesthetics of my room, but it also added functionality with a personal touch. For anyone looking to tackle this project, remember to take it one step at a time, and don't be afraid to make it uniquely yours.


