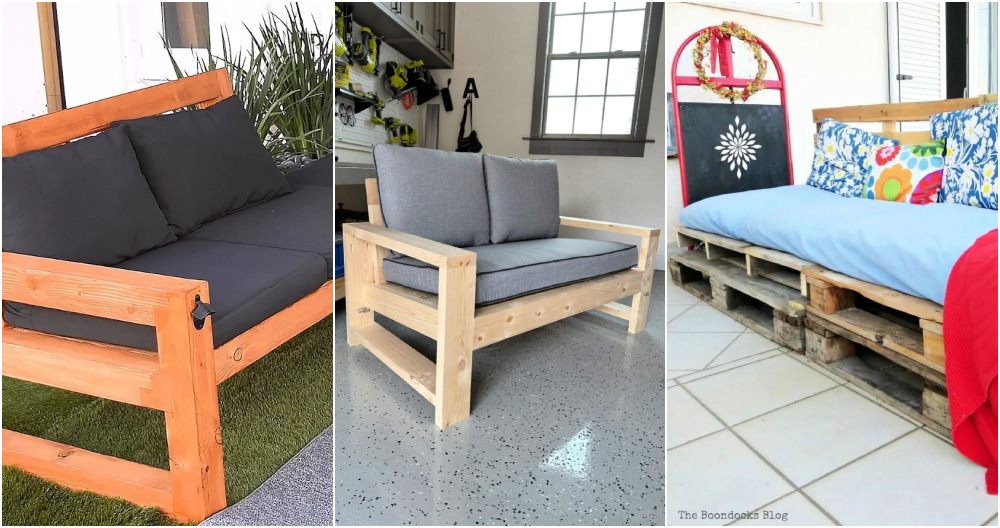
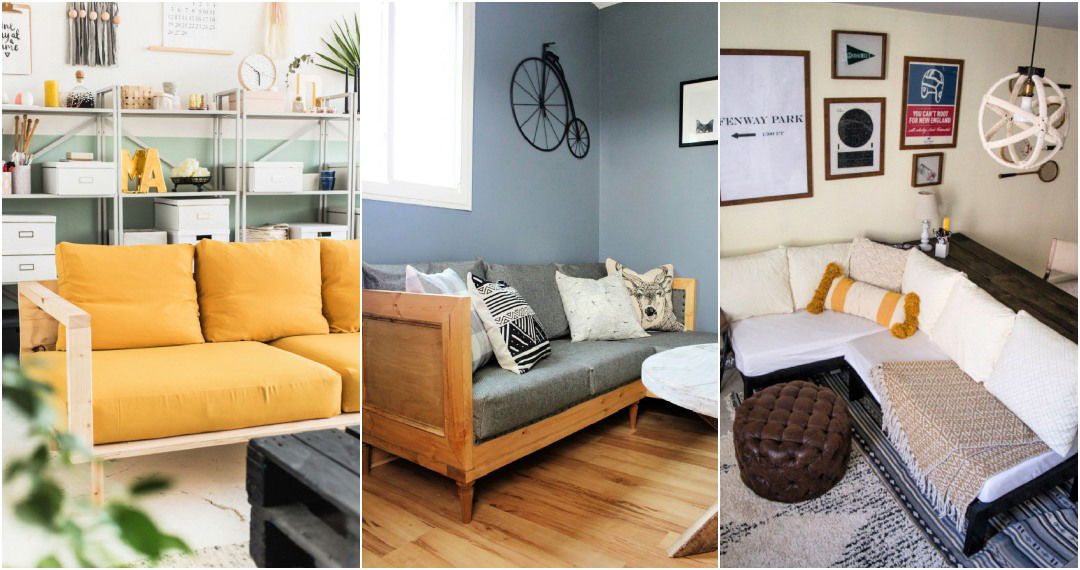
When I embarked on the journey of making my own furniture, I was searching for a project that would be both a challenge and a practical addition to my home. That's when I stumbled upon the concept of building a modern DIY sofa entirely out of 2x4s. This project not only tested my skills and creativity but also provided me with a stylish, comfortable piece of furniture that I made with my own hands. In this article, I'll walk you through the step-by-step process of how I built this modern sofa, offering tips and insights from my personal experience.
Materials Needed and Their Purpose
- 2x4 lumber: The primary material for the sofa, selected for its sturdiness and affordability.
- Circular saw with a finish blade: To make precise cuts without causing tear-out on the wood.
- 12-inch speed square: Ensures that all cuts are square and accurate.
- Sandpaper (150 grit): Used for smoothing the wood surfaces before assembly.
- Wood glue: For strong joints between the wooden pieces.
- Clamps: To hold the wood pieces together securely while the glue dries.
- Chisel and paper towels: These are used to clean up any glue squeeze-out before it hardens.
- Screwdriver and screws: For assembling the sofa frame and attaching the 2x4 slats.
- Water-based polyurethane: Protects the wood and gives the sofa a polished look.
Step by Step Instructions
Learn how to build a DIY couch step by step with our detailed instructions. From making the side panels to adding finishing touches, we've got you covered!
Building the Side Panels
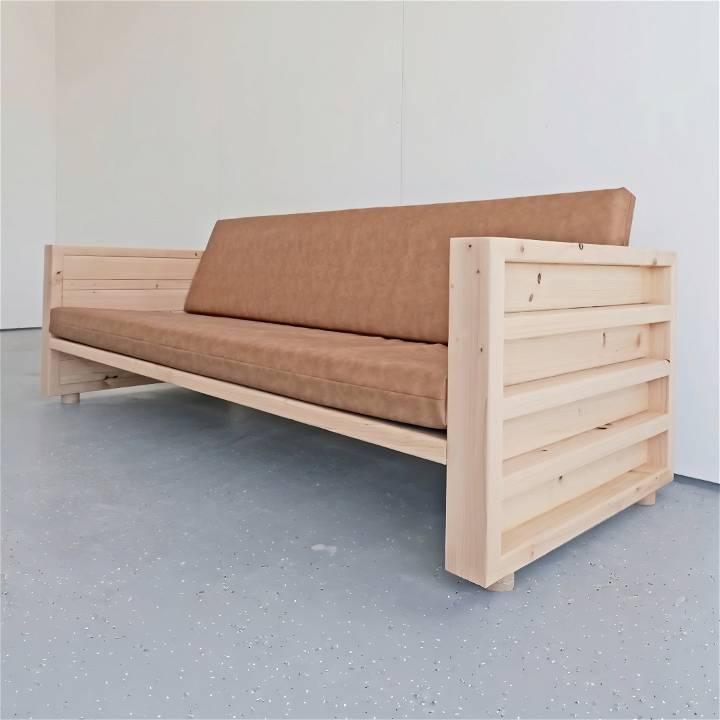
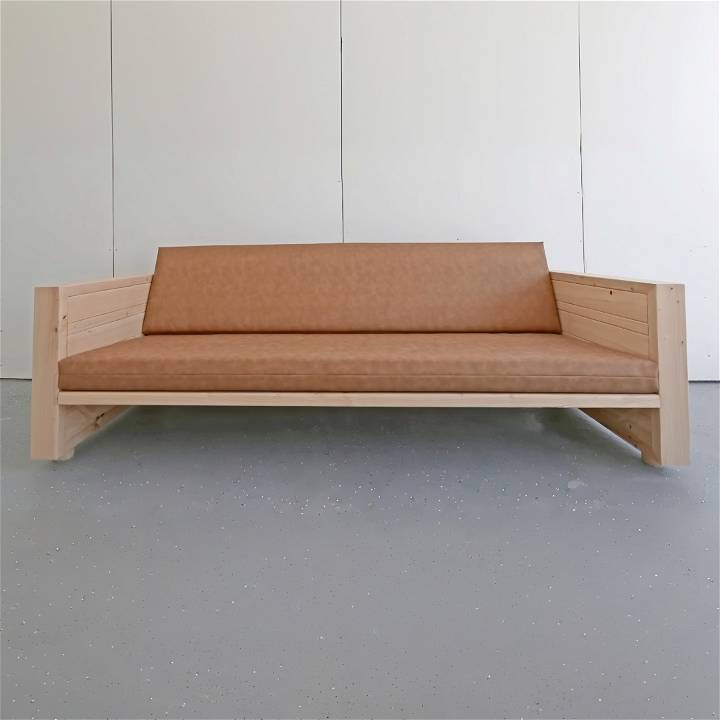
The first step in building my sofa was to build two identical side panels. I began by selecting the nicest looking 2x4s from my stock, aiming for pieces without too many knots for a cleaner look. I needed to cut 14 pieces to 25 inches long, a task made easier with my circular saw and speed square. Assembling these panels required alternating the boards on their edges and faces, making an attractive, textured look. A crucial tip is to cut a mitered frame around the panel at a 45-degree angle, ensuring a perfect fit by sneaking up to the cut gradually.
Glue-Up and Cleaning
Gluing the pieces together requires patience and precision. Excess glue can be challenging to remove from the rounded edges of 2x4s, so I applied just enough to bond without excessive squeeze-out. Using clamps, I ensured that the panel was square and let it dry overnight for maximum strength.
Building a Strong Foundation
After the side panels were ready, I focused on the base structure. Given the weight it would need to support, I opted for a glue-up method that, while not accounting for wood expansion, promised strength in the dry desert climate of my workshop. This decision was informed by my prior experiences and the specific environmental conditions of my area.
Adding the Details
With the structure taking shape, I meticulously sanded down every piece to ensure a smooth finish, which is crucial for the final look and feel of the sofa. The next significant steps involved laying out the placement for the cushions, cutting custom brackets for the horizontal 2x4 slats, and assembling it all. A key takeaway here is the importance of measuring twice and cutting once, especially when working with angles and custom pieces.
Finishing Touches
After assembling the frame and adding the slats, I selected cushions that would ensure comfort and enhance the sofa's modern aesthetic. The choice of vegan leather cushions added a pop of color, contrasting nicely with the wood's natural tone. To elevate the sofa slightly off the ground, I fashioned legs from the same 2x4 material, giving it a floating appearance. Finally, a coat of water-based polyurethane sealed the wood, protecting it from wear and enhancing its natural beauty.
Customization Ideas for Your DIY Couch
Building a DIY couch gives you the freedom to tailor it to your personal style and needs. Here are some customization ideas that can help you make a couch that's uniquely yours:
- Choose Your Style: Start by deciding on the overall style of your couch. Do you prefer a modern look, or are you more inclined towards a rustic or vintage aesthetic? Your style choice will guide the design elements and materials you select.
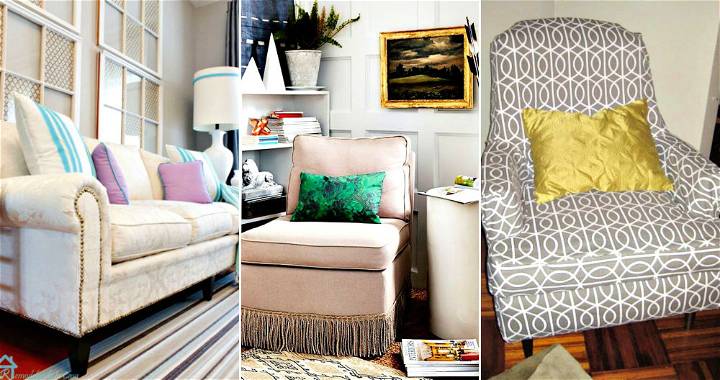
- Select a Color Scheme: Color can dramatically affect the look and feel of your couch. Consider a scheme that complements your room or go bold with contrasting colors for a statement piece. Remember, you can always change the color later with new upholstery or slipcovers.
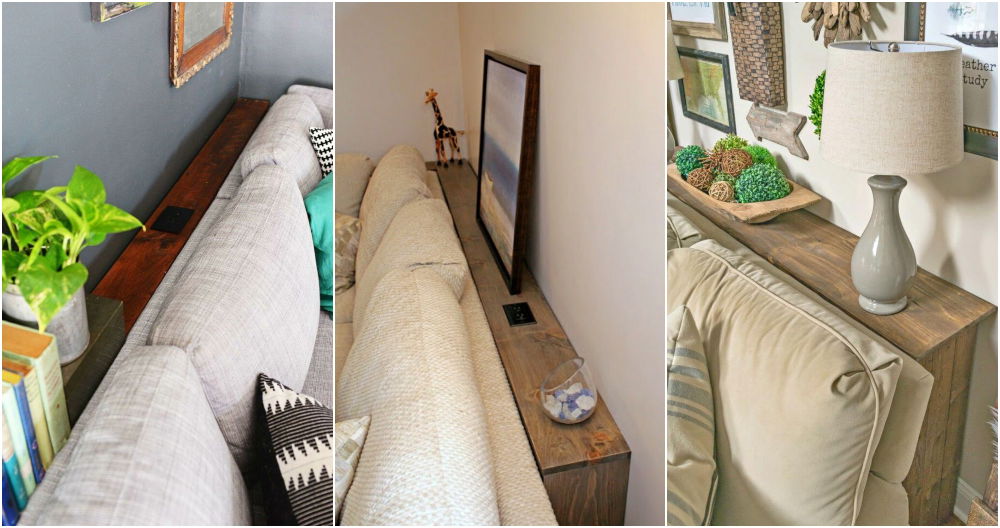
- Add Functional Features: Think about what functionalities can enhance your couch. Would you like it to convert into a bed? Perhaps you'd like to include built-in storage for blankets and pillows? Tailor these features to suit your lifestyle.
- Personalize with Patterns: If you're using fabric, choose a pattern that reflects your personality. Geometric shapes can offer a modern touch, while floral patterns can add a classic feel.
- Incorporate Textures: Mixing textures can add depth to your couch. Combine smooth, plush fabrics with rougher materials like burlap for an interesting tactile experience.
- Accessorize: Pillows, throws, and slipcovers are not only functional but also an easy way to update the look of your couch. They're also perfect for adding seasonal touches to your living space.
- DIY Details: Embellish your couch with handcrafted details. This could be anything from tufted buttons to hand-stitched trim. These small touches can make a big impact.
Troubleshooting Common Issues
When embarking on a DIY couch project, you might encounter a few hiccups along the way. Here's a guide to help you troubleshoot some common issues you may face.
Problem: Uneven Legs
- Symptoms: Your couch wobbles or doesn't sit flat on the ground.
- Solution: Check each leg for uniform length. Adjust as necessary by trimming or adding shims. Ensure all joints are securely fastened.
Problem: Weak Joints
- Symptoms: The frame feels unstable or creaks under weight.
- Solution: Reinforce joints with corner brackets or additional screws. Use wood glue for a stronger bond.
Problem: Sagging Seat
- Symptoms: The couch seat dips or sags when you sit.
- Solution: Add more support slats underneath the seat. Consider using a thicker foam or additional cushioning.
Problem: Fabric Puckering
- Symptoms: The upholstery fabric is not smooth and has wrinkles.
- Solution: Pull the fabric taut and re-staple it. Work from the center outwards to avoid puckering.
Problem: Stiff Cushions
- Symptoms: The cushions are too firm and uncomfortable.
- Solution: Replace the foam with a lower-density option. Add a layer of batting for a softer feel.
Conclusion
This DIY modern sofa project was a fulfilling and enlightening experience. From selecting materials to the final polish, each step taught me more about woodworking and design. The most rewarding part was seeing the pieces come together into a functional, stylish piece of furniture that I made from scratch.
To those looking to undertake a similar project, I'd say: go for it. With patience, the right tools, and attention to detail, you can build something truly unique for your home. Remember to customize your project to fit your style, space, and needs. And most importantly, enjoy the process of building.


