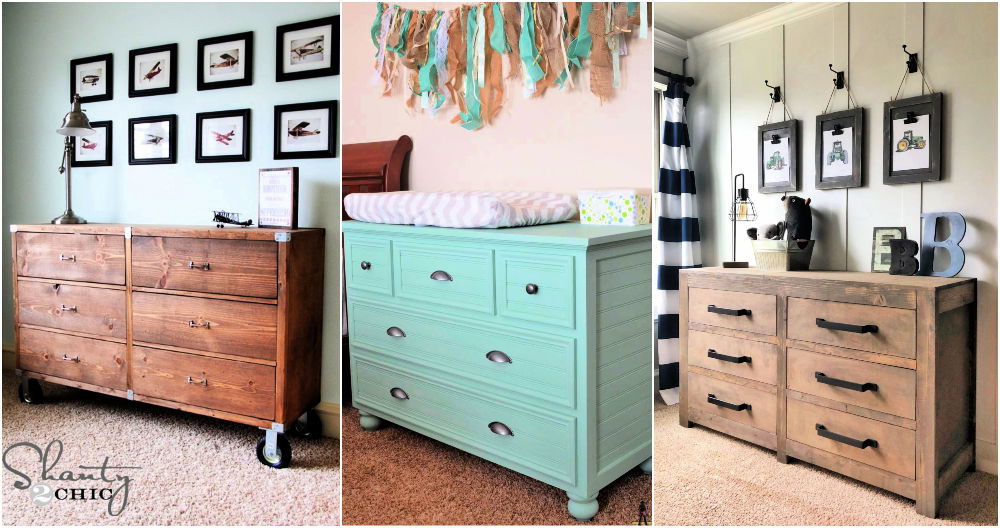
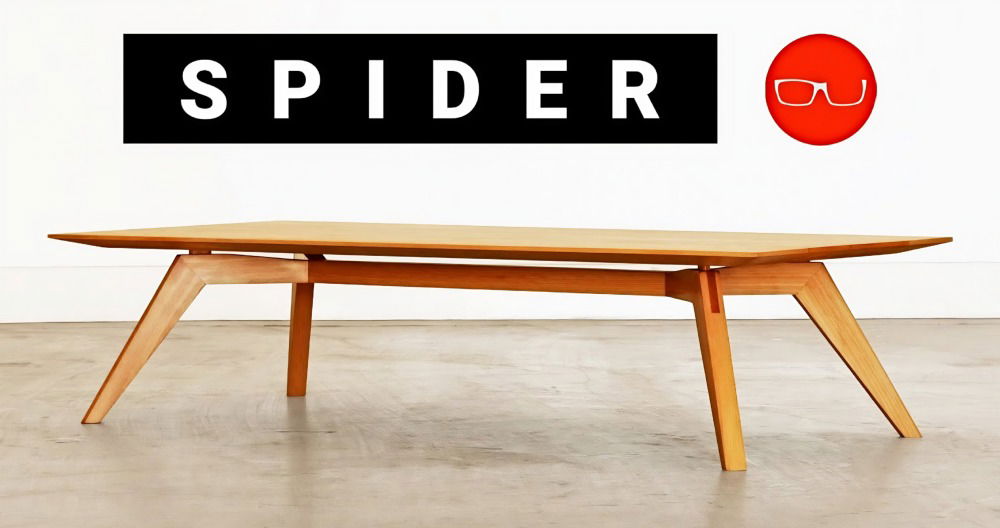
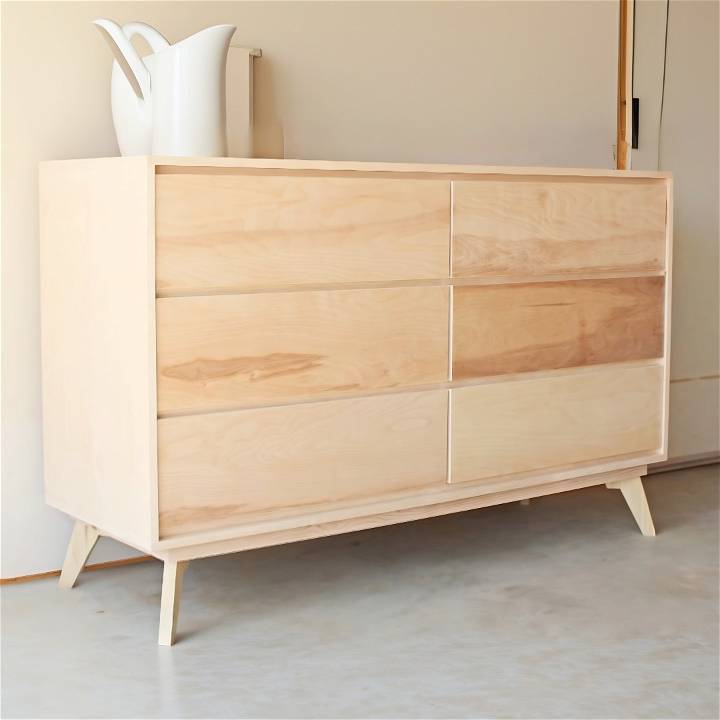
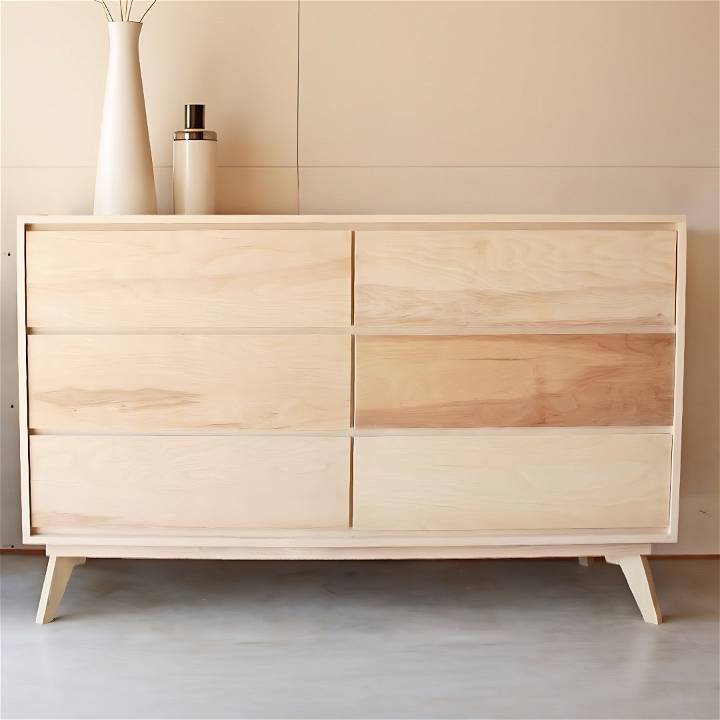
Hello fellow DIY enthusiasts! Today, I'm thrilled to share my journey of crafting a mid-century modern DIY dresser from the humble beginnings of 2x4s and plywood, a testament to the idea that beautiful furniture can emerge from simple materials. This project not only enriched my DIY experience but also allowed me to flex my creative muscles in woodworking. Let's dive into the step-by-step process, ensuring that you can replicate this project with confidence and creativity.
Understanding the Materials
- Plywood and 2x4s: The core of this dresser is built from these materials. Plywood offers a sturdy, uniform base for the dresser body and drawers, while 2x4s provide robust support for the structure. I opted for birch plywood for its smooth grain and overall durability, ideally suited for furniture that sees daily use.
- Edge Banding: This material is crucial for giving the plywood edges a finished look. It covers the layered sides, providing a seamless appearance essential for a mid-century modern aesthetic.
- Pocket Holes and Screws: Essential for joining the pieces together. Pocket holes build strong joints that are also aesthetically pleasing since they're hidden from view.
- Drawer Slides: These are critical for smooth drawer function. Opt for quality slides to ensure longevity and ease of use.
- Sandpaper, Wood Glue, and Finishing Supplies: Sanding ensures a smooth finish, while wood glue reinforces the structural integrity. Finishing supplies like stain or paint will depend on your desired look.
Step by Step Instructions
Learn how to build a DIY dresser with our step by step instructions. Make the perfect piece of furniture for your home with ease.
Step 1: Cutting the Plywood
I started by cutting the plywood into panels for the dresser's body and drawers. Accuracy is key here to ensure all parts fit perfectly. A circular saw was my tool of choice for making precise cuts, guided by a straight edge for straightness.
Step 2: Applying Edge Banding
Once the pieces were cut, I applied edge banding to all exposed plywood edges. This step is transformative, turning raw plywood edges into smooth, furniture-quality finishes. An ordinary iron is all it takes to adhere the banding, followed by sanding for a smooth touch.
Step 3: Assembling the Dresser Body
With pocket holes and screws, I joined the top, bottom, and side panels, ensuring to apply wood glue for extra strength. The process was straightforward but required attention to ensure everything was square and aligned.
Step 4: Dividers and Drawer Slides
Installing a middle divider and drawer dividers gave the dresser its internal structure, essential for organizing the drawers. Mounting the drawer slides accurately was crucial for the drawers to operate smoothly, with each set meticulously measured to align perfectly.
Step 5: Crafting the Drawers
The drawers were next, assembled from plywood with dados cut for the bottoms. Each drawer was built with care, ensuring they fit snugly within the dresser frame. Building drawers is rewarding, offering a glimpse of the dresser taking shape.
Step 6: Attaching the Drawer Fronts
After ensuring the drawers operated smoothly, I attached the fronts. This step required precision to maintain uniform gaps between drawers, crucial for the dresser's overall appearance. Temporary screws from the inside out helped adjust the fronts before final attachment.
Step 7: Constructing the Base
The dresser's base, built from 2x4s and scrap wood for the legs, provided sturdy support with a nod to the mid-century modern style. Each leg was cut, sanded, and attached at an angle, grounding the dresser in its iconic design aesthetic.
Step 8: Final Assembly and Finishing Touches
With the structure complete, final touches like sanding the entire piece, attaching the backing, and applying finish transformed the raw wood into a polished piece of furniture. The choice of finish, whether stain or paint, offered a personal touch to the project.
Lessons Learned and Tips
- Patience is Key: The most intricate steps require calm and patience. Take your time with measurements and cuts to ensure precision.
- Creative Solutions: Using scraps or repurposing parts from other projects can not only save money but add unique character to your dresser.
- Personalization: This project is a template. Feel free to tweak dimensions, add details, or choose a finish that matches your style.
Creative Customization Ideas for Your DIY Dresser
When it comes to crafting a one-of-a-kind DIY dresser, the possibilities are endless! Personalizing your dresser not only adds character but also ensures it perfectly complements your space. Here are some creative customization ideas to elevate your DIY dresser project:
1. Distinctive Drawer Fronts
Make a statement with unique drawer fronts. Consider the following options:
- Geometric Patterns: Paint or stain drawer fronts with geometric shapes like triangles, hexagons, or chevrons. Use painter's tape to build crisp lines.
- Wood Inlays: Add elegance by incorporating wood inlays. Arrange thin strips of contrasting wood in intricate patterns on the drawer fronts.
- Fabric Inserts: Attach fabric panels to the front of drawers using adhesive or upholstery tacks. Choose fabrics that match your room's color scheme.
2. Eye-Catching Hardware
The knobs and pulls you choose can transform the entire look of your dresser:
- Vintage Knobs: Hunt for antique knobs at flea markets or thrift stores. These can instantly give your dresser a charming, nostalgic vibe.
- Leather Pulls: Wrap leather strips around existing pulls or build leather handles. Leather adds warmth and texture.
- Crystal or Glass Knobs: For a touch of elegance, opt for crystal or glass knobs. They catch the light beautifully.
3. Playful Paint and Stain
Color is your best friend when customizing a dresser:
- Ombre Effect: Gradually transition from one color to another using an ombre technique. Start with a light base and blend into a darker shade.
- Two-Tone Magic: Paint the body of the dresser one color and the drawers another. Choose complementary hues for a harmonious contrast.
- Weathered Look: Apply a distressed finish using sandpaper or a wire brush. This rustic effect works well with farmhouse or shabby chic styles.
4. Decorative Decals and Stencils
Add flair with decorative designs:
- Decals: Apply peel-and-stick decals featuring flowers, birds, or abstract patterns. They're easy to use and come in various styles.
- Stencils: Use stencils to build intricate designs on the dresser surface. Stencil motifs like damask, Moroccan tiles, or botanicals.
5. Faux Drawer Dividers
Build the illusion of separate drawers:
- Painted Dividers: Paint vertical lines on the dresser front to mimic individual drawer sections. It's a clever way to add visual interest.
- Thin Wood Strips: Attach thin wood strips vertically between drawers. Stain them to match the dresser or choose a contrasting color.
Remember, the key to successful customization is to balance creativity with functionality. Ensure that your DIY dresser remains practical and serves its purpose while reflecting your personal style.
FAQs About DIY Dressers
Learn all you need to know about DIY dressers with our comprehensive FAQ guide. Get tips, ideas, and inspiration for your next furniture project.
1. Why should I consider building my own dresser?
Building your own dresser offers several benefits:
- Cost-Effective: It can be significantly cheaper than buying a pre-made one. You control the budget by selecting materials that fit your finances.
- Customization: You have the freedom to tailor it to your exact needs and preferences—whether it's size, color, or style.
- Quality Control: Crafting your own furniture ensures a sturdy and durable dresser.
- Skill Development: Taking on a dresser-building project enhances your woodworking skills.
- Personal Satisfaction: It's not just furniture; it's a personal achievement.
- Eco-Friendly: DIY projects allow you to use sustainable materials or repurpose wood.
2. How do I transform an old dresser into a bathroom vanity?
Our step-by-step guide covers tools needed and how to install a wash basin correctly.
3. What's a straightforward plan for building a simple dresser?
The Family Handyman provides a simple dresser-building plan suitable for beginners and experienced woodworkers alike.
4. How can I build a dresser using Kreg Tool's tutorial?
Kreg Tool offers detailed instructions, including inserting furniture feet and making foot braces.
Building your own dresser allows you to build something practical and stylish while enjoying the process!
Conclusion
Building this mid-century modern dresser was a journey filled with learning, challenges, and ultimately, immense satisfaction. It's a testament to the power of DIY and the beauty that can be buildd from simple materials like plywood and 2x4s. Whether you're a seasoned woodworker or a beginner eager to tackle a new project, I hope this guide inspires you to build, build, and make something uniquely yours. Remember, the process is just as rewarding as the final product.


