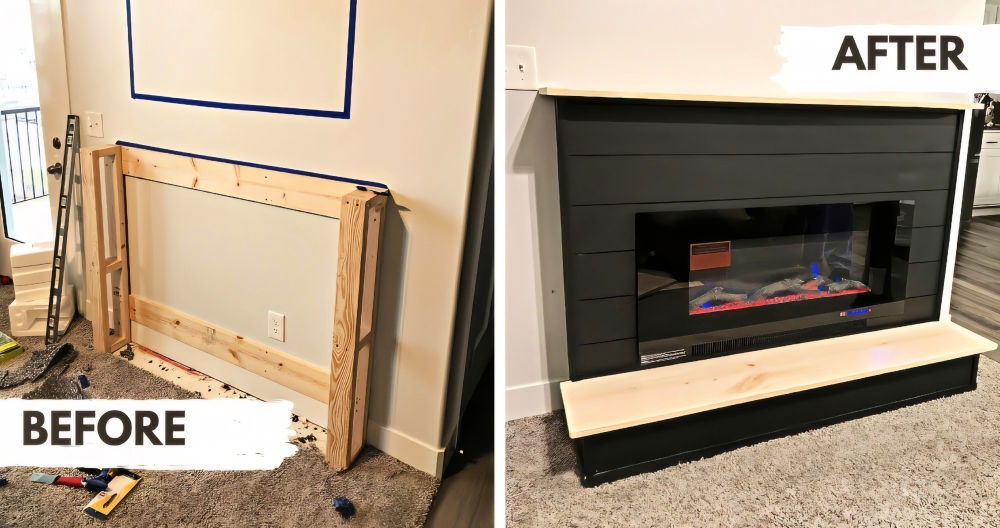
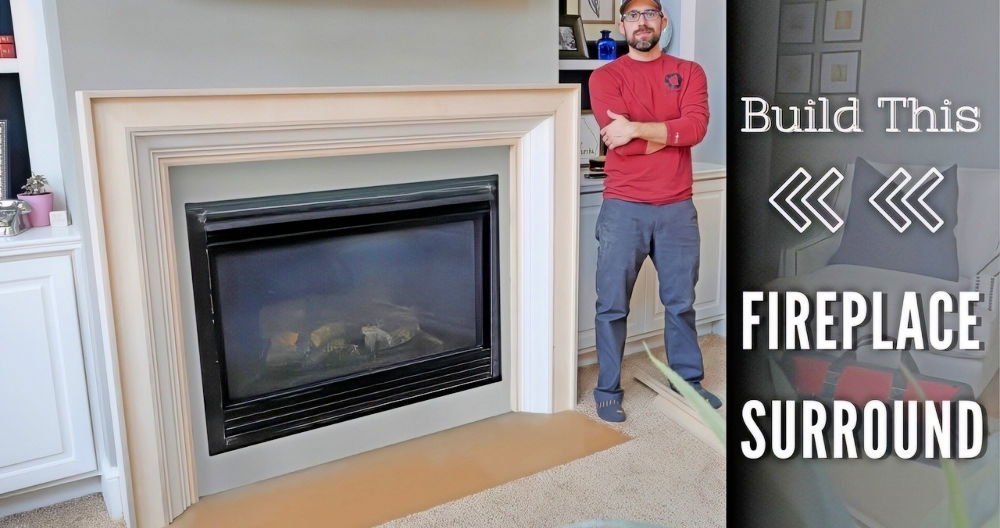
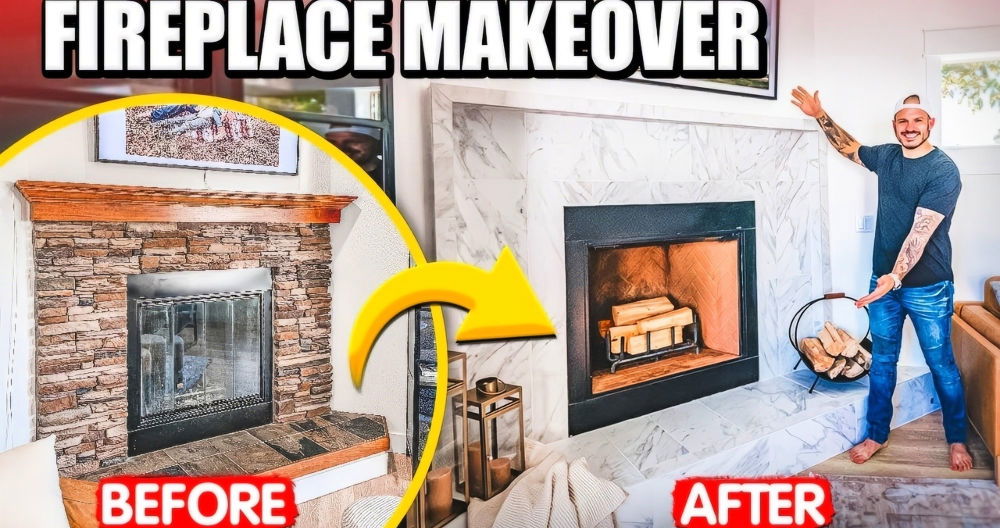
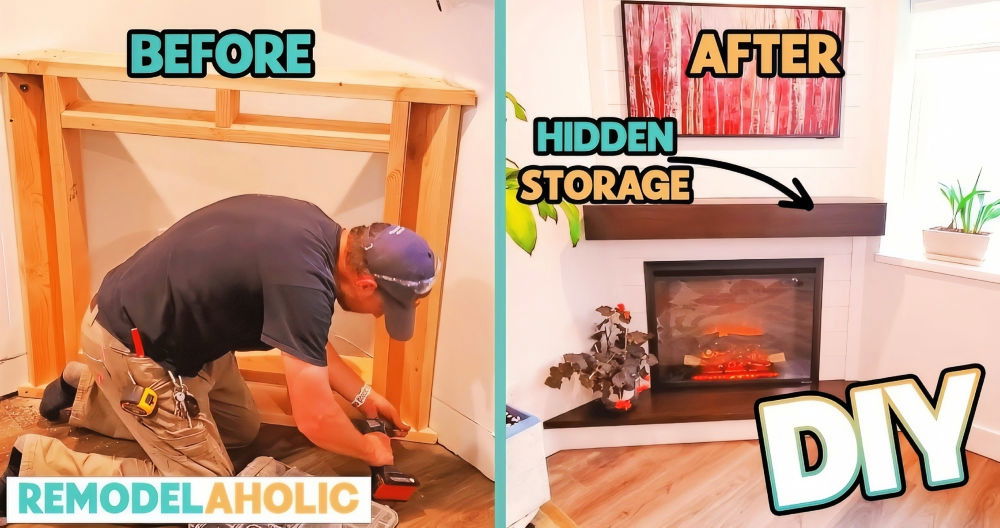
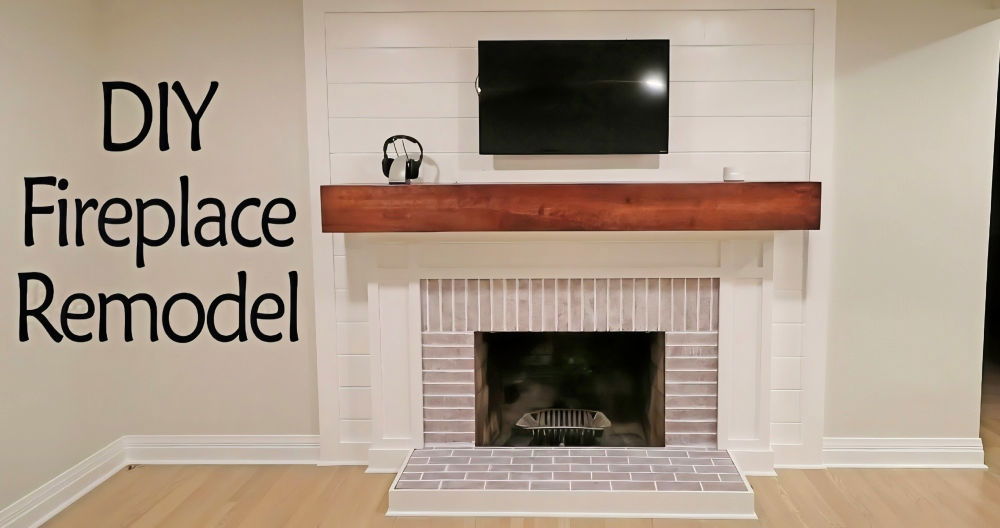
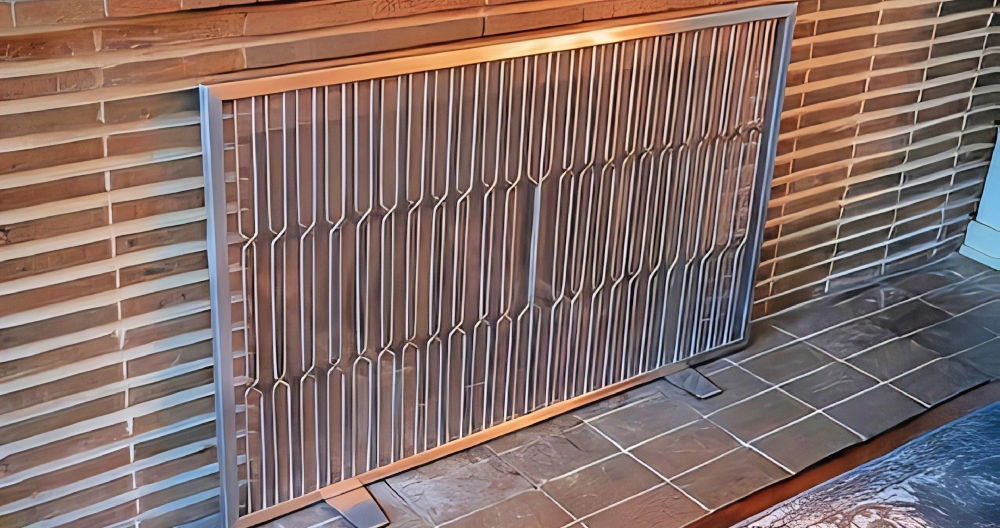
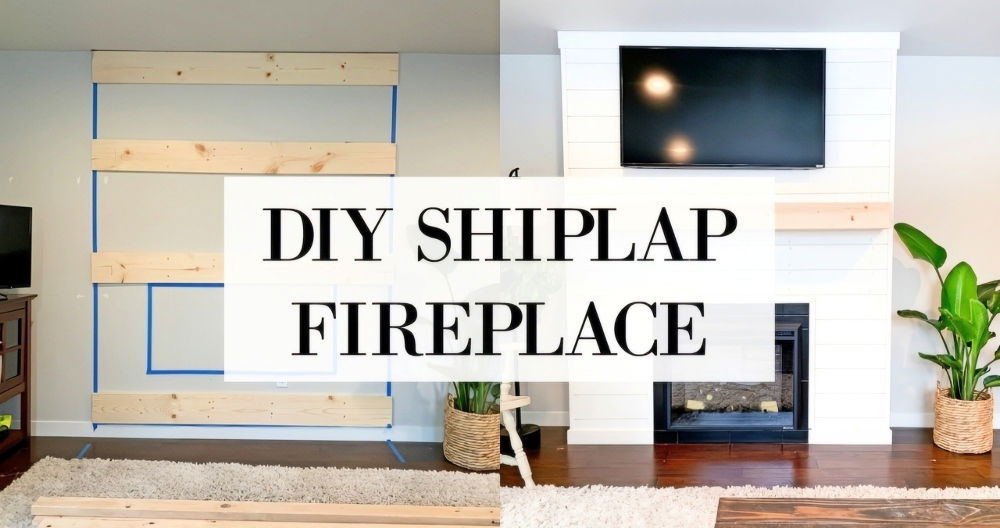
A fireplace serves as a beautiful and functional centerpiece for any home. Whether you want a cozy spot for winter nights or an aesthetically pleasing feature, building a DIY fireplace can seem like a daunting project. However, with the right approach and tools, it's easier than you might think! This guide breaks down the process of building a ventless gas fireplace with a hearth and a wrap-around mantle.
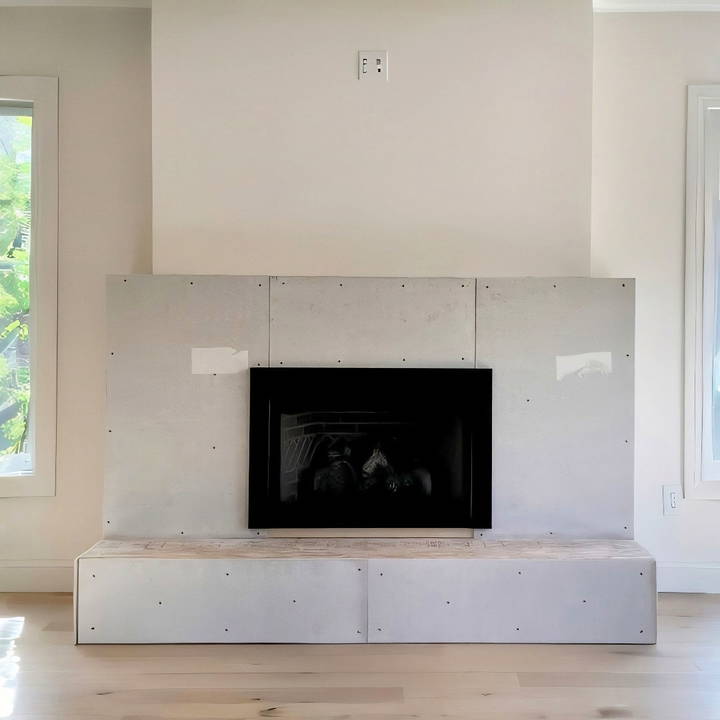
Overview of the Fireplace Construction
Before diving into the construction process, it's important to understand the fireplace structure. This build is divided into three main sections:
- Base Section: Forms the hearth and the foundation for the fireplace.
- Middle Section: Houses the fireplace insert and connects to the base.
- Top Section: Designed for aesthetic appeal and functionality, often recessed to accommodate a mantle.
Step by Step Instructions
Learn how to build a fireplace, from preparation to installation, with step-by-step guidance, expert tips, and maintenance advice for lasting results.
Step 1: Preparing the Space
Prepare your space for a fireplace installation with expert tips on design, safety, and style for a cozy and functional setup.
Assessing the Room
- If you're rebuilding a fireplace, inspect the area for any damages. For instance, the homeowner in our project had to tear out the original fireplace after a flood, leaving a blank slate to work with.
- Consider the new design and layout to enhance the room's aesthetics.
Closing Old Holes and Setting Up the Gas Line
- If the previous fireplace had a gas line, you might need to extend or reposition it. Mark the exact location for the new gas inlet based on the fireplace unit specifications.
- Use Teflon tape and pipe dope to seal the gas line connections securely. Always test for leaks using soapy water to ensure safety.
Step 2: Constructing the Base
The base acts as the foundation for the fireplace, so it needs to be sturdy and perfectly level.
Materials and Tools
- Materials: 2x12 construction-grade lumber, screws, and plywood.
- Tools: Miter saw, stud finder, and drill driver.
Steps
- Cut and Assemble the Lumber: Use a miter saw to cut the lumber into appropriately sized pieces.
- Pre-start screws in the boards to simplify assembly.
- Build the Frame: Assemble the base frame by securing joists between the front and back boards. Treat this process similarly to framing a floor for stability.
- Position the Gas Line: Drill a hole in the base to accommodate the gas line.
- Place the gas line through the hole and ensure it's accessible for the next steps.
- Secure and Level the Base: Use shims to level the base perfectly. An uneven base can lead to structural issues later.
- Secure the base to the wall using screws, ensuring you hit a stud for maximum support.
- Add Plywood: Cut plywood to size and secure it on top of the base. This surface will later hold the hearth material.
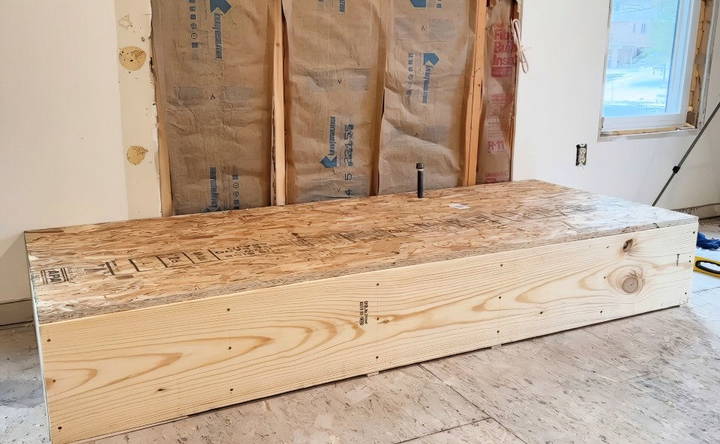
Step 3: Framing the Middle Section
The middle section houses the fireplace unit and connects the base to the top section.
Materials and Tools
- Materials: 2x4 lumber for framing, 2x6 lumber for headers, screws, and plywood.
- Tools: Circular saw, level, and drill driver.
Steps
- Build the Frame: Construct a front wall and two side walls to build the middle section. Use 2x4 lumber for most of the frame and 2x6 lumber for the header above the fireplace opening.
- Refer to the fireplace manual for exact dimensions, ensuring the opening is suitable for the insert.
- Assemble the Middle Section: Mark reference lines on the base to align the side walls. Secure these walls to the base and the back wall.
- Position the front wall and adjust for alignment. Ensure all parts are square before fastening them.
- Install Plywood: Similar to the base, add a layer of plywood on top of the middle section for added stability.
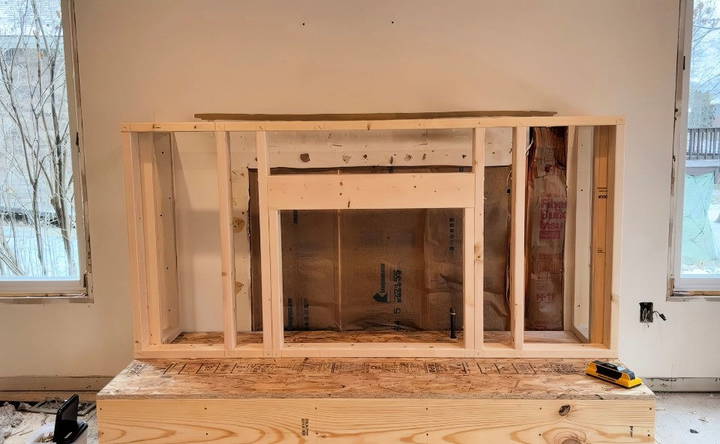
Step 4: Framing the Top Section
The top section adds height and provides space for mounting additional features, like a mantle or TV.
Materials and Tools
- Materials: 2x4 lumber for framing, screws.
- Tools: Circular saw, level, and stud finder.
Steps
- Build the Frame: Assemble the top section with sidewalls and a front wall. This section is recessed slightly to accommodate a mantle.
- Secure the Frame: Attach the top section to the ceiling and the middle section below it. Use screws and ensure the structure is stable.
- Run Electrical Wiring (Optional): If you plan to mount a TV or other devices above the fireplace, run electrical wiring during this stage.
- Ensure you comply with electrical safety standards or consult a licensed electrician if needed.
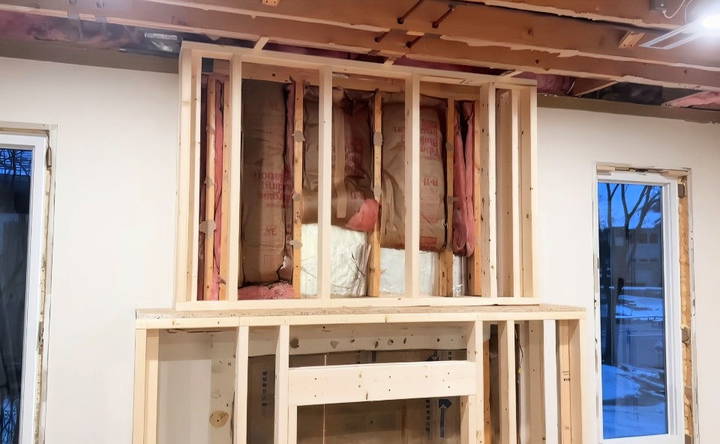
Step 5: Installing the Fireplace Insert
With the framing complete, it's time to install the fireplace unit.
Steps
- Position the Fireplace: Slide the fireplace insert into the opening. Ensure it fits snugly.
- Connect the Gas Line: Hook up the gas line to the fireplace and test for leaks using the soapy water method.
- Add Finishing Touches: Secure any additional components, such as decorative surrounds provided with the unit.
Step 6: Finishing the Build
The final steps focus on aesthetics and preparing the fireplace for use.
- Installing Backer Board: Use Hardy Board or cement board as a base for cultured stone or other finish materials.
- Cut the board to size and secure it using screws designed for this material.
- Adding a Mantle and Hearth: The mantle and hearth add charm to the fireplace. Choose materials that match your room's décor.
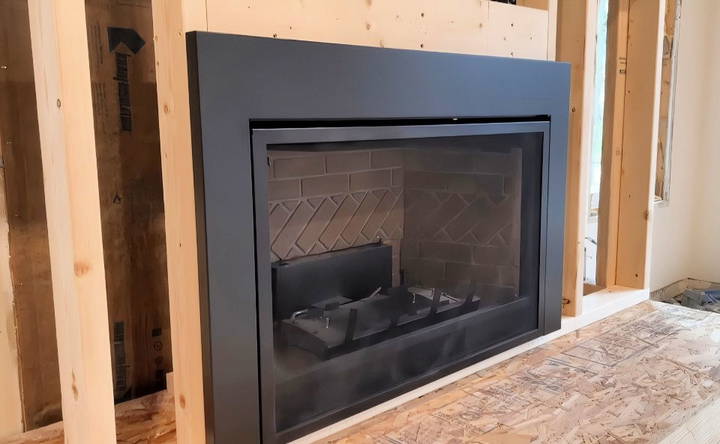
Follow the manufacturer's instructions for mounting these elements.
Step 7: Adding the Finishing Touches
Add the finishing touches to your space by installing cultured stone, enhancing beauty, durability, and value with a stylish, natural look.
Installing Cultured Stone (Optional)
A cultured stone finish provides a rustic and elegant look to your fireplace. Though the installation process wasn't covered in the original guide's example, here are the general steps if you choose to add this feature:
Materials and Tools
- Materials: Cultured stone panels, mortar, and grout.
- Tools: Trowel, scoring knife, level, and wet saw (if cutting stone panels).
Steps
- Prepare the Surface: Ensure the backer board is clean and securely fastened.
- Apply a bonding adhesive to the board if required by the manufacturer.
- Apply Mortar: Use a trowel to spread a layer of mortar onto the backer board.
- Work in small sections to prevent the mortar from drying out before you attach the stone.
- Attach the Stone: Press the cultured stone pieces into the mortar, starting from the bottom and working upward.
- Use spacers if needed to maintain consistent gaps between the stones.
- Grout the Gaps: Fill the spaces between stones with grout, using a grout bag for precision.
- Wipe off excess grout with a damp sponge.
- Allow to Set: Let the mortar and grout cure as per the manufacturer's instructions before using the fireplace.
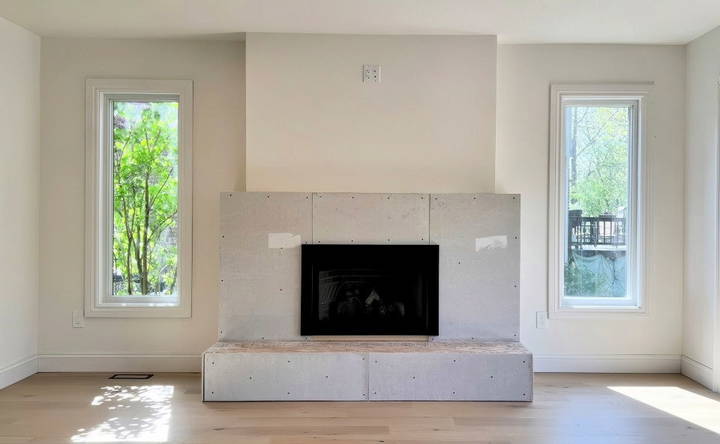
Installing a Hearth and Mantle
The hearth and mantle enhance the fireplace's aesthetic appeal and functionality. Here's how to approach this step:
Materials and Tools
- Materials: Hearth stone or tiles, wood or stone for the mantle.
- Tools: Adhesive, level, saw (if customizing the mantle).
Steps
- Install the Hearth: Measure the hearth area and cut the material to fit.
- Secure the hearth material to the base using adhesive or mortar.
- Check for level alignment to ensure an even surface.
- Attach the Mantle: For a wrap-around mantle, secure the frame to the top section using screws or brackets.
- Ensure the mantle is aligned and level before finalizing the installation.
Step 8: Electrical and TV Mounting (Optional)
If your fireplace design includes mounting a TV or other electronic components, this step is crucial.
Running Cables and Mounting the TV
- Drill Access Holes: Drill through the backer board and drywall to run electrical and HDMI cables.
- Use conduit or protective tubing to keep cables organized.
- Install Power Outlets: If not already installed, add an electrical outlet above the fireplace for powering your TV.
- Consider an Ethernet line for smart TVs or streaming devices.
- Mount the TV: Attach the mounting bracket to the wall, ensuring it's securely fastened into studs.
- Follow the TV mount manufacturer's instructions for safety.
Step 9: Testing and Safety Checks
Safety is paramount when working with gas appliances. Before using your fireplace, conduct these final checks:
- Gas Line Inspection: Use the soapy water method to check all joints and connections for leaks.
- If you detect a leak, turn off the gas immediately and consult a professional.
- Electrical Safety: Verify that all electrical outlets and wiring are functioning correctly.
- Ensure there are no exposed wires or loose connections.
- Ventilation and Heat Testing: Although this build uses a ventless gas fireplace, ensure adequate room ventilation.
- Test the fireplace for proper heat output and flame consistency.
Step 10: Maintaining Your Fireplace
Proper maintenance ensures the longevity and safety of your fireplace.
Regular Cleaning
- Glass Doors: Wipe down with a glass cleaner designed for fireplaces to prevent soot buildup.
- Burner Assembly: Check for and clean any debris that may obstruct the gas flow.
Gas Line Checks
- Inspect the gas line periodically for leaks or damage.
- Tighten any loose connections, and replace worn-out components.
Stone and Mantle Care
- For cultured stone, avoid abrasive cleaners to maintain its finish.
- Dust and polish the mantle regularly to preserve its appearance.
Troubleshooting Common Issues
Even with a well-executed build, you might encounter occasional issues. Here are some tips to address them:
- Uneven Flame or Inconsistent Heating: Check the gas line for obstructions and clean the burner ports. If the problem persists, consult the fireplace's manual or a professional.
- Gas Odor: Turn off the gas supply immediately and contact a licensed technician. Never attempt to fix a significant gas issue yourself.
- Drafts or Poor Insulation: Ensure the backer board and base are well-sealed. Consider adding weatherproofing materials around the fireplace opening.
Step 11: Enhancing the Fireplace Area
Make the fireplace the focal point of your living room with these decorative ideas:
- Surround and Accent Wall: Use materials like shiplap, reclaimed wood, or ceramic tiles to build a stylish surround or accent wall.
- Built-In Shelving: Add shelves on either side of the fireplace to display books, plants, or décor items.
- Lighting Install recessed lighting or LED strips around the mantle to highlight the fireplace's features.
Conclusion:
Building a fireplace may seem like a complex project, but by breaking it down into manageable steps, you can build a stunning centerpiece for your home. From constructing the base to adding finishing touches, each stage plays a critical role in ensuring a safe, functional, and visually appealing fireplace.
Whether you're an experienced DIYer or a first-time builder, this guide provides all the tools and knowledge you need to succeed. With patience and attention to detail, you'll soon enjoy the warmth and charm of your custom-built fireplace.
FAQs About Building a Fireplace
Find answers to common FAQs about building a fireplace, from design ideas to safety tips and installation advice for your perfect hearth.
Always use Teflon tape specifically designed for gas lines, often yellow in color. It’s different from plumber’s tape used for water pipes and ensures a proper seal for natural gas, propane, or butane connections.
No, it’s not recommended to build a fireplace directly on carpet. Cut the carpet out in the area where the fireplace base will sit to ensure stability and proper leveling.
Use a soapy water solution to spray over the gas line joints. If bubbles form, it indicates a leak that needs to be fixed. Always test before enclosing any gas line behind walls or panels.
The hearth in this build measures 12 inches in height and 15 inches in depth. These dimensions may increase if you add stone or other finishing materials.
No, it’s not advisable to run electrical and low-voltage/communication lines in the same box due to interference issues. Use separate boxes or combination boxes designed for this purpose.
If a shutoff valve is buried, ensure there's an alternative, accessible shutoff. Alternatively, you can build an access panel for maintenance and emergencies.
Secure gas lines with proper bracing to prevent movement. This is essential for safety and compliance with building codes.
Ventless fireplaces release exhaust gases, water vapor, and consume oxygen from the room. Always use them in well-ventilated areas, avoid prolonged use, and install a carbon monoxide detector for safety.
The joists in the base should be spaced 16 inches on center for structural stability. This spacing ensures even weight distribution.
A cement board scoring knife is the most efficient and dust-free tool for cutting. It ensures clean lines without building excessive debris.


