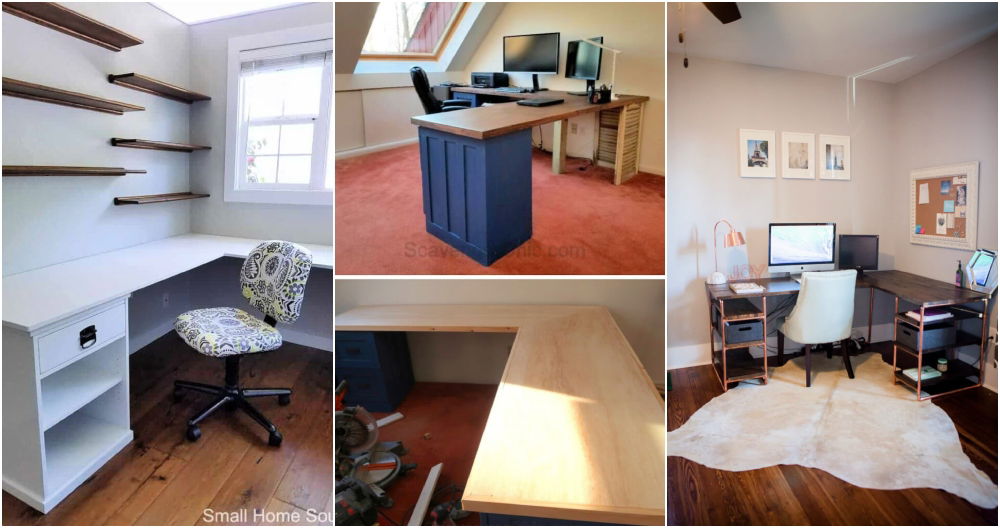
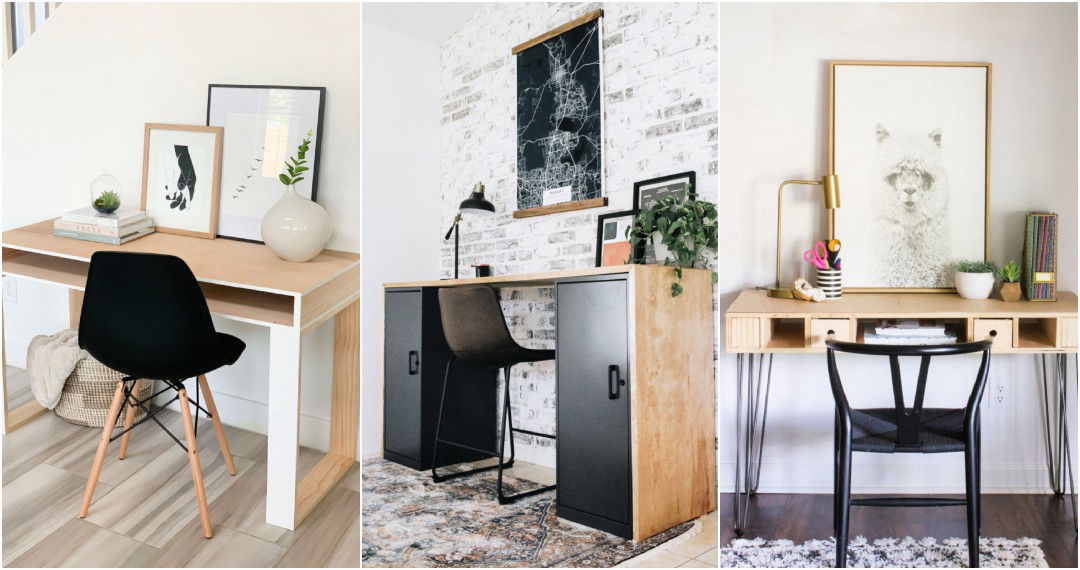
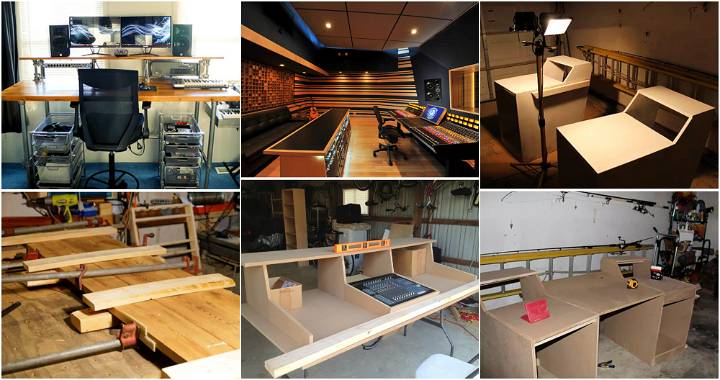
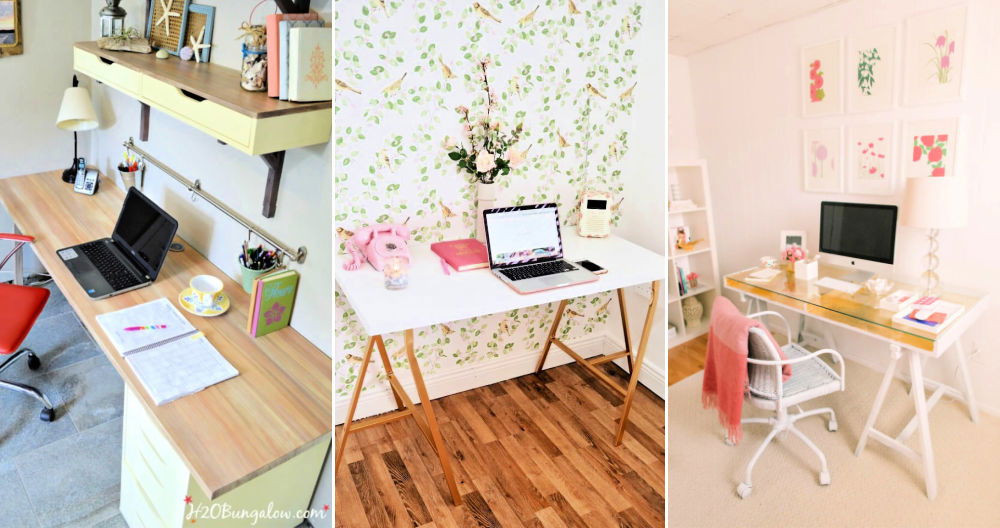
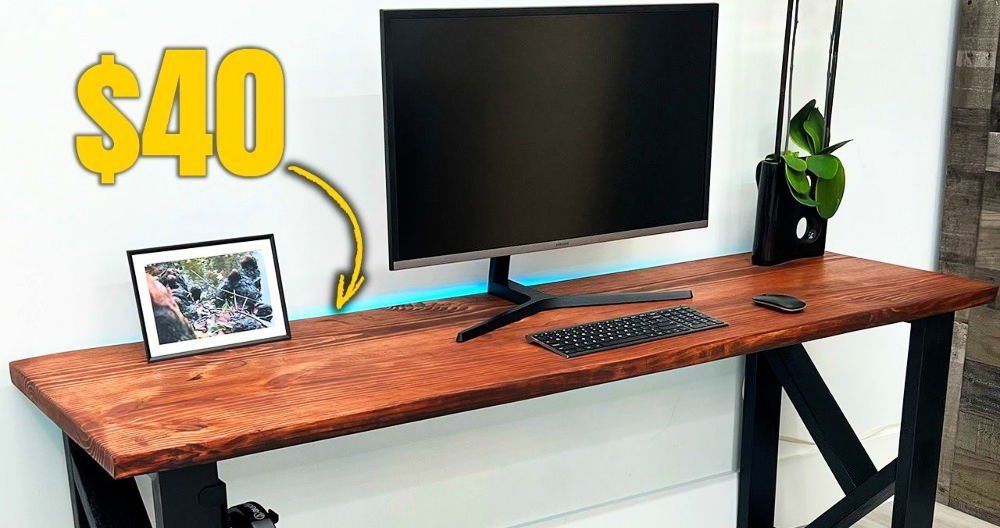
Building my custom standing desk was a personal project steeped in a mixture of excitement and nostalgia. Having been someone who dabbed into various DIY projects before gravitating towards my passion for cooking, this venture felt like revisiting old roots with a newfound purpose. The idea was not just to build a piece of furniture but to craft a workspace that embodied a blend of functionality, creativity, and personal touch. Here's a step-by-step guide on how I turned this vision into reality, and hopefully, it inspires you to embark on your custom project.
Drawing Inspiration
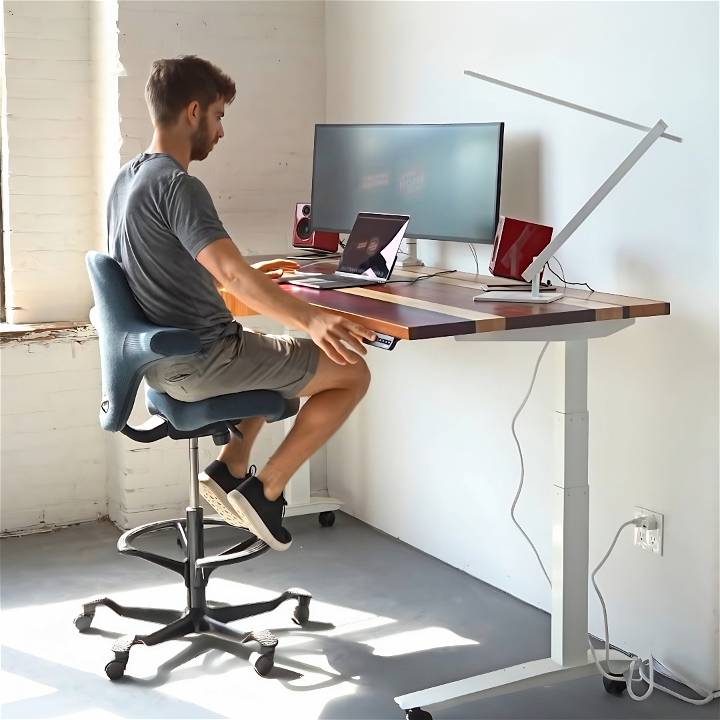
The journey began with a simple inspiration – a cutting board. Not any cutting board, but one that had been featured in many of my cooking videos, a creation of my dad's skilled craftsmanship. The beautiful, glued-together pieces of wood in their natural hues sparked the idea: Why not build a desktop featuring a similar design, but on a much grander scale?
Materials Needed and Their Purpose
To bring this concept to life, the primary material needed was wood. However, not just any wood. I sought out various types of lumber, each offering its unique color and grain to contribute to the desk's final look. The choice of wood was crucial, as it would not only determine the aesthetic appeal of the desk but also its durability and strength. Here's a breakdown of the essentials:
- Multiple types of lumber: The foundation of the desk's design, providing a spectrum of natural colors.
- Wood glue: To firmly bond the pieces together, ensuring a solid, unified top.
- Clamps: Critical for holding the wood pieces tightly while the glue dried.
- Finishing stain and sealant: To enhance the wood's natural beauty and protect the surface.
Step by Step Instructions
Follow our step-by-step instructions for a DIY standing desk. Learn how to select wood, design a pattern, glue, sand, and assemble for a personalized workspace.
Step 1: Selection of Wood
Selecting the right wood was an adventure in itself. A visit to the local lumberyard turned into a treasure hunt for the most distinct and vibrant pieces. Each selection was guided by the wood's natural color and grain pattern, envisioning how it would fit into the mosaic that would become the desk's top.
Step 2: Cutting and Preparing the Wood
Upon returning to my dad's workshop, each piece of lumber was measured, cut to length, and then cut into two-inch strips. This process required precision – a step where the vision started taking a tangible form. The strips were then planed down and sanded, making them ready for assembly.
Step 3: Designing the Pattern
Laying out the wood strips was akin to arranging pieces of a puzzle. This step wasn't rushed. I laid them out, adjusted, stepped back to ponder, and even left them overnight to ensure the final pattern felt just right – a testament to both spontaneity and contemplation.
Step 4: Gluing and Clamping
The assembly of the wood strips into a cohesive top was both critical and nerve-wracking. Liberal amounts of wood glue were applied, and then the clamps came into play, securing the strips tightly. This was left to set overnight, marking a significant milestone in the project.
Step 5: Final Touches – Sanding and Finishing
Once the glued pieces had formed a solid block, the top was planed to smooth out any unevenness, ensuring a flat surface. Sanding followed, transforming the rough assembly into a sleek, touchable piece. The finishing stain brought the wood's natural beauty to the forefront, while a sealant protected it from wear and tear.
Step 6: Assembly and Setup
The final step was to mount the custom-made top onto a standing desk frame I got from Fully. The frame was chosen for its durability and ability to support the weight of the heavy wooden top. The assembly was straightforward, though it required careful alignment to ensure the top was perfectly centered on the frame.
The Result
The completed standing desk was more than just a piece of furniture. It was a personal statement, a physical manifestation of creativity and functionality coming together. With its vibrant wood patterns and robust frame, it became the centerpiece of my studio, a source of inspiration, and, more practically, an ergonomic solution for the many hours spent editing videos.
Health Benefits and Risks of Using a Standing Desk
Discover the health benefits and risks of using a standing desk - from improved circulation to potential weight management, but beware of discomfort and incorrect posture. Find the right balance for optimal health.
1. The Advantages of Standing Desks
Standing desks have gained popularity due to their potential health benefits. Here's why incorporating a standing desk into your workspace can be advantageous:
a. Improved Circulation and Energy Levels
- Benefit: When you stand, blood flow improves, reducing the risk of blood pooling in your legs. This can help prevent discomfort and fatigue.
- Tip: Shift your weight from one leg to the other periodically to keep circulation active.
b. Reduced Sedentary Behavior
- Benefit: Standing encourages movement, preventing prolonged sitting. Sedentary lifestyles are associated with health issues like obesity, diabetes, and cardiovascular diseases.
- Tip: Alternate between sitting and standing throughout the day to maintain an active lifestyle.
c. Potential Weight Management
- Benefit: Standing burns more calories than sitting. Over time, this can contribute to weight management.
- Tip: Use a footrest or anti-fatigue mat to reduce pressure on your feet and legs.
2. The Risks to Be Aware Of
While standing desks offer benefits, they also come with potential risks. Here's what you should consider:
a. Discomfort and Fatigue
- Risk: Prolonged standing can lead to discomfort, especially if you're not used to it.
- Tip: Gradually increase standing time and listen to your body. Take breaks when needed.
b. Foot and Leg Issues
- Risk: Standing for extended periods may cause foot pain, swelling, or varicose veins.
- Tip: Invest in supportive footwear and consider using a footrest.
c. Incorrect Posture
- Risk: Poor posture while standing can strain your back, neck, and shoulders.
- Tip: Maintain a neutral spine, aligning your ears, shoulders, and hips.
3. Finding the Right Balance
- Recommendation: Aim for a balance between sitting and standing. Use an adjustable desk to switch positions.
- Tip: Set reminders to change your posture throughout the day.
Remember, there's no one-size-fits-all solution. Pay attention to your body, make adjustments, and build a standing desk setup that works best for you. Prioritize comfort, movement, and overall well-being!
FAQs About DIY Standing Desks
Get answers to all your questions about DIY standing desks. Learn how to build your own at home and improve your workspace with these helpful FAQs.
1. What Is a DIY Standing Desk?
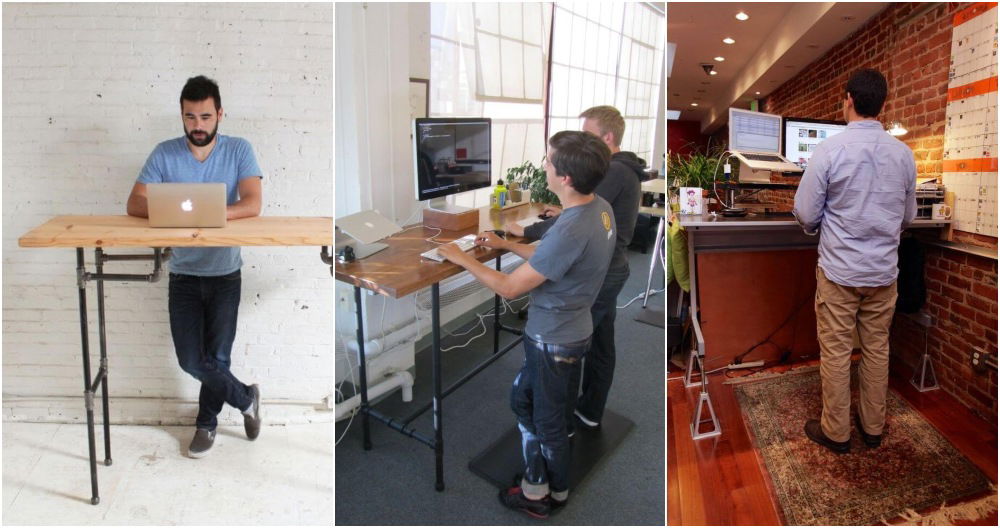
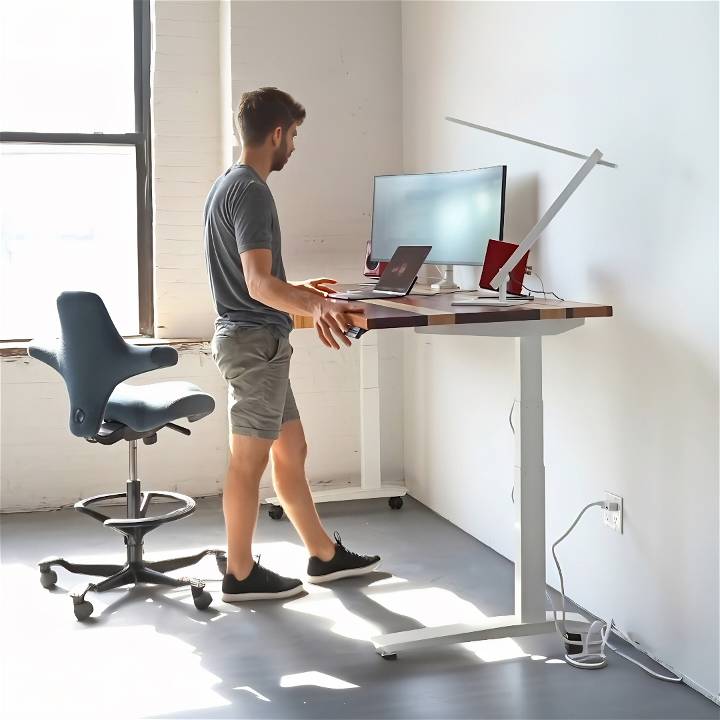
A DIY standing desk is a customized workspace that allows you to work while standing. Unlike traditional seated desks, these adjustable setups promote better posture, increased movement, and potential health benefits.
2. Why Should I Consider Building a DIY Standing Desk?
- Health Benefits: Standing desks can improve circulation, reduce sedentary behavior, and potentially aid in weight management.
- Cost Savings: Building your own desk can save money compared to buying a commercial standing desk.
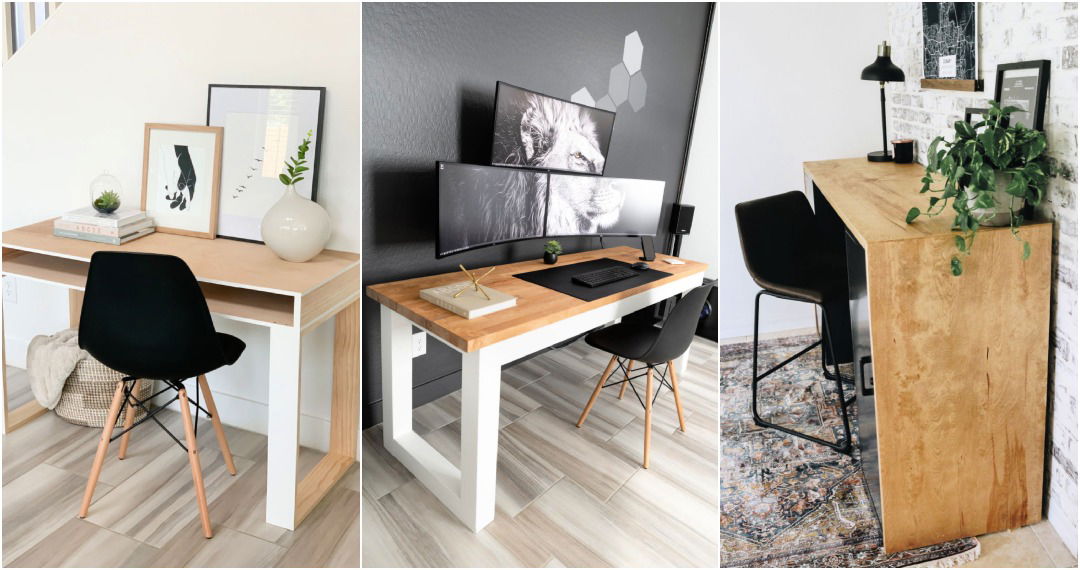
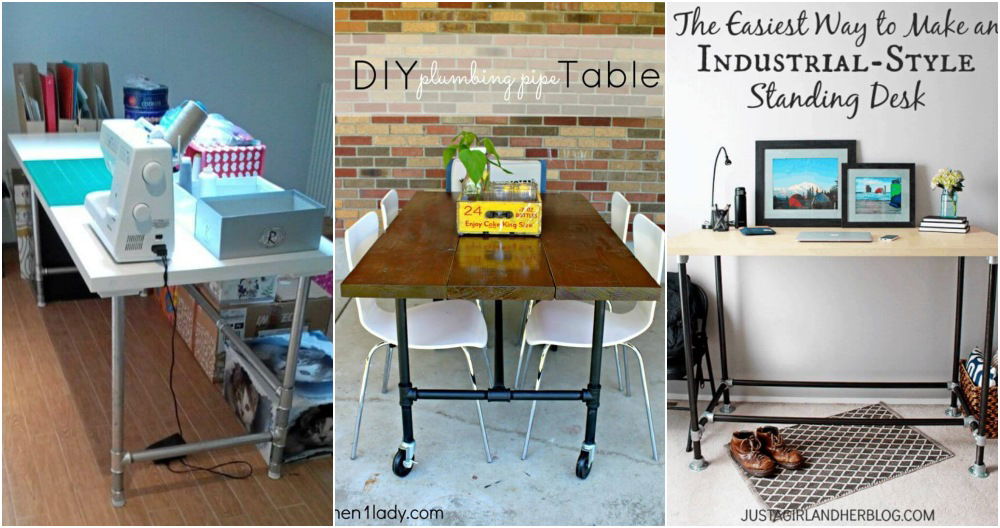
- Customization: DIY desks allow you to tailor the design, size, and features to your preferences.
4. How Can I Modify an Existing Desk into a Standing Desk?
- Leg Extensions: Extend the desk legs to raise the surface height.
- Add a Shelf: Build space for a printer or office supplies.
5. Can I Convert My Current Desk into a Standing Desk?
Yes! Consider these options:
- Platform Converter: Place a stable platform on your existing desk to elevate your computer.
- Stool or Drawer: Use a sturdy stool or drawer as a makeshift standing surface.
6. What About Ergonomics?
- Eye Level: Ensure your monitor is at eye level to prevent neck strain.
- Keyboard and Mouse: Position them comfortably for your arms and wrists.
Remember, a DIY standing desk is all about flexibility and personalization. Experiment with designs, adapt to your needs and enjoy the benefits of an active workspace.
Closing Thoughts
This project was a reminder of the joy found in making something with one's own hands. It was a journey filled with challenges, learning, and ultimately, gratification. Whether you're a seasoned DIY enthusiast or someone looking to start their first project, I hope this guide encourages you to explore your creativity. The result, as I found, is well worth the effort.


