Have you ever dreamed of making something breathtakingly beautiful for a special occasion but thought it might be too challenging? Well, I'm here to share my journey of constructing a DIY wedding arch that looked like it cost a fortune but, in reality, was a rewarding project I made myself. Perfect for weddings, photo backdrops, or any celebration, this guide will walk you through each step with simplicity and clarity.

Gathering Your Materials
First, let's talk about what you'll need and why each material is important.
- Pressure-treated wood: To ensure durability and longevity, I opted for three pieces of 2x4x12 foot and one piece of 2x4x8 foot pressure-treated wood. These would form the main structure of the arch.
- Wood screws (2 and a half inches long): Essential for securing the wooden pieces together. I made sure they were long enough to hold the structure firmly.
- Miter box and saw or Circular saw: For accurately cutting the wood at 45-degree angles. A miter box is great for those who don't have power tools.
- Drill with drill bits: For pre-drilling holes, making it easier to screw the pieces together without splitting the wood.
- Measuring tape, square, pencil: For marking and ensuring all cuts and angles are precise.
- Staple gun (optional): Handy for attaching decorations such as fabric or greenery to the arch.
- Decorations: Fabric, greenery, flowers, depending on your preference.
Step by Step Instructions
Discover how to build a good-looking DIY wedding arch with our step-by-step guide. Learn how to prepare, build, stabilize, and decorate for your special day.
Preparing the Wooden Pieces
- Cutting the Wood: I started by having the 12-foot wooden pieces cut down to 7 feet each at the hardware store, which left me with three 7-foot pieces and three 5-foot pieces. Then, I cut the 8-foot piece in half to serve as bottom supports.
Building the Frame
- Constructing the Arch: On the ground, I arranged two 7-foot pieces vertically and placed another 7-foot piece horizontally on top, 12 inches in from each vertical piece's edge, making the top of the arch.
- Connecting the Pieces: Using the wood screws, I attached the pieces where they overlapped, ensuring two screws diagonally from each other for a robust joint.
- Adding the Braces: The 5-foot pieces were then cut at a 45-degree angle on each end, measuring 26 inches point to point. These angled braces were attached between the vertical and horizontal pieces for additional support.
Stabilizing the Structure
- Bottom Supports: The remaining 4-foot pieces were placed under each vertical side of the arch, serving as the foundation. I made sure they were positioned exactly in the middle.
- Attaching More Braces: Four more angled braces were attached, two on each side, connecting the bottom supports to the vertical pieces, ensuring the arch stood firmly.
Final Touches and Decoration
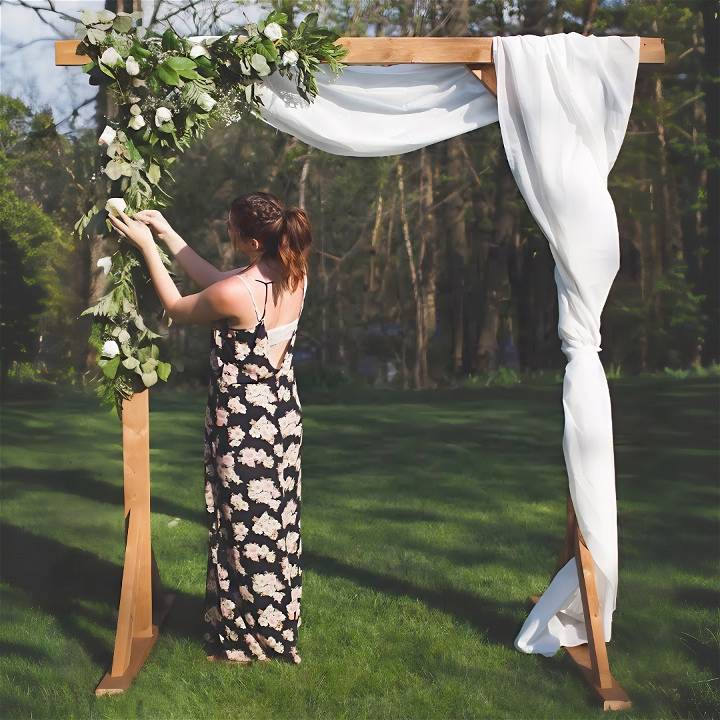
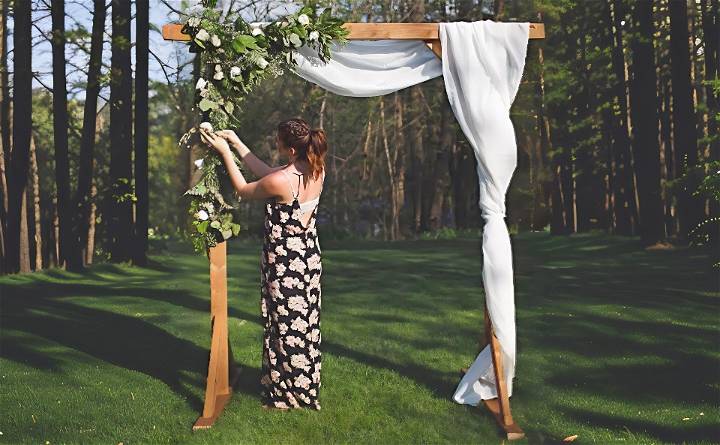
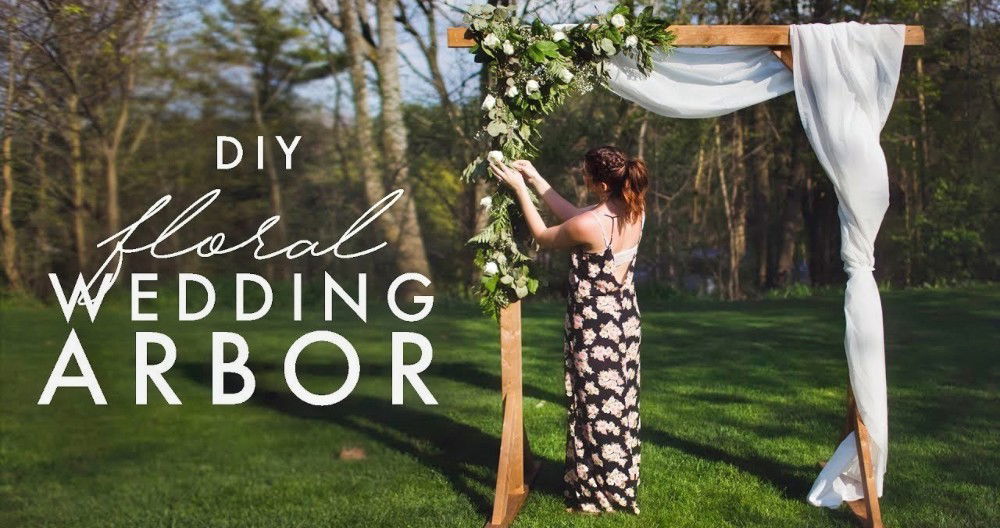
- Decorating: This was where creativity took over. I draped long pieces of white fabric over the top and down the front of the arch, securing them with a staple gun for a soft, ethereal look. On the other side, I added a garland of greens for a natural, lush appearance.
- Securing the Arch: Depending on where you plan to use the arch, you might need to secure it further against wind. Sandbags or stakes through the bottom braces work well for outdoor settings.
The Big Reveal
As I stepped back to admire the completed arch, draped in fabric and greenery, a sense of pride washed over me. It was not only a beautiful addition to the celebration but a testament to what can be achieved with a bit of hard work and creativity.
Tips for Success
- Measure Twice, Cut Once: Accuracy is key in ensuring all pieces fit together smoothly.
- Pre-drill Holes: To avoid splitting the wood when inserting screws, especially on the angles.
- Personalize Your Arch: The beauty of a DIY project is making it uniquely yours. Experiment with different decorations to match the theme of your event.
Symbolic Elements of Wedding Arches
A wedding arch is more than just a decorative structure; it carries profound symbolism that enriches the ceremony. Understanding these meanings can deepen the emotional impact of exchanging vows beneath its graceful curves. Let's explore the symbolic elements associated with wedding arches:
1. Circle of Love
The circular shape of a wedding arch symbolizes eternity and unity. It represents the unending love between the couple, with no beginning or end. As you stand beneath the arch, you are encircled by the promise of forever—a powerful reminder of the commitment you're making.
2. Protection and Blessings
Historically, arches served as protective gateways. Passing through an arch marked a transition—a threshold from one phase of life to another. In weddings, the arch represents the protective shelter under which the couple begins their new journey together. It shields them from negativity and welcomes blessings for their union.
3. Home and Hearth
An arch evokes feelings of warmth and hearth. Imagine the arch as the entrance to your shared home—a place where you'll build memories, celebrate milestones, and find solace. As you step through the arch, you're not only entering the ceremony but also crossing into a shared space of love, safety, and companionship.
4. Framing the Moment
The arch frames the couple during their vows, emphasizing their connection. It draws attention to the heart of the ceremony—the promises exchanged, the rings placed, and the kiss shared. The arch acts as a visual focal point, directing everyone's gaze toward the couple and their commitment.
5. Nature's Embrace
Many wedding arches incorporate natural elements like flowers, greenery, and branches. These represent the beauty and abundance of nature. Flowers symbolize growth, renewal, and fertility, while greenery signifies everlasting love. As you stand beneath the arch, you're embraced by the natural world, surrounded by its timeless cycles.
6. Personalized Touch
Couples often personalize their arches with meaningful details. Whether it's draping fabric in their favorite colors, attaching family heirlooms, or weaving in cultural symbols, these additions enhance the arch's significance. Each couple's unique touch transforms the structure into a reflection of their love story.
The DIY wedding arch symbolizes emotions, memories, and promises. Consider its layers of meaning: love, protection, and shared future.

Arch Placement and Logistics
When planning your DIY wedding arch, thoughtful placement and efficient logistics are essential for a seamless ceremony. Let's delve into the practical aspects of positioning your arch and ensuring everything runs smoothly:
Choosing the Right Location
- Outdoor Ceremonies:
- Natural Backdrop: Consider scenic spots like gardens, beaches, or vineyards. The arch can frame the landscape beautifully.
- Sun and Shade: Ensure the arch isn't directly under harsh sunlight. Position it to avoid shadows on the couple during crucial moments.
- Wind Protection: If it's windy, position the arch to minimize gusts.
- Indoor Ceremonies:
- Altar Area: Place the arch where it's visible to all guests. Coordinate with the venue staff.
- Aisle Alignment: Ensure the arch aligns with the aisle for a balanced look.
Sightlines and Photography
- Guest Views: Consider where guests will be seated. Ensure everyone has a clear view of the couple.
- Photographer's Angle: Discuss with your photographer. They'll want unobstructed shots during vows and ring exchanges.
- Backdrop: Choose a background that complements the arch—whether it's lush greenery, a sunset, or an architectural feature.
Logistics and Setup
- Early Arrival: Arrange for the arch to be set up well before the ceremony. Avoid last-minute stress.
- Stability: Ensure the arch is stable. If it's outdoors, secure it against wind.
- Floral Arrangements: Coordinate with your florist. Flowers should enhance the arch without overwhelming it.
- Aisle Decor: Consider aisle markers or petals leading to the arch.
Altar Space and Movement
- Space for Officiant: Ensure there's room for the officiant to stand comfortably.
- Couple's Position: Position the couple so they face each other and the guests.
- Exit Path: Plan the exit route after the ceremony. The couple should move smoothly away from the arch.
Legalities and Venue Rules
- Permits: If it's a public space, check if permits are needed for arch setup.
- Venue Guidelines: Understand any restrictions (e.g., no nails in historic venues).
- Cleanup: Arrange for arch removal or cleanup post-ceremony.
Remember, the DIY wedding arch isn't just a backdrop; it's where promises are made. Thoughtful placement ensures those promises are witnessed beautifully by all.
FAQs About DIY Wedding Arch
Discover everything you need to know about DIY wedding arches in this comprehensive FAQ guide. Learn how to build the perfect arch for your special day.
1. Can I DIY my wedding arch?
Absolutely! DIY-ing your own wedding arch can be both an engaging project with potential cost savings and offer personalized detailing to match your dream vision. Whether you're a crafty couple or simply want to infuse your wedding with a personal touch, making your own arch is a rewarding endeavor.
2. How do I choose the right shape for my wedding arch?
- Rectangle: Classic and versatile, perfect for framing the couple during vows.
- Circle: Symbolizes eternity and unity, ideal for intimate ceremonies.
- Triangle: Modern and edgy, adds visual interest.
- Custom Shapes: Let your creativity flow—heart-shaped, hexagonal, or asymmetrical!
4. What tools do I need for building a wedding arch?
- Saw: For cutting wood or metal.
- Drill: Essential for assembling pieces.
- Screws or Nails: Depending on your chosen materials.
- Measuring Tape: Precision matters!
- Paint or Stain: Customize the finish.
- Floral Wire or Zip Ties: Attach greenery and flowers.
5. How do I decorate my DIY wedding arch?
- Floral Garland: Wrap fresh or silk flowers around the arch.
- Greenery Swags: Drape eucalyptus or ivy for an organic look.
- Ribbons and Fabric: Add softness and color.
- Lights: Twinkle lights or fairy lights build magic.
- Personal Touches: Hang photos, dreamcatchers, or sentimental items.
6. Any tips for setting up the wedding arch on the big day?
- Early Setup: Arrange the arch well before the ceremony to avoid last-minute stress.
- Stability: Ensure it's secure—especially if outdoors.
- Photographer Coordination: Discuss angles and shots with your photographer.
- Venue Rules: Check if permits are needed and follow any guidelines.
- Cherish the Moment: When you stand beneath your DIY arch, remember—it's not just décor; it's where your love story unfolds.
Remember, your wedding arch is a canvas for your unique love story. Craft it with care, and let it be a cherished part of your special day!
Wrapping Up
Building this DIY wooden arch was a journey filled with learning, creativity, and ultimately, immense satisfaction. Whether you're planning a wedding, a party, or simply want a charming photo backdrop, this project proves that with the right tools and a step-by-step approach, you can build something stunning and meaningful. Enjoy the process, and let your creativity shine!


