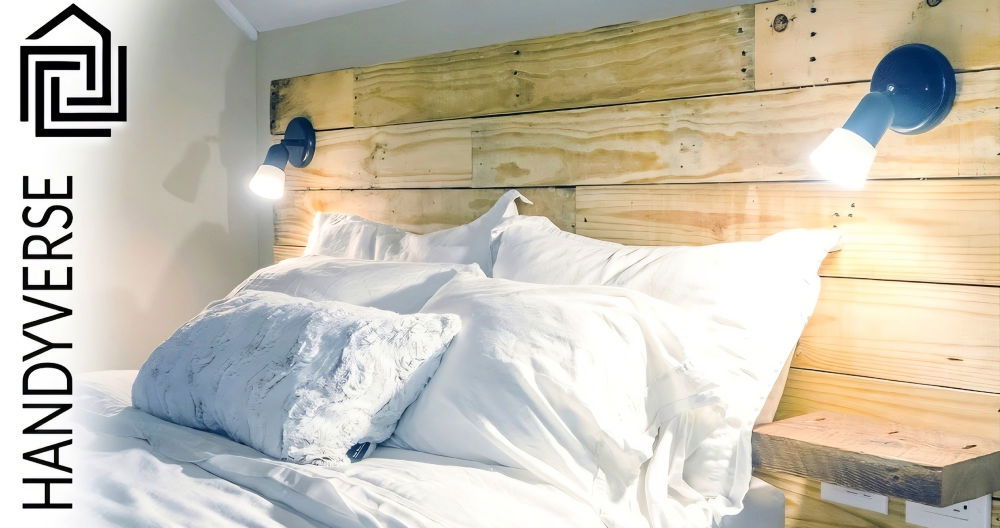
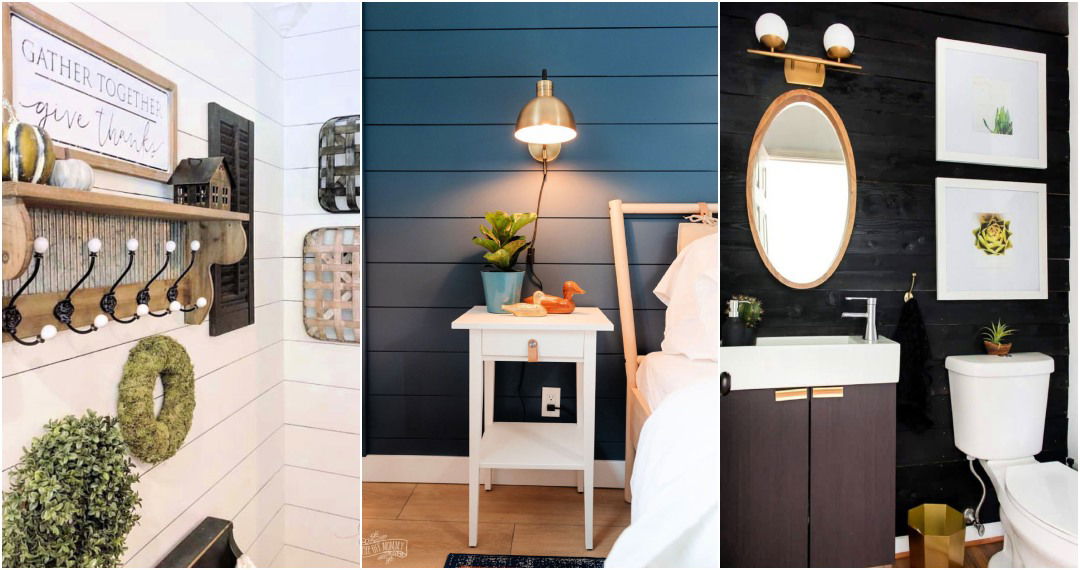
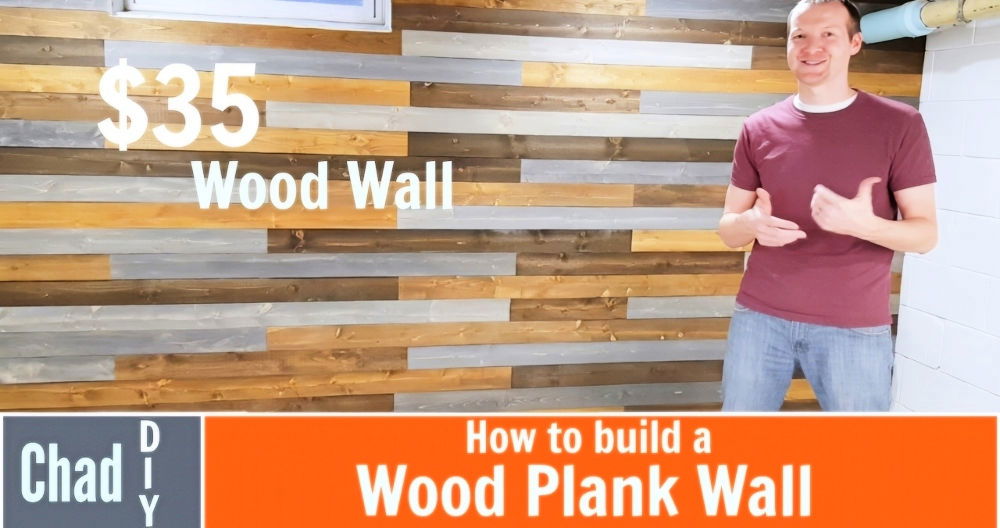
Building a pallet wall with free pallet wood is a simple and fun project. I remember finding some unused pallet wood and thinking about how I could use it to change my room's look. With a few tools and some free time, I transformed a plain wall into a beautiful, rustic pallet wood wall. It was easier than I imagined and cost almost nothing.
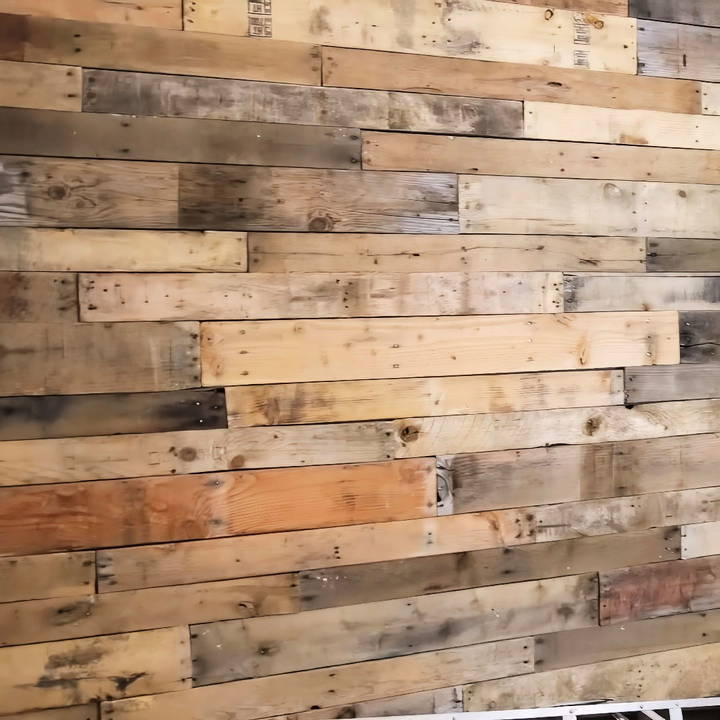
During the process, I learned how to prepare the wood, arrange it creatively, and securely attach it to the wall. Now, I enjoy the warm, natural feel it adds to my space. If you are thinking about a DIY pallet wall project, I am here to help you get started. Follow these steps, and you'll have a unique wall that brings charm and character to your home.
Why Choose a Pallet Wood Wall?
Before diving into the steps, let's explore why a pallet wood wall is an incredible choice. Firstly, it offers a rustic, high-end look that's bound to catch anyone's eye. Secondly, the materials required are often available at no cost. And last but not least, it's a wonderful way to repurpose wood, making it an eco-friendly option too.
Materials Needed and Their Importance
- Pallet Wood: These can often be sourced for free. They're the star of the show, providing texture and character to your wall.
- Paint (Black): Used for the base coat. Painting the wall black helps hide any imperfections in the wood and provides a seamless background, so gaps between the slats aren't conspicuous.
- Stud Finder: Essential for finding wall studs to ensure your wood pieces are securely attached.
- Nail Gun and Nails: Needed to firmly attach the pallet wood to the wall.
- Saw: A simple hand saw or power saw will do. You'll use this to cut the pallet wood to the desired size.
- Measuring Tape: Vital for ensuring your cuts are accurate and your wood placements are even.
- Safety Gear (Gloves and Safety Glasses): Pallets can have splinters or nails. Protect your hands and eyes while working.
- Sanding Tool: Optional but recommended to smooth rough edges. This is especially useful if you have kids around.
Step by Step Instructions
Learn how to build a stunning DIY pallet wall with our step-by-step guide. From sourcing free pallets to installation and finishing touches.
Preparation: Getting Those Pallets
Discover how to prepare pallets step-by-step. Learn where to find free pallets and how to get them ready for your project efficiently.
Step 1: Find Free Pallets
Your first task is to find the pallets. Reach out to local businesses or stores, especially warehouses or grocery stores, as they often have excess pallets they're willing to give away.
Step 2: Prepare the Pallets
Once you've gathered your pallets, break them down carefully using a crowbar or hammer. Keep in mind that some pallets may have nails, so be cautious and remove any nails that protrude.
Preparing Your Wall
Get expert tips on preparing your wall for painting. Paint the wall covers essential techniques for perfecting your paint job. follow our guide for flawless results!
Step 3: Paint the Wall
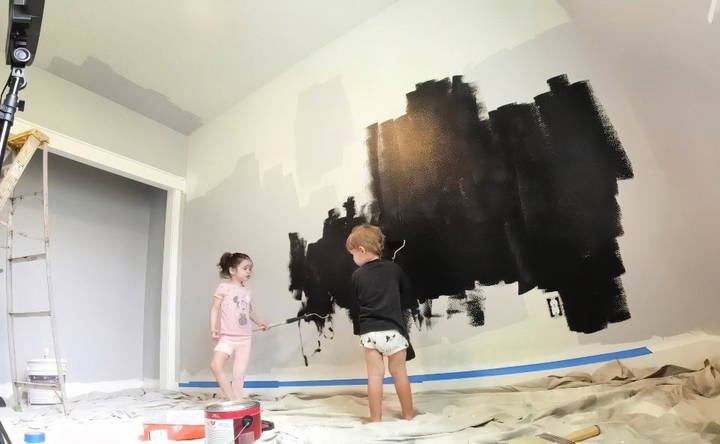
Start by painting the wall black. This may seem like a simple step, but it's crucial in ensuring that any gaps between the wood pieces are hidden, allowing the wall to have a more cohesive look. You can use a roller for larger areas and a brush for edges and corners. Allow the paint to dry completely before moving on to the next step.
The Fun Part: Installing the Pallet Wood
Learn how to install pallet wood with our step-by-step guide. Design your layout, measure, cut, find studs, and attach the wood effortlessly.
Step 4: Design Your Layout
Think of this process as fitting together pieces of a puzzle. Mix and match the colors and sizes of your pallet wood to build a balanced and deliberate appearance. You don't want pieces that are too similar grouped in one spot.
Step 5: Measure and Cut
Using your measuring tape, measure the length of your wall. Cut your pallet wood accordingly with your saw. Remember: measure twice, cut once!
Step 6: Find the Studs
Use the stud finder to locate and mark the studs on your wall. This is where you'll want to attach your wood, ensuring the wall holds up over time.
Step 7: Attach the Wood
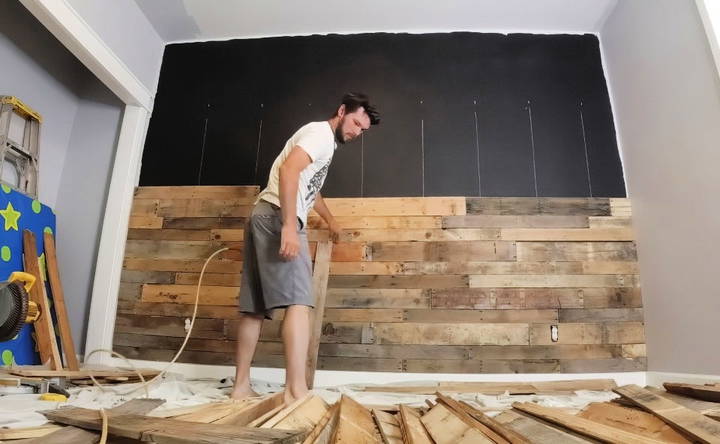
Now comes the exciting part—attaching your pallet pieces! Working from the bottom up, nail the first piece of wood into place. Use your level to ensure each piece is evenly aligned, and keep checking as you go up. Attach the wood by nailing into the studs whenever possible for maximum hold.
Fine-Tuning and Finishing Touches
Learn how to achieve a flawless finish with our detailed guide on fine-tuning and finishing touches. Sand rough edges and add an optional sealant for perfection.
Step 8: Sand Rough Edges
While this step is optional, sanding any rough edges will ensure your wall is smooth to the touch—especially important if you've got kids running around.
Step 9: Add a Sealant (Optional)
For a polished finish and to protect the wood from wear and tear, consider applying a matte sealant or clear coat. This step is not mandatory, but it will help preserve the wood long-term.
Why This Project Is Worth It
Discover why this project is worth it with its affordability, aesthetic appeal, and environmental benefits. Make a sustainable choice today!
Affordability and Aesthetic Appeal
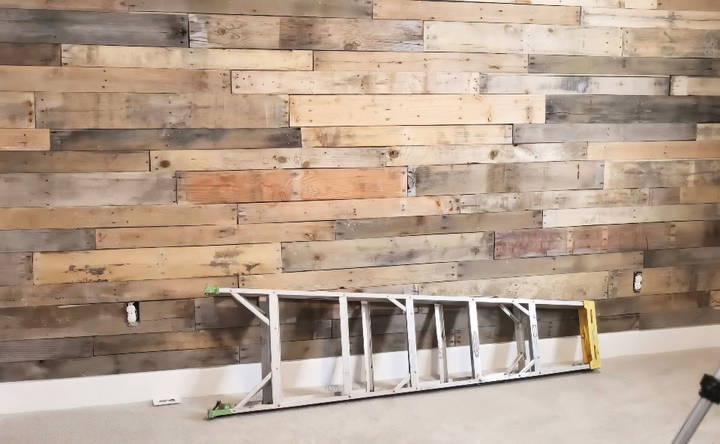
This pallet wall project not only enhances the aesthetic appeal of any room but it's also incredibly affordable. Normally, making an accent wall might require expensive materials or professional labor, but by using free, repurposed pallets, we're saving a significant amount of money while still achieving a high-end look.
Environmental Benefits
Repurposing pallets is an excellent form of recycling. It takes a material that might have ended up in a landfill and gives it a new life in your home. Plus, opting for materials that are already in circulation is a small yet meaningful step towards sustainable living.
Involving the Family
In our family, DIY projects are a chance to bond and involve everyone in creative work. Our kids, aged two and four, delight in these opportunities. Although they can't handle the tools, they love helping with the layout and painting parts of the project. This not only makes the task more enjoyable, but it also becomes a learning experience for them.
Maintenance Tips
Maintaining your pallet wall is essential to keep it looking great and lasting longer. Here are some simple and effective tips to help you care for your pallet wall:
Regular Cleaning
Dust and dirt can accumulate on your pallet wall over time. To keep it clean:
- Dusting: Use a soft cloth or a duster to remove dust from the surface. Do this weekly to prevent buildup.
- Vacuuming: For deeper cleaning, use a vacuum with a brush attachment. This helps remove dust from crevices and gaps between the wood slats.
- Wiping: Occasionally, wipe the wall with a damp cloth. Avoid using too much water, as it can damage the wood. A mild soap solution can be used for stubborn dirt.
Stain and Seal
To protect your pallet wall and enhance its appearance:
- Staining: Apply a wood stain to refresh the color and protect the wood. Follow the manufacturer's instructions for the best results.
- Sealing: Use a clear sealant to protect the wood from moisture and wear. This is especially important if your pallet wall is in a humid area like a bathroom or kitchen.
Handling Damage
Over time, your pallet wall may experience some wear and tear. Here's how to handle common issues:
- Scratches and Dents: Lightly sand the affected area and apply a matching stain or sealant.
- Loose Boards: If any boards become loose, reattach them using nails or screws. Ensure they are securely fastened to prevent further movement.
- Warping: If a board warps, you may need to replace it. Carefully remove the damaged board and install a new one, ensuring it matches the existing wall.
Preventing Moisture Damage
Moisture can be a significant threat to your pallet wall. To prevent damage:
- Ventilation: Ensure the room is well-ventilated to reduce humidity levels. Use exhaust fans in bathrooms and kitchens.
- Dehumidifiers: In particularly humid areas, consider using a dehumidifier to keep moisture levels in check.
- Waterproofing: Apply a waterproof sealant to the wood, especially in areas prone to moisture exposure.
Seasonal Maintenance
Different seasons can affect your pallet wall differently. Here's how to maintain it throughout the year:
- Spring and Summer: Check for any signs of moisture damage or warping. Clean and reseal the wood if necessary.
- Fall and Winter: Inspect the wall for any loose boards or damage caused by temperature changes. Ensure the room remains well-ventilated to prevent moisture buildup.
Maintain your pallet wall to keep it beautiful and long-lasting. Regular care preserves the wood and charm of your DIY project.
FAQs About DIY Pallet Walls
Explore the top FAQs about DIY pallet walls: tips, materials, installation, and maintenance. Transform your space with creative pallet wall solutions.
You can find pallets at various places, including:
Local businesses: Check with local hardware stores, garden centers, or warehouses.
Online marketplaces: Websites like Craigslist or Facebook Marketplace often have listings for free or cheap pallets.
Construction sites: Ask for permission to take unused pallets from construction sites.
Preparing pallets involves several steps:
Dismantle the pallets: Use a crowbar to carefully remove the boards.
Clean the wood: Wash the boards with a mixture of water and bleach to kill any bacteria or pests. Let them dry completely.
Sand the wood: Sand the boards to remove splinters and smooth the surface.
Stain or paint: Apply wood stain or paint if desired, and seal the wood to protect it.
Here are some helpful tips:
Safety first: Wear gloves and safety glasses when handling pallets.
Choose the right pallets: Look for heat-treated (HT) pallets, as they are safer than chemically treated ones.
Plan your design: Lay out the boards on the floor before attaching them to the wall to visualize the final look.
Mix and match: Use boards of different lengths and colors for a more interesting and rustic appearance.
To ensure your pallet wall is safe and secure:
Check the wall structure: Make sure the wall you are attaching the pallets to is sturdy and can support the additional weight.
Use proper fasteners: Use nails or screws that are long enough to penetrate the wall studs.
Secure each board: Attach each pallet board securely to prevent any from coming loose.
Inspect regularly: Periodically check the wall for any loose boards or fasteners and fix them promptly.
Yes, you can install a pallet wall in a bathroom or kitchen, but you need to take extra precautions:
Seal the wood: Use a high-quality sealant to protect the wood from moisture and humidity.
Ventilation: Ensure the room is well-ventilated to prevent mold and mildew growth.
Avoid direct water contact: Try to install the pallet wall in areas that are not directly exposed to water, such as away from sinks and showers.
Conclusion: Transforming Your Space
Installing a DIY pallet wall project like this felt rewarding. I learned so much along the way and gained a unique piece of decor. These steps will guide you through making your own beautiful pallet wall, and I hope you'll find them as helpful as I did.


