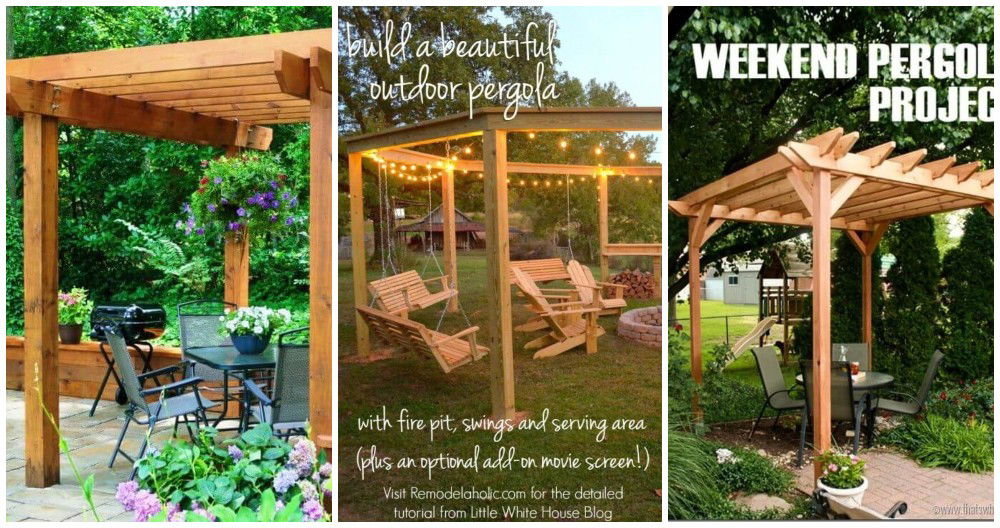
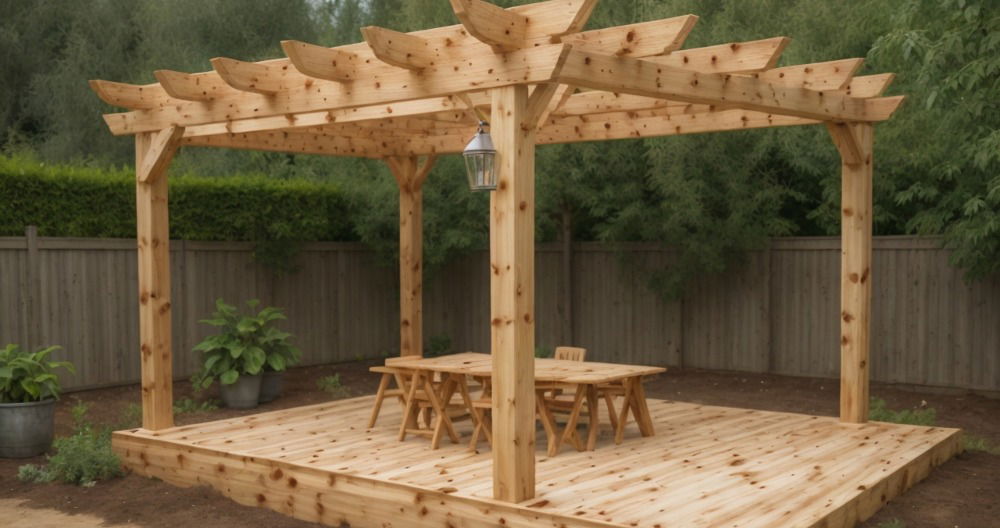
If you're planning to build a pergola in your backyard, you're in good company. Many of us who enjoy woodworking and home improvement projects find a pergola to be a satisfying, medium-difficulty project that can transform an outdoor space. I'll share my experience building a pergola and provide some detailed steps, tips, and advice that might help you avoid some common pitfalls.
Why Build a Pergola?
A pergola adds both style and function to an outdoor area. It provides a partial shade, defines a space for outdoor activities, and can enhance the overall look of your garden or patio. Whether you're looking to create a serene area for relaxation or a shaded spot for dining, a pergola can be the perfect solution.
Step 1: Planning Your Pergola
Before starting any project, especially something structural like a pergola, planning is crucial. Here’s what you need to consider:
Space and Dimensions
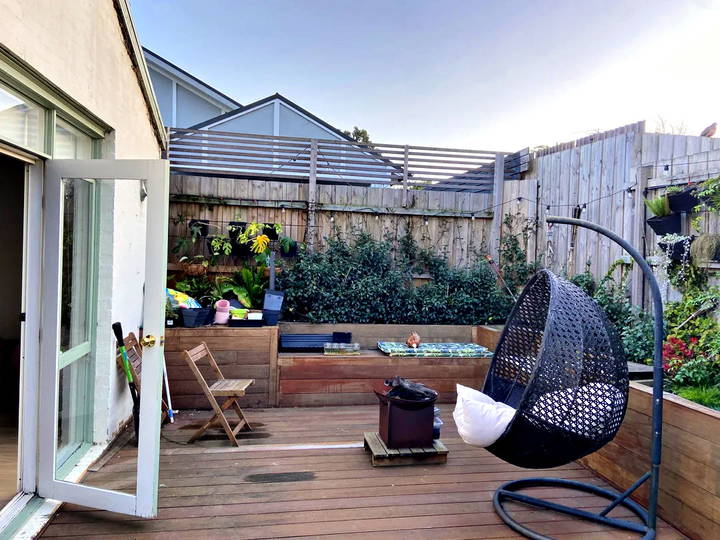
First, decide where you want your pergola and measure the area. In my case, I had a 4m by 4.6m space with the longer side extending away from the house. This affected how I laid out my beams and joists. You’ll need to determine the size of your pergola based on the space available and your specific needs.
Materials Selection
Choosing the right materials is essential for durability and aesthetics. For my project, I went with 140x45 F27 structural hardwood (grey black butt), which is a strong and durable option. The type of wood or material you select will depend on your budget, climate, and the look you want to achieve. Other options include treated pine, cedar, or even metal.
Design Considerations
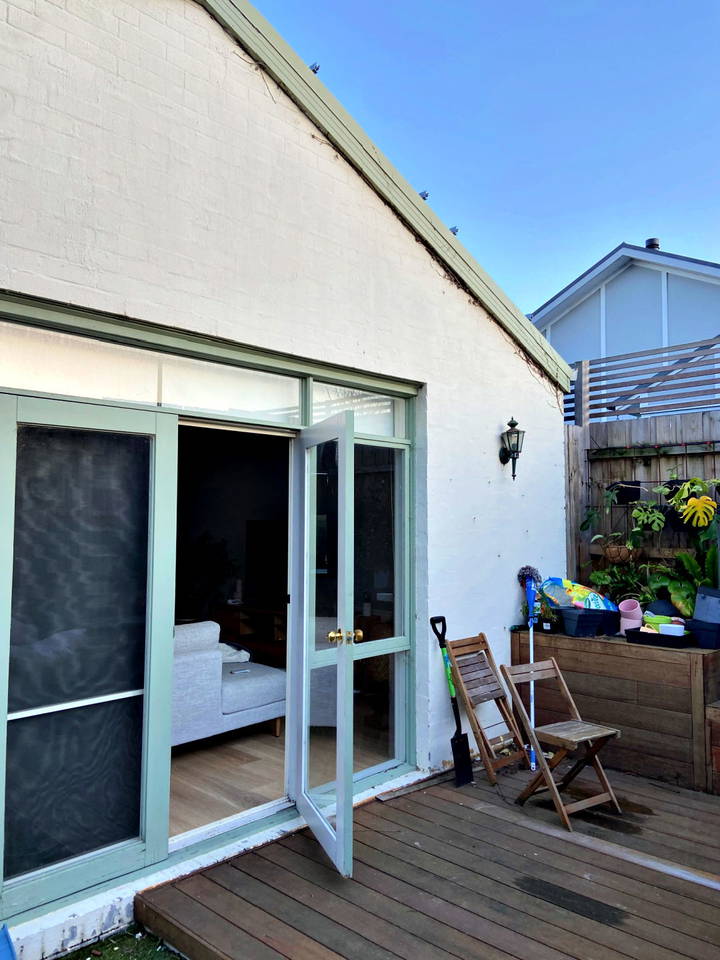
Think about how you want the joists to run. In my case, I wanted the joists to run lengthways away from the house, which meant they needed to originate from the brick wall of my house. This raised the question of how best to attach the ledger board to the brickwork—a critical step that would affect the stability of the structure.
Step 2: Attaching the Ledger Board
The ledger board is a horizontal beam that you attach to an existing structure (like a house) to support one side of your pergola. This step can be tricky, especially when dealing with a brick wall.
Challenges with Attaching to Brick
Initially, I thought it would be as simple as using an anka or chemset screw to attach the ledger board directly to the brickwork. However, after some research, I learned this might not be the best approach. Attaching directly to bricks can damage them and potentially allow water to seep into the house structure, leading to long-term issues.
Finding the Studs
If you're intent on attaching the ledger board to the house, it’s best to anchor it into the studs behind the brick. Locating these studs from the outside can be challenging. You might need to access them from the roof by removing tiles or using a stud finder that can penetrate brick. If you’re not comfortable doing this, it might be worth hiring a professional.
Alternative Solutions
One suggested solution from a fellow DIY enthusiast was to avoid attaching anything to the house entirely. Instead, you could set a couple of posts into the ground near the wall, attach a beam to those posts, and then connect the joists to the beam. This way, you avoid compromising the house’s structure. However, this wasn’t feasible for me because a post would end up in front of windows and doors, which wasn't ideal.
Step 3: Setting the Posts and Beams
For most pergolas, setting the posts is the next step. You’ll need to dig holes for your posts, usually at least 600mm to 900mm deep, depending on your local building codes and soil type. Use a post-hole digger or auger for this job.
Positioning and Spacing
Proper spacing of your posts is critical for stability. I was planning on 600-900mm spacing between joists, which is fairly typical. However, this will depend on the size of the lumber you use and the overall size of your pergola.
Securing the Posts
Once the holes are dug, place the posts in and secure them with concrete. Make sure they are level and plumb. It's best to let the concrete cure fully (usually 24 to 48 hours) before moving on to attaching beams and joists.
Step 4: Attaching Joists and Beams
After your posts are in place and secure, you can start attaching the beams. These will run perpendicular to your house and are supported by the posts.
Joist Installation
With the beams in place, it’s time to install the joists. These should run perpendicular to the beams and are typically attached with metal joist hangers. If you're not using a ledger board attached to the house, you might use a different method like a double beam structure.
Step 5: Finishing Touches
At this point, your pergola structure is up, but there are still several things to consider:
Roofing Options
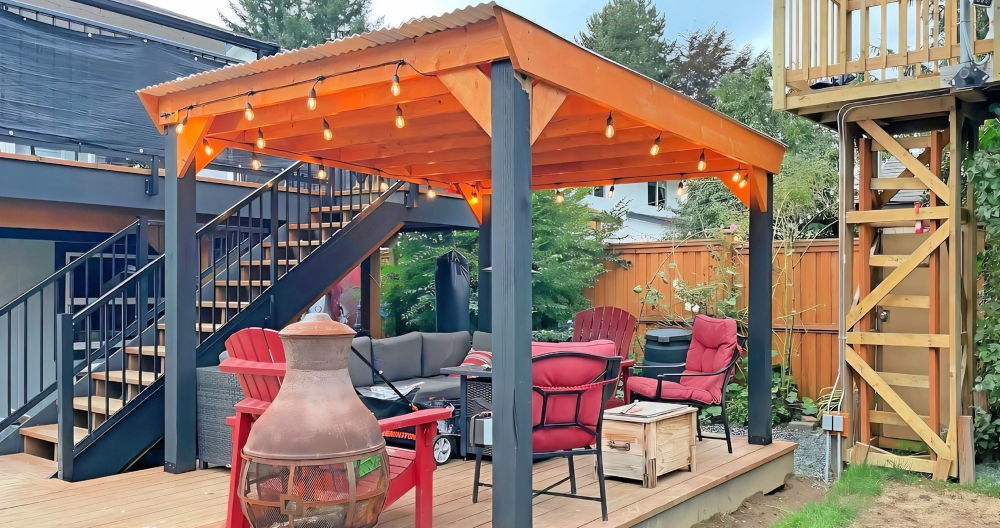
Although a pergola traditionally has an open roof, you might want to consider adding a covering, such as a shade sail or polycarbonate sheets, to provide more protection from the elements. One commenter mentioned that not covering it might lead to regret, and I tend to agree. A bit of coverage can add more functionality to your pergola, especially in hot or rainy climates.
Staining and Sealing
Since your pergola will be exposed to the elements, applying a weather-resistant stain or sealant is essential to protect the wood. This not only enhances the look of the pergola but also extends its life by protecting it from moisture, UV rays, and pests.
Additional Features
You could also consider adding other features, like hanging planters, string lights, or even climbing vines, to enhance the look and feel of your new outdoor structure.
Tips and Advice
- Take Your Time with the Ledger Board: If attaching to the house, ensure it’s done correctly to prevent damage or water issues.
- Seek Help When Needed: Some parts of the build, like setting posts or attaching beams, can be challenging alone. Don’t hesitate to ask for a friend’s help.
- Use Quality Fasteners: Cheap screws and bolts can rust or fail over time. Invest in good quality, weather-resistant hardware.
- Check Local Building Codes: Always check with your local council or building authority to ensure your pergola complies with local regulations.
Conclusion
Building a pergola can be a rewarding project that adds value and enjoyment to your home. With proper planning and the right materials, you can create a beautiful outdoor space tailored to your needs. While there are challenges—like attaching to brick walls or dealing with tricky post placements—these can be overcome with careful thought and preparation.
FAQs for Building a DIY Pergola
When planning and constructing a pergola, there are often a few common questions that come up. Based on the experience shared in the discussion and my own projects, here’s a list of frequently asked questions (FAQs) to help guide you through some of the typical challenges and decisions you might face.
The best materials for a pergola depend on your budget, the climate, and the desired aesthetic. Common choices include:
Hardwood (e.g., Grey Black Butt, Cedar): Durable and naturally resistant to rot and insects but can be expensive.
Treated Pine: More affordable and readily available but may require regular maintenance.
Metal (e.g., Aluminum or Steel): Very durable and low maintenance, but more costly and requires special tools for cutting and assembly.
For the project in discussion, 140x45 F27 structural hardwood (Grey Black Butt) was chosen for its strength and durability.
Attaching a ledger board to a brick wall requires careful consideration:
Anchoring to Studs: The safest method is to anchor the ledger board into the studs behind the brick wall. This provides a strong, secure hold.
Challenges with Brick: Drilling directly into brick can weaken it and potentially allow water to seep in, leading to damage over time.
Alternative Method: Consider installing posts close to the wall instead of attaching directly to the house. This avoids any potential damage to your home’s structure.
Finding studs through brick can be tricky:
Stud Finder: A stud finder capable of detecting studs through brick may work, but the effectiveness can vary.
Roof Access: You might need to access the studs from the roof by removing tiles. This is more invasive but often more reliable.
Professional Help: If unsure, consult a professional to ensure you do not compromise the wall's integrity.
The spacing between joists generally depends on the size of the lumber and the span:
Common Spacing: 600mm to 900mm is a common range for joist spacing.
Consider Your Roofing Material: If you plan to add a roof or shade sail, you may need to adjust the spacing to support additional weight.
Covering your pergola is a good idea for added functionality and protection from the elements:
Shade Sails: Easy to install and provide partial shade.
Polycarbonate Sheets: Durable and provide more protection from rain and UV rays.
Climbing Plants: Offer natural shade and a beautiful, green aesthetic but require time to grow and maintain.
The depth for pergola posts typically depends on local building codes and soil conditions:
Standard Depth: Posts are usually set between 600mm to 900mm deep.
Check Local Codes: Always check with your local building authority for specific requirements to ensure stability and compliance.
Using high-quality fasteners is crucial for the longevity and safety of your pergola:
Galvanized or Stainless Steel: Both are resistant to rust and corrosion, making them ideal for outdoor projects.
Avoid Cheap Hardware: Cheaper options may fail over time, leading to structural problems.
Yes, building a freestanding pergola is a viable option:
Benefits of Freestanding Pergolas: No risk of damaging the house, and it offers more flexibility in placement.
Considerations: Requires setting more posts and may need additional bracing to ensure stability.
The time required depends on the size, complexity, and your level of experience:
Small to Medium Pergola: For a skilled DIYer, it may take a weekend to complete, especially if you have all the materials and tools ready.
Larger or More Complex Pergolas: These can take several days or more, depending on the design and the need for additional features like a roof or wiring for lighting.
It depends on your confidence and experience:
DIY Approach: Great for those with experience in woodworking and construction.
Hiring a Professional: Advisable if you're unsure about structural aspects, need specialized tools, or want a more complex design.


