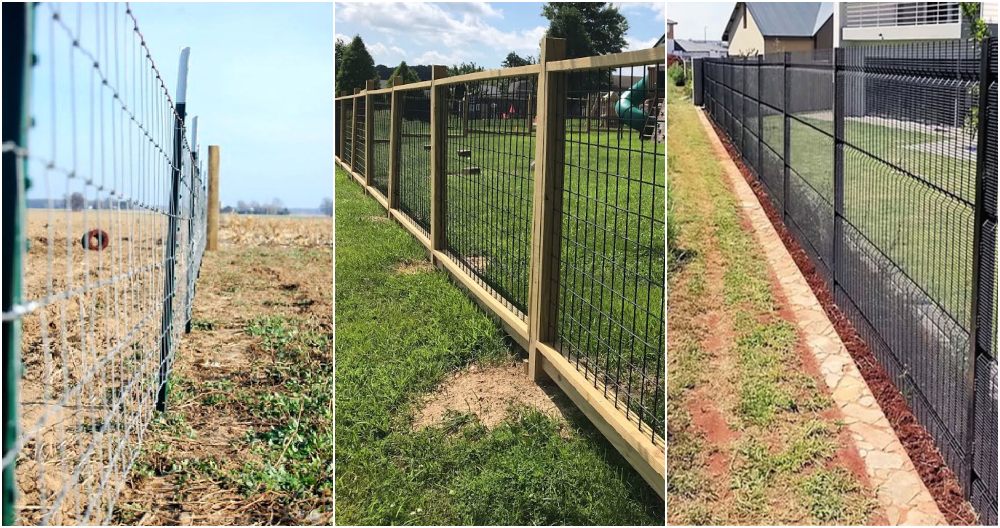
Starting a new project can be exciting and daunting. When I decided to install a chain link fence around my yard, I wanted something both durable and easy to maintain. With simple tools and a little planning, I was able to get the job done efficiently. This guide focuses on chain link fence installation and aims to make the process straightforward for you.
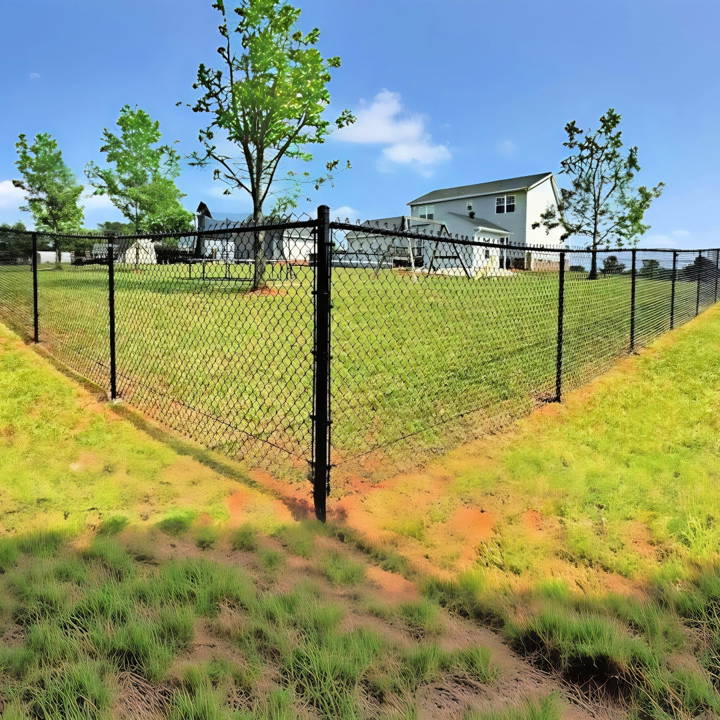
I learned that a well-installed fence not only secures your property but also adds to its value. Installing a chain link fence involves setting posts, attaching rails, and fixing the chain link fabric. My experience taught me that careful measurements and using the right materials make the work easier. By following the steps outlined, you can achieve a sturdy fence too.
I'm here to help you with easy steps and practical tips. These instructions on how to install a chain link fence will help you build a durable boundary around your property.
Why Chain Link?
The primary reason for choosing a chain link fence was to provide a safe play area for my dogs. Stepping into this project, I knew a standard 4-foot fence wouldn't suffice as my German Shepherds could easily jump over it. A 5-foot fence seemed reasonable, striking the right balance between cost efficiency and effectiveness.
Materials and Tools
For this DIY project, the materials needed include:
- Chain link fabric – Known for its durability and maintenance-free aspect, it's crucial for containing pets.
- Terminal posts and line posts – These provide the structural support for the entire fence.
- Tension bars and bands – They are essential for attaching the chain link fabric to the posts tightly.
- Concrete mix – To secure posts into the ground, ensuring stability.
- Miscellaneous fittings and hardware like caps, wire ties, and gate hardware.
Tools that came in handy included an auger or post-hole digger, a gas-powered driver or a sledgehammer for driving posts, wrenches for tightening bolts, and pliers for attaching the wire ties. Investing in a good fence stretcher or a come-along tool made stretching the chain link fabric easier and more efficient.
Planning: A Critical First Step
Before you start digging or buying materials, it's essential to plan. This includes determining the fence's purpose, the total fence length, and ensuring you're aligned with local zoning laws. Furthermore, checking with utility companies to mark any underground lines can save you from potential hazards and additional costs.
Step by Step Instructions
Learn how to install a chain link fence with our step-by-step guide. Easy instructions for a durable and successful fence installation.
Setting the Posts
- Mark and Measure: Using my property layout, I marked where each post would go, ensuring to stay clear of utility lines. Remember, the spacing between line posts should align with the chain link fabric dimensions, typically in 50-foot increments, to avoid wastage.
- Digging Post Holes: An auger made quick work of this, but a post-hole digger is a viable alternative. Each hole was about 2 feet deep, slightly varying based on the post's location (corner, end, or gate posts may require deeper holes).
- Installing the Posts: I placed each post in its hole and used concrete to secure them. After letting the concrete cure for a couple of days, the posts were stable and ready to support the fence.
Adding the Chain Link Fabric
- Rolling Out the Fabric: Starting at one corner, we rolled out the chain link fabric along the outside of the fence posts to approximately the next corner or end post.
- Attaching the Fabric to the Terminal Posts: Tension bars are inserted through the links at the ends of the fabric. These bars attach to the terminal posts with tension bands, which I had previously slid onto the posts before pouring concrete.
- Stretching the Fabric: This is where the stretcher tool came in. Moving down the fence line, I used the stretcher to pull the fabric taut. This step might require a bit of back-and-forth to ensure there's just the right amount of tension across the fence.
- Securing the Fabric: Once stretched, the fabric's free ends were secured to the next terminal post using another tension bar and bands.
- Tying Off: Using aluminum wire ties, I connected the fabric to the line posts every 2 feet and the top rail every 24 inches, ensuring the fence held tight to the framework.
Installing the Gates
Given the specific needs of my dogs and the fence design, I crafted a custom gate from available materials, which involved:
- Measuring and cutting the gate to size.
- Installing gate hinges and latches to the posts.
- Aligning for a square and level swing.
Key Tips and Takeaways
- Planning is Everything: Measure twice, cut once applies here more than ever. Detailed planning helped me minimize mistakes and material waste.
- Flexibility: Be prepared to adapt. For example, customizing the gate saved hundreds of dollars but required a bit of inventive thinking.
- The Right Tools Make a Difference: Borrowing or renting specialized tools like an auger or a gas-powered hammer can significantly ease the installation process.
- Patience Pays Off: Rushing through the steps can lead to errors. Taking my time, especially with stretching the fabric, ensured a better-looking and more secure fence.
Customization Tips for Chain Link Fences
When it comes to personalizing a chain link fence, there are several ways to add a touch of individuality while enhancing privacy and aesthetic appeal. Here are some practical tips to customize your chain link fence:
Height Adjustment
- Add Fence Extensions: If you need more privacy, consider adding fence extensions. These are vertical frameworks that attach to the top of your existing fence, allowing you to increase its height.
- Use Tension Wire: For added security, install a tension wire at the top and bottom of your fence. This not only makes it more difficult to climb but also provides extra stability.
Decorative Enhancements
- Colorful Slats: Inserting slats into your chain link fence can transform its look and offer privacy. They come in various colors, so you can choose one that complements your home or garden.
- Plant Vines: For a natural touch, grow climbing plants or vines along your fence. This not only beautifies your space but also contributes to a greener environment.
Making It Unique
- Artistic Touches: Hang outdoor art pieces or use stencils and outdoor paint to build murals directly on the fence for a unique flair.
- Lighting: Install solar-powered lights along the fence line for a warm glow in the evenings, which is both practical and charming.
Ensure your fence modifications comply with local rules and maintain structural integrity. This way, your chain link fence can showcase your style and function well.
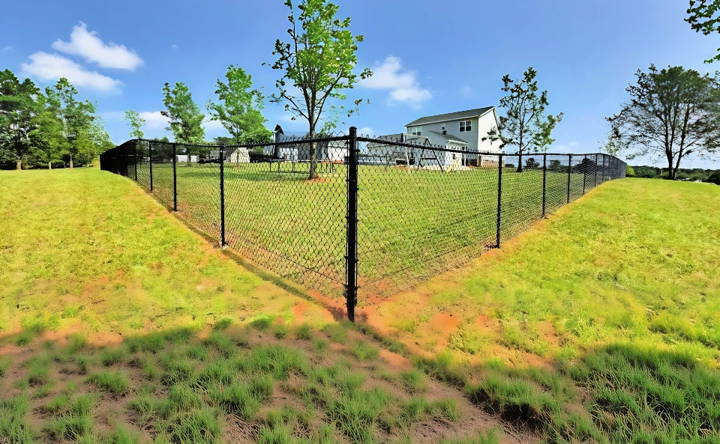
Safety Considerations for Installing Chain Link Fences
Ensuring safety during the installation and use of a chain link fence is paramount. Here's a comprehensive guide to help you navigate the process safely:
Before Installation
- Know Your Tools: Familiarize yourself with the tools required for installation. Understand their proper use to prevent accidents.
- Wear Protective Gear: Always wear gloves, safety goggles, and sturdy boots to protect against sharp edges and potential impacts.
During Installation
- Secure the Area: Mark off the area where you'll be working to keep bystanders and pets at a safe distance.
- Lifting Techniques: Use proper lifting techniques when handling heavy posts and rolls of chain links to avoid back strain.
Post-Installation
- Check for Sharp Edges: After installation, inspect the fence for any sharp points or edges that could cause injury and address them immediately.
- Secure Access Points: Ensure that gates and access points close securely to prevent unintended openings.
Child and Pet Safety
- Height Considerations: Make sure the fence is tall enough to prevent children and pets from climbing over.
- Avoid Climbable Objects: Keep objects that could be used to climb the fence, like large rocks or furniture, away from the fence perimeter.
Long-Term Safety
- Regular Maintenance: Periodically check the fence for wear and tear, especially after extreme weather conditions.
- Emergency Plan: Have a plan in place for quickly repairing any damage that could pose a safety risk.
Follow these safety tips for a secure installation and safe surroundings. Safety is an ongoing commitment.
FAQs About How To Install a Chain Link Fence
Learn everything you need to know about installing a chain link fence with our comprehensive FAQS guide. Easy steps, expert tips, and common questions answered!
Before you begin, it's important to:
Obtain any necessary permits from your local government.
Establish property lines and ensure you're not encroaching on your neighbor's land.
Locate utility lines to avoid damaging them during digging.
Review neighborhood covenants for any additional fencing regulations.
Setting the posts involves:
Marking the layout with stakes and string.
Digging post holes using a post hole digger or auger, following local codes for depth and width.
Setting terminal posts (corners, ends, and gates) in concrete, ensuring they are plumb and level.
Installing line posts, spaced according to the fence length and local guidelines.
Attaching the mesh requires:
Sliding a tension bar through the end of the mesh and securing it to the terminal posts with tension bands.
Unrolling the mesh along the fence line.
Stretching the mesh with a fence puller and attaching it to the line posts using fence ties.
Trimming excess mesh and securing the bottom with tension wire.
The final steps include:
Installing the top rail by sliding it through the loop caps and securing it to the terminal posts.
Attaching the fence fabric to the top rail and tension wire.
Installing post caps on all posts.
Hanging the gate and ensuring it operates smoothly with the installed latch.
Proper tensioning is crucial for a chain link fence to function effectively. To achieve this:
Use a fence puller or come-along: This tool helps to stretch the fence fabric evenly and tightly from post to post.
Secure with tension bands and bars: Once stretched, the fabric is secured to the terminal posts using tension bands and tension bars.
Attach the fabric to the line posts: Use aluminum wire ties or fence ties every 12 inches on the line posts and every 24 inches on the top rail.
Install tension wire: Run a tension wire along the bottom of the fence and secure it with hog rings to prevent sagging and provide additional security.
Conclusion
Wrapping up, how to install a chain link fence can be a rewarding project that enhances your property's security and aesthetic. By following the steps outlined, chain link fence installation becomes straightforward and manageable. From planning and gathering materials to digging post holes and attaching the fence, each stage is crucial for a sturdy finish.


