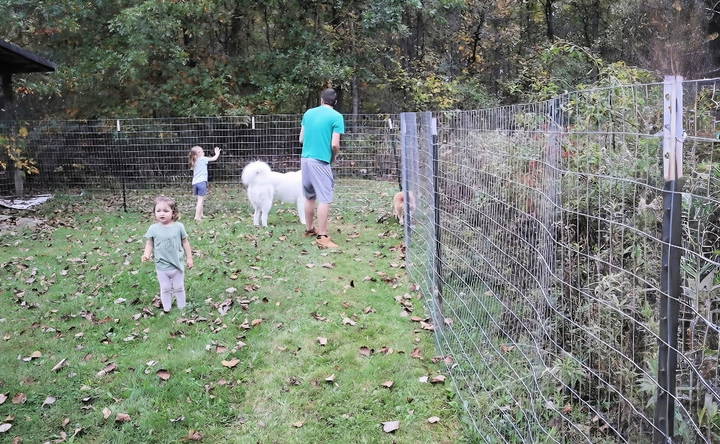
I recently decided to build a fence around my backyard to keep my dog safe. With a tight budget, I needed to find the most affordable way to do it. After some research and a bit of trial and error, I discovered some great methods to build a cheap DIY fence without sacrificing quality.
Using simple materials and tools I already had, I managed to construct a sturdy fence that looks great and didn't break the bank. The process was easier than I thought, and I learned a lot along the way. I'm excited to share this step-by-step guide so you can build your own fence at the lowest cost.
By following the steps I've outlined, you, too, can save money and build a fence that meets your needs. Let's get started on this project together, and you'll see just how simple and cost-effective it can be.
Materials Needed and Why
- T-Posts: Approximately 70-80 were needed for my one-acre yard. These posts serve as the main support structure for your fence, ensuring its stability.
- T-Post Driver: This tool is essential for driving your T-posts into the ground efficiently.
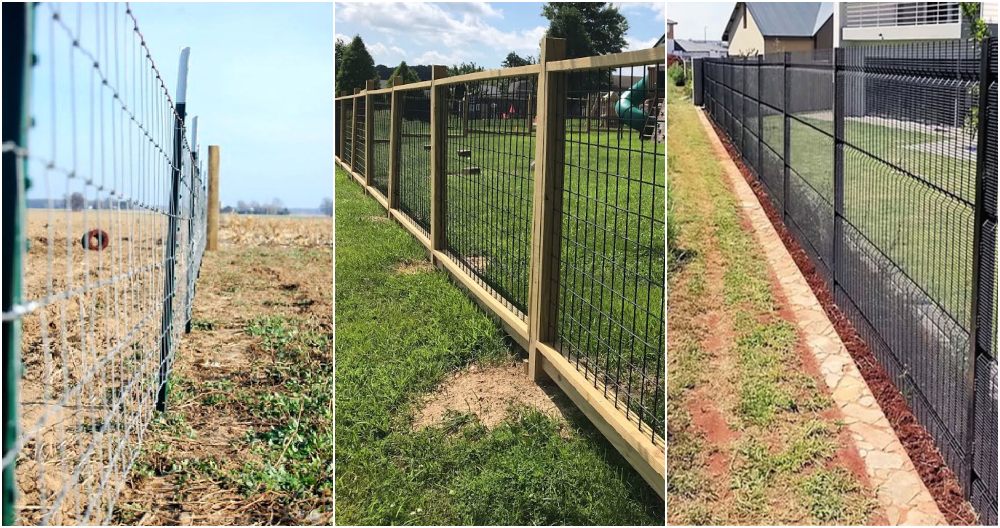
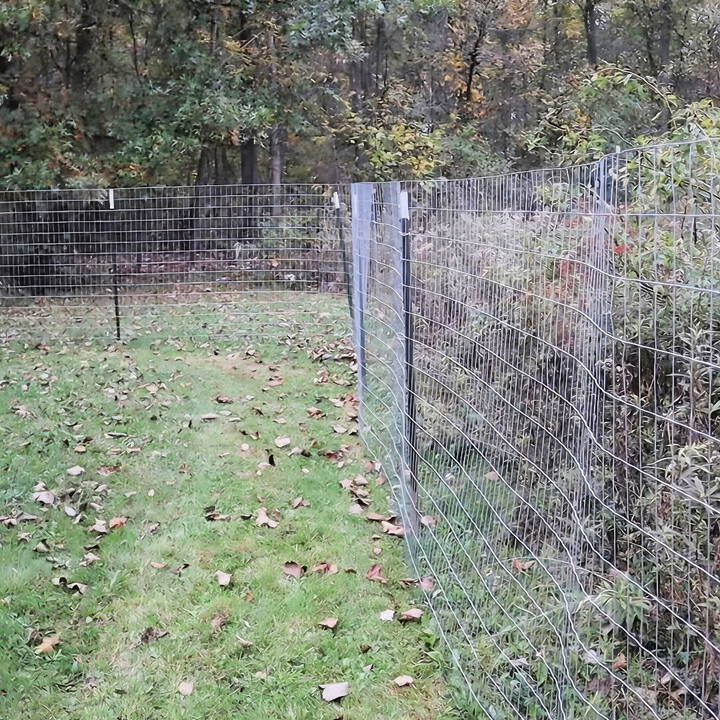
- Welded Wire Galvanized Fencing: I chose a sturdy option to withstand the energy of my dogs. This fencing material is crucial for the actual barrier part of your project.
- T-Post Clips: About 300. These clips are used to attach the wire fencing securely to the T-posts.
- Stakes: To provide additional support and ensure the fence is sturdy at ground level.
- T-Post Clip Bender: Although optional, this tool can make the process of attaching the clips much easier and faster.
Step by Step Instructions
Learn how to build a cheap DIY fence with our step-by-step guide. From laying out t-posts to adding stakes, get detailed instructions for a sturdy fence.
Step 1: Laying Out Your T-Posts
I started by spacing the T-posts about six feet apart, following the perimeter of my yard. If you're concerned about not having enough posts, you can adjust the spacing to eight feet. However, closer spacing means a sturdier fence.
Step 2: Driving the T-Posts into the Ground
Using the T-post driver, I securely planted each post into the ground. This step requires a bit of muscle, but it's straightforward. Ensure each post is planted deep enough to stand firm.
Step 3: Rolling Out Your Fencing
Once all the T-posts were in place, I unrolled the welded wire fencing along the perimeter, attaching its end to the starting post to build tension.
Step 4: Attaching Fencing to T-Posts
This is where the T-post clips come into play. I attached the fencing to each post with at least three clips: one at the bottom, one in the middle, and one at the top. The clip bender tool significantly simplified this step, making it quick to secure the clips.
Step 5: Adding Stakes for Extra Stability
I placed stakes in between each set of T-posts and secured the bottom of the fence to these stakes. This was to ensure the bottom of the fence wouldn't lift, providing an additional layer of security and stability.
Additional Tips for Success
- Measuring and Planning: Before starting, take the time to measure your yard and plan where you want your fence to go. This can save you a lot of time and hassle later.
- Choosing the Right Materials: Invest in quality T-posts and fencing material. Since this is a budget project, focus on durability over aesthetics to ensure your fence lasts longer without needing repairs.
- Safety First: Always wear protective gear, especially when handling tools like the T-post driver.
Creative Design Ideas for DIY Fences
For budget fence building, creativity is key. A unique design can highlight your yard and show your style. Here are stylish, affordable design ideas:
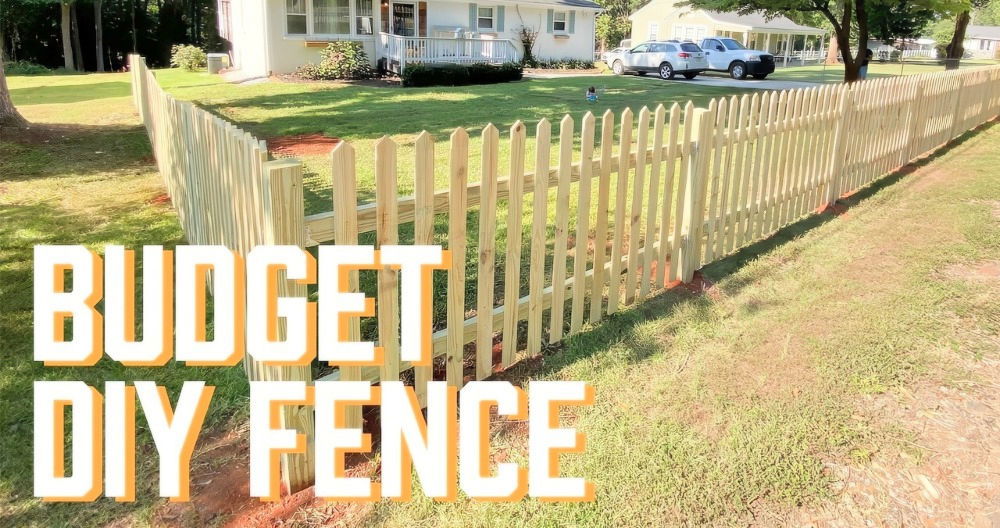
- Picket Fence with a Twist: Traditional picket fences are timeless, but adding a modern twist can make your fence stand out. Consider varying the height of the pickets or incorporating a pattern. Painting the fence in an unexpected color, like soft blue or sage green, can also add charm.
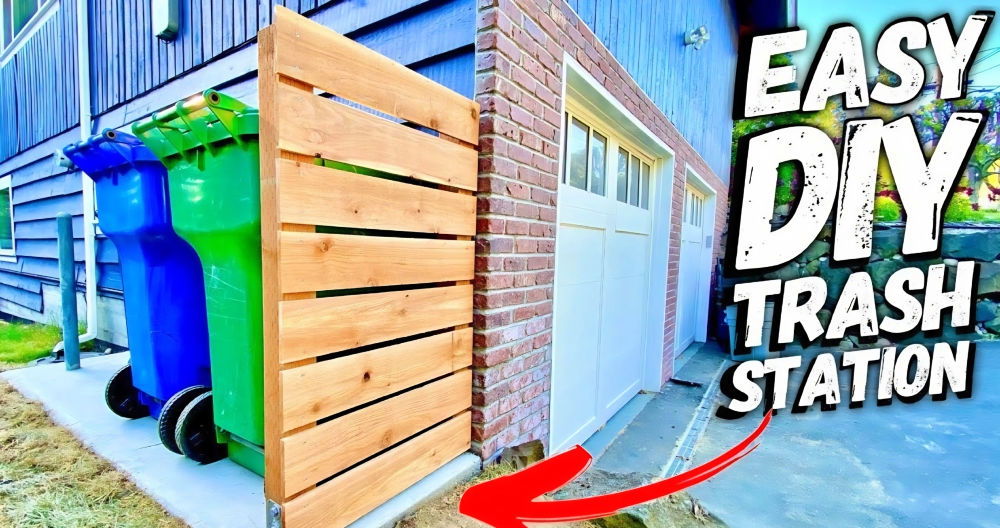
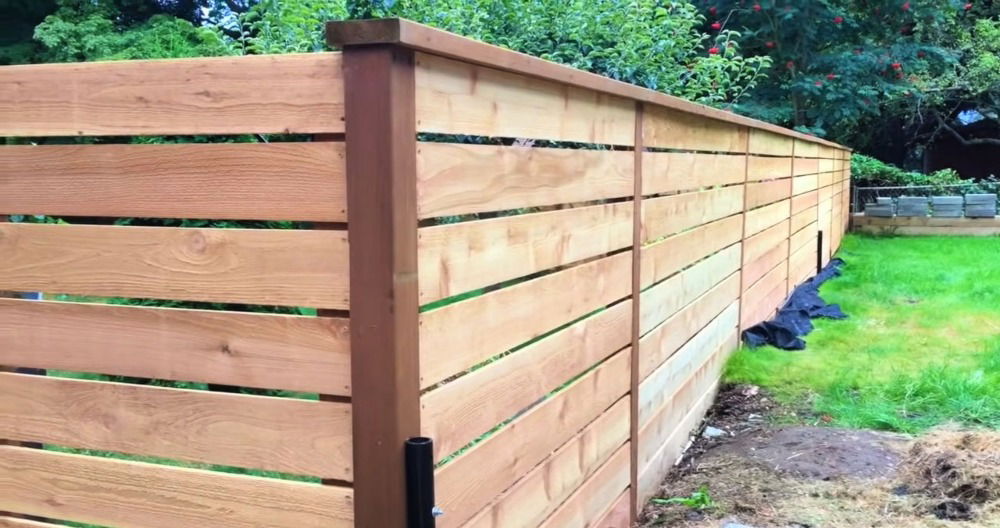
- Horizontal Plank Fence: Instead of the usual vertical planks, try arranging them horizontally. This simple change gives a contemporary look and can make your space appear larger. Use different widths of planks for a more dynamic effect.
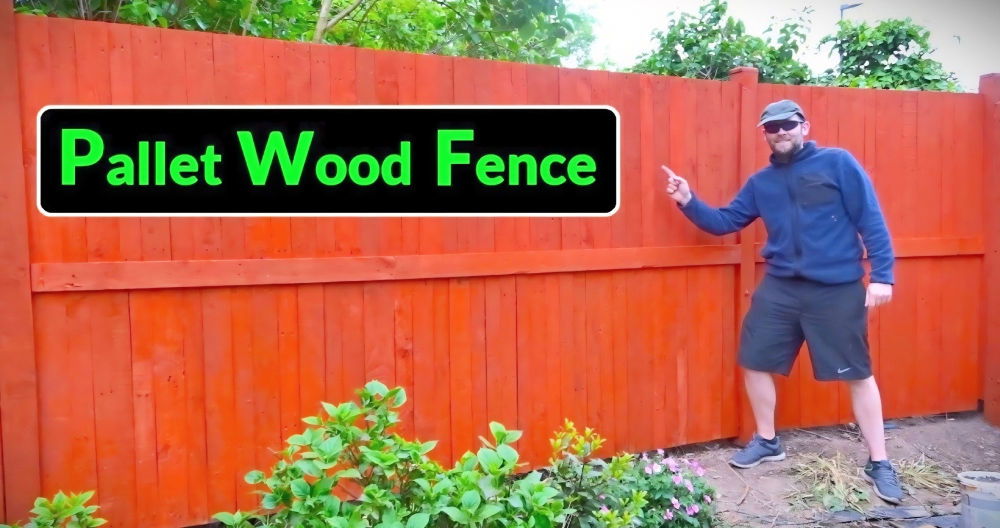
- Recycled Pallet Fence: Wooden pallets are often free or very cheap. With a bit of cleaning and staining, they can be turned into rustic fences. Stack them or break them down to build your own pattern.
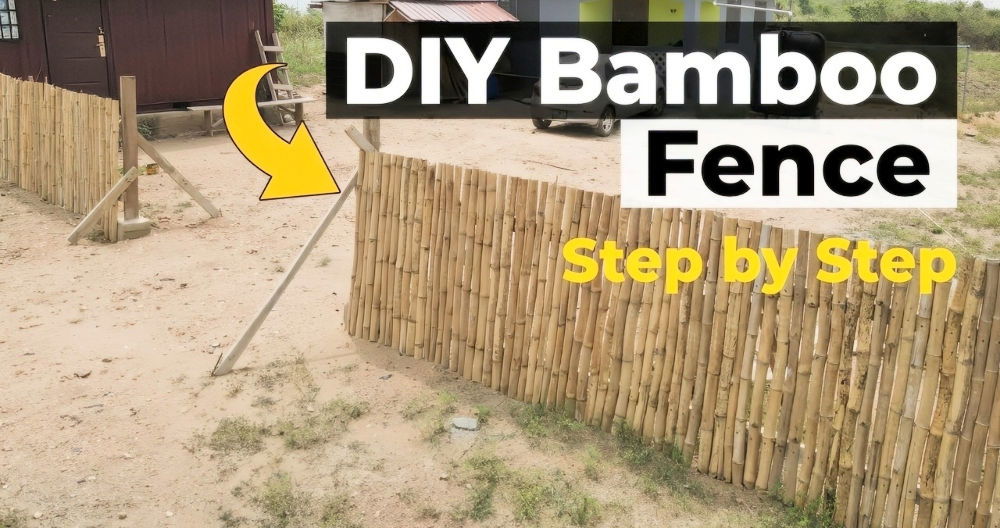
- Living Fence: A living fence made of shrubs or trees can provide privacy while adding greenery to your garden. Fast-growing species like bamboo or certain hedges can be a cost-effective solution.
- Woven Branch Fence: For a natural look, weave branches between fence posts. This can be a fun DIY project, and the materials can often be gathered from your own yard or nearby woods.
- Decorative Metal Inserts: If you have a bit more to spend, adding decorative metal inserts can elevate a simple wooden fence. Look for second-hand pieces or end-of-line sales to keep costs down.
- Mixed Materials: Combine different materials like wood and stone for a unique look. For example, stone can be used for fence posts, and wood can be used for panels. This not only looks great but can also be a way to use up leftover materials.
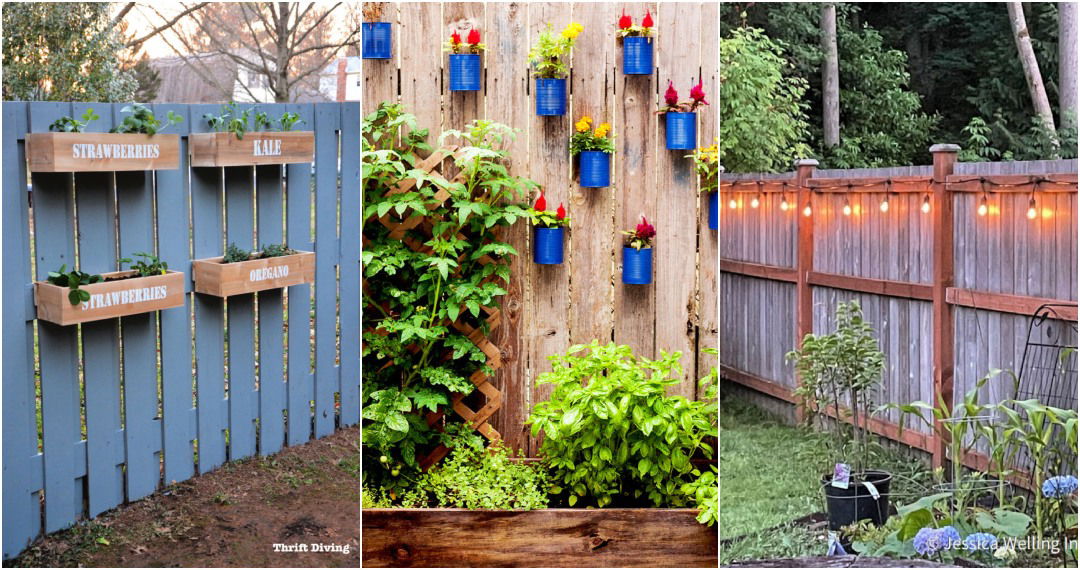
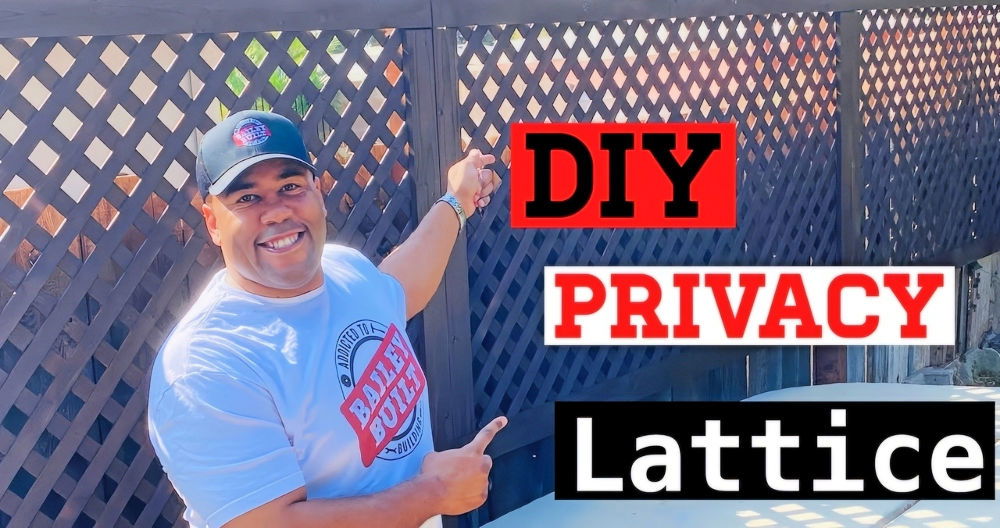
- Vertical Garden Fence: Turn your fence into a vertical garden by adding planters or trellises. This is perfect for small spaces as it allows you to have a garden and a fence in the same area.
- Artistic Murals: If you're artistically inclined, paint a mural on your fence. This could be anything from a landscape to abstract art. It's a great way to express yourself and add color to your yard.
- Lighting: Adding lights can make your fence not only a design feature during the day but also at night. Solar-powered lights are an eco-friendly and cost-effective option.
Success in DIY projects starts with planning. Sketch your design, list materials, and seek help when necessary.
Maintenance and Upkeep of Your DIY Fence
Maintaining your DIY fence is easy. Regular care extends its life and keeps it looking good. Here's how to upkeep your fence:
- Regular Cleaning: Dirt and mildew can make any fence look old and worn out. Use a mild soap and water solution to gently clean your fence. For wooden fences, a soft brush can help remove stubborn grime. If you have a pressure washer, use it on a low setting to avoid damaging the wood.
- Prompt Repairs: Small issues can turn into big problems if left unattended. Check your fence regularly for any signs of damage, such as loose boards or rust on metal parts. Tighten any loose screws and replace damaged boards as soon as possible to maintain the integrity of the fence.
- Stain and Seal: Wood fences benefit from a fresh coat of stain and sealant every few years. This not only enhances the look of the fence but also provides a protective barrier against the elements. Choose a stain that complements your home and apply it evenly for the best results.
- Pest Control: Termites and other pests can wreak havoc on wooden fences. Inspect your fence periodically for any signs of pest infestation. If you find any, treat the affected area promptly to prevent further damage.
- Vegetation Management: Plants growing against your fence can trap moisture and cause wood to rot. Keep the area around your fence clear of vegetation to allow proper air circulation. Trim back any bushes or vines that are in contact with the fence.
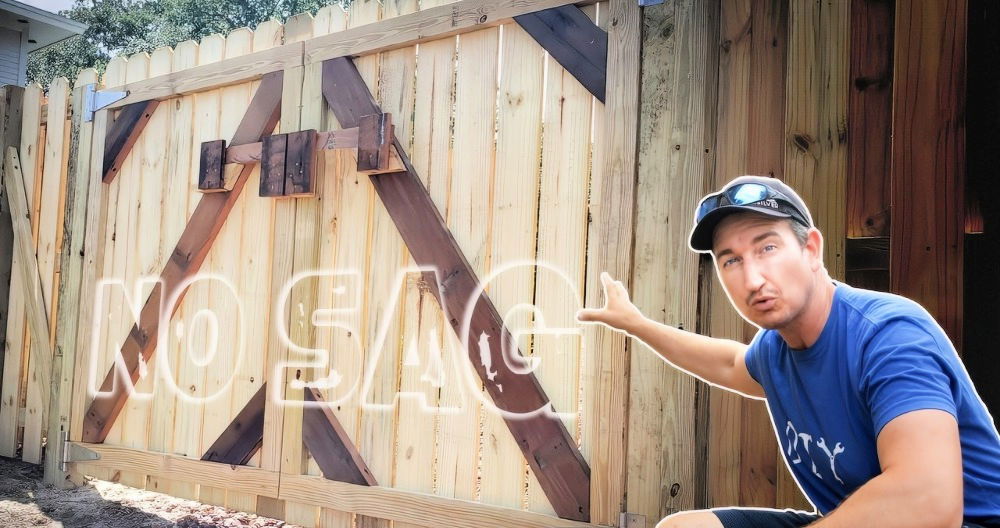
- Gate Care: The gate is often the most used part of the fence and can become misaligned. Make sure the hinges are well-oiled and the gate swings freely. Adjust the tension if you have a spring-loaded gate to ensure it closes properly.
Follow these tips to keep your DIY fence looking new and avoid costly repairs.
Legal Considerations for Building a DIY Fence
Building a fence may seem straightforward, but there are legal considerations you need to be aware of to ensure your project goes smoothly and doesn't lead to disputes. Here's what you should know:
- Know Your Boundaries: Before you start, it's crucial to determine the exact boundaries of your property. You can find this information on your property deed or by getting a land survey. This step prevents building on your neighbor's land, which can lead to legal issues.
- Check Local Laws: Every area has its own set of rules regarding fences. These can include how close you can build to the property line, the height of the fence, and the materials you can use. Contact your local planning department to get this information.
- Notify Your Neighbors: In many places, you're required to inform your neighbors about your fencing plans, especially if it will be on or near the property line. This is not just polite; it's often a legal requirement.
- Obtain Necessary Permits: Some areas require a permit before you can build a fence. Failing to get a permit can result in fines or having to take down your fence, so check with your local authorities first.
- Respect Easements: An easement is a legal right for someone else to use a part of your property for a specific purpose, like a utility company accessing cables. Make sure your fence doesn't block these easements.
- Consider Shared Fences: If you're building a fence that will be shared with a neighbor, there may be special rules about the cost and maintenance responsibilities. It's best to have a clear agreement in place.
- Follow HOA Guidelines: If you live in a community with a homeowners' association (HOA), they may have additional rules about fence styles, colors, and heights. Check your HOA's covenants for any specific requirements.
By following these guidelines, you can build your fence without legal headaches. When in doubt, it's always better to ask and get permission than to ask for forgiveness later.
FAQs About Cheap DIY Fences
Essential FAQs about cheap diy fences: discover budget-friendly tips, materials, and step-by-step guidance for building your own fence.
The most budget-friendly fences are typically made from chicken wire mesh, barbed wire, wood pallets, or reclaimed wood. These materials can be very cost-effective, especially if you source free pallets or recycled wood.
For a basic fence, prices start as low as $2 to $3 per linear foot for materials like chicken wire or mesh. If you’re considering a wood pallet or picket fence, costs can range from $2 to $14 per linear foot, including both materials and installation.
Yes, you can build a durable fence on a budget by choosing the right materials and design. For example, treated pine is an affordable option that’s resistant to rot and pests. Chain-link fences are also a sturdy and cost-effective choice.
Creative fencing ideas that won’t break the bank include using bamboo, hedges, or metal panels. You can also build a fence with a trellis design, which allows some light through and can support climbing plants for added beauty.
To save money on your fence, consider shopping for materials at home improvement stores or looking for free materials that can be repurposed, like pallets or corrugated metal. It's also a good idea to plan your project carefully to avoid waste and ensure efficiency.
Conclusion
Building my own cheap DIY fence was a rewarding experience, and I'm confident you can do it, too. Don't let budget constraints hold you back. With the tips and steps I'll share, you'll have a new fence in no time, and you'll feel proud of your accomplishment.


