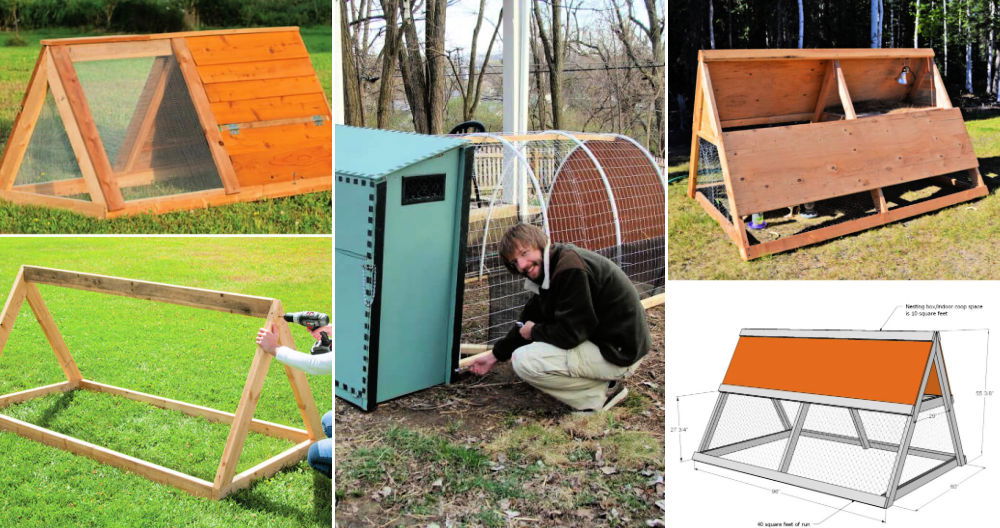
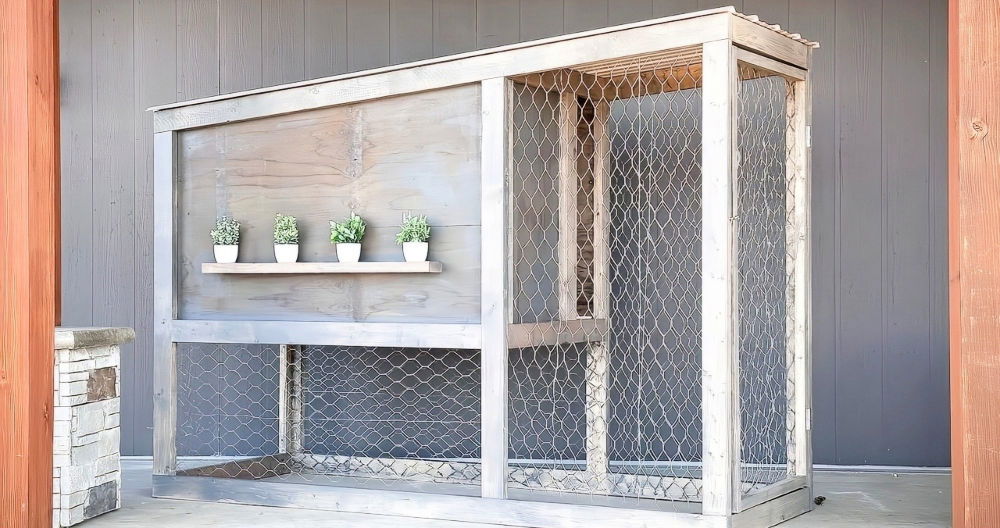
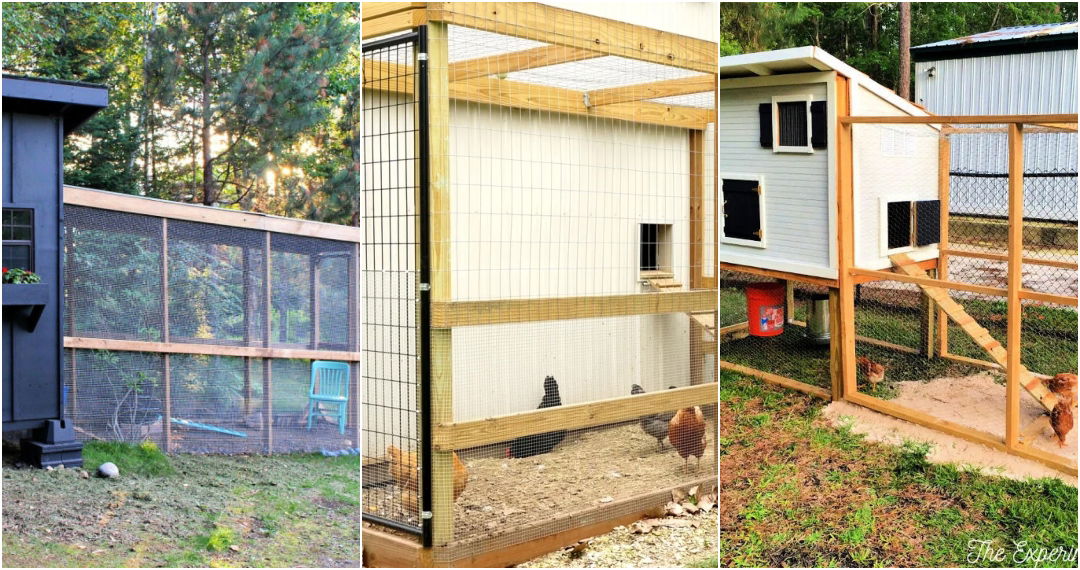
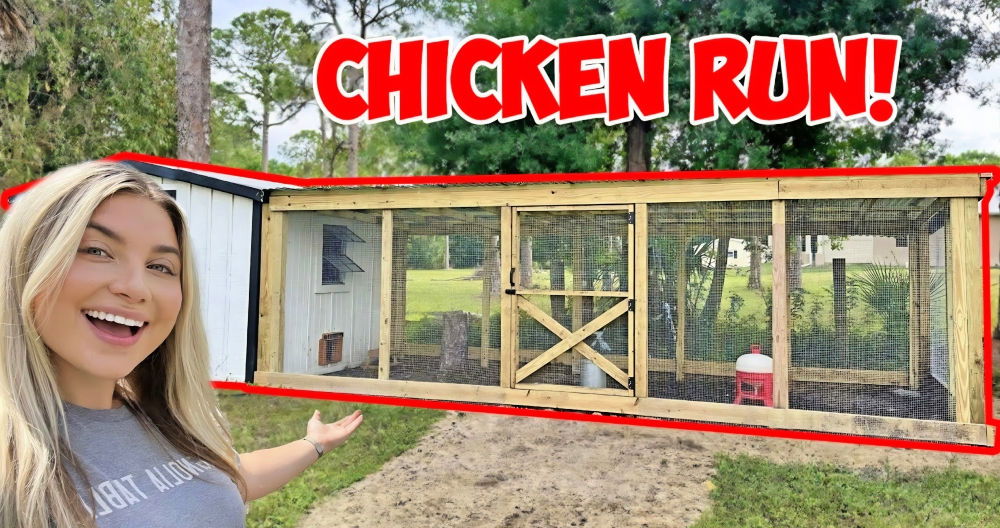
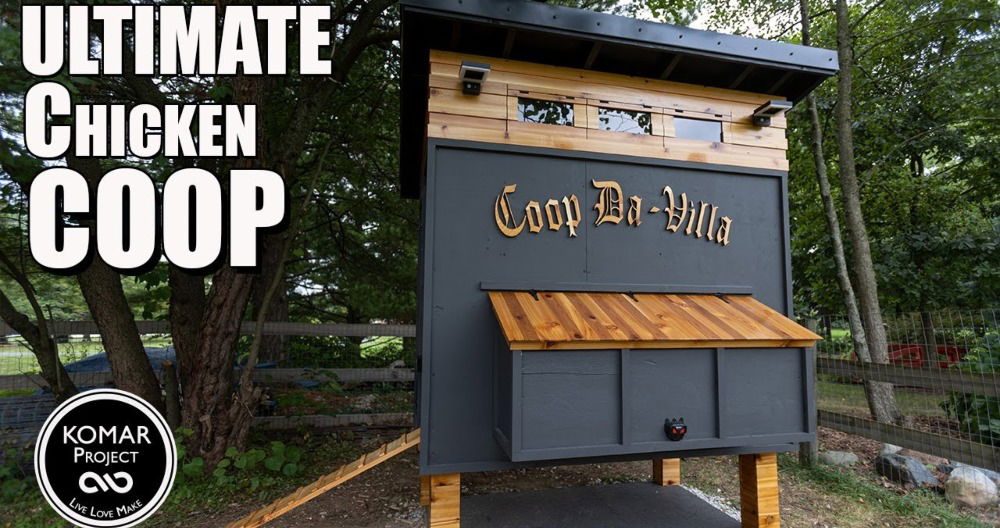
Starting a new project is always exciting. Last summer, I decided to build a DIY chicken tractor with some free plans that I found online. It was my first time taking on such a task. I gathered all the materials and followed the instructions step-by-step. The process was easier than I thought, and it gave me a sense of accomplishment.
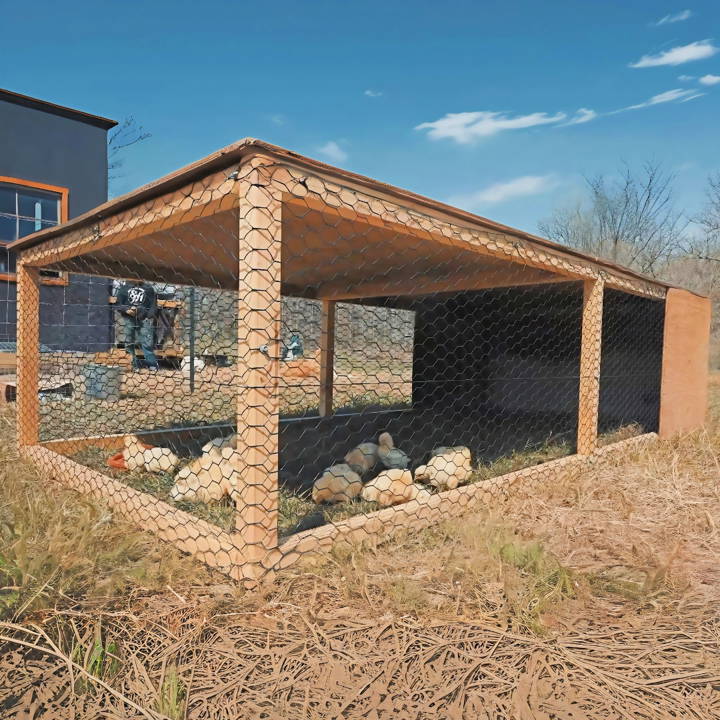
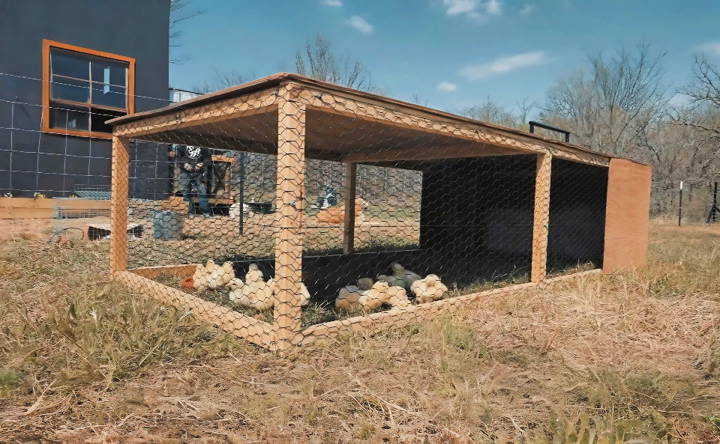
Building the chicken tractor was not only fun but also very practical. I could move it around the yard, giving the chickens fresh grass to peck at. I'm sharing this because it saved me a lot of trouble and kept my chickens happy.
This guide will help you build a secure and mobile home for your chickens too. Give it a try and see the benefits for yourself.
Why Build a Chicken Tractor?
Before diving into the construction details, it's essential to understand the why behind this project. A chicken tractor is not just a mobile home for chickens; it's a cornerstone of sustainable farming. By moving it around the farm, your birds get fresh grazing ground, contribute to pest control, and naturally fertilize the soil. It's an all-in-one solution for healthier birds and a healthier farm.
Materials Needed and Their Purpose
- Scrap Lumber: Utilizing scraps kept costs down. These provide the frame's structure and durability necessary for daily moves.
- Metal Netting ($25): The largest expenditure. This choice over traditional chicken wire was for ease of use and bird safety. Its flexibility and robustness protect birds without the risk of injury.
- Staples: For securing the netting to the lumber. Ensures the tractor remains enclosed and safe from predators.
- Rope (Optional): Facilitates moving the tractor. A simple addition that can save backaches and time.
Step by Step Instructions
Learn how to build a chicken tractor with our step-by-step instructions. From materials to final touches, get your chicken tractor plans now!
Gather Your Materials
Begin by rounding up your materials. Since most of my lumber was sourced from leftovers, I had to ensure each piece was free from rot and still structurally sound. Metal netting was the only purchase needed, and it was chosen for its user-friendly properties and safety for the birds.
Frame Construction
- Foundation: Start by making a rectangular base using the lumber. This will determine the size of your chicken tractor.
- Walls: Erect the sidewalls and end walls, securing them firmly to the base. Ensure they are of equal height to avoid any misalignment in the structure.
- Roof: Finish the frame with a sloped roof. This not only aids in rainwater runoff but also adds extra space for the birds.
Attaching the Netting
Unroll your netting and begin covering the open areas of the frame. The goal is to secure the netting tightly enough to prevent any sagging but with enough give to maintain its inherent flexibility. Staple generously to avoid any gaps predators might exploit.
Adding the Door
A crucial yet often overlooked feature is the door. Ensure it's large enough to allow easy access for both feeding the birds and eventual removal. Secure it with hinges and a reliable locking mechanism.
Final Touches
Inspect your tractor for any sharp edges or protrusions that could harm your birds. Consider laying down a tarp beneath the tractor for easier cleanup, especially in wet conditions. Attach the rope to the front for easy mobility.
Reflections and Additional Tips
- Mobility: Though the tractor is designed to be moved easily, it's surprisingly light. The rope proved invaluable, allowing me to relocate the tractor single-handedly.
- Versatility: This tractor isn't just for chickens. Post-project, I realized it could serve as temporary housing for other farm animals, such as rabbits.
- Maintenance: Regular inspections are key. Ensuring the netting remains intact and the structure sound is paramount for your birds' safety.
- Upgrades: Consider painting or treating the wood for added durability, especially if your area is prone to harsh weather.
- Community Insight: Sharing this project with others sparked interesting conversations and valuable advice. I learned, for instance, the importance of cross bracing for added stability. Always be open to feedback.
Customization Ideas for Your DIY Chicken Tractor
Building a chicken tractor that meets your specific needs can be a rewarding project. Here are some customization ideas to consider:
Size Adjustments
- Think about your flock size. If you have more chickens, you'll need a larger tractor. A good rule of thumb is to allow about 10 square feet per chicken. This ensures they have enough space to move around comfortably.
Mobility Enhancements
- Wheels or skids? Wheels make moving the tractor easier, but skids can be more stable on uneven ground. Consider the terrain of your yard when deciding.
Aesthetic Modifications
- Personalize with paint or decorations. Use non-toxic paint to add a splash of color or patterns. This not only makes your tractor stand out but can also be a fun family activity.
Nesting Boxes
- Add or modify nesting boxes. Ensure they are easily accessible for egg collection and cleaning. You might want to have one box for every three to four hens.
Perches and Roosts
- Install adjustable perches. Chickens love to roost off the ground at night. Make sure perches are sturdy and can be moved as needed for cleaning.
Protection Elements
- Consider predator-proofing features. Add hardware cloth instead of chicken wire for better protection against predators. Also, ensure the tractor is secure at night.
Feeding System
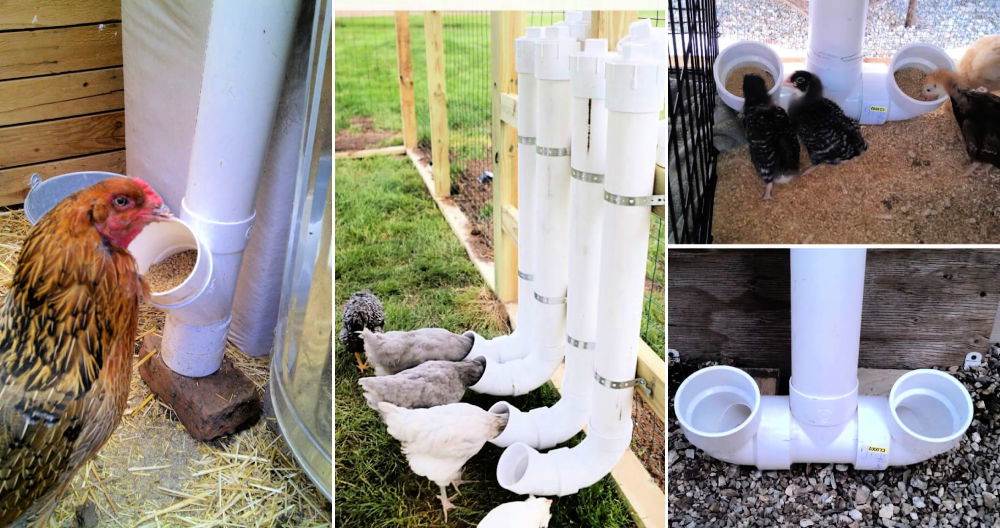
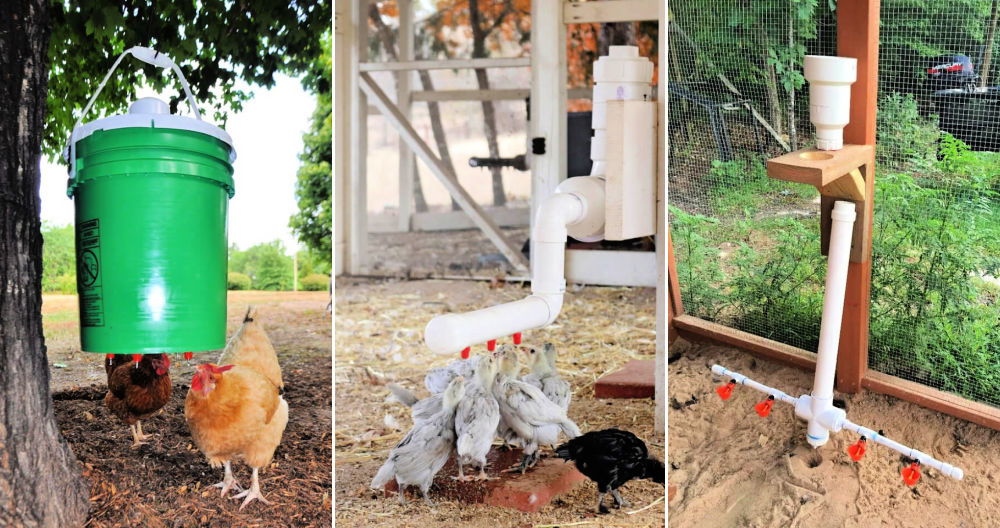
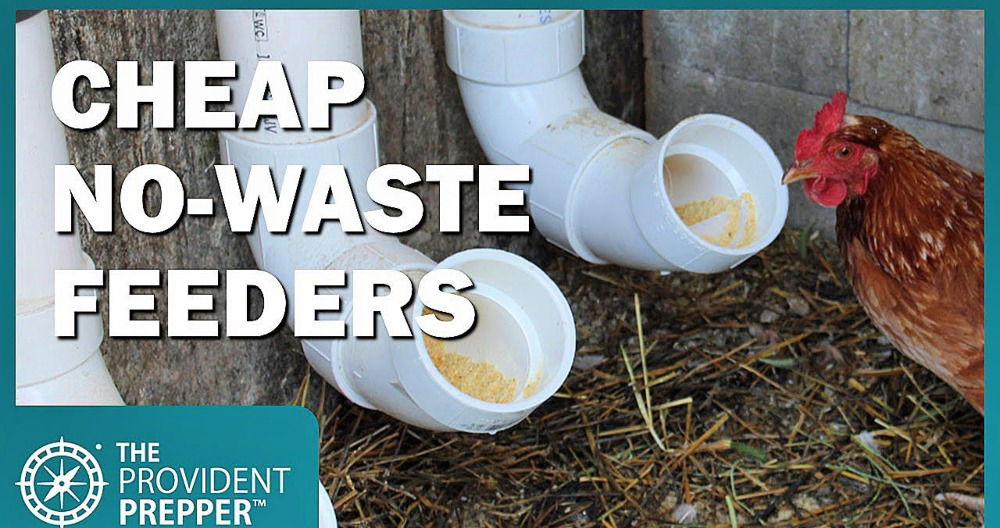
- Design a built-in feeding system. This could include troughs for feed and water that are easy to refill and clean, reducing spillage and waste.
Ventilation
- Ensure good airflow. Proper ventilation is crucial for the health of your chickens. Include vents or windows that can be opened or closed depending on the weather.
Easy Cleaning
- Design for easy maintenance. Removable floors or trays can make cleaning out the tractor much simpler and more hygienic.
Consider these ideas to build a functional, simple, and comfy chicken tractor for your needs. Balance function with simplicity to keep your DIY project practical and fun.
Maintenance and Upkeep of Your DIY Chicken Tractor
Regular maintenance is key to ensuring your chicken tractor remains a safe and comfortable home for your flock. Here's how to keep it in top condition:
Cleaning Schedule
- Clean regularly. Remove droppings and leftover food daily. Do a thorough cleaning every two weeks. This prevents pests and diseases.
Checking for Damage
- Inspect for wear and tear. Look for any signs of damage or weak spots in the structure that predators could exploit. Repair them promptly.
Updating Bedding
- Change bedding often. Use straw or wood shavings and replace them during your bi-weekly clean to keep the area dry and comfortable.
Water and Feed
- Keep water and feed fresh. Refill and clean water containers daily. Check feeders for mold or old feed and clean them as needed.
Moving the Tractor
- Rotate location. Move your tractor regularly to give chickens fresh ground and prevent overgrazing and soil compaction.
Seasonal Adjustments
- Adapt to the seasons. Add or remove covers for protection against rain, snow, or sun, depending on the weather.
Pest Control
- Manage pests. Look out for signs of rodents or insects that can harm your chickens or spread disease. Use natural deterrents or traps as necessary.
Follow these tips to keep your chickens healthy and your tractor lasting longer. A bit of effort keeps chickens happy and tractors functional.
FAQs About DIY Chicken Tractor Plans
Discover answers to top questions about DIY chicken tractor plans. Learn about materials, designs, costs, and essential tips for building your own.
A chicken tractor is essentially a mobile chicken coop that provides your chickens with fresh grazing areas and keeps them protected. It’s like a caravan for chickens, containing everything they need: food, water, a roosting perch, and a nesting box. By using a chicken tractor, you can protect your garden from being overgrazed and fertilize your soil naturally with chicken manure.
To maintain a healthy lawn and provide fresh forage for your chickens, it’s best to move the tractor at least every other day. This prevents bald spots and ensures that your chickens always have new areas to explore and graze.
The basic structure of a chicken tractor can be divided into two parts: the coop and the run. The coop is a secure box where the chickens sleep and lay eggs, while the run is an enclosed area for them to forage and exercise. Remember, large fowl need 4 square feet per bird, and bantams require 2 square feet per bird.
Many chicken tractors do not have a floor to allow droppings to fall directly onto the ground, minimizing cleanup. However, a solid base can provide additional security and make it easier to move the tractor without leaving a trail of waste.
Absolutely! There are many free DIY plans available that cater to different flock sizes and budgets. Whether you're a beginner or an experienced builder, you can find a plan that suits your needs and provides a safe, mobile home for your chickens.
Looking Forward
I encourage you to get started with these easy plans today. Building a DIY chicken tractor can be rewarding and very helpful for your chickens. Give it a try, and you won't regret it.


