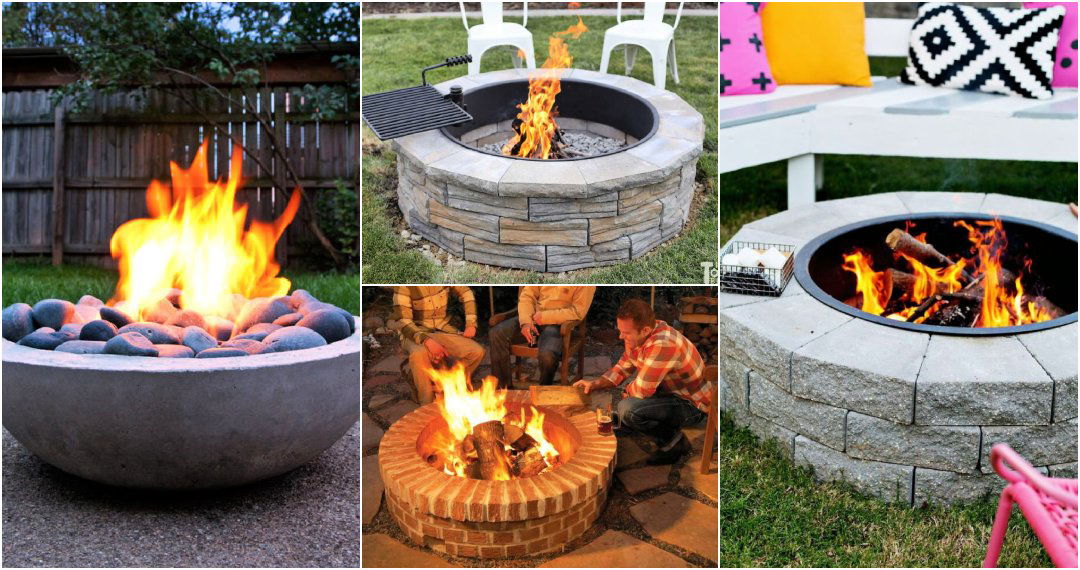
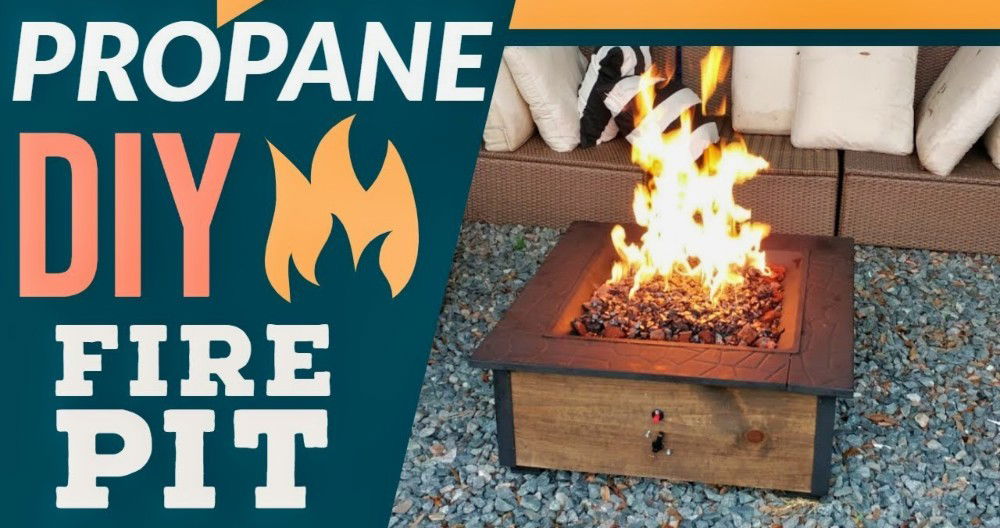
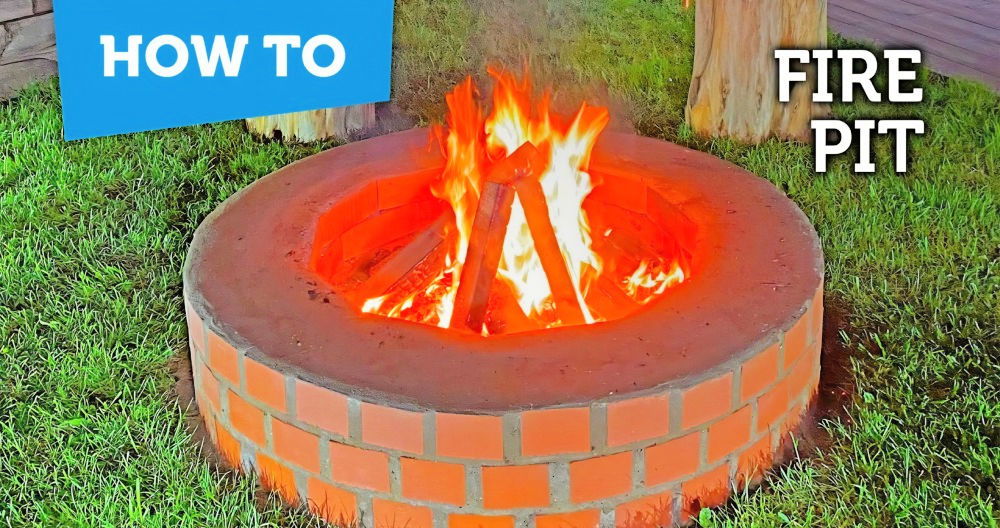
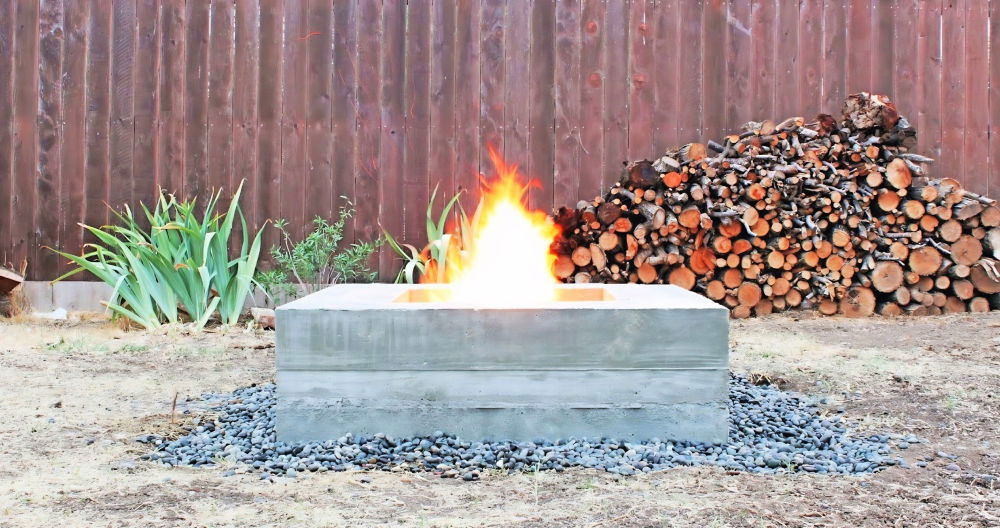
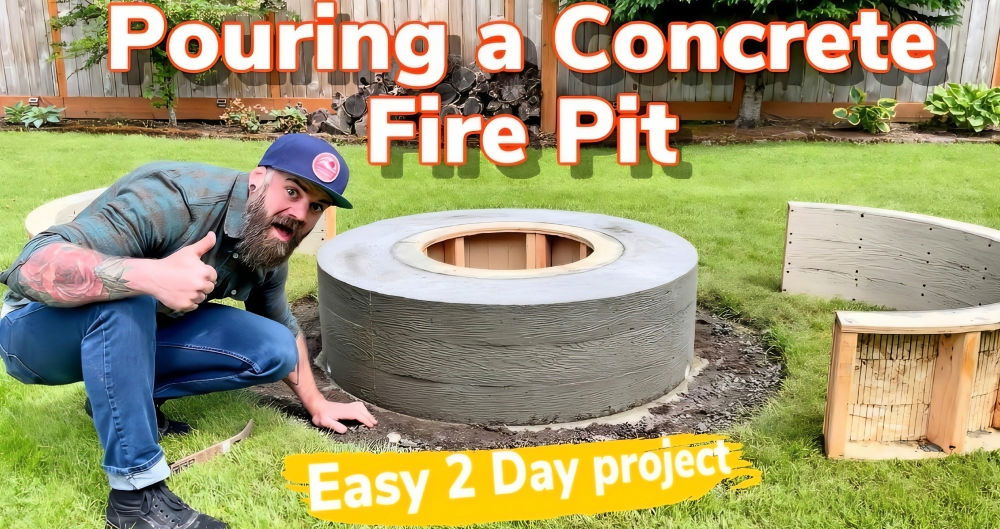
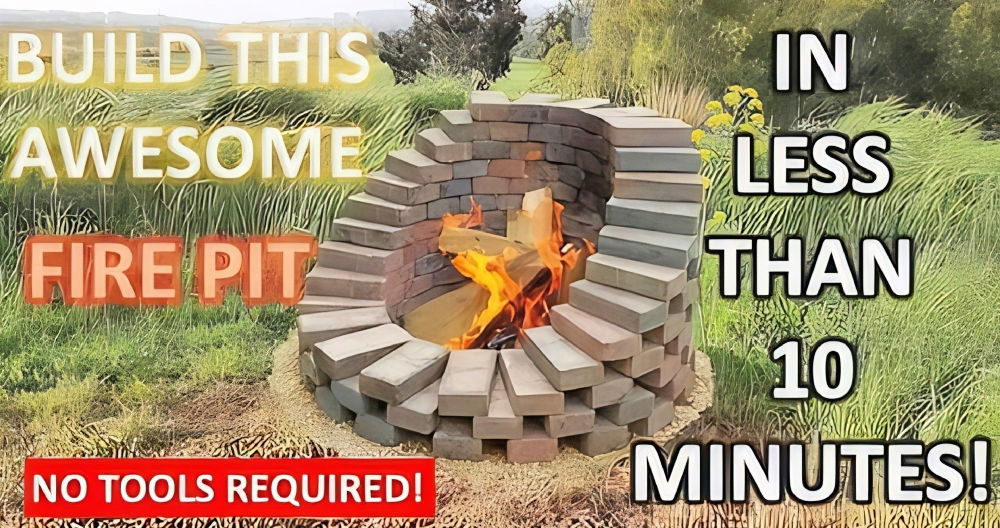
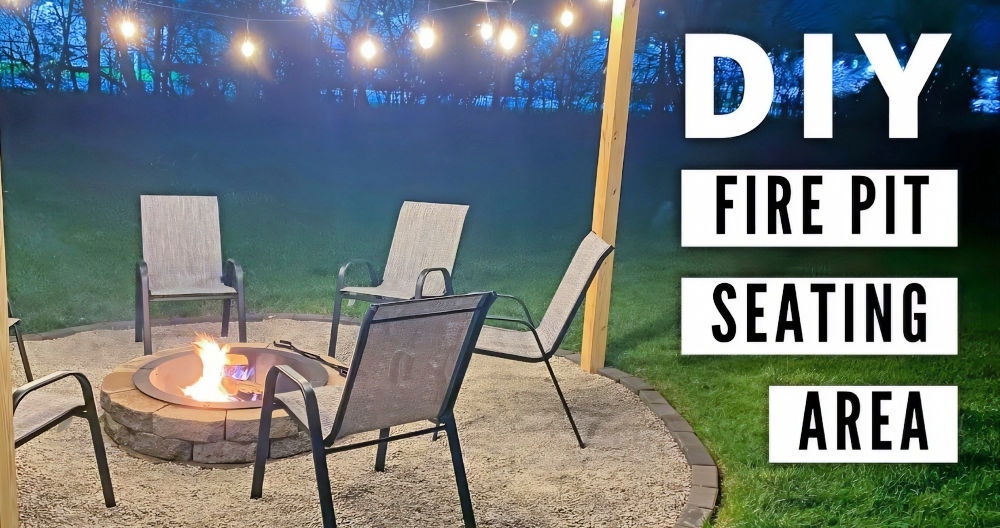
Building a cozy, budget-friendly outdoor space can transform your backyard into a welcoming retreat where family and friends can gather around a fire. A fire pit is an essential element for such a space, offering warmth, ambiance, and a focal point for outdoor gatherings. One of the most affordable and straightforward methods for building a fire pit is using cinder blocks. In this tutorial, you'll discover each step needed to make your own DIY cinder block fire pit.
Why Build a Cinder Block Fire Pit?
Cinder blocks are inexpensive, durable, and readily available, making them the perfect material for a DIY fire pit. You don't need specialized tools or construction experience to build a sturdy and functional fire pit. Plus, it's a temporary structure, meaning it can be adjusted or dismantled easily without much hassle. Whether you're a novice or seasoned DIY enthusiast, this project is simple, achievable, and provides immediate gratification.
Benefits of a Cinder Block Fire Pit:
- Affordable: Cinder blocks cost significantly less than other fire pit materials like bricks or metal.
- Durable: They are designed to withstand high temperatures and last for years.
- Versatile: You can build different designs and shapes depending on your preference.
- Easy to Construct: You don't need specialized skills, mortar, or adhesives to build the fire pit.
Let's get started with the step-by-step instructions for building your own cinder block fire pit.
Materials You'll Need
Before you begin, gather the following materials and tools:
Materials:
- Cinder blocks (16-24 blocks depending on the size of your fire pit)
- Sand (about two bags, depending on the size of your pit)
- Gravel or lava rocks (optional, for layering the bottom)
- Fire-resistant stones (for covering the top layer)
- Smaller bricks (optional, for gaps or aesthetic design)
Tools:
- Shovel
- Measuring tape
- Level
- Garden rake (optional, for smoothing the base area)
- Gloves (for safety)
Optional Items:
- Fire ring insert (for added safety and durability)
- Grill grate (if you plan to cook over your fire pit)
Step by Step Instructions
Learn how to build a cinder block fire pit with easy DIY steps, from choosing the perfect spot to essential safety tips, for a cozy outdoor retreat.
Step 1: Choose the Location
The first and most crucial step in building your fire pit is determining its location. Here are a few key considerations:
- Safety: Ensure the fire pit is at least 10 feet away from any structures, trees, or overhanging branches.
- Flat Surface: A level area is best for building a fire pit to ensure stability.
- Wind Direction: Try to position your pit where the wind won't blow smoke directly into seating areas.
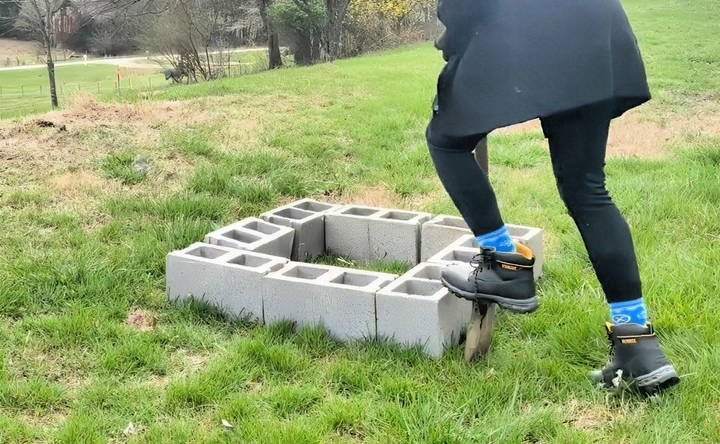
Once you've found the right spot, mark it out using your shovel or garden rake.
Step 2: Prepare the Ground
With your location set, you'll now need to prepare the area where the fire pit will sit.
- Remove Grass and Weeds: Use a shovel to dig out the grass in a circular or square shape, depending on the fire pit design you want. You'll want to dig down about 2-3 inches.
- Level the Ground: After clearing the grass, rake the area to ensure it is as level as possible. A level surface is important to ensure that the cinder blocks align correctly and the structure remains stable.
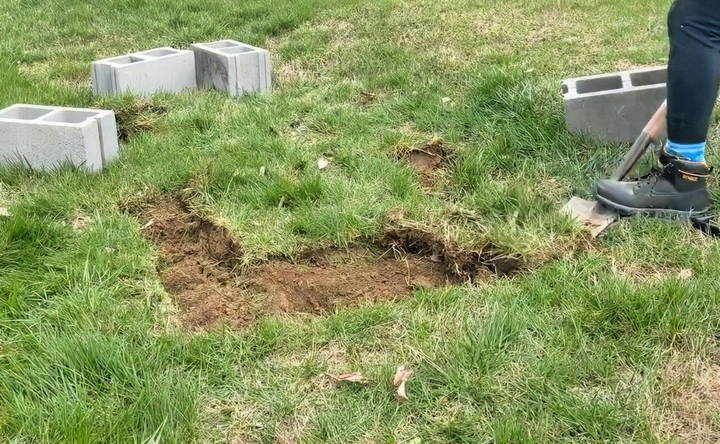
Step 3: Lay the First Layer of Cinder Blocks
Now it's time to start laying the foundation of your fire pit:
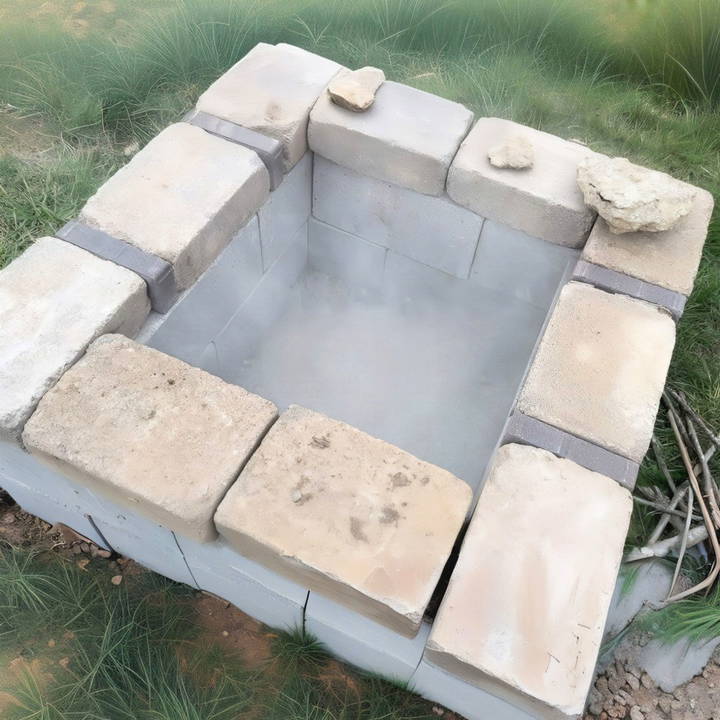
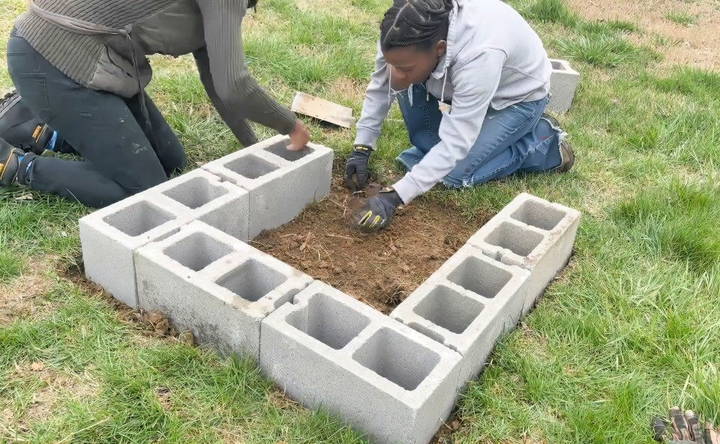
- Start with the First Layer: Begin by placing the cinder blocks in your chosen shape, which could be circular, square, or rectangular. For most backyard pits, a circular arrangement with 12-16 blocks works well. Align the blocks so that they are evenly spaced and sit firmly on the ground.
- Check for Balance and Leveling: After positioning the blocks, use your level to ensure each block is balanced and flush with the others. If one block is too high or too low, adjust the ground beneath it.
- Alternative Designs: If you want a more aesthetic look, you can alternate the cinder blocks to build a staggered effect. Additionally, leaving small gaps between blocks allows for better airflow.
Step 4: Add the Second Layer of Cinder Blocks
Once your first layer is complete and level, you're ready to add a second layer of cinder blocks.
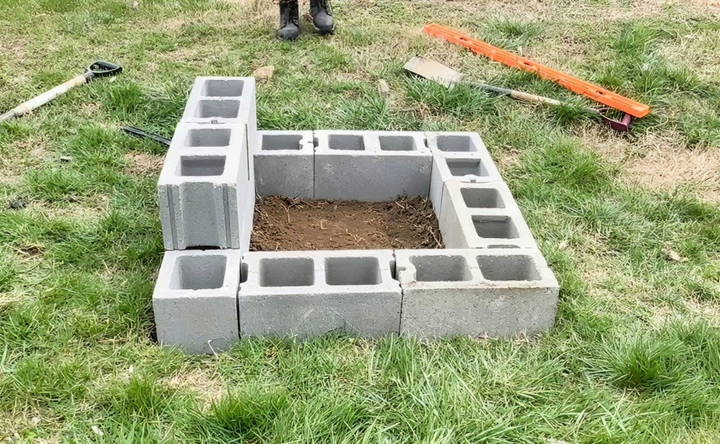
- Stagger the Blocks: To add stability, place the second layer of cinder blocks so that each block is centered on the seams of the layer below (this is known as a staggered or running bond pattern).
- Repeat Leveling: As with the first layer, check that each block is level. Continue making minor adjustments as needed.
- Optional Third Layer: Depending on the height you want for your fire pit, you can add a third layer of cinder blocks. Two layers are typically enough for most purposes, but three layers add extra height and safety.
Step 5: Add Fire-Resistant Stones or Bricks
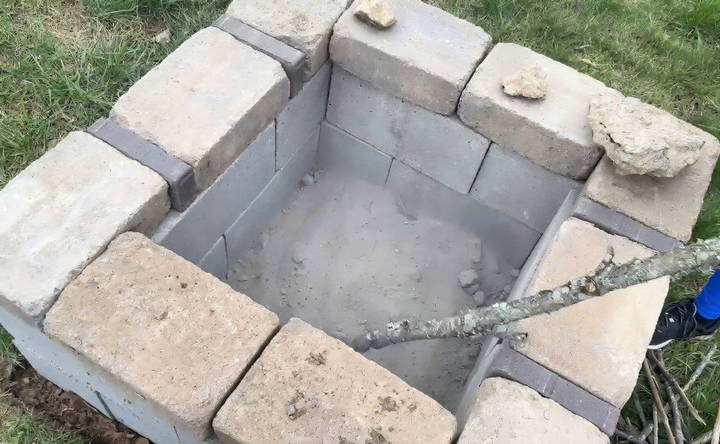
To give the top of your fire pit a polished, finished look, place large, flat fire-resistant stones on top of the cinder blocks. This not only adds aesthetic appeal but also helps protect the blocks from heat. You can also use smaller bricks or stones to fill in any gaps and add decorative touches.
Step 6: Prepare the Inside of the Fire Pit
Now that the outer structure of your fire pit is complete, it's time to prepare the interior:
- Layer the Bottom with Sand: Pour a layer of sand into the base of the pit, about 2-3 inches deep. This helps with drainage and prevents the ground from overheating.
- Add Gravel or Lava Rocks: For extra durability and heat protection, you can add a layer of gravel or lava rocks on top of the sand. This helps with air circulation and further prevents heat damage to the ground beneath the fire pit.
Step 7: Optional – Add a Fire Ring Insert
If you want your fire pit to last longer and provide added safety, consider placing a metal fire ring insert inside the cinder block structure. This ring acts as a barrier between the fire and the cinder blocks, reducing the risk of heat-related damage to the blocks over time.
Maintenance Tips for Your Cinder Block Fire Pit
While cinder block fire pits are durable and require minimal upkeep, there are a few maintenance steps to ensure it stays in great condition:
- Regular Cleaning: Remove ash and debris after each use to prevent buildup.
- Check for Cracks: Periodically inspect the cinder blocks for any signs of wear or cracks, especially if you frequently use the fire pit.
- Winter Protection: If you live in a cold climate, consider covering your fire pit during the winter months to protect it from the elements. Water can seep into cracks and freeze, potentially damaging the structure.
Safety Considerations
Building and enjoying a fire pit comes with some inherent risks. To ensure you, your family, and guests stay safe, follow these fire pit safety tips:
- Never Leave the Fire Unattended: Always monitor your fire pit while in use.
- Keep Water or Sand Nearby: In case of an emergency, have a fire extinguisher, bucket of water, or sand on hand to quickly put out the fire.
- Use Proper Firewood: Avoid burning treated wood or materials that produce toxic smoke. Stick to dry, seasoned hardwoods like oak or hickory.
- Control the Fire Size: Keep your fire small and manageable to reduce the risk of sparks and embers flying out.
- Supervise Children and Pets: Never leave children or pets unattended near a lit fire pit.
Final Thoughts: Enjoying Your DIY Cinder Block Fire Pit
Building a DIY cinder block fire pit is a fantastic way to enhance your backyard without spending a fortune. Not only is it functional and durable, but it also offers a blank canvas for creativity—allowing you to customize it to suit your personal style. Whether you're roasting marshmallows with the kids, gathering friends for a casual evening, or simply relaxing under the stars, your new fire pit will quickly become the centerpiece of your outdoor space.
Now that you've learned how easy it is to construct, gather your materials, and get started on your cinder block fire pit today!
FAQs About DIY Cinder Block Fire Pit
Discover the top FAQs about DIY cinder block fire pits. learn about safety, materials, and design to build your perfect backyard fire feature.
Refractory bricks are an excellent alternative. They are specifically designed to withstand higher temperatures, unlike regular cinder blocks, which may crack after extended exposure to heat.
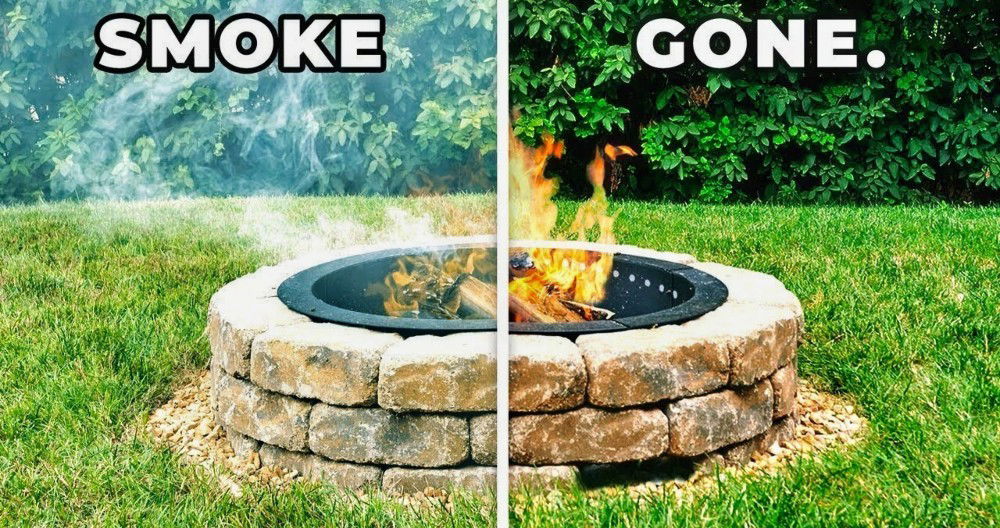
To reduce smoke, ensure proper airflow. Consider redesigning your pit to allow air to enter from the bottom. This promotes better combustion and reduces the amount of smoke produced.
No, the structure can be built without mortar or adhesive, making it easy to adjust or dismantle. However, ensure that the blocks are well-aligned and level to maintain stability.
Before lighting a fire, ensure all sides of the pit are level, and the materials are stable. Consider using a fire ring insert to further protect the cinder blocks and prevent damage from high heat.
Yes, you can personalize the fire pit by using decorative stones, smaller bricks, or unique patterns for the cinder blocks. Some people also leave small gaps between the blocks for better airflow.
Cinder blocks are durable but can be prone to weather damage. Cover your fire pit during the winter months to protect it from snow, ice, and rain, which can seep into cracks and cause damage when frozen.


