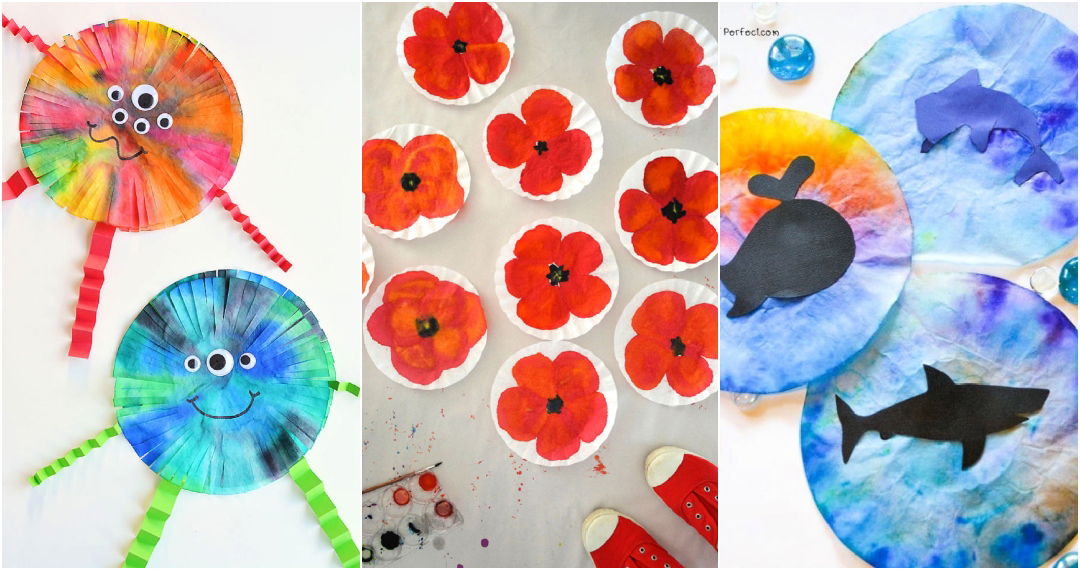
Coffee filter art has emerged as a popular, easy-to-do craft that creates mesmerizing designs with a tie-dye effect. This project is perfect for kids, art beginners, or anyone looking for a simple, fun activity with stunning results. Using coffee filters, washable markers, and water, you can transform ordinary materials into colorful art pieces, perfect for decorating your space, gifting, or exploring color blending techniques. With this guide you will able to make beautiful coffee filter art at home.
What You'll Need
Before you begin, gather the following materials to ensure a smooth creative process:
- Coffee Filters: These are the base for your artwork. They are absorbent, lightweight, and perfect for diffusing colors.
- Washable Markers: Water-soluble markers work best, allowing the colors to spread beautifully when wet.
- Newspaper or Scrap Paper: Use this to protect your work surface from ink and water.
- Spray Bottle or Wet Paper Towel: You'll need a way to apply water to the filters to create the tie-dye effect.
Optional Supplies
- Gloves: To avoid marker stains on your hands.
- Black Sharpie: For adding final details or outlines to your dried artwork.
Step by Step Instructions
Discover coffee filter art with step-by-step instructions. Unleash creativity with vibrant designs and easy techniques for stunning DIY projects!
Step 1: Prepare Your Workspace
Lay down newspaper or scrap paper to protect your work surface from any marker ink or water. This will make cleaning up easier and help prevent staining.
Step 2: Fold the Coffee Filters
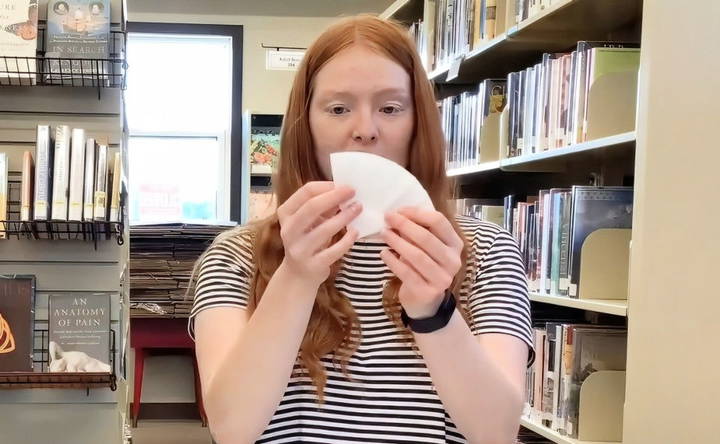
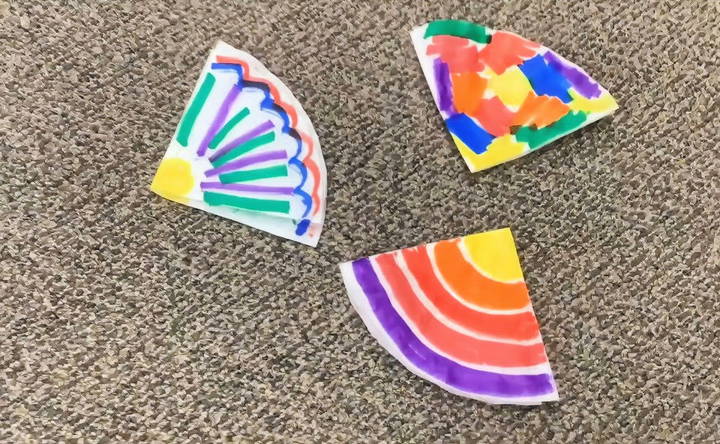
Start by taking one coffee filter and folding it in half. Then, fold it in half again to create a wedge shape. This folding technique will help concentrate the colors and make the blending process more vibrant and organized.
Step 3: Choose and Apply Colors
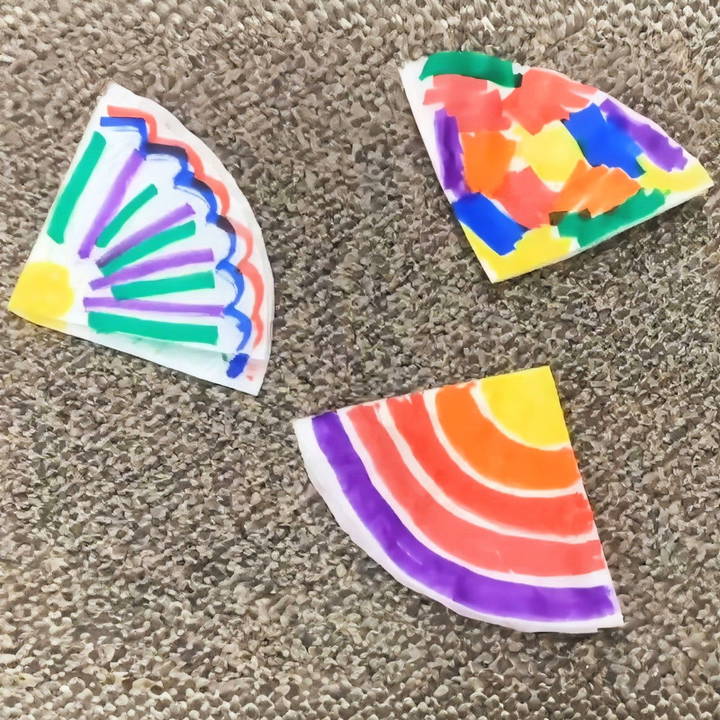
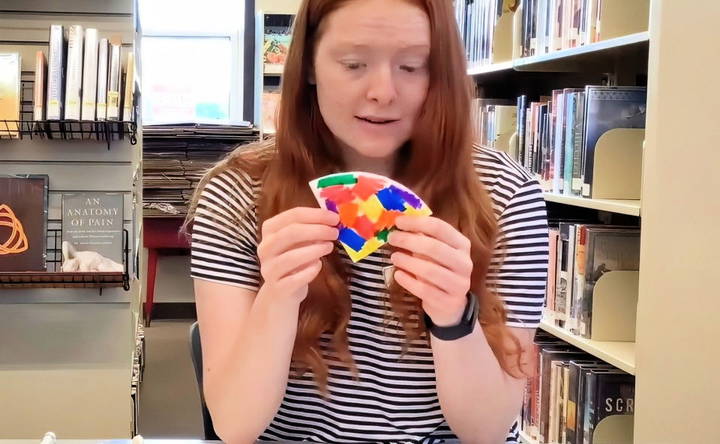
Using washable markers, add color to the folded coffee filter. The pattern can be structured or random—both yield beautiful results. Here are some helpful tips for choosing colors and designs:
- Bright Colors Work Best: Avoid using browns or blacks, as they tend to blend into muddy colors. Bright colors like pinks, purples, blues, and yellows work exceptionally well.
- Consider Placement: Coloring the edges or the center creates different visual effects. Coloring toward the edges often leads to a more dispersed pattern, while central coloring can create a burst effect.
- Large Color Patches Over Small Dots: Big blocks of color blend more smoothly than scattered small dots. Experiment with both techniques to find what you like best.
Step 4: Color Both Sides (Optional)
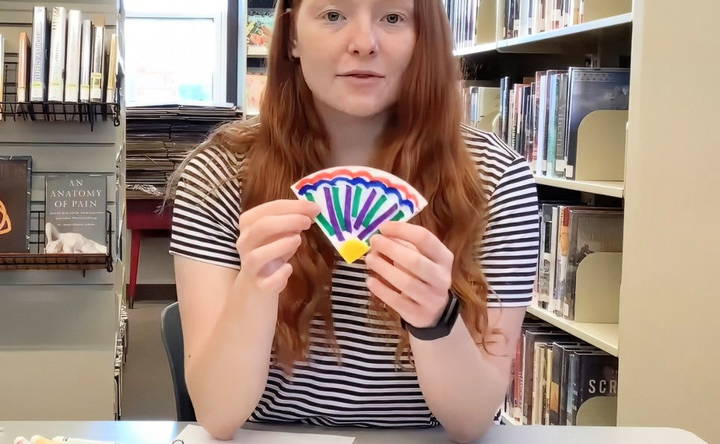
Coloring both sides of the folded coffee filter isn't necessary, as the water will help the colors spread and saturate the filter. However, adding color to both sides can result in deeper shades and a more vivid end result. Feel free to experiment with this step.
Step 5: Apply Water to Create the Tie-Dye Effect
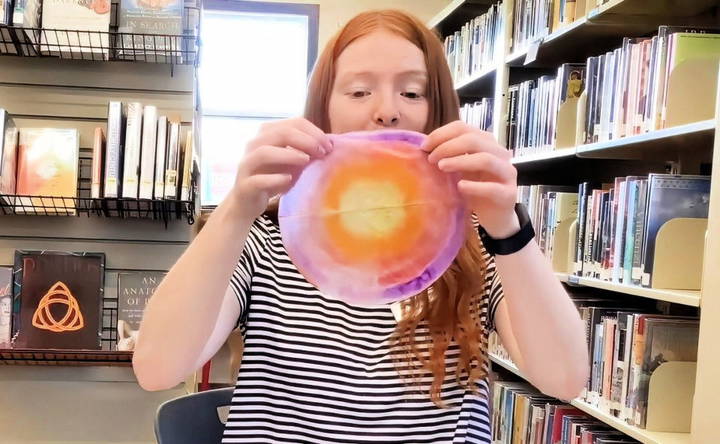
With your colored filter ready, it's time to introduce water. This step is what makes the colors bleed and blend, creating that unique tie-dye look.
Method 1: Spray Bottle
If you have a spray bottle:
- Hold the folded coffee filter and spritz it lightly. Aim for saturation without soaking it completely.
- Watch as the colors start to spread! If needed, add a few more sprays until you're happy with the diffusion.
Method 2: Wet Paper Towel or Cloth
If a spray bottle isn't available:
- Wet a paper towel or cloth and wrap it around the folded coffee filter.
- Apply gentle pressure to help the water seep through and spread the colors.
Both methods work well, so choose the one that's most convenient.
Step 6: Unfold the Filter Carefully
Once the colors have spread to your liking, gently unfold the coffee filter. Since wet filters are fragile, handle them with care to avoid tearing.
Step 7: Let It Dry
Place your unfolded coffee filter art on a clean piece of newspaper or scrap paper and allow it to dry completely. Avoid placing it directly on surfaces where marker ink might transfer.
Step 8: Add Final Details with a Sharpie (Optional)
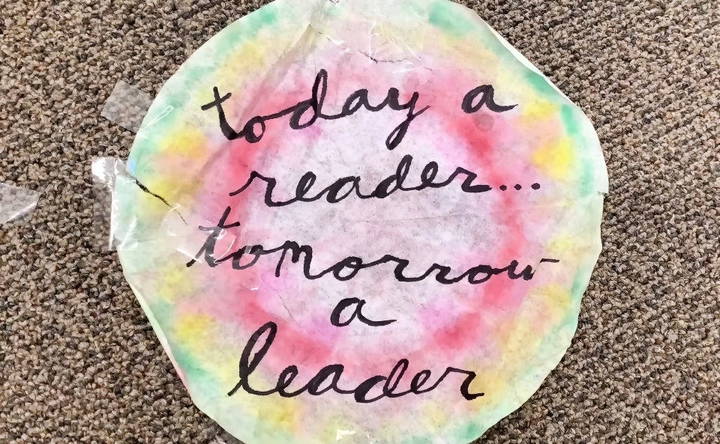
After the coffee filter has dried, you can use a black Sharpie to add designs, outlines, or details for extra flair. This is optional but can add dimension and complexity to your artwork.
Creative Ideas and Variations for Coffee Filter Art
Coffee filter art can be as versatile as you'd like. Here are some ways to take this project further:
1. Experiment with Shapes and Patterns
- Try cutting your coffee filters into different shapes before folding and coloring.
- Create themed patterns like hearts, stars, or spirals for specific occasions or decorations.
2. Create Multi-Layered Art
- Layer multiple coffee filters for a layered, flower-like effect.
- Use glue or tape to fix them together once dry and form colorful, multi-dimensional designs.
3. Make Suncatchers
- Once dry, your coffee filter art can be hung on windows as suncatchers.
- The thin coffee filter allows light to pass through, illuminating the colors and creating a beautiful stained-glass effect.
4. Craft Wall Art or Banners
- Attach finished pieces to string or ribbon to make a colorful banner.
- This can serve as festive decoration for parties or simply add color to your room.
5. Create Color-Themed Series
- Create series with specific color schemes (like cool tones or warm tones) and frame them for a cohesive wall art collection.
6. Experiment with Additional Water Techniques
- Try varying the amount of water you use or adding salt to the coffee filter for different blending effects.
- The salt can cause unique patterns to emerge as the filter dries, adding texture to your art.
The Science Behind Coffee Filter Art: Understanding Water Solubility
At the core of coffee filter art is the concept of water solubility. The water-soluble markers dissolve when water is added, causing the colors to blend and spread. The coffee filter's absorbent properties make it an ideal canvas for this type of artwork. This is a simple, kid-friendly way to explore basic chemistry principles like solubility, diffusion, and color mixing.
- Why Do Water-Soluble Markers Work Best? Water-soluble markers are designed to dissolve in water, which allows the pigments to spread easily. This spreading, combined with the porous nature of coffee filters, gives the tie-dye effect that makes each piece unique. Oil-based markers, by contrast, won't dissolve and thus won't produce the same colorful blending effect.
Troubleshooting Common Issues
Even though coffee filter art is relatively simple, you might encounter some minor challenges. Here's how to address common issues:
- Colors Blending Too Much: If the colors are turning into one large, muddy patch, you may be using too much water. Try spraying or dampening the filter lightly and gradually add more water if needed.
- Colors Not Blending Enough: If the colors aren't spreading, try folding the filter more loosely or increasing the water application. Ensuring the coffee filter is adequately saturated without overdoing it can achieve the best blend.
- Filter Tearing When Wet: Coffee filters are fragile when damp. Handle them with care, and avoid unfolding them too quickly. Let them sit for a moment before carefully opening.
Final Thoughts on Coffee Filter Art
Coffee filter art is a versatile, engaging activity that produces stunning tie-dye designs without requiring complicated materials. Whether you're crafting with kids or exploring this technique on your own, each piece is unique and brings a splash of color to your day. Plus, this craft teaches important science concepts like solubility and color theory, making it as educational as it is enjoyable.
So, grab your supplies and start experimenting! Coffee filter art is a creative journey with limitless possibilities, from wall art to DIY suncatchers and beyond. Let your creativity shine and enjoy the beautiful results of your colorful creations.
FAQs About Coffee Filter Art
Discover answers to common questions about coffee filter art, including techniques, materials, and creative tips for vibrant DIY projects.
Use washable, water-soluble markers, as they dissolve and spread with water, creating the tie-dye effect. Avoid permanent or oil-based markers since they won't bleed into the filter as desired.
Apply enough water to saturate the filter without soaking it. Over-wetting can cause colors to blend excessively, creating a muddy look. Lightly misting with a spray bottle or gently pressing with a wet paper towel works best.
Coloring both sides isn’t necessary, as the water will carry the colors through the filter. However, coloring both sides can make the colors more vibrant, especially for larger designs or intense color blends.
Drying time depends on the amount of water used but typically takes 30 minutes to a few hours. Lay the filter flat on newspaper or scrap paper to dry and avoid handling until fully dry to prevent tears.
Coffee filters are ideal because they are absorbent and easy to handle, but you can also use tissue paper or other lightweight, absorbent paper. However, results may vary, and these materials can be more fragile when wet.
Wet filters are fragile, so unfold and handle them gently to avoid tears. Wearing gloves can help prevent marker stains on your hands, as ink can transfer while unfolding or drying.
Choose bright colors and avoid excessive water. Avoid using too much black or brown, as they can create a dull, muddy effect. Large patches of similar colors blend better than small dots of multiple colors.
If colors aren't blending well, lightly reapply water to the filter until you see more diffusion. Make sure the filter is not folded too tightly, as a loose fold allows water to carry colors more evenly.
Yes! Once dry, you can use a black Sharpie or other permanent markers to add intricate designs or outlines, enhancing your artwork with finer details and creating a more polished look.


