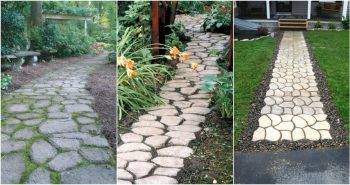
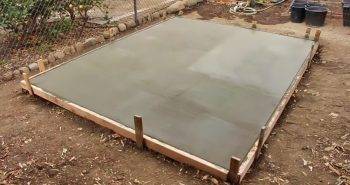
When I first thought about upgrading my concrete floor, I knew I wanted something durable and attractive. Diving into the world of epoxy flooring was overwhelming at first, but I quickly learned about adding flakes to epoxy for an even better result. I was sure this would give me that professional, polished look I was aiming for.
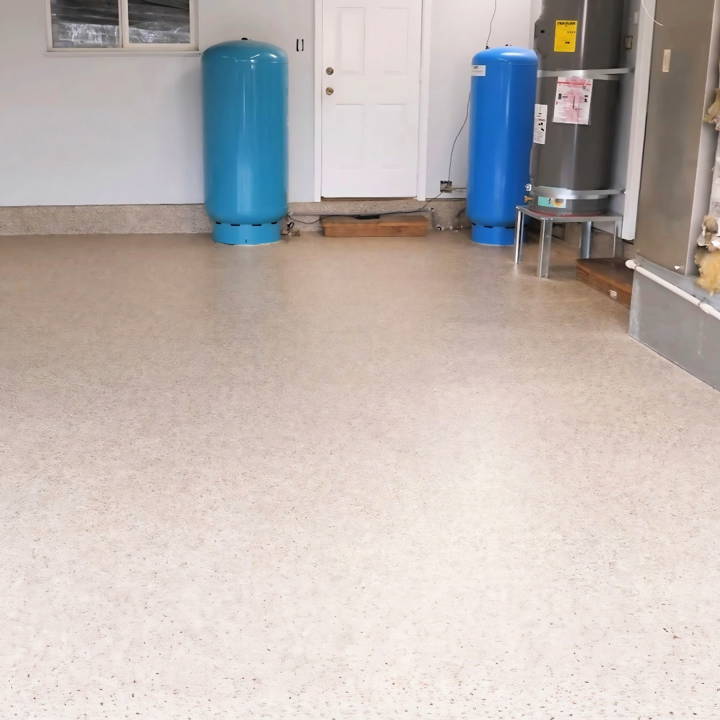
Transforming my floor into an epoxy floor with flakes transformed my space. Following a comprehensive guide made the process easy. With each step, I witnessed my floor changing into a stunning surface. This complete guide I'm sharing with you will help you build your own beautiful and durable epoxy floor. Trust me, it's worth the effort.
Get ready to start your exciting DIY concrete epoxy floor project with confidence. I'm sure this guide will help you achieve spectacular results.
Understanding Epoxy and Concrete Compatibility
When it comes to applying an epoxy coating to a concrete floor, understanding the compatibility between the two materials is crucial for a successful and durable finish. Here's what you need to know:
Concrete Surface Suitability
Firstly, not all concrete surfaces are ideal for epoxy application. The concrete should be:
- Cured: Typically, concrete needs at least 28 days to cure before applying epoxy.
- Clean: The surface must be free of oils, dust, and debris.
- Sound: There should be no major cracks or structural issues.
Moisture Level Assessment
Epoxy doesn't adhere well to damp surfaces, so it's essential to check the concrete for moisture. You can do this by:
- Tape Test: Seal a piece of plastic sheeting to the floor and leave it for 24 hours. Condensation under the plastic indicates too much moisture.
- Moisture Meter: Use a moisture meter to get a more accurate reading.
Porosity Check
The porosity of the concrete affects how well the epoxy will bond. To test this:
- Water Droplet Test: Drop a small amount of water onto the concrete. If it soaks in, the concrete is porous and suitable for epoxy.
Preparation for Optimal Adhesion
Before applying epoxy, ensure the concrete is:
- Profiled: This means it should have a slightly rough surface, like medium-grit sandpaper, to help the epoxy grip.
- Neutralized: After cleaning with chemicals, neutralize the surface to ensure proper adhesion.
Follow these guidelines to make your epoxy floor durable and long-lasting. Preparation is crucial; understanding and checking concrete compatibility saves time and money.
Materials Needed and Why
- Epoxy Flake Kit: This includes the base coat epoxy, flakes, and top coat. Choose a color that complements your space.
- Concrete Crack Filler: This is necessary to fill any cracks or holes before you start.
- Floor Grinder with Diamond Blade: This tool is essential for prepping your concrete surface by smoothing out imperfections.
- Degreaser and Cleaning Supplies: A clean floor is critical for the adhesion of the epoxy.
- Roller and Brushes: These are used to evenly apply the epoxy.
- Personal Protective Equipment (PPE): To safeguard yourself from dust and chemical exposure.
- Plastic and Painter's Tape: For protecting walls and making clean lines.
- Non-Slip Grip Additive: For the top coat, to ensure safety.
Step by Step Instructions
Learn how to build incredible and durable DIY concrete epoxy floors with our step-by-step guide, which includes prepping, grinding, base coating, and more.
Step 1: Prepping the Floor
Before anything, I cleared and cleaned the garage. Using a degreaser and a stiff-bristled brush, I scrubbed the floor to remove oil stains and dirt. This was crucial because any residue can prevent the epoxy from properly adhering. Next, I filled any significant cracks with concrete crack filler and let it dry according to the instructions. Proper preparation ensures the durability and longevity of your floor.
Step 2: Grinding the Concrete
Wearing my PPE, I ground the surface with a floor grinder equipped with a diamond blade. This step was pivotal for making a texture that the epoxy could grip onto. Trust me, skipping this step risks the entire project, so don't cut corners here. I focused on achieving a uniform surface, paying extra attention to edges and hard-to-reach spots.
Step 3: Applying the Base Coat
Mixing the epoxy was a straightforward process—just follow the kit instructions. With a roller and brush, I applied the epoxy meticulously, starting from the back of the garage and working my way to the entrance. It's crucial to spread the epoxy evenly to avoid patches and ensure a uniform finish.
Step 4: Broadcasting the Flakes
With the base coat still wet, I began tossing the decorative flakes into the air, allowing them to fall in a randomized pattern. I aimed for full coverage, making sure every inch was covered. This required patience and a bit of technique, as throwing too many flakes at once could lead to clumps.
Step 5: Applying the Top Coat
After letting the base coat and flakes settle for a day, I applied the top coat. The top coat is what seals everything in place and provides that glossy finish, so I mixed in a non-slip additive to ensure the floor would be safe when wet. Once mixed, I applied it evenly across the floor, taking care not to leave any roller marks.
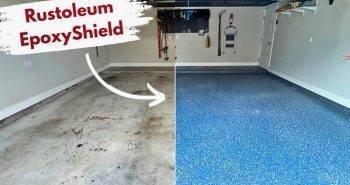
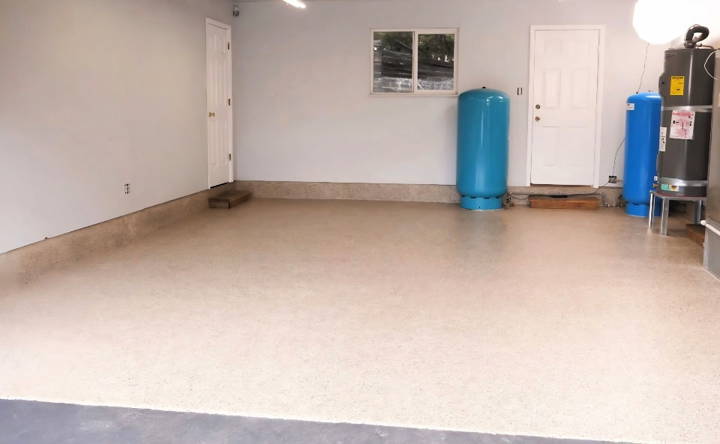
The transformation was incredible. For a fraction of the quote, I had a brand-new, durable, professional-looking epoxy flake floor that I was proud of. This project proved that with the right tools, materials, and a bit of elbow grease, you can achieve great things.
Design and Aesthetics
When you're ready to transform your concrete floor with epoxy, the design and aesthetics are where you can truly let your creativity shine. Here's how to make your floor stand out:
Color Choices
Epoxy comes in a wide range of colors. Consider:
- Solid Colors: Great for a uniform look.
- Metallic Epoxy: Makes a glossy, reflective surface.
- Color Flakes: Adds texture and variety.
Patterns and Textures
You can build patterns or textures on your epoxy floor by:
- Taping: Use painter's tape to build grids or borders.
- Stenciling: Apply stencils before the topcoat for intricate designs.
- Textured Rollers: Use rollers with patterns to add texture.
Inspirational Examples
Look at online galleries or showrooms to find:
- Photos: Collect images of floors that inspire you.
- Tutorials: Watch videos for step-by-step design instructions.
Personal Touch
Make your floor unique by:
- Embedding Objects: Place coins, photos, or mementos under a clear topcoat.
- Signature Color: Choose a color that reflects your personality or matches your decor.
Practical Considerations
Keep in mind:
- Safety: Use non-slip additives in areas prone to moisture.
- Lighting: Consider how natural and artificial light will interact with your floor's color and texture.
Focus on these design elements to build a functional and stylish epoxy floor. Keep it simple, experiment with different looks, and find what fits your space.
Troubleshooting Common Problems
Epoxy flooring is a fantastic way to get a durable, high-gloss finish that transforms any space. However, sometimes things don't go as planned. Here's a guide to solving some common epoxy floor problems:
Bubbles in the Epoxy
- Cause: Often due to trapped air or outgassing from the concrete.
- Solution: Pop them with a pin or heat gun. To prevent this, apply epoxy during cooler times of the day.
Peeling or Flaking
- Cause: Poor adhesion, usually from an unclean or improperly prepared surface.
- Solution: Remove loose epoxy, clean the area thoroughly, and reapply.
Blotchy or Uneven Finish
- Cause: Inconsistent mixing or application.
- Solution: Ensure the epoxy components are even mixed and applied with consistent spread rates.
Sticky or Soft Spots
- Cause: Insufficient curing time or incorrect mixing ratios.
- Solution: Allow more time to cure. If it doesn't harden, remove and reapply with the correct ratio.
Color Variations
- Cause: Sun exposure or different batches of epoxy.
- Solution: Use UV-resistant epoxy for sun-exposed areas and mix enough material from the start to avoid batch differences.
Scratches or Wear
- Cause: Heavy traffic or abrasive materials.
- Solution: Apply a topcoat with higher abrasion resistance and use protective mats in high-traffic areas.
Proper prep and application are crucial. Take your time, follow instructions, and you'll get a durable epoxy floor. Keep it simple; consult pros if problems persist.
Legal and Safety Guidelines
When undertaking a DIY epoxy concrete floor project, it's essential to be aware of the legal and safety guidelines to ensure a successful and safe outcome. Here's what you need to know:
Legal Considerations
- Building Codes: Check your local building codes for any regulations regarding flooring renovations.
- Permits: Some areas may require permits for significant renovations, even if you're doing it yourself.
Safety Precautions
- Ventilation: Epoxy can emit fumes; ensure your workspace is well-ventilated.
- Protective Gear: Always wear gloves, safety goggles, and a respirator mask when handling epoxy.
- First Aid: Keep a first aid kit nearby in case of accidental exposure.
Handling Epoxy
- Mixing: Follow the manufacturer's instructions for mixing epoxy to avoid improper application.
- Disposal: Dispose of epoxy and materials safely according to local regulations.
Equipment Safety
- Tools: Use tools correctly and store them safely when not in use.
- Spiked Shoes: Wear spiked shoes when applying epoxy to avoid slipping.
Chemical Awareness
- Resin and Hardener: Understand the chemicals you're working with and their potential hazards.
- Spills: Clean any spills immediately with the appropriate cleaner.
Follow these guidelines to comply with laws and keep everyone safe. Safety comes first, and precautions prevent accidents.
FAQs About DIY Concrete Epoxy Floor
Discover the essential faqs about DIY concrete epoxy floor, from application tips to maintenance, ensuring a flawless finish for your project.
A concrete epoxy floor is a surface coating for concrete floors that combines a resin part with a hardener part. When these two are mixed, they form a durable, strong, and resistant layer that adheres to the concrete. It’s known for its longevity and ability to withstand heavy traffic, making it ideal for garages, basements, and industrial areas.
To prepare your concrete floor for epoxy, you need to clean it thoroughly and repair any cracks or damage. Remove all dirt, grease, and debris. If there are any cracks or chips, fill them with a concrete patch product. It’s also important to test for moisture because excessive moisture can prevent the epoxy from bonding properly. You can do this by taping down a plastic sheet overnight and checking for condensation. Once the floor is clean and dry, you might need to roughen the surface with a grinder or acid etching to ensure the epoxy adheres well.
An epoxy floor can last anywhere from 5 to 10 years in a residential setting, and even longer in less trafficked areas. Its lifespan depends on how well the floor is prepared before application, the quality of materials used, and how much wear and tear it receives.
Advantages:
Durability: Epoxy floors are very strong and can resist heavy loads.
Maintenance: They are easy to clean and resistant to spills and stains.
Appearance: Epoxy floors can be very attractive, with a variety of colors and patterns available.
Disadvantages:
Preparation: The concrete surface must be properly prepared, which can be labor-intensive.
Application: The process can be tricky, and mistakes can be difficult to fix.
Sensitivity: Epoxy can be sensitive to UV light and may yellow over time if exposed to sunlight.
Epoxy flooring is generally considered to be an environmentally friendly option for several reasons:
Sustainability: Once applied, epoxy floors are very long-lasting, reducing the need for frequent replacements and thus minimizing waste.
Low VOCs: Many epoxy products are low in volatile organic compounds (VOCs), which means they don't release harmful chemicals into the air as they cure.
Energy Efficiency: The reflective surface of epoxy floors can help improve lighting efficiency in a space, potentially reducing the need for additional lighting.
Ease of Cleaning: Epoxy floors don't require harsh chemicals for cleaning, allowing for the use of more eco-friendly cleaning products.
Conclusion:
Wrapping up, making a DIY concrete epoxy floor transforms your space with durability and style. With the right materials and a bit of patience, you can achieve a professional look. Say goodbye to dull floors and hello to a stunning, resilient surface. Ready to start your project? Get everything you need and enjoy your new concrete epoxy floor. Happy crafting!


