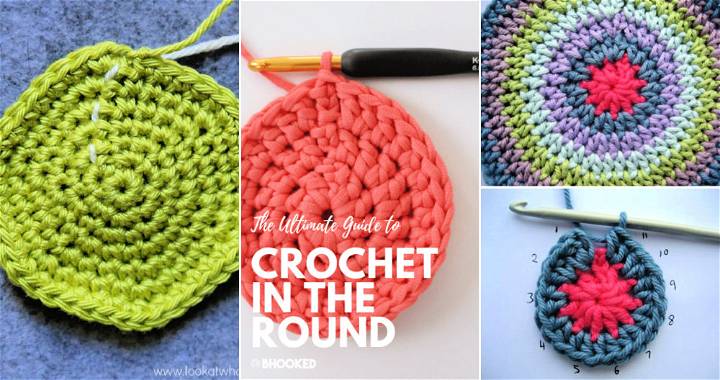
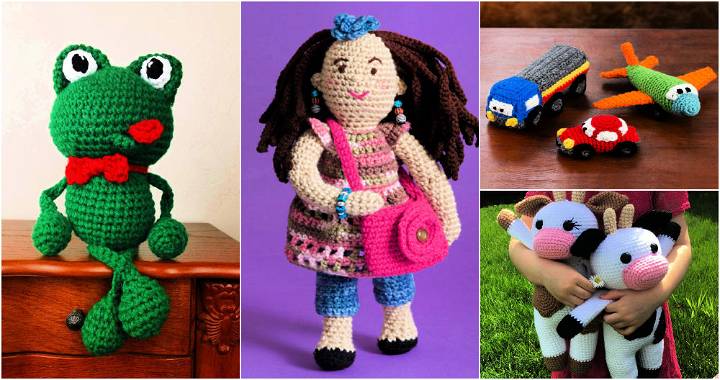
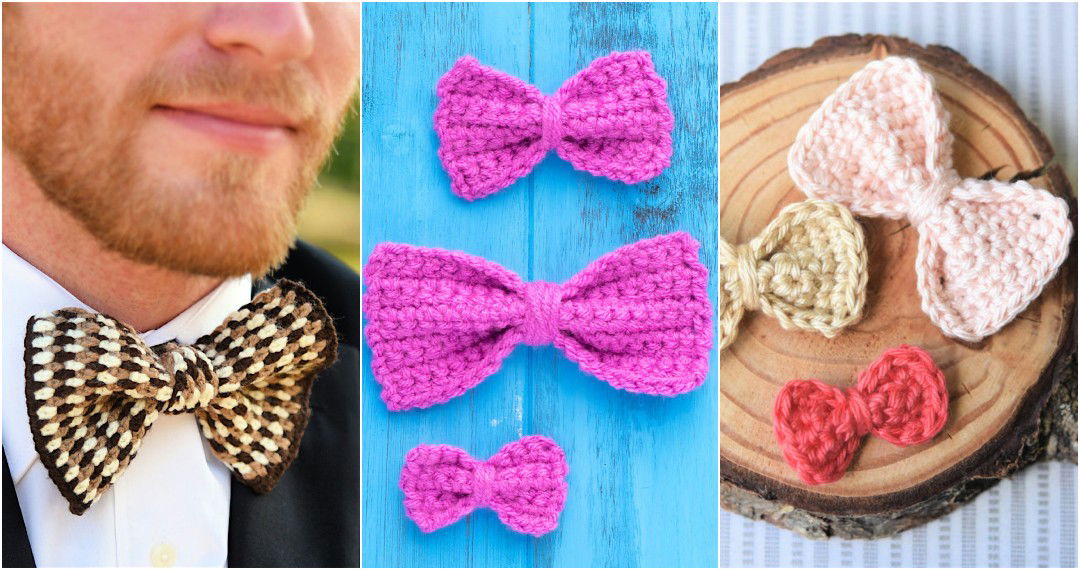
Discovering crocheting was a life-changer for me. I needed a creative outlet and found it through this intricate craft. My grandmother's cozy blankets sparked my interest. I remember her nimble fingers moving quickly, bringing beautiful patterns to life. Learning from her was my stepping stone. This rewarding experience not only filled my time but also enriched my life.
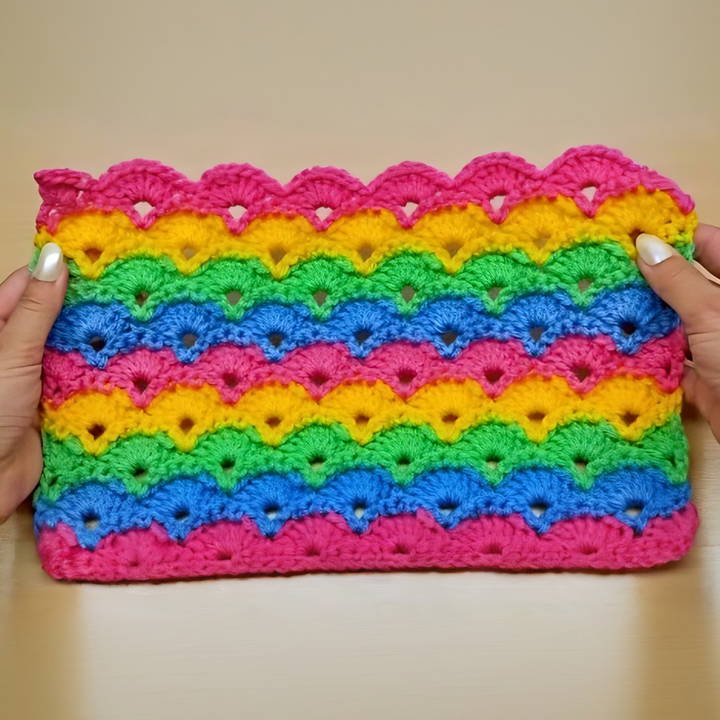
Now, crocheting is a calming part of my daily routine. When I first tried to crochet the shell stitch, it seemed challenging. But with practice and patience, I mastered it. The repetitive motion became soothing, turning it into a kind of meditation for me.
I now enjoy making gifts for friends, each stitch done with care. I'm sharing my knowledge to help you get started with crochet shell stitch today.
Historical Context and Cultural Significance
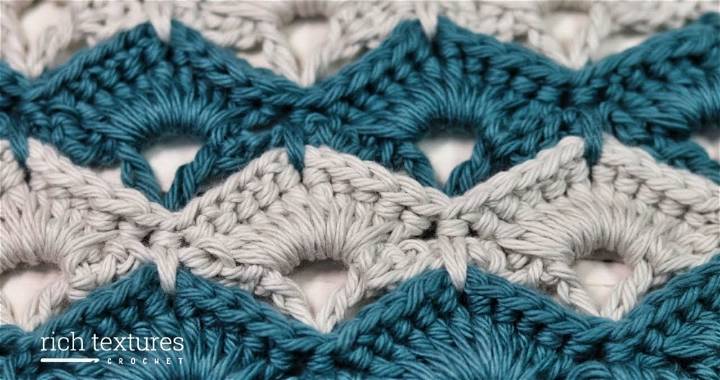
The crochet shell stitch, recognizable by its fan-like motif, has a rich history and cultural significance. Emerging in the 19th century, it quickly gained popularity for its versatility and decorative appeal. Used in various textile traditions worldwide, the shell stitch symbolizes different meanings across cultures.
For some, it represents ocean waves and marine life, while for others, it embodies femininity, fertility, and protection. Today, this classic stitch continues to inspire modern crocheters, adorning everything from garments to home decor.
Step by Step Instructions
Learn how to crochet shell stitch with our step-by-step instructions. Perfect for beginners. Easy, clear guide to create beautiful patterns today!
Getting Started
- Create the Foundation Chain: Start by making a foundation chain of 32 stitches. However, this is flexible, and you can chain any multiple of 6, then add two additional chains to suit your project size.
- Row 1 Preparation: Skip the first chain from your hook and make a single crochet in the next chain. Continue with single crochets in each of the next five chains. You should have a total of six single crochet stitches.
- Continue Row 1: Chain 2, skip one chain on the foundation, and then single crochet in the next five chains. Repeat this process across the row until you have six chains remaining.
- Complete Row 1: In the last six chains, make one single crochet stitch in each. By the end, you'll notice you started and ended the row with six single crochets with sets of five in between.
Creating the Shell Pattern
- Row 2 Start: Chain 3 and turn your work. In the very first stitch, make three double crochets.
- Middle Shell Creation: For each previous chain two spaces across the row, make seven double crochet stitches to form your shells.
- Row 2 Finish: Single crochet in the middle stitch of the previous group of five, continuing the pattern across. End this row with four double crochet stitches in the last stitch.
Expanding the Pattern
- Row 3: Consider changing colors for a varied look. Start by chaining one and turning your work. This row involves creating a V stitch (double crochet, chain 2, double crochet) in between the shells and single crocheting across the top of the shells.
- Continuation: Repeat the pattern of creating shells and V stitches in subsequent rows, alternating the start of each row with single or double crochets as established in rows three through six.
- Repeating the Pattern: Continue growing your project by repeating rows three through six until your piece reaches the desired length.
Additional Tips
- Tension: Keep your tension consistent for even shells.
- Yarn and Hook: Experiment with different yarn weights and hook sizes to achieve various looks.
- Color Change: Changing colors after a few rows can add a striking effect to your shell stitch pattern.
Video Tutorial
For a more in-depth visual guide, watch the "Shell Stitch Crochet Pattern - How to Crochet a Shell Stitch - Crochet Tutorial" on YouTube.
Project Ideas and Patterns
Crocheting is a craft that turns a simple string of yarn into beautiful, functional art. The shell stitch, with its lovely, textured appearance, is perfect for a variety of projects. Whether you're a beginner or an experienced crocheter, here are some project ideas and patterns that will inspire you to create something wonderful with the shell stitch.
Baby Blankets
The shell stitch is ideal for baby blankets because of its soft and cozy texture. A simple pattern could involve alternating rows of shell stitches with single crochet stitches to create a delicate ripple effect. Use baby-friendly yarns that are soft, hypoallergenic, and easy to wash.
Scarves and Shawls
For scarves and shawls, the shell stitch provides a drape that's both elegant and warm. A triangular shawl pattern using shell stitches can be a stylish addition to any wardrobe. Opt for yarns with a bit of sheen, like silk blends, to give your project a luxurious feel.
Hats and Beanies
Shell stitches can add a lovely patterned look to hats and beanies. They work up quickly and can be adapted for all sizes. Try using a thicker yarn for added warmth and a pompom on top for a fun touch.
Bags and Purses
Sturdy and attractive, shell stitch bags and purses are both practical and chic. Use cotton yarn for durability and consider lining your bag with fabric to give it extra strength and structure.
Home Decor
From cushion covers to table runners, the shell stitch can bring a touch of handmade charm to your home. Choose colors that complement your decor and consider using cotton or acrylic yarn for easy care.
Clothing
Incorporate shell stitches into your clothing projects, such as skirts, tops, or cardigans. For clothing, it's important to choose the right yarn weight and type to ensure comfort and fit.
Tips for Patterns:
- Always start with a gauge swatch to ensure your finished project is the correct size.
- For larger projects, consider using a lighter-weight yarn to prevent them from becoming too heavy.
- Remember to count your stitches regularly to keep your pattern consistent.
By exploring these project ideas and incorporating the shell stitch, you'll create pieces that are not only beautiful but also full of texture and personality.
Variations of the Shell Stitch
The shell stitch is a crochet classic known for its beautiful texture and versatility. It's a favorite among crafters because it can be adapted in many ways to create different looks. Here's a guide to some variations of the shell stitch that can add diversity to your crochet projects.
Basic Shell Stitch
The basic shell stitch is created by working multiple stitches (usually five or more) into the same stitch. This forms a “shell” or fan-like shape. It's a simple pattern that even beginners can master quickly.
V-Stitch Shell
This variation combines the V-stitch and shell stitch to create an open, lacy fabric. Work a shell stitch, skip a few stitches, then work a V-stitch, and repeat. It's perfect for lightweight summer shawls or tops.
Puff Shell Stitch
For a more textured look, the puff shell stitch is ideal. It involves creating a puff stitch within the shell, which adds a three-dimensional quality to the fabric. This stitch works well for warm blankets or cozy scarves.
Cluster Shell Stitch
The cluster shell stitch is similar to the puff shell but uses a cluster of stitches instead of a puff. This creates a tighter, more defined shell that's great for sturdier items like bags or baskets.
Scallop Shell Stitch
The scallop shell stitch creates a series of curved edges that resemble scallops. It's achieved by varying the height of the stitches within the shell. This elegant variation is often used for edging on garments or linens.
Double Crochet Shell
In this variation, you'll use double crochet stitches to form the shells. This results in a taller and more pronounced shell pattern, which is excellent for afghans or larger projects.
Tips for Working with Shell Stitch Variations:
- Always read through the entire pattern before starting your project to understand the stitch counts and repeats.
- Use stitch markers to help keep track of your place, especially when working on large projects.
- Don't be afraid to experiment with different yarn weights and hook sizes to see how they affect the look of the shell stitch.
By exploring these variations, you can customize your crochet projects to suit your style and needs.
Advanced Techniques
For those who have mastered the basics of crochet and the shell stitch, there are advanced techniques that can elevate your projects to new levels of complexity and beauty. Here's a guide to some sophisticated methods that incorporate the shell stitch.
Join-As-You-Go Method
This technique allows you to connect motifs or pieces of a project with the shell stitch as you work, eliminating the need for sewing at the end. It's efficient and creates a seamless look.
Interlocking Shell Stitches
Create a stunning interwoven effect by working shell stitches into previous rows in a way that they lock together. This method adds a unique, intricate texture to your work.
Overlay Crochet
Overlay crochet involves working shell stitches on top of other stitches to create a multi-dimensional effect. This technique is perfect for those who enjoy detailed, tactile projects.
Shell Stitch Tapestries
By changing colors within the shell stitch, you can create pictorial tapestries and images. This requires careful planning and attention to detail but results in breathtaking works of art.
Incorporating Beads
For a touch of elegance, incorporate beads into your shell stitch work. Thread beads onto your yarn before you begin, and add them strategically to your stitches to enhance the visual appeal.
Tips for Advanced Techniques:
- Practice each new technique on a small swatch before incorporating it into a larger project.
- Keep a detailed pattern or chart handy to track your progress and ensure consistency.
- Be patient with yourself as you learn these advanced methods; they may take time to master.
By trying out these advanced crochet techniques with the shell stitch, you'll not only challenge yourself but also create pieces that are truly unique and intricate.
Troubleshooting Common Issues
When working with the shell stitch in crochet, you might encounter a few hiccups along the way. Here's a helpful guide to troubleshooting common issues, ensuring your crochet experience remains enjoyable and stress-free.
Uneven Edges
Cause: This often happens if you're adding or skipping stitches unintentionally. Solution: Count your stitches at the end of each row. Use stitch markers to mark the first and last stitch of each row to keep your edges straight.
Too Tight or Too Loose Stitches
- Cause: Your tension may vary as you crochet, leading to inconsistent stitch sizes.
- Solution: Practice maintaining a consistent grip on your yarn. If necessary, adjust the hook size to achieve the desired tension.
Curling Fabric
- Cause: A common issue that can occur if stitches are too tight or the yarn is too stiff.
- Solution: Try using a larger hook or a softer yarn. Blocking your finished piece can also help to relax the stitches.
Difficulty Following Patterns
- Cause: Complex patterns can be hard to follow, especially for beginners.
- Solution: Break the pattern down into smaller, manageable sections. Highlight or write out each step as you go to keep track of your progress.
Shell Stitch Looks Incomplete
- Cause: This might happen if you're not working the correct number of stitches into each shell.
- Solution: Double-check the pattern to ensure you're using the right number of stitches for your shell. Remember, the most common shell stitch uses five stitches.
Joining New Yarn Color Looks Messy
- Cause: Changing colors can be tricky and may result in untidy joins.
- Solution: To change colors seamlessly, complete the last pull-through of the final stitch of the old color with the new color. Weave in ends as you go for a neater finish.
Pattern Doesn't Align
- Cause: If your shells are misaligned, you may have missed a stitch or added an extra one somewhere.
- Solution: Use a lifeline—a piece of waste yarn threaded through a row—so you can easily unravel to a known good row if you make a mistake.
By addressing these common issues, you'll improve your crochet technique and enjoy creating beautiful shell stitch projects with confidence.
FAQs About Free Shell Stitch Crochet Patterns
Discover answers to common questions about free shell stitch crochet patterns with tips, tricks, and detailed guides for stunning results.
A crochet shell stitch is a decorative technique that creates a textured pattern resembling a series of shells or fans. It’s achieved by crocheting multiple stitches into the same stitch from the previous row.
To crochet a basic shell stitch, you'll typically work a combination of single crochet and a group of double crochet stitches. For example, you can create a shell by doing five double crochets into the same stitch and then separating each shell with a single crochet.
Yes, the shell stitch can be used to create elegant borders on various crochet projects. To make a border, you would work a single crochet and then a shell of double crochets along the edge of your project, adjusting at the corners to maintain the pattern.
There are several variations of the shell stitch, ranging from three to six double crochets to form a shell. You can also create open or closed shells depending on whether you include chain spaces between the shells.
The shell stitch is versatile and can be used for a wide range of projects, including blankets, scarves, hats, and shawls. Its textured appearance adds a touch of elegance and warmth to any crochet item.
Conclusion
Starting your crocheting journey can be incredibly rewarding. The crochet shell stitch is a beautiful pattern worth learning. Whether you're new to this or looking to expand your skills, this will guide you through the process with ease. Embrace the joy of creating something unique and handmade. Through my tips and tricks, you'll find crocheting to be not only simple but also highly enjoyable.


