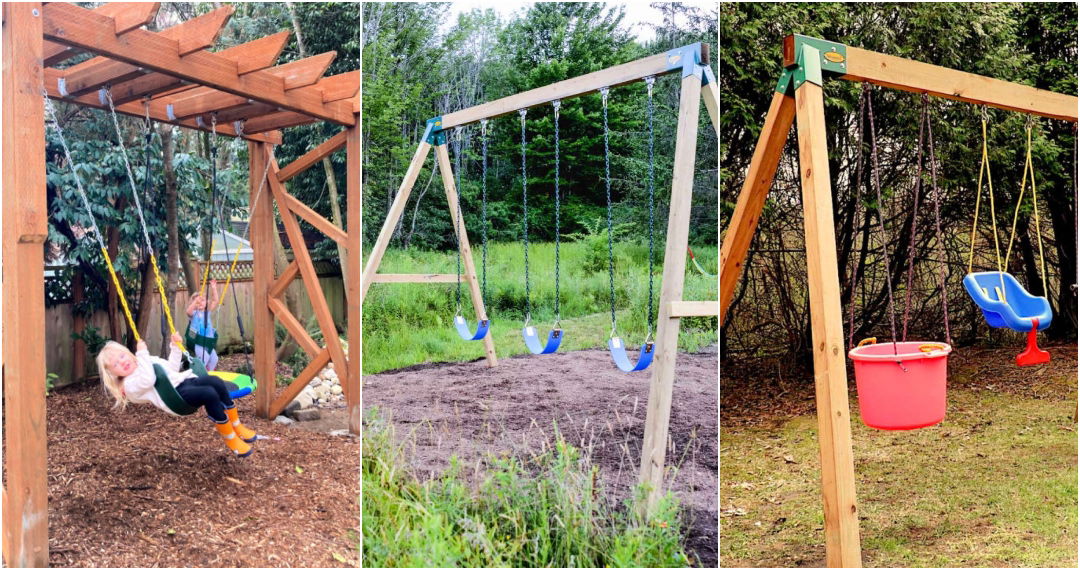
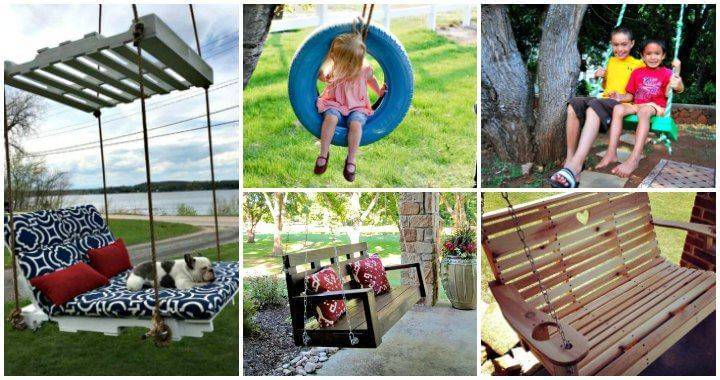
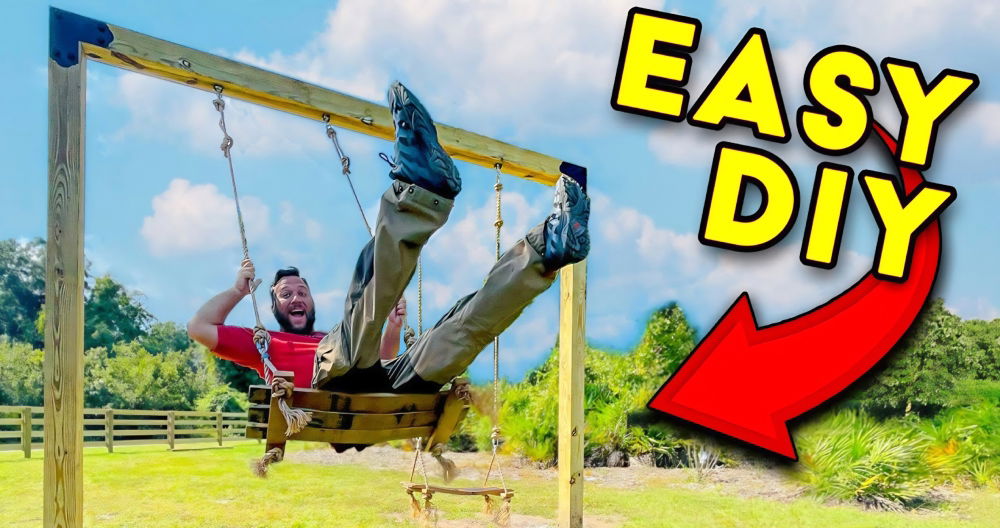
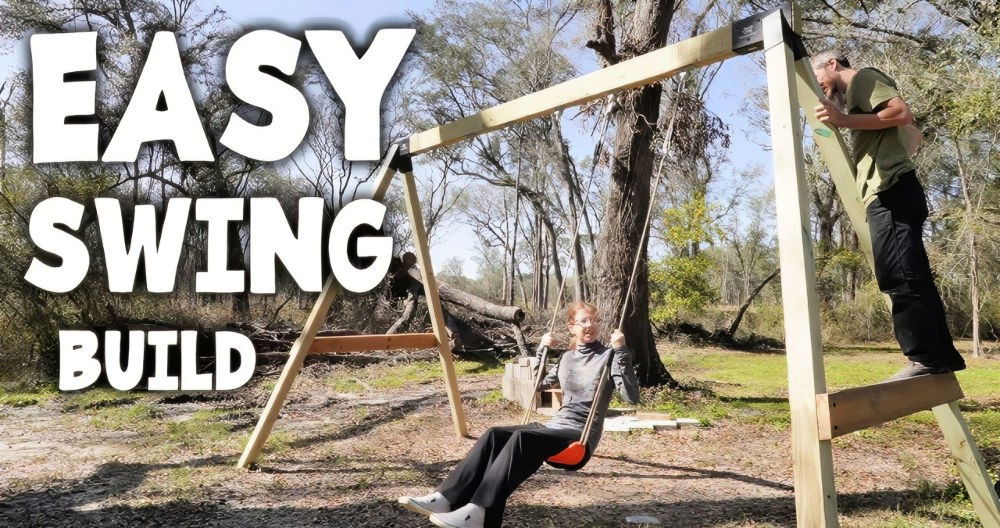
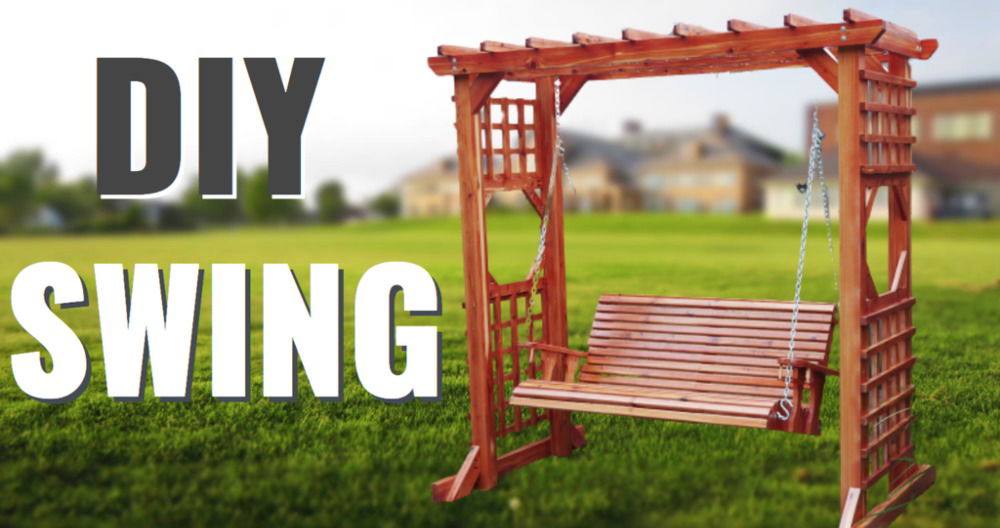
Building a strong DIY A-frame swing set from scratch seemed to be an ambitious project. I was determined to turn a simple pile of sticks into a robust structure that could support not just my kids but even me! In this article, I'll guide you through the step-by-step process I undertook, the materials needed, and the lessons learned along the way.
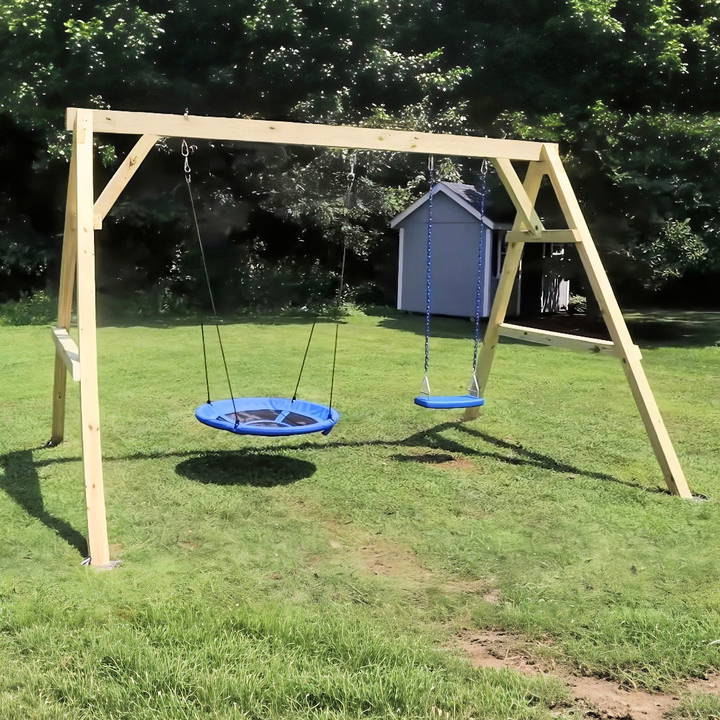
By the end, you'll not only see how I transformed raw materials into a functional swing set, but you'll also be equipped with practical insights and advice for building your own.
Gathering the Materials
The first step in any project is gathering the necessary materials. Here's what you need:
- Pressure-Treated Lumber: I used four 4x4x10s and additional 4x4s for crosspieces. The pressure-treated wood is crucial for outdoor projects as it withstands weather effects.
- A 4x6x12 Beam: This serves as the main horizontal brace of the swing set. It's large enough to support multiple swings.
- Swing Hardware: This includes hooks, washers, and bolts. Secure hardware is essential to ensure the swings are safe for use.
- Lag Screws: 4.5-inch and smaller ones for assembly. These provide the strength needed to hold the structure together.
- Tools: A circular saw, miter saw, a speed square, a drill, a jigsaw, chisels, and a multi-tool. These tools are indispensable for cutting and assembling the swing set.
- Safety Gear: Goggles and gloves to protect yourself during the construction process.
- Gravel or Concrete: For anchoring the swing set in place, ensuring stability and safety.
With materials in hand, I was ready to embark on constructing the swing set.
Step by Step Instructions
Learn how to build a DIY sturdy a-frame swing set with our step-by-step guide. From designing to adding swings, follow these easy instructions to build your own!
Designing the A-Frame
The foundation of the swing set is its A-frame structure. Here's how I went about designing and constructing it:
Building the Legs
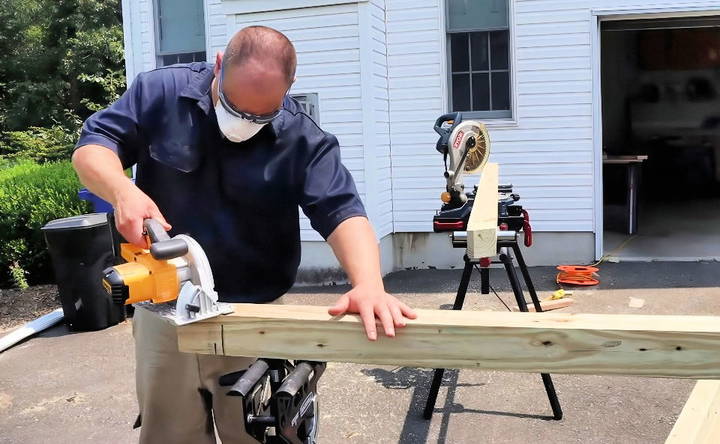
I started by constructing the A-frame legs, aiming for an equilateral triangle design for maximum stability. Using a speed square, I marked a 30-degree angle on one side and a 60-degree angle on the other on a piece of scrap wood, making a template for the cuts.
Steps:
- Lay Out Lumber: Align four pieces of 4x4x10 lumber on a flat surface.
- Mark the Cuts: Using the template, mark the angles on each piece of wood with a pencil.
- Cut the Lumber: With a miter saw and circular saw, cut the wood along the marked lines. The combination of tools helped me make precise cuts that the miter saw alone couldn't handle entirely.
- Trim Excess: Any sharp corners were nipped off to prevent hazards and ensure a smooth finish.
Assembling the A-Frames
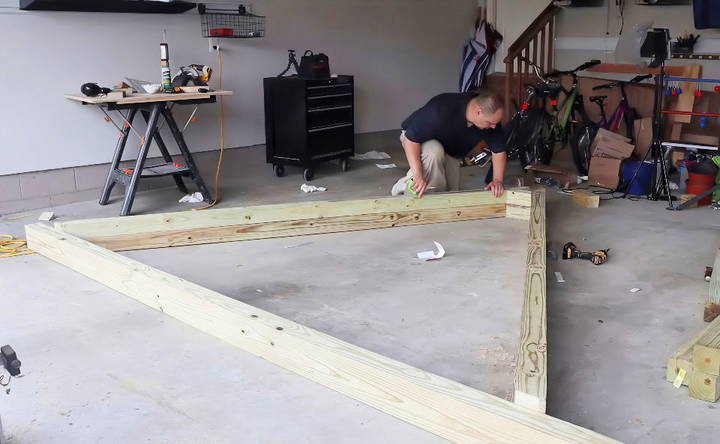
Once the legs were cut, it was time to assemble the frames. I decided on a half-lap joint for the cross piece at the top, which provides additional stability by allowing the pieces to intertwine.
Steps:
- Set Up the Jaw Horse: This tool acted as an extra pair of hands, holding the wood steady as I worked on it.
- Mark the Joint: Using the design template, I marked where the half-lap cut would go.
- Cut the Wood: Using the circular saw, I made successive, careful cuts into the wood, making a series of parallel cuts.
- Remove Excess with Chisel: With the cuts in place, I used a chisel to remove the wood slivers, making a smooth joint surface.
- Dry Fit: Before permanently fixing them, I assembled the parts to ensure everything fit perfectly.
Assembling the Swing Set
With the A-frames complete, it was time to bring all the elements together.
Attaching the Beam
The beam would connect the two A-frames and support the swings. Aligning it correctly was critical for structural integrity.
Steps:
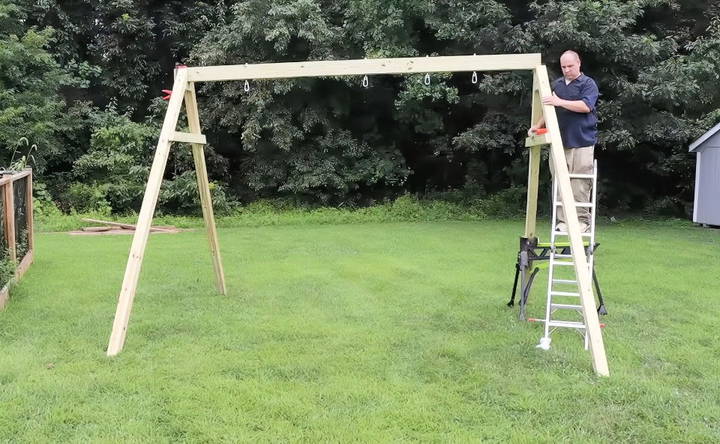
- Position the Beam: I used a ladder to help place the beam on top of the A-frame. Since I was doing this alone, a jaw horse was invaluable in holding pieces together temporarily.
- Align and Secure: With the beam in place, I carefully aligned it with the leg braces and began affixing it using 4.5-inch lag screws.
- Check Orientation: Initially, I made the mistake of attaching the frames backwards, which meant their joints faced outward—less optimal for structural reliability. I had to disassemble and correct this, proving the importance of double-checking your work.
Stabilizing with Gussets
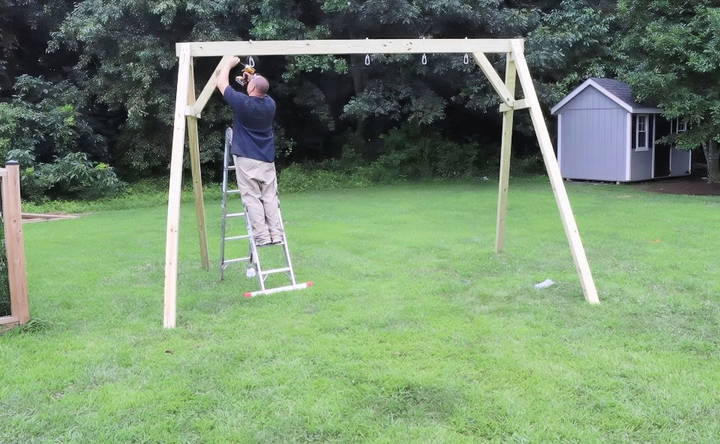
Gussets are diagonal braces that prevent the swing set from swaying and increase its rigidity.
Steps:
- Build Templates: From scrap wood, I buildd a template for the gussets and marked these onto fresh pieces of 4x4.
- Cut and Fit: Using the jigsaw and multi-tool, I cut the gusset shapes. The multi-tool helped refine the notches which required precision beyond what the circular saw could achieve.
- Install Gussets: I drilled and secured each gusset to the A-frames with lag screws.
Finalizing the Structure
Learn how to finalize the structure, anchor the swing set, and add the swings with our detailed guide. Perfect for DIY enthusiasts!
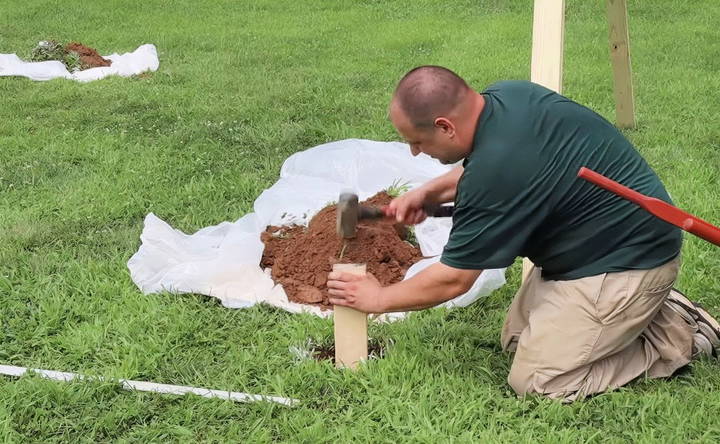
Anchoring the Swing Set
Securing the set in place was crucial to prevent tipping.
Steps:
- Mark and Dig Holes: I marked where each leg would sit, then dug a 1-foot-deep hole for each.
- Fill with Gravel: To anchor the swing, I gradually filled each hole with gravel, packing it down for stability. Concrete is another viable option if more rigidity is required.
- Install Anchors: Additional anchors secured to the wood added another layer of safety.
Adding the Swings
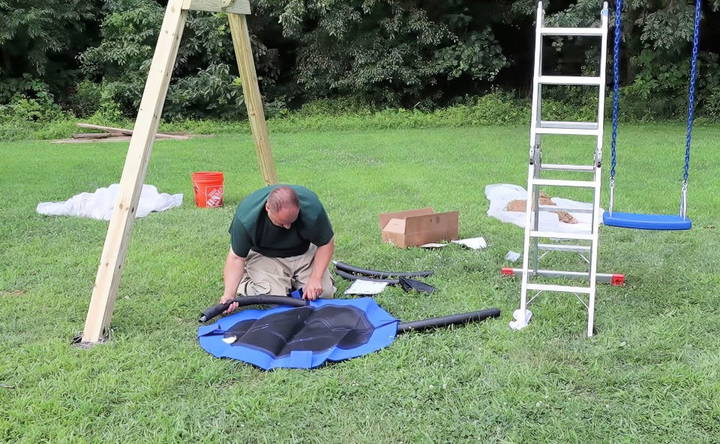
With the framework complete, I attached the swing hardware.
Steps:
- Drill Holes for Hooks: Using a drill guide, I accurately positioned and drilled holes for the swing hooks.
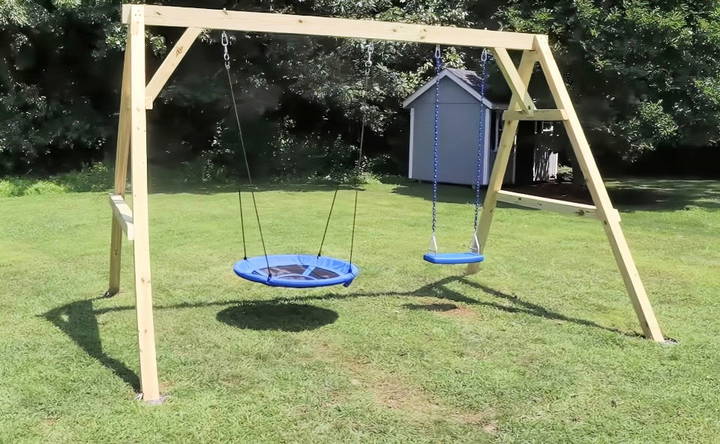
- Attach Swings: I installed the hooks and hung the swings—immediately a hit with my impatient audience.
Lessons Learned
Nothing goes perfectly the first time. Here are the key lessons from my swing set adventure:
- Measure Twice, Cut Once: Avoiding misalignment saves time and frustration.
- Patience is Key: Allowing glue and joints to set firmly enhanced the overall strength of the structure.
- Safety First: Working alone on such a project was daunting. I recommend enlisting the help of a second set of hands when handling large beams or up at a height.
Customization Ideas
Customizing your A-frame swing set can make it unique and more enjoyable for your family. Here are some simple and creative ideas to personalize your swing set:
Design Variations
- Add a Slide: Attach a slide to one side of the swing set. This adds extra fun and variety for kids.
- Climbing Wall: Install a small climbing wall on one side. Use colorful handholds to make it appealing and safe.
- Different Swings: Mix and match different types of swings. Consider adding a tire swing, a baby swing, or a hammock swing for variety.
Aesthetic Enhancements
- Paint and Stain: Use weather-resistant paint or stain to protect the wood and add color. Choose colors that match your backyard theme.
- Decorative Elements: Add decorative elements like flags, banners, or fairy lights. These can make the swing set look festive and inviting.
- Themed Designs: Build a theme for your swing set. For example, a pirate ship theme with a flag and steering wheel, or a castle theme with turrets and shields.
Functional Additions
- Sandbox: Build a sandbox under the swing set. This utilizes the space and provides another play area.
- Picnic Table: Attach a small picnic table to the side. It's perfect for snacks and crafts.
- Storage Box: Add a storage box for keeping toys and outdoor games. This helps keep the area tidy.
Safety Enhancements
- Soft Ground Cover: Use rubber mulch or sand under the swing set to cushion falls.
- Handrails and Guardrails: Install handrails and guardrails on platforms and ladders to prevent falls.
- Shade Canopy: Add a canopy or shade sail to protect kids from the sun while they play.
Personal Touches
- Name Plate: Build a name plate for the swing set. Let your kids name it and paint the sign together.
- Handprints: Let your kids leave their handprints on the swing set with non-toxic paint. It's a fun activity and adds a personal touch.
- Growth Chart: Paint a growth chart on one of the posts. Track your kids' height over the years.
Eco-Friendly Options
- Recycled Materials: Use recycled or reclaimed wood for parts of the swing set. It's environmentally friendly and adds character.
- Solar Lights: Install solar-powered lights. They are energy-efficient and add a magical touch at night.
- Plant Vines: Plant climbing vines around the swing set. Over time, they will grow and build a natural, green canopy.
By incorporating these customization ideas, you can build a swing set that is not only fun and functional but also uniquely yours.
Common Mistakes and Troubleshooting
Building an A-frame swing set can be a rewarding project, but it's easy to make mistakes along the way. Here are some common mistakes and how to troubleshoot them:
Common Mistakes
Learn common mistakes like incorrect measurements, wrong materials, poor ground anchoring, ignoring safety guidelines, and inadequate spacing.
Incorrect Measurements
- Problem: Incorrect measurements can lead to an unstable or uneven swing set.
- Solution: Double-check all measurements before cutting. Use a tape measure and a level to ensure accuracy.
Using the Wrong Materials
- Problem: Using materials that are not suitable for outdoor use can result in a swing set that deteriorates quickly.
- Solution: Choose pressure-treated wood and galvanized or stainless steel hardware to prevent rust and decay.
Poor Ground Anchoring
- Problem: If the swing set is not properly anchored, it can tip over during use.
- Solution: Use concrete footings or ground anchors to secure the swing set firmly in place.
Ignoring Safety Guidelines
- Problem: Skipping safety guidelines can lead to accidents and injuries.
- Solution: Follow all safety recommendations, such as using rounded edges, securing bolts tightly, and ensuring there are no sharp protrusions.
Inadequate Spacing
- Problem: Placing swings too close together can cause collisions.
- Solution: Ensure there is enough space between swings and other play elements. Follow recommended spacing guidelines.
Troubleshooting
Discover effective solutions for troubleshooting issues like wobbly frame, uneven swings, squeaky swings, wood splintering, rusty hardware, and swing set shifting.
Wobbly Frame
- Issue: The swing set frame is unstable and wobbles when in use.
- Fix: Check all joints and connections. Tighten any loose bolts and ensure the frame is level. Reinforce joints with additional brackets if necessary.
Uneven Swings
- Issue: Swings are not hanging evenly, causing an uncomfortable ride.
- Fix: Adjust the swing chains or ropes to ensure they are of equal length. Check that the swing hangers are installed at the same height.
Squeaky Swings
- Issue: Swings make a squeaking noise when in use.
- Fix: Lubricate the swing hangers with a silicone-based lubricant. Check for any worn-out parts and replace them if needed.
Wood Splintering
- Issue: The wood is splintering, posing a risk of injury.
- Fix: Sand down any rough or splintered areas. Apply a wood sealant to protect the wood and prevent further splintering.
Rusty Hardware
- Issue: Metal parts are rusting, compromising the swing set's integrity.
- Fix: Replace rusty hardware with galvanized or stainless steel parts. Regularly inspect and maintain the hardware to prevent rust.
Swing Set Shifting
- Issue: The swing set shifts or moves during use.
- Fix: Recheck the ground anchors or footings. Ensure they are deep enough and securely fastened. Add additional anchoring if necessary.
Preventive Tips
- Regular Inspections: Conduct regular inspections to catch any issues early. Look for signs of wear and tear, loose bolts, and other potential problems.
- Weatherproofing: Apply a weatherproof sealant to the wood to protect it from the elements. This will extend the life of your swing set.
- Routine Maintenance: Perform routine maintenance, such as tightening bolts, lubricating moving parts, and checking for stability. This will keep your swing set safe and functional.
By being aware of these common mistakes and knowing how to troubleshoot them, you can ensure your A-frame swing set is safe, durable, and enjoyable for years to come.
FAQs About DIY A-Frame Swing Set Plans
Learn essential details and tips from our FAQs about DIY a-frame swing set plans to easily build your own sturdy and safe backyard swing set.
Safety is crucial when building a swing set. Here are some tips:
Use quality materials: Choose durable, weather-resistant lumber like cedar or pressure-treated wood.
Secure the posts: Set the posts in concrete to prevent movement.
Smooth edges: Sand all edges to avoid splinters.
Check hardware: Regularly inspect and tighten all bolts and screws.
Proper spacing: Ensure there is enough space between swings and other structures to prevent collisions.
The time required can vary based on your experience and the complexity of the design. Generally, it can take a weekend to complete the project. This includes time for planning, cutting, assembling, and securing the swing set.
Absolutely! You can customize your swing set in many ways:
Add a slide: Attach a slide to one side of the frame.
Paint or stain: Use outdoor paint or stain to protect the wood and add color.
Additional swings: Add more swings or different types of seats, like a tire swing.
Accessories: Include accessories like a climbing rope or a canopy for shade.
While it’s possible to build an A-frame swing set by yourself, having an extra pair of hands can make the process easier and safer. Here are some tasks where help is beneficial:
Lifting and securing the top beam: This can be heavy and awkward to handle alone.
Aligning and securing posts: Ensuring everything is level and plumb is easier with assistance.
Pouring concrete: Managing the concrete mix and setting posts can be more efficient with help.
When building an A-frame swing set, it's important to avoid these common mistakes:
Incorrect measurements: Always double-check your measurements before cutting the lumber to ensure all pieces fit together properly.
Using the wrong type of wood: Choose weather-resistant wood like cedar or pressure-treated lumber to prevent rot and decay.
Skipping safety checks: Regularly inspect the swing set for loose bolts, worn-out swing seats, and other potential hazards.
Improper anchoring: Ensure the posts are securely set in concrete to prevent the swing set from tipping over.
Ignoring weight limits: Adhere to the recommended weight limits for the swing set to avoid accidents.
Conclusion
Making a DIY A-frame swing set from scratch was not just a test of my construction abilities but also a fruitful learning journey. Though I made mistakes along the way, every error taught me something valuable about craftsmanship and persistence. Now, whether you're looking to build your own swing set or embark on a similar project, I hope my experience provides a solid foundation and insightful guide for your own DIY ventures. This swing set stands proudly in my backyard, a monument to both practicality and personal growth.


