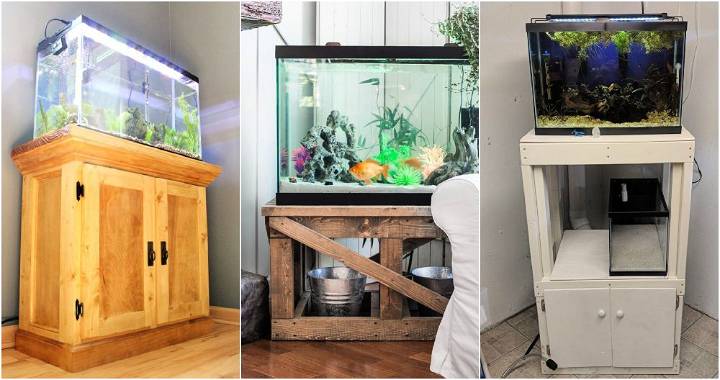
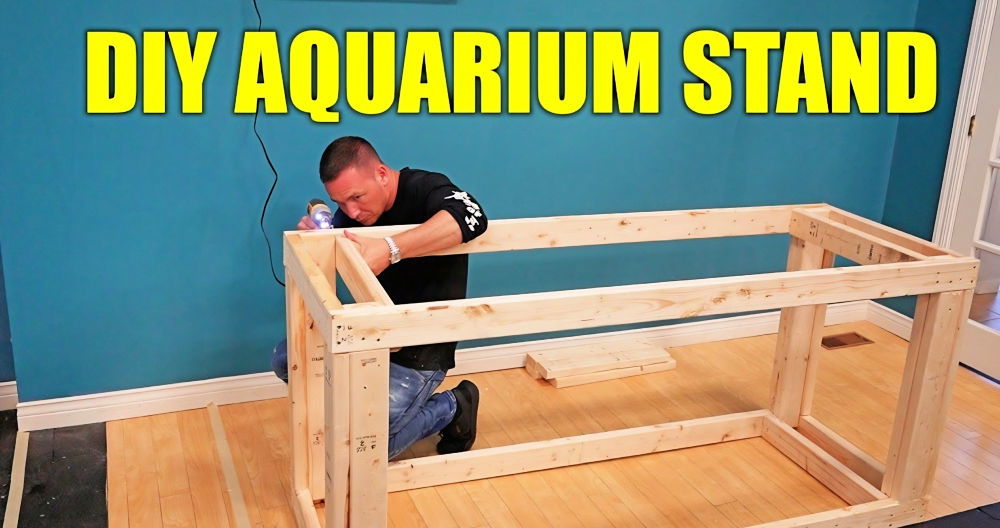
When I started working on building aquarium canopies, I realized how much customization and functionality I could achieve with a few tools and the right materials. Over time, I've refined my process, and today I want to walk you through how I build a sturdy, functional, and aesthetically pleasing canopy for any aquarium.
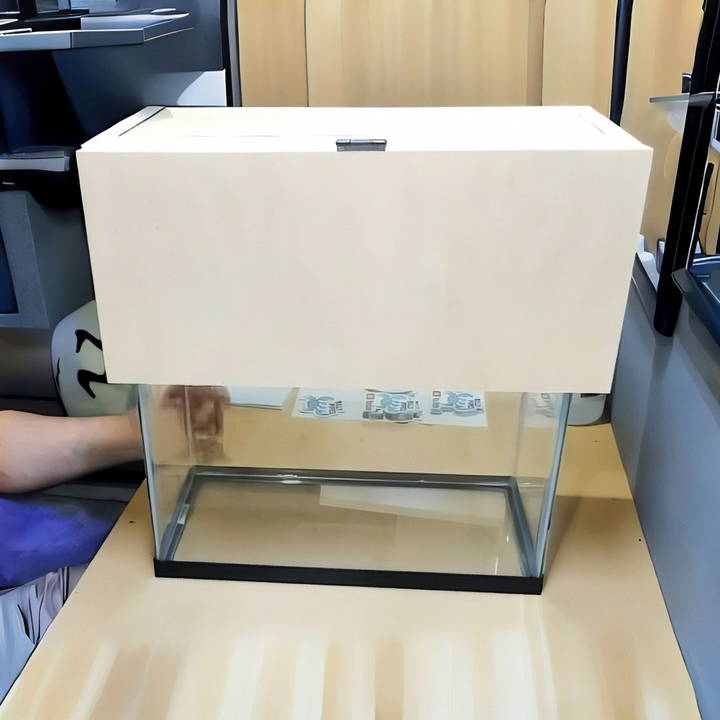
This DIY aquarium canopy project is both practical and rewarding, and it can be done with basic woodworking skills. In this guide, I will share my experiences, tips, and insights that I've gained over the years.
Materials You'll Need
Before diving into the build, you'll want to gather the necessary materials. This makes the entire process smoother and ensures you won't have to stop halfway through.
- 3/4-inch Plywood (high-grade and sanded)
- Wood Screws
- Wood Glue (optional, but highly recommended)
- Hinges (for the lid)
- Spacers (1/16 inch larger than the trim on your aquarium)
- Measuring Tape
- Drill and Drill Bits
- Screws and Spackle (to fill screw holes later)
- Paint or Varnish (for finishing the canopy)
- Sandpaper (for smoothing rough edges)
- Optional: Corner Molding (for a polished finish)
Step by Step Instructions
Learn how to build a DIY aquarium canopy with our step-by-step guide. From measuring to installation, make the perfect canopy for your tank today!
Step 1: Measure Your Tank
The first step is to measure your aquarium precisely. Knowing the exact dimensions will help you cut the wood to fit snugly over your tank, while also leaving enough room for easy removal when needed. I always start by measuring the length, width, and thickness of the lip on the aquarium.
Here's a tip: when measuring the back support for the canopy, make it 1/8 of an inch longer than the tank's actual length. This small increase allows the canopy to sit comfortably on the tank without being too tight, making it easy to take on and off.
Step 2: Cut the Wood for Your Canopy
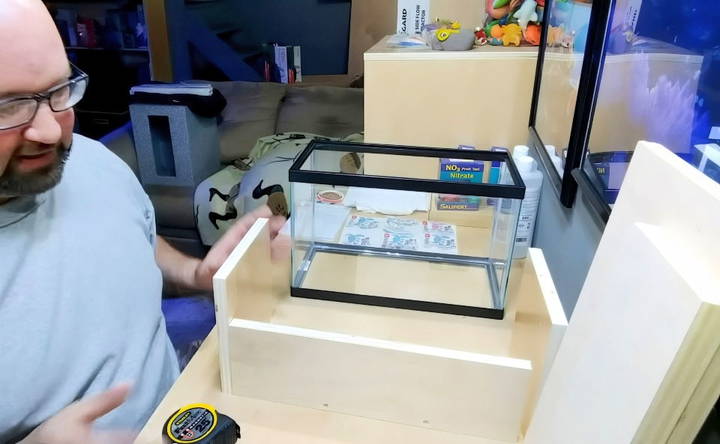
Once you have your measurements, you can start cutting the plywood. I've found that cutting all pieces at the same time helps ensure consistency. Here's what you'll need to cut:
- Two side pieces (these will run front to back on your tank)
- A main back support
- A front top support and a front lower support
- A lid piece
When cutting the back and front supports, make them the same length as the tank, plus that extra 1/8 of an inch I mentioned earlier.
For smaller tanks, you can use thinner plywood, but for larger aquariums like a 120-gallon tank, go for 3/4-inch plywood to ensure sturdiness.
Step 3: Assembling the Canopy Frame
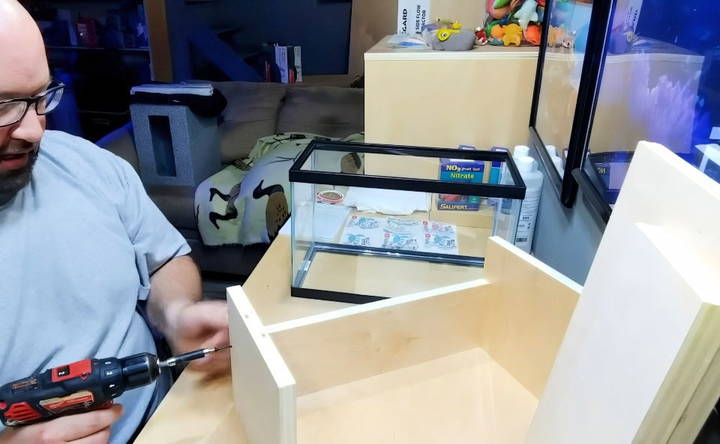
With your pieces cut, you're ready to assemble the frame. I like to work on a flat surface to ensure everything is level as I go.
- Start with the back support: Lay the main back support flat on the surface, and attach the side pieces to it, making sure they are flush at the corners.
- Add the top supports: Once the back and sides are secure, attach the front top support and the front lower support. These pieces form the frame that will hold your lid in place.
If your wood is slightly bowed, don't worry. Start screwing from one end to the other, like a zipper, and the frame will even out as you go. You can also use wood glue along the seams for extra strength, though it's not necessary if you're using screws.
Step 4: Adding the Support for the Lid
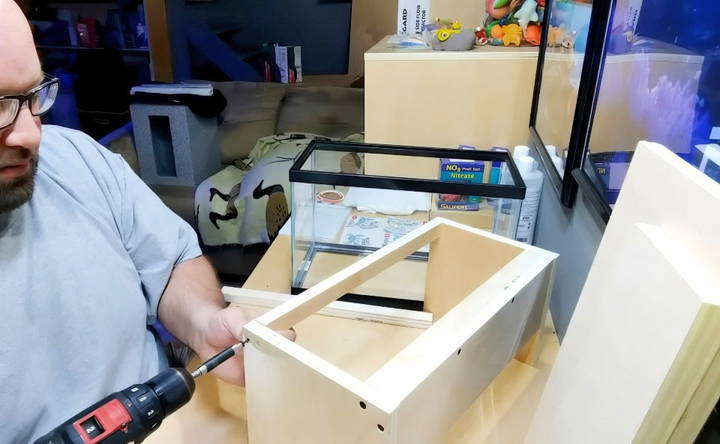
This step is crucial for ensuring your lid sits properly on the frame without any wobbling or gaps.
Take some leftover plywood and cut small spacers that match the thickness of your aquarium's trim (plus 1/16 inch for clearance). These spacers will sit on the inside edge of the canopy, resting on the tank's trim. Attach these spacers to the inside of the canopy using screws.
The lid will eventually rest on these spacers, keeping everything level and ensuring that the canopy covers the trim completely, without leaving any unsightly gaps.
Step 5: Installing the Lid
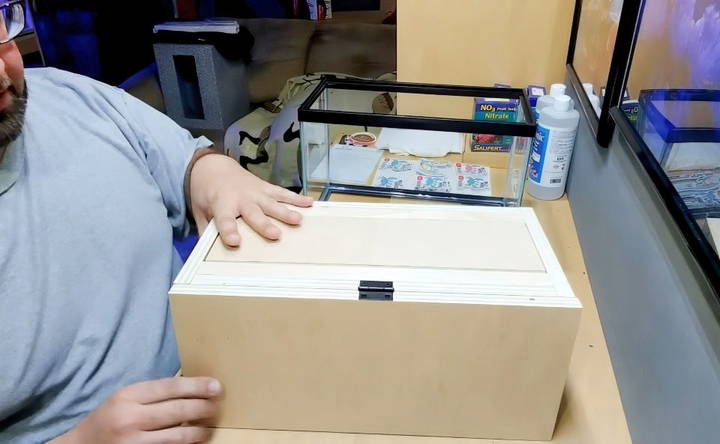
Now it's time to build the lid. Cut your lid from the remaining plywood, making sure it's the same width and length as the top of your canopy frame.
If you prefer, you can install hinges on the back of the canopy, so the lid flips open. Personally, I like to make the lid removable. This makes it easier to access the inside of the tank, especially when changing lights or cleaning.
To install the lid, attach small support pieces inside the frame. These will hold the lid in place when it's sitting on top of the canopy. You can also add small handles to the front of the lid to make it easier to lift on and off.
Step 6: Airflow Considerations
Aquarium canopies can trap heat and moisture if not designed properly, which can affect the overall health of the tank. I always leave a small gap at the back of the canopy to allow for proper airflow. This keeps the inside from becoming too humid and helps regulate the temperature inside the tank.
If you're using strong lights that generate heat, like T5s or reef brights, this airflow becomes even more important. A simple 1/2-inch gap at the back is usually sufficient.
Step 7: Final Touches – Filling, Sanding, and Painting
Once your canopy is fully assembled, it's time to smooth things out. I like to fill in any visible screw holes with spackle, and then lightly sand the entire canopy to remove any rough edges.
Next, it's time to paint or varnish the canopy. I recommend using a water-resistant paint on the inside of the canopy, as this will protect the wood from moisture. The outside can be painted or stained to match your room's décor or the stand for your tank.
You can also add corner molding around the edges of the canopy for a clean, professional look. This not only hides the seams but also gives the canopy a more finished appearance.
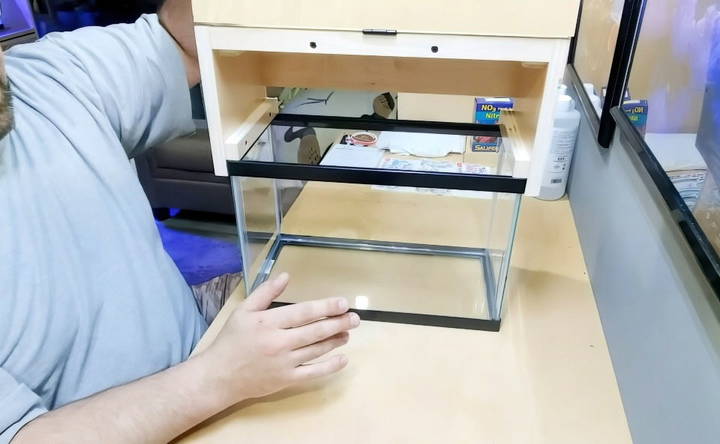
Step 8: Installing the Canopy on Your Tank
Once the paint has dried, it's time to place the canopy on your tank. The design we've buildd allows for easy removal and placement. I've built several of these for different tanks over the years, and this method has never let me down.
To install, simply slide the canopy over the top of the tank, making sure the spacers rest on the trim. If you've built everything to the correct dimensions, it should fit snugly without wobbling or shifting.
Tips and Tricks
- Choosing the Right Wood: Always opt for a high-quality, sanded plywood. This ensures that your canopy looks polished once finished, and it holds up better over time.
- Painting Inside the Canopy: I've learned that using a waterproofing sealant or moisture-resistant paint on the inside of the canopy is crucial. It helps protect the wood from humidity and any potential splashes from the tank.
- Customizing for Your Lighting: When building your canopy, always keep in mind the type of lighting you'll be using. You can either mount your lights directly to the lid, or build a separate rail system, depending on your setup.
Customization Ideas
Customizing your aquarium canopy can enhance both its functionality and aesthetic appeal. Here are some practical and creative ideas to help you personalize your canopy:
Lighting Integration
Incorporating lighting into your canopy can transform your aquarium into a stunning visual centerpiece. Here's how you can do it:
- LED Lights: Use energy-efficient LED lights. They come in various colors and intensities, allowing you to build different moods and highlight specific areas of your aquarium.
- Installation Tips: Secure the lights inside the canopy using adhesive strips or brackets. Ensure the wiring is neatly tucked away to avoid any hazards.
- Timers and Controllers: Consider adding timers or smart controllers to automate the lighting schedule. This helps mimic natural light cycles, benefiting your aquatic life.
Ventilation and Access
Proper ventilation and easy access are crucial for maintaining a healthy aquarium environment. Here are some ideas:
- Ventilation Slots: Cut slots or holes in the canopy to allow for air circulation. This helps prevent overheating and maintains oxygen levels.
- Hinged Lids: Install hinged lids or removable panels. This makes feeding and maintenance easier without having to remove the entire canopy.
- Fans: For larger aquariums, consider adding small fans to improve air circulation and keep the temperature stable.
Decorative Elements
Adding decorative elements can make your canopy unique and visually appealing:
- Wood Finishes: Use different wood finishes or paints to match your home decor. You can stain the wood for a natural look or paint it to add a pop of color.
- Molding and Trim: Add molding or trim around the edges of the canopy for a polished, professional appearance.
- Aquascaping Themes: Coordinate the canopy design with your aquarium's aquascaping theme. For example, if you have a planted aquarium, consider adding natural wood elements to the canopy.
Functional Additions
Enhance the functionality of your canopy with these additions:
- Built-in Storage: Build compartments or shelves within the canopy to store fish food, cleaning supplies, and other essentials.
- Feeding Ports: Add small feeding ports or flaps. This allows you to feed your fish without removing the entire canopy.
- Integrated Filters: If space allows, integrate filtration systems into the canopy design. This keeps the equipment hidden and maintains a clean look.
DIY Customization Tips
Here are some tips to help you with your DIY customization:
- Measure Twice, Cut Once: Always double-check your measurements before cutting any materials. This ensures a precise fit and reduces waste.
- Use Quality Materials: Invest in high-quality materials that are durable and water-resistant. This will extend the lifespan of your canopy.
- Safety First: When working with tools and electrical components, always prioritize safety. Wear protective gear and follow manufacturer instructions.
By incorporating these customization ideas, you can build a canopy that is not only functional but also a beautiful addition to your aquarium setup.
FAQs About DIY Aquarium Canopy
Discover essential FAQs about DIY aquarium canopy projects, covering materials, design tips, and step-by-step guidance for a perfect fit.
An aquarium canopy is a cover placed on top of an aquarium. It helps reduce evaporation, keeps fish from jumping out, and hides equipment like lights and filters. It also adds a decorative touch to your tank.
Use water-resistant woods like marine plywood or cedar. These types of wood are less likely to warp or rot due to moisture.
Include vents or small openings in your design to allow air circulation. This helps prevent overheating and maintains a healthy environment for your fish.
Regularly clean the canopy to remove dust and algae. Check for any signs of wear or damage and repair as needed. Ensure the vents are not blocked to maintain proper ventilation.
Absolutely! You can customize the design, color, and features of your canopy to match your style and needs. Adding doors, handles, or even built-in feeding slots can make your canopy more functional.
Conclusion
Building your own DIY aquarium canopy not only saves you money, but it also gives you the freedom to build a custom solution that fits your tank and lighting setup perfectly. With this step-by-step guide, you'll be able to build a canopy that's both functional and visually appealing. Over the years, I've built many canopies, and this design remains my go-to for its simplicity, durability, and ease of use.
Once you've built one canopy, you'll see just how easy it is to build another for any size tank you have.


