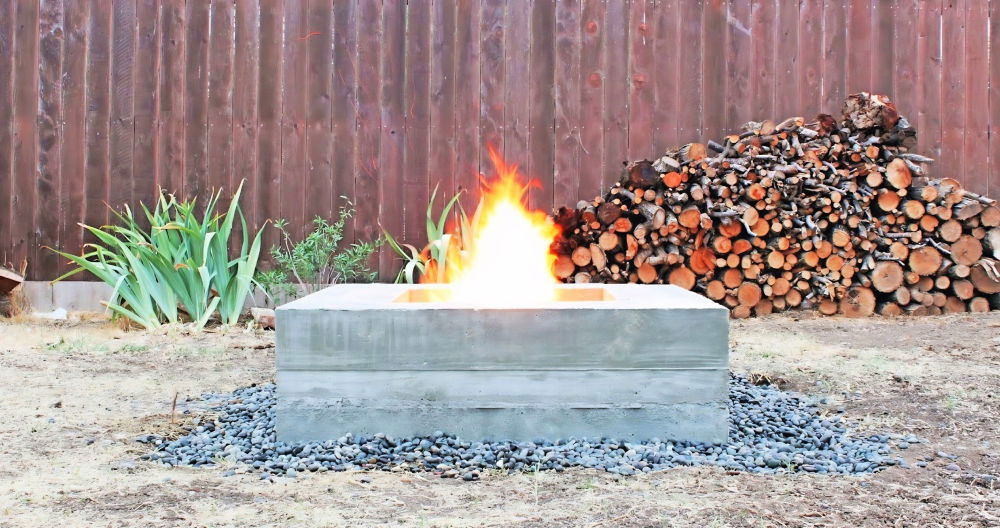
Building a DIY backyard fire pit is a fantastic way to enjoy cozy evenings under the stars. Building your own fire pit doesn't have to be complicated. With some basic materials and tools, you can design a charming outdoor feature. This simple project provides a great opportunity to enhance your backyard space and make a gathering spot for friends and family.
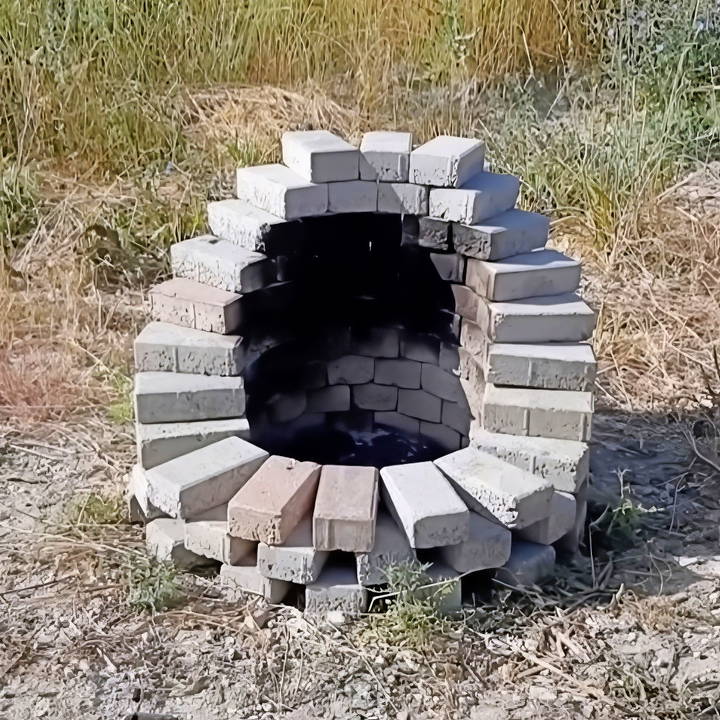
Starting with a clear plan is key to a successful DIY outdoor fire pit. Choose a safe location away from any overhanging trees or structures. Gather materials like bricks, stones, and gravel, and ensure you have the necessary tools on hand.
With our step-by-step guide on how to build a backyard fire pit, you'll have no trouble making a safe, stylish, and functional addition to your outdoor area.
Materials You'll Need and Why
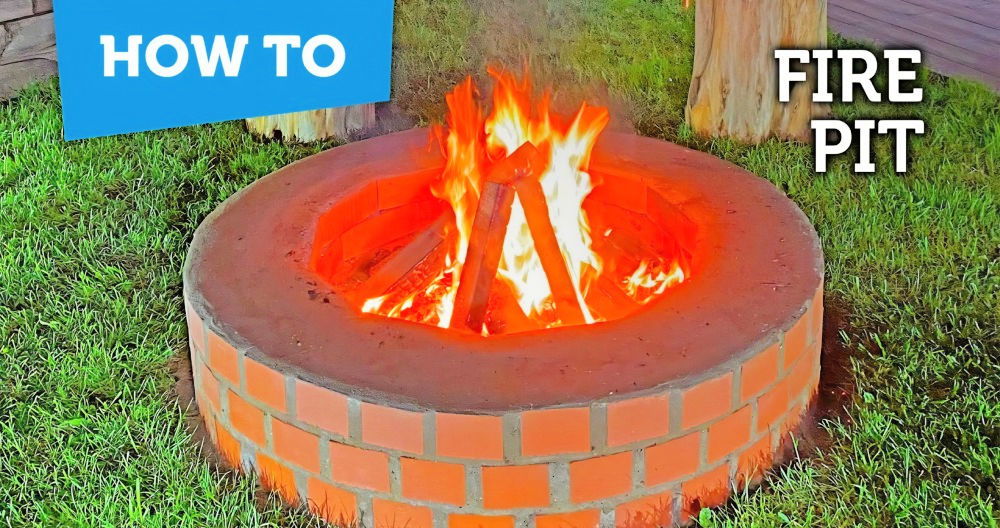
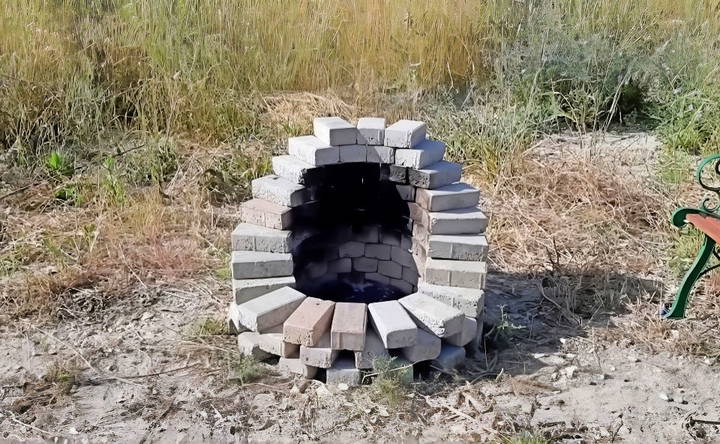
Before diving into the building process, you'll need to gather your materials. In my case, I used 87 bricks, though this number can vary depending on the size of the fire pit you desire. The beauty of this project is its simplicity; bricks are sturdy, heat-resistant, and readily available, making them the ideal material for a fire pit. You won't need any cement or adhesive since the weight of the bricks alone will hold your structure securely.
Step by Step Instructions
Learn how to build a backyard fire pit with our step-by-step guide. From choosing the spot to finalizing the structure, make your perfect DIY fire pit.
Step 1: Choosing the Perfect Spot
The first step is finding the right location in your backyard. Look for a clear area away from trees, bushes, or any combustible materials. It's also essential to consider your local regulations regarding open flames in residential areas. Once you've selected an ideal spot, you're ready to start building.
Step 2: Laying the Foundation
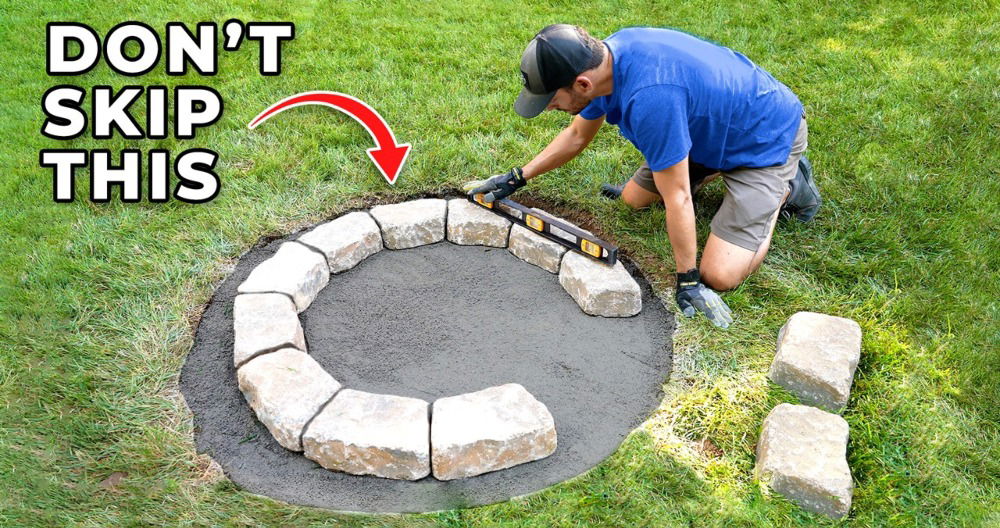
The foundation is crucial as it determines the stability and size of your fire pit. Begin by placing your bricks in a circular shape to outline the base of your fire pit. This initial layer is the most time-consuming part, as it sets the precedent for the rest of the build. There's no need to rush; take your time to adjust and reposition bricks until you're happy with the layout. In my experience, aiming for a snug fit between each brick ensures a stable base.
Step 3: Building the Walls
Once the foundation is laid, the next steps are relatively straightforward. Start stacking additional layers of bricks, staggering them to make a stable and aesthetically pleasing structure. There's no strict rule here; just ensure each brick partially covers the ones beneath it to lock everything in place. I found that three base layers were sufficient before starting to build upwards, but you can adjust according to the size and design you prefer.
Step 4: Finalizing the Structure
As your fire pit begins to take shape, you'll see how effortlessly each layer comes together. Continue to stack the bricks, maintaining the staggered pattern until you reach the desired height. During my project, I aimed for a moderate height that felt inviting and safe for a backyard setting. The final row of bricks was particularly satisfying to place, marking the completion of the build. In just under 10 minutes, the structure was standing tall and sturdy, ready for its inaugural fire.
Enjoying Your New Fire Pit
The true reward comes when you light up your fire pit for the first time. Whether you're roasting marshmallows, enjoying a glass of wine, or simply basking in the warmth, the ambiance a fire pit adds to your backyard is incomparable. My friends and family were impressed by the fire pit's design and functionality, and it quickly became the focal point of our outdoor gatherings.
Safety First
It's important to practice safety when enjoying your fire pit. Always keep a bucket of water or a fire extinguisher nearby in case of emergencies. Avoid using your fire pit on windy days, and ensure the fire is completely extinguished before leaving it unattended.
Design Ideas and Inspiration
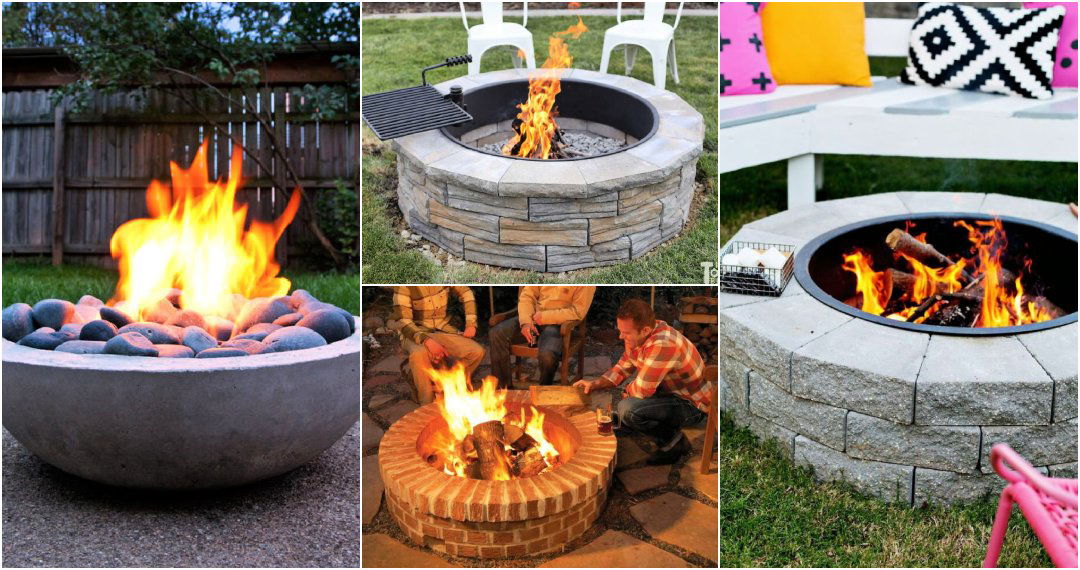
Building a backyard fire pit is not just about functionality; it's also an opportunity to enhance the beauty and comfort of your outdoor space. Here are some design ideas and inspiration to help you make a fire pit that's both a cozy gathering spot and a visual delight.
- Rustic Charm: For a traditional look, consider a circular fire pit surrounded by natural stones. This style blends seamlessly with the outdoors and offers a timeless appeal. Add wooden benches or Adirondack chairs around the perimeter for a classic campfire setting.
- Modern Elegance: If your home has a contemporary design, reflect that in your fire pit area. Opt for clean lines and geometric shapes, using materials like polished concrete or sleek metal. Incorporate built-in seating with cushions for comfort and a touch of luxury.
- Garden Integration: Make your fire pit a part of the garden by incorporating it into the landscaping. Use bricks or pavers that complement your garden's walkways, and surround the area with lush plants or flowers that can withstand the heat.
- Beachside Bliss: Build a beach-inspired oasis with a sand-filled area around your fire pit. Use sea-worn stones or glass beads within the pit for an aquatic feel, and add low-profile beach chairs to complete the vibe.
- Personal Touches: Personalize your fire pit area with elements that reflect your interests or hobbies. This could be as simple as decorating with outdoor lanterns, adding a pizza oven for food enthusiasts, or installing a pergola for added shade and privacy.
Ensure your design meets needs for comfort, looks, and safety. Make it welcoming for you and your guests. Your backyard fire pit can become the heart of gatherings and warm memories.
Maintenance and Upkeep
Keeping your backyard fire pit in top condition ensures safety and extends its lifespan. Here's a straightforward guide to maintaining your fire pit:
- Regular Cleaning: After each use, once the pit has cooled, remove ash and debris. This prevents accumulation that can hinder airflow and cause excessive smoke.
- Inspect for Damage: Check for cracks or damage, especially if your fire pit is made of stone or concrete. Small cracks can be filled with fire-resistant mortar to prevent them from expanding.
- Cover When Not in Use: Use a weather-resistant cover to protect your fire pit from rain and snow, which can cause rust and deterioration.
- Avoid Water in Metal Fire Pits: If you have a metal fire pit, avoid letting water sit in it to prevent rust. Tip out any water and dry it after cleaning.
- Clean Burner Systems: For gas fire pits, ensure the burner and valves are free of debris. This maintains efficiency and prevents blockages.
- Replace Worn Parts: If you notice any components wearing out, such as grates or screens, replace them promptly to maintain safety.
- Seasonal Care: Before winter, thoroughly clean your fire pit and store any removable parts indoors. This is also a good time to apply a sealant if you have a stone or concrete pit.
By following these simple steps, you can enjoy your fire pit for many seasons to come. Regular upkeep not only keeps it looking good but also makes it safer and more enjoyable to use.
FAQs About DIY Backyard Fire Pit
Discover the top FAQs about DIY backyard fire pits, including safety tips, materials needed, and design ideas. Get started on your perfect fire pit today!
Select a level spot in your backyard that’s at least 10 feet away from buildings, trees, and other flammable structures. Check local regulations for any additional restrictions. Consider wind patterns to avoid smoke issues.
A typical fire pit has an interior diameter between 3 and 4.5 feet and is about 12 to 14 inches deep. This size is large enough for a good fire but small enough to encourage conversation. The depth ensures efficient burning while containing sparks.
It depends on your location. Many areas require permits for fire pits. Check with your local government or planning office to find out what's required in your area. Always obtain the necessary approvals before starting construction.
Yes, you can use your fire pit for cooking. Just make sure to use appropriate grates or grills that can withstand the heat. Some fire pits are designed specifically for cooking, so consider this when choosing your design.
Regular maintenance is key to the longevity of your fire pit. Remove ash and debris after each use once the pit has cooled. Use a metal scoop for ash removal. Periodically, check for any cracks or structural issues. If your pit is made of metal, look for rust, which can be treated with a rust-resistant paint. Cover your fire pit when not in use to protect it from the elements.
Conclusion
In conclusion, embarking on a simple DIY backyard fire pit project can significantly transform your outdoor space. Not only is a DIY backyard fire pit a fun and rewarding project, but it also adds warmth and ambiance to your evenings. Building a DIY outdoor fire pit doesn't require extensive skills, making it an accessible and enjoyable task. By following these steps, you'll have a beautiful fire pit to enjoy with family and friends.


