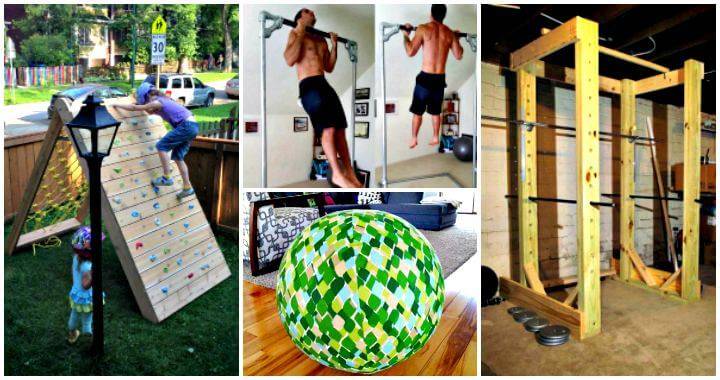
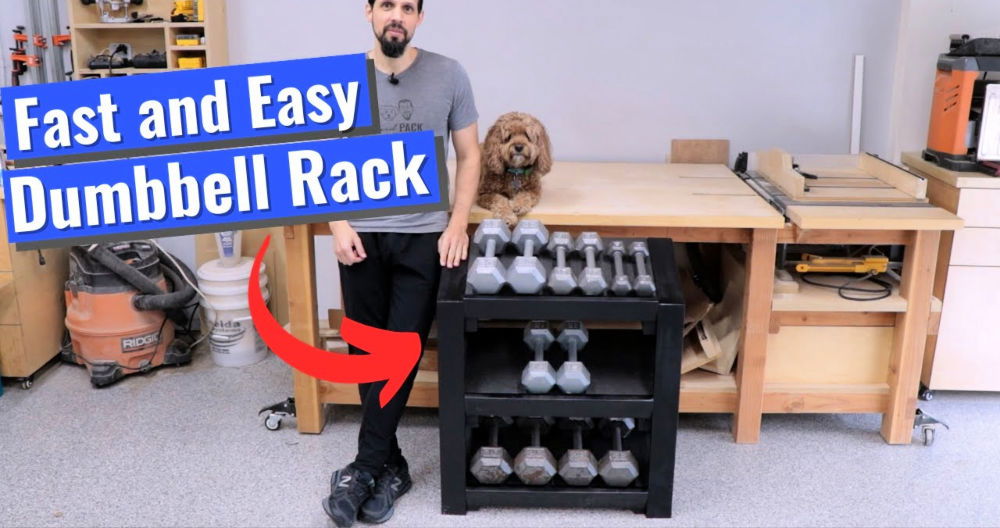
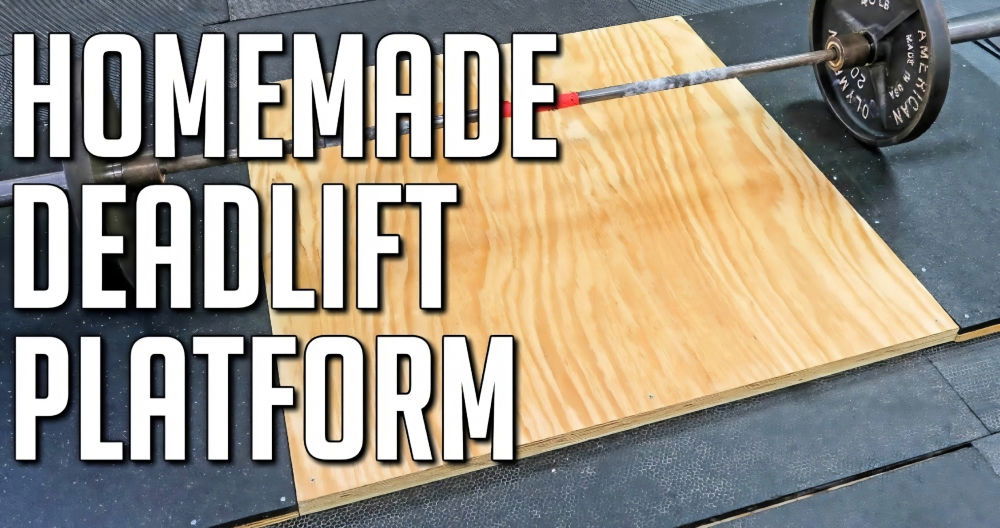
Building a DIY backyard gym provides the ideal setup to stay active without the need for a gym membership. Not only can you exercise in the fresh air, but building your gym also allows you to customize the design based on your fitness goals. This guide provides a structured approach, covering every essential stage from planning and material selection to precise installation and detailed customization.
Why Build a DIY Backyard Gym?
An outdoor gym is both convenient and motivating. Here are a few reasons why building one might be right for you:
- Convenience: Skip the gym commute. With a setup in your backyard, working out becomes simpler and saves time.
- Cost-Effective: Although the upfront cost can be high, an outdoor gym is a long-term investment that saves on gym memberships.
- Fresh Air and Nature: Exercising outdoors has mental health benefits, including mood enhancement and stress reduction.
- Customization: Build a space tailored to your goals, from cardio and strength training to flexibility exercises.
Planning Your Backyard Gym
Before starting, map out a plan for your gym:
Location and Space Requirements
- Choose a Suitable Spot: Select a flat, clear area in your yard. Ensure there's enough space to allow for movement and to add future equipment.
- Account for Stability and Weather: Plan for a location that has adequate drainage and isn't prone to heavy mud or waterlogging. For colder regions, consider installing frost-resistant posts.
Workout Goals and Equipment
- Decide on your focus areas—whether you want space for bodyweight exercises like pull-ups and push-ups or equipment for cardio workouts.
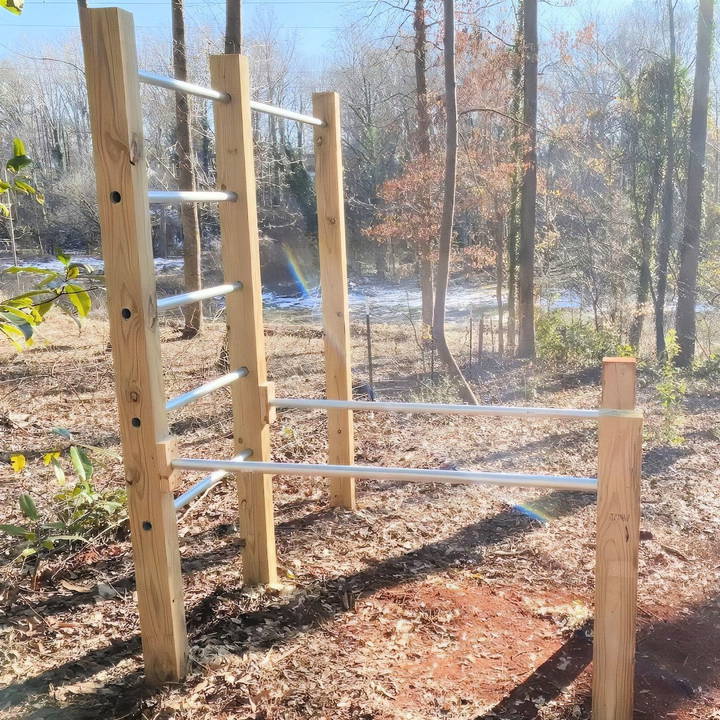
- A versatile outdoor gym includes pull-up bars, ladder systems, and horizontal bars for a variety of exercises.
Budgeting
- Estimate costs, factoring in materials like wood, pipes, concrete, and tools.
- Consider initial investments for high-quality materials that will withstand weather and long-term use.
Materials You'll Need
Discover essential materials for your DIY backyard gym. transform your fitness routine with our comprehensive guide to outdoor workout equipment.
Key Materials:
- Posts: 4x6 posts, typically 12 feet long, which will form the frame.
- Concrete Mix: Essential for stabilizing posts in the ground.
- Pipes for Bars: Chain-link fence pipes, commonly available at hardware stores, are durable and affordable. Aim for pipes with around a two-inch diameter.
- Screws and Bolts: Self-tapping screws are recommended for securing the pipes.
Tools:
- Power Drill: For drilling holes through wood.
- Measuring Tape: For precise measurements.
- Level: Ensures posts are perfectly aligned.
- Shovel: For digging post holes.
Step by Step Instructions
Make your own backyard gym with step-by-step instructions, from setting posts to adding horizontal bars and extra features for a perfect workout.
1. Set the Foundation with Posts
Begin by laying out the posts that will support the bars for exercises like pull-ups, chin-ups, and ladder work.
- Select Posts for Durability: Use 4x6 posts, ideally around 12 feet long. These will be buried to provide eight to nine feet above ground, perfect for a variety of exercises.
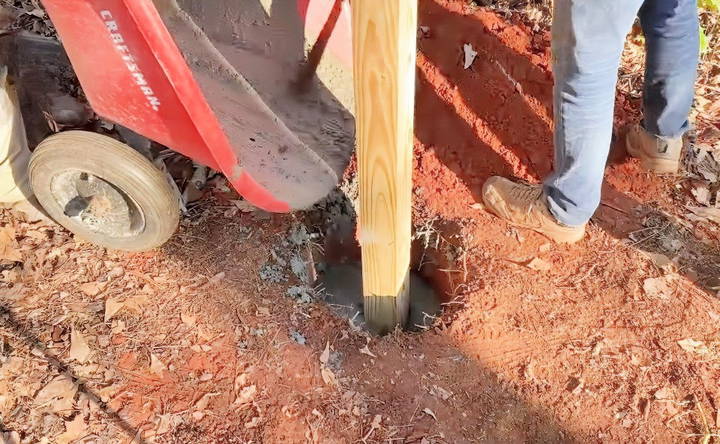
- Dig and Secure Post Holes: Each post should be buried three to four feet deep (or deeper in frost-prone areas). Fill each hole with concrete for stability.
- Tip: If using shorter posts (e.g., six feet for horizontal bars), two feet deep is sufficient for stability.
- Allow Concrete to Cure: Once posts are set in concrete, let them dry for 48 hours to ensure maximum stability.
2. Prepare the Pull-Up Bar and Ladder
A pull-up bar and ladder are key features for upper body and core workouts.
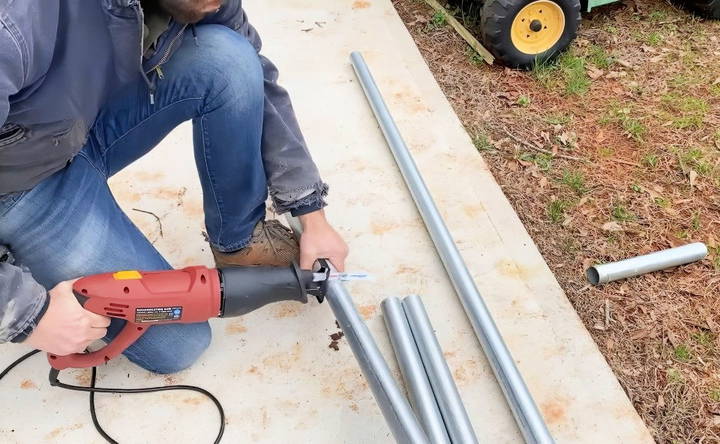
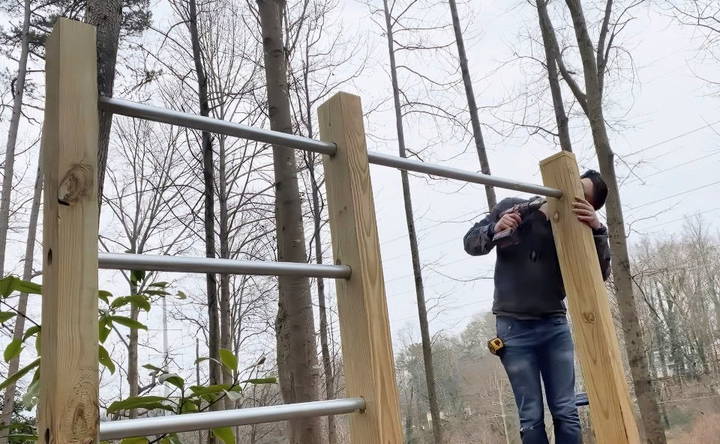
- Choose and Cut Pipes: Use seven-foot-long pipes for the pull-up bar. For the ladder, mark every 16 inches on a six-foot-long pipe to allow comfortable spacing.
- Drill Holes and Install Bars: Drill holes through the six-inch side of each 4x6 post. This leaves about two inches of wood on each side, maintaining the post's structural integrity. Secure each bar with screws to prevent rotation, ensuring safety during use.
3. Install Horizontal Bars for Additional Exercises
Adding horizontal bars allows for a wider variety of exercises, including dips and resistance band work.
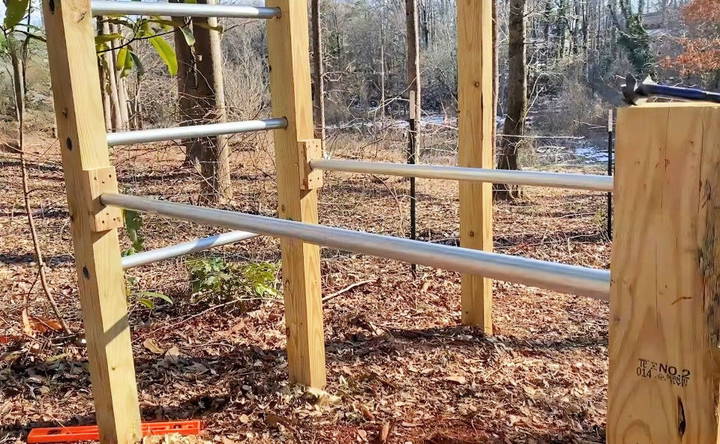
- Position the Horizontal Bars: Place these bars at a comfortable height for the intended exercises, typically about three to four feet from the ground.
- Use Self-Tapping Screws: Attach the pipes with screws to secure the bars. This prevents movement during workouts and provides added durability.
4. Customizing the Gym: Add Extra Features
One of the best parts of a DIY backyard gym is the freedom to customize. Consider adding the following:
- Flooring Options: Place interlocking rubber tiles for comfort or use gravel for durability and easy drainage.
- Weatherproofing: Apply a sealant to wooden posts to protect them from the elements.
- Additional Equipment Space: Include open space for resistance bands, dumbbells, or a punching bag.
5. Test and Maintain the Gym
After the construction, it's essential to test each piece of equipment and establish a maintenance routine.
- Safety Check: Before performing any exercises, check that all bars are secure and that posts are steady.
- Ongoing Maintenance: Routinely check for signs of wear, especially around screws and concrete bases. Reapply sealant to wooden components annually to preserve durability.
Essential Exercises for Your DIY Gym
A backyard gym should provide enough variety to cover your major fitness goals. Here are some exercises you can perform on this setup:
- Pull-Ups and Chin-Ups: Great for building upper body strength, especially in the back, shoulders, and arms.
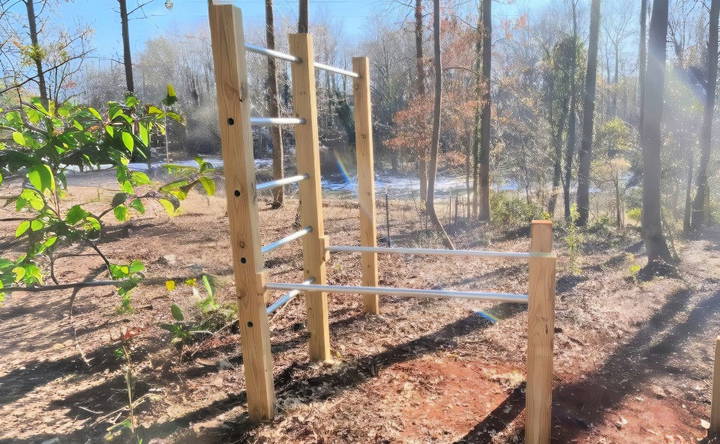
- Ladder Exercises: Using the ladder setup, perform moves like hanging leg raises or simply use it as an angled push-up station.
- Horizontal Bar Exercises: Perfect for dips, inverted rows, and resistance band exercises. Adjust the bar height to match your preference for each exercise.
- Bodyweight Circuit Training: Utilize open space to perform push-ups, burpees, and bodyweight squats in a continuous circuit.
- Flexibility and Stretching: Dedicate a section of your gym for stretching or yoga to improve mobility and prevent injuries.
Tips for an Effective Workout Routine
To maximize your backyard gym's potential, consider the following workout tips:
- Warm-Up Properly: Spend at least five minutes warming up with dynamic stretching or a light cardio activity.
- Mix Strength and Cardio: Alternate between strength training (using the pull-up bar, ladder, and bodyweight exercises) and cardio (jump rope or sprint intervals).
- Include Stretching and Mobility: Use a dedicated mat area to work on flexibility and mobility, critical for injury prevention.
- Set Fitness Goals: Establish clear, achievable fitness goals and track your progress over time.
Final Thoughts: Building a Gym You'll Love
A backyard gym is a fantastic way to combine fitness with the outdoors, making staying in shape easy, affordable, and enjoyable. By following the steps outlined above, you can build a durable and customizable gym that will serve you for years to come. Whether you're a beginner or a fitness enthusiast, this setup offers countless exercise options and can adapt to your fitness journey over time.
With a bit of planning and effort, you'll have a high-quality outdoor gym that's ready for any workout. So, gather your materials, get outside, and start building your path to a healthier lifestyle right in your backyard.
FAQs About DIY Backyard Gym
Discover everything you need to know about building a DIY backyard gym with our comprehensive faqs guide for a fit and functional outdoor space.
The time required depends on the gym’s complexity. For a basic setup with posts, a pull-up bar, and ladder, expect to spend around one weekend if all materials and tools are ready.
The cost varies based on material quality and the scope of the project. A basic setup typically costs between $200 to $500, excluding any additional equipment.
Yes, if your yard has a slope, level the area using excess soil from the post holes. Compacting the dirt before setting up helps prevent shifting over time.
Use treated wood and apply a sealant to prevent moisture damage. Regularly check for signs of rust on metal parts, and cover equipment when not in use to increase longevity.
A comfortable dip bar width is around 18-24 inches apart. Adjust based on your shoulder width for comfort and stability. Too wide can strain shoulders; too narrow can limit movement range.
Yes, they’re generally sturdy and more affordable than steel pipes. To avoid bending, ensure the pipes are securely fastened with self-tapping screws. Users have reported good durability for bodyweight exercises.
Wood is often more cost-effective and easier to work with for DIY projects. However, metal posts offer more durability in some climates and may be preferred if you’re concerned about wood warping over time.
Dig post holes at least three feet deep (or deeper in frost-prone areas) and fill with concrete for stability. Fill up to the soil line; using soil on top can help blend the post with the natural landscape.
A diameter of 1.5 to 2 inches is ideal for a comfortable grip. This size suits most hand sizes and provides a secure grip for pull-ups, dips, and other exercises.
For flexibility, consider using removable or adjustable brackets. This allows you to customize the setup for different exercises and users, though it may add to the project's complexity.
Depending on your experience, this setup may take a weekend to complete, including time for concrete to set. Preparation and gathering materials in advance will speed up the process.
Using treated wood and a weatherproof sealant helps protect from rot and moisture. Regularly inspect and maintain the setup, especially after heavy weather, to ensure stability and longevity.


