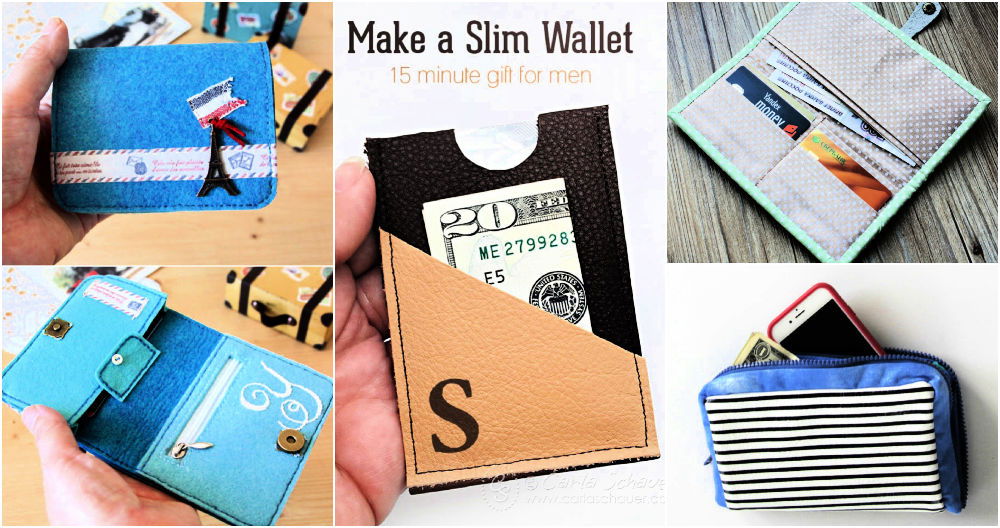
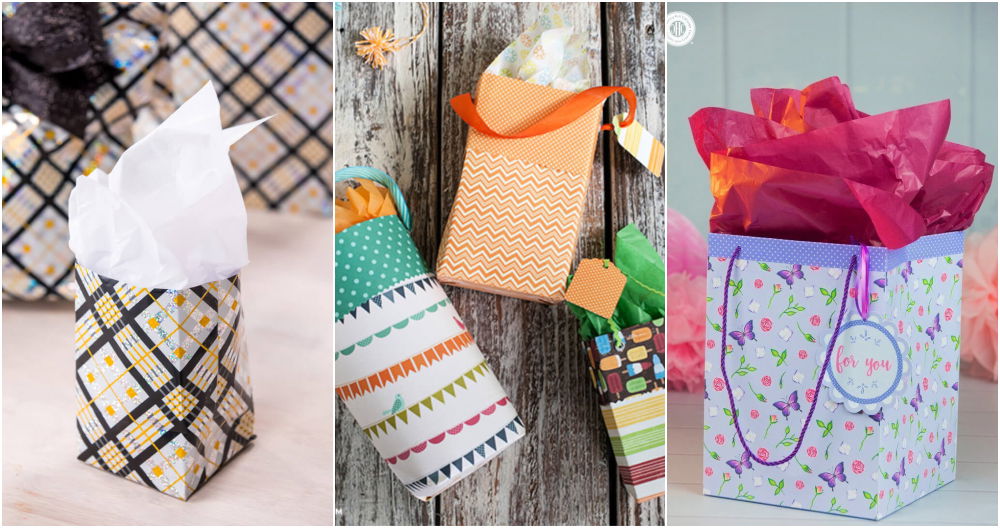
Making DIY balloon weights was a fun and easy project. I needed something to hold the balloons at my sister's birthday party. With basic supplies like small gift bags, colorful ribbons, and heavy objects like pebbles or marbles, I made some perfect balloon weights. It's simple. Just fill the bags with heavy materials and tie the balloon strings around the handles.
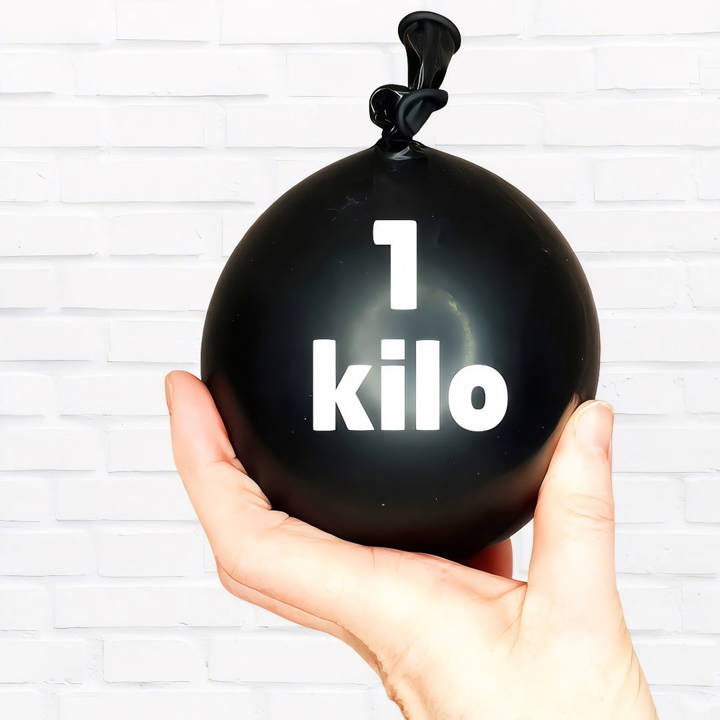
This method not only kept the balloons in place but also added a decorative touch to the party. The weights kept flying balloons at bay, and everyone loved how they looked! By making these yourself, you can customize them to match your event's theme.
These DIY balloon weights are a practical way to keep your décor looking great. I'm helping with this.
Why Choose DIY Balloon Weights?
Choosing the DIY route for balloon weights came down to three main reasons for me:
- Cost-Effectiveness: Buying multiple weights can quickly add up in cost, especially for larger events.
- Customization: DIY allows tailoring the weights to match the theme or color scheme of your party.
- Satisfaction: There's a unique sense of accomplishment in making something functional and aesthetically pleasing for your event.
Materials Needed
To embark on this project, you'll need a few materials, each essential for various stages of the process:
- 11-inch round balloons: These are sturdy enough to hold the sand and still manageable in size.
- Sand: It serves as the heavy filler that provides the weight. I opted for regular play sand thanks to its availability and cost-effectiveness.
- Funnel: This aids in transferring sand into the balloon without a mess.
- Dowel rods or chopsticks: Helpful in the initial stage of balloon expansion.
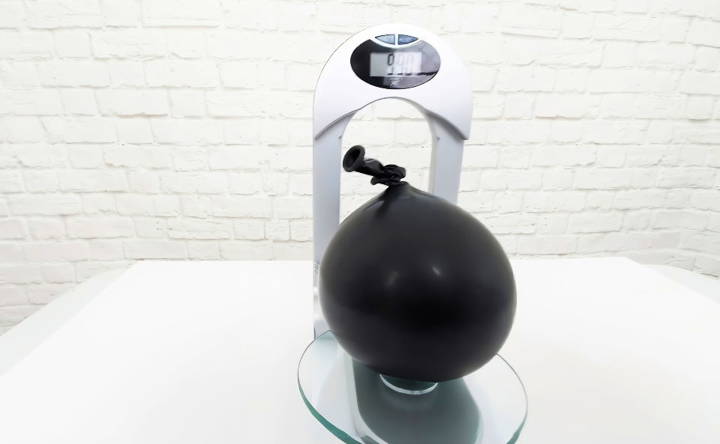
- A digital scale (optional): For those who love precision or need their weights to meet specific requirements.
Step by Step Instructions
Learn how to make DIY balloon weights with our step-by-step instructions. Perfect for parties and events, these weights are simple and fun to make!
Step 1: Preparing the Balloon
Firstly, I took an 11-inch balloon and stretched its neck to make it easier to fill. I did this by placing two fingers inside the balloon neck and gently pulling apart. This might seem a minor step, but it significantly eases the following stages.
Step 2: Initial Inflation
Using a dowel rod, I placed one balloon at the end of the rod and then covered it with another balloon for extra strength. This step wasn't strictly necessary but provided additional durability against the sand's weight. Depending on what kind of pump or inflation tool you have, you might need to slightly inflate the balloons manually to make them easier to work with. I managed fine by giving them a good stretch.
Step 3: Filling with Sand
Here came the slightly tricky part - filling the balloons with sand. Placing the funnel's spout into the balloon's neck (which I had prepared by stretching), I slowly started to pour sand into the balloon. I found that holding the balloon neck firmly around the funnel spout while pouring was key to avoiding spills. Patience is necessary here as the sand fills and expands the balloon.
I continued this process until the balloon felt hefty enough to act as a solid weight. This is where having a digital scale might come in handy if you're aiming for a specific weight. In my case, I eyeballed it to what felt right, aiming for a bit under a kilogram per weight based on the original video recommendation.
Step 4: Tying Off the Balloon
Once satisfied with the amount of sand, I carefully removed the funnel and let out a tiny bit of air to make the balloon more manageable. Then, holding the sand-filled part of the balloon with one hand, I stretched the neck and tied it into a secure knot. This step ensured that the sand stayed put and the balloon could be handled without spillage.
Step 5: Final Adjustments
With the balloon now filled and secured, I made a few adjustments by gently patting it into a rounded shape. This not only made it look more presentable but also ensured it would sit flat on surfaces, providing a stable base for the balloons it was meant to anchor.
Customization Ideas for DIY Balloon Weights
Making DIY balloon weights offers a wonderful opportunity to add a personal touch to your celebrations. Here's how you can customize them to fit any occasion:
Choose Your Theme
Start by selecting a theme that resonates with the event. Whether it's a color scheme for a wedding, cartoon characters for a child's birthday party, or seasonal decorations for a holiday, your theme will guide your customization choices.
Selecting Materials
Pick materials that match your theme and are readily available. For example, for a beach-themed party, use sand and seashells; for a Christmas gathering, consider pine cones and red ribbons.
Designing the Weight
Think about the shape and size of your balloon weight. It should be stable enough to hold the balloons but also integrate seamlessly with your decor. Use molds or containers that fit your theme, like small buckets for a garden party or heart-shaped boxes for an anniversary.
Adding Decorative Elements
Embellish your weights with items like glitter, stickers, or photos. These elements can elevate the look and feel of your balloon weights and make them stand out.
Personalization
For an extra special touch, personalize each weight. This could be as simple as adding a guest's name, which can also double as a unique party favor.
Eco-Friendly Options
Consider using biodegradable or recyclable materials to minimize environmental impact. Natural materials like stones or terracotta pots are excellent choices.
Assembly Instructions
Provide clear, concise instructions for assembling the balloon weights. Ensure that the steps are easy to follow and include tips for securing the balloons effectively.
Make stylish, functional balloon weights with non-toxic materials for safety. Your DIY weights will make your event memorable.
Troubleshooting Common Issues with DIY Balloon Weights
When crafting your own balloon weights, you might encounter a few hiccups along the way. Here's how to solve some of the most common issues:
Balloons Drifting Away
If your balloons are floating away, your weights might be too light. Solution: Increase the weight by adding more material, like sand or pebbles, until the balloons stay grounded.
Materials Not Holding Together
Sometimes, the materials you've chosen don't stick together well. Solution: Use stronger adhesives like hot glue or double-sided tape. For natural materials, twine or clear fishing line can secure them without being too noticeable.
Weights Not Matching the Theme
Your balloon weights should complement the event's theme. Solution: Reassess your design. Use colors and elements that align with your theme, like ribbons for a wedding or bright paints for a birthday party.
Difficulty in Assembly
Complex designs can be challenging to assemble. Solution: Simplify the process. Break it down into manageable steps and use tools that are easy to handle, like scissors with comfortable grips or lightweight containers.
Environmental Concerns
Eco-friendliness is important. Solution: Opt for sustainable materials like clay, fabric, or recycled paper. Avoid plastics and other non-biodegradable items.
Safety Worries
Safety is paramount, especially around children and pets. Solution: Avoid small, detachable parts and toxic materials. Ensure everything is securely attached and non-hazardous.
Address these issues to make your DIY balloon weights beautiful and functional. Follow these tips for successful homemade balloon weights to enhance any celebration.
Safety Tips for DIY Balloon Weights
When making balloon weights at home, safety is a top priority. Here are some tips to ensure that your DIY project is safe for everyone involved:
Use Safe Materials
Choose non-toxic materials for your weights. If you're using sand or small pebbles, make sure they are clean and free from harmful chemicals.
Secure Attachments
Ensure that all parts of your balloon weight are securely attached. Use strong adhesives or ties to prevent any pieces from coming loose and posing a choking hazard.
Avoid Sharp Objects
If your design involves cutting or shaping materials, be cautious of sharp edges. Smooth out any rough areas to prevent cuts or scratches.
Keep Away from Small Children and Pets
Small components can be a choking risk for young children and animals. Keep your DIY weights out of their reach, and never leave them unattended with the weights.
Fire Safety
If you're using materials like ribbons or paper, keep them away from candles or any other sources of flame to prevent fire hazards.
Weight Appropriately
Make sure your weights are heavy enough to hold down the balloons but not so heavy that they could cause injury if dropped or knocked over.
Test Stability
Before using your weights at an event, test them to ensure they are stable and won't tip over easily, especially if they're placed on a table or other elevated surfaces.
Follow these safety tips to enjoy your DIY balloon weights worry-free. Always prioritize safety, especially for events with guests of all ages.
FAQs About DIY Balloon Weights
Discover FAQs About DIY Balloon Weights. Learn how to make and use handmade balloon weights effectively for your next event or party.
DIY balloon weights are homemade items used to anchor balloons so they don’t float away. They’re a cost-effective and creative alternative to store-bought weights, allowing you to customize them to match your event’s theme.
Absolutely! You can get creative by using colorful fabrics, ribbons, or even painting containers to match your party decor. Some people use themed items like small toys or seashells glued to a base as a weight for a personalized touch.
The weight needed will depend on the size and number of balloons you're anchoring. A general rule is that each weight should be at least 8 ounces (around 225 grams) to effectively hold down a standard helium balloon.
Yes, you can use food items like beans or pasta as balloon weights. Just fill a small cloth bag or a decorative tin with these items and secure it. This method is not only effective but also adds a unique touch to your decoration.
Absolutely! Consider using natural materials like stones or sand inside reusable containers. You can also use biodegradable materials like rice or birdseed, which can be scattered outdoors after the event as a wildlife-friendly option.
Conclusion
In conclusion, these DIY balloon weights offer a simple and effective way to enhance your event decor. By following the steps in this guide, you can save money and add a personal touch to your celebration.


