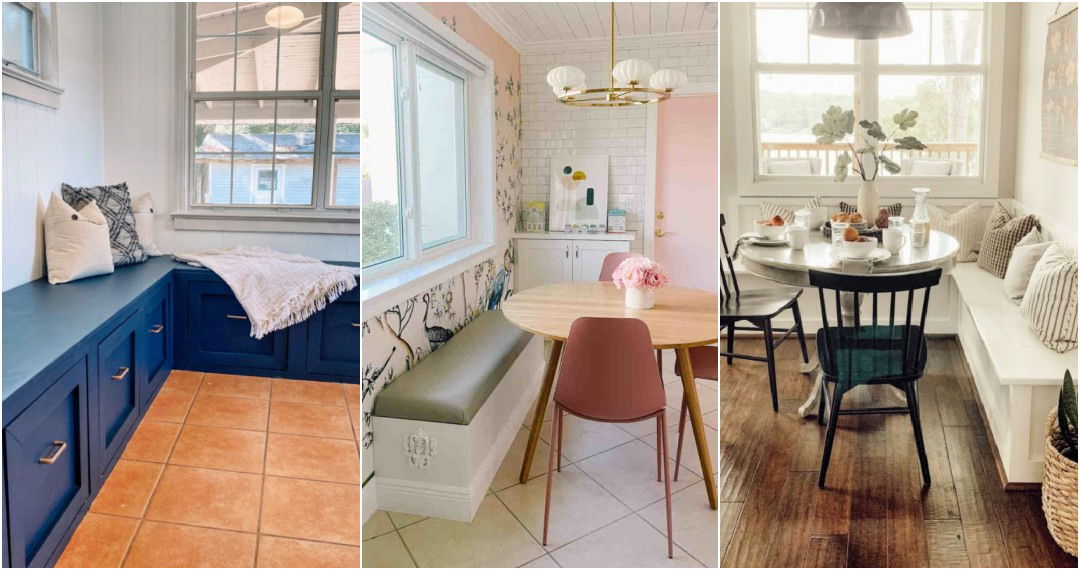
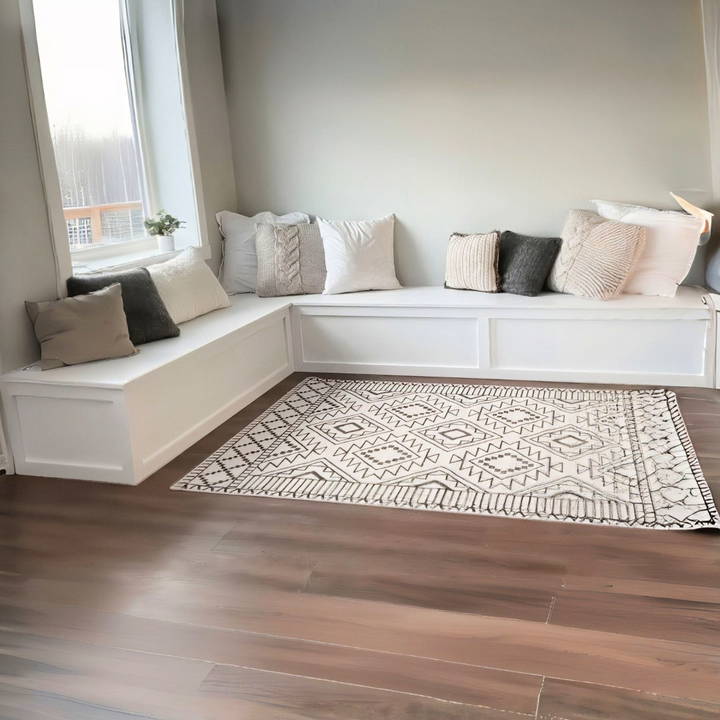
Building a cozy and efficient space in your home doesn't have to come from a pricey store-bought solution. I recently embarked on a journey to build a DIY banquette bench with flip-up storage, and I'd like to share my experience with you. This guide will walk you through the process, offering practical advice and valuable insights I've gained along the way.
Why I Chose to Build a Banquette Bench
Before delving into the construction process, let me explain why this project was so appealing. I needed extra seating and storage space in my dining area, but I wanted it to feel personal and custom-fit. A DIY banquette bench promised both utility and a touch of craftsmanship, allowing me to tailor it exactly to my needs.
Materials You Will Need
Here are the materials I used and why each one is essential:
- 2x4 Lumber: These boards are the backbone of the frame, providing sturdy support for the bench.
- Quarter Inch Plywood: Used for sheathing the bench, it's lightweight, easy to cut, and cost-effective.
- Three Quarter Inch Plywood: Used for the top of the bench, offering durability and strength for seating.
- Self-Tapping Screws: These make assembling the frame straightforward without the need for pre-drilling.
- Brad Nails: Ideal for attaching plywood to the frame without visible screw heads.
- 1x3 Trim Boards: Used to cover plywood edges and smooth out the bench's appearance.
- Edge Banding: This helps give plywood edges a finished look.
- Paint and Primer: Necessary for adding a clean, polished finish to your bench.
- Hinges: Allow the top to flip up, making the storage easily accessible.
- Wood Filler and Sandpaper: Used for smoothing surfaces and preparing them for finishing.
Tools: Your Building Companions
A few reliable tools simplify the work:
- Circular Saw: For cutting your boards and plywood accurately to size.
- Table Saw (optional): Ideal for ripping plywood if you want cleaner cuts.
- Screwdriver or Drill: Essential for driving screws into the wood.
- Brad Nailer: Makes quick work of attaching plywood.
- Measuring Tape and Square: To ensure your cuts are precise.
- Paintbrush and Roller: For applying a smooth finish.
Step by Step Instructions
Learn how to build a banquette bench with our step-by-step DIY guide, from framing to final touches. Perfect for enhancing your home project!
Step 1: Constructing the Frame
First, I measured the space available for the bench to decide its size. Then, I:
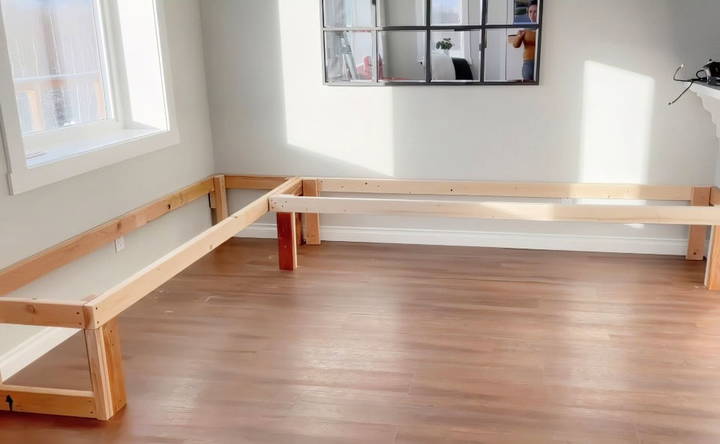
- Cut the 2x4s: I used my circular saw to cut the 2x4 boards according to the measurements for the frame. The saw was straightforward to handle and gave clean cuts.
- Assemble the Frames: Once cut, I used self-tapping screws to put the two frames together. These screws saved time by not requiring pilot holes, making the process smooth and efficient.
- Attach the Legs: I secured the legs at the desired height, ensuring each was stable and level.
Tips:
- Double-check your measurements before making cuts. Accuracy at this stage prevents headaches later on.
- If unsure about angles, follow a straight edge or template.
Step 2: Sheathing the Frame with Plywood
Now that the frame was up, it was time to cover it:
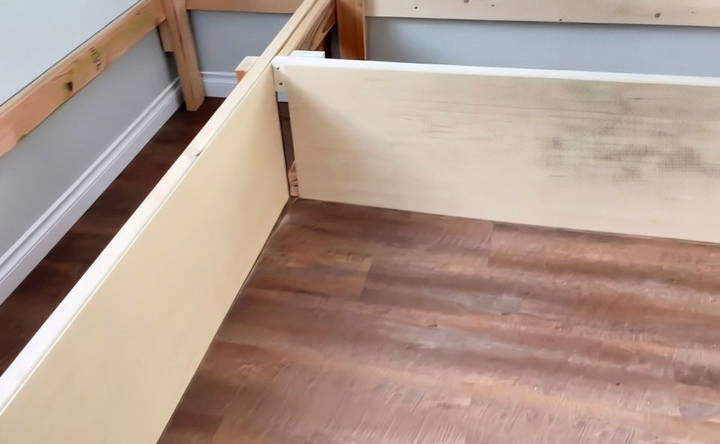
- Cut the Plywood: I cut quarter-inch plywood to fit the sides and front of the bench. It's lightweight, so handling and cutting were straightforward.
- Attach with Brad Nails: I secured the plywood to the frame with brad nails, ensuring tight and clean edging. Remember, it's okay if your edges aren't perfect—trim will hide them.
Tips:
- Use a square to ensure cuts are straight.
- Keep plywood edges neat; they'll be covered, but tidiness helps later.
Step 3: Trimming: The Finessing Touch
Adding trim gave the bench a polished look:
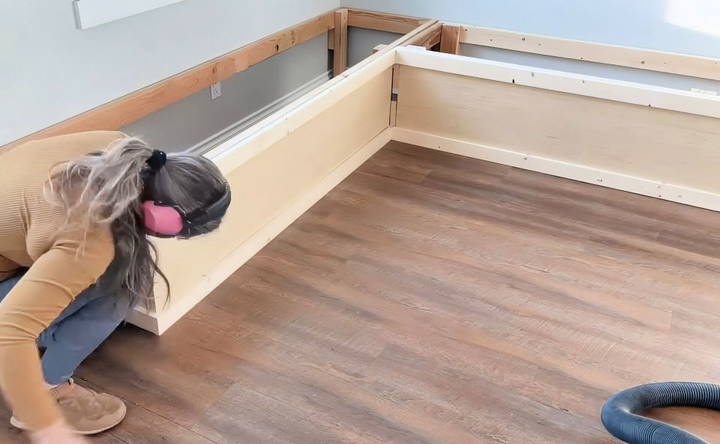
- Measure and Cut Trim: Using 1x3 boards, I cut them to fit around the edges of the plywood and any other visible joints.
- Secure the Trim: With the brad nailer, I attached the trim. This step instantly transformed the bench from a mere assembly of wood to furniture.
Tips:
- Mark each piece before cutting to the exact length.
- For edges, cut at a 45-degree angle to build professional-looking joints.
Step 4: Constructing the Top
Building the flipping top was next:
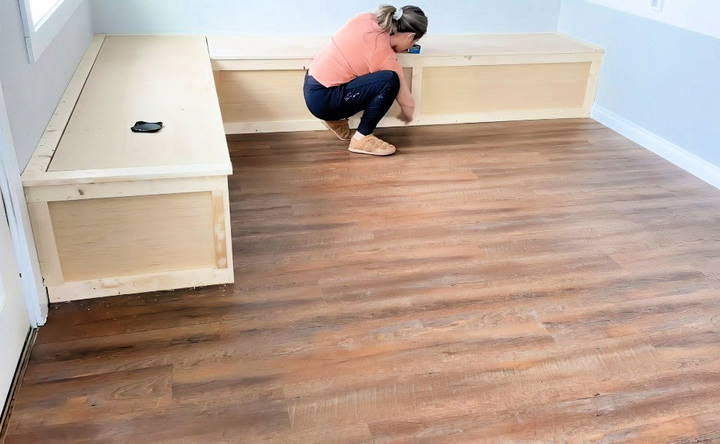
- Cut the Plywood: I used three-quarter-inch plywood for the bench top, rip-cutting it with my table saw for precision.
- Edge Banding: I applied edge banding along the front for a finished look, ironing it on for adhesion.
- Attach Hinges: With the top cut and banded, I installed hinges on the back edge. The hinges must swing smoothly to avoid strain over time.
Tips:
- Ensure the bench top fits snugly in place but not too tight—it should flip easily.
- When attaching hinges, make sure they are aligned perfectly; this should be an area of precision.
Step 5: Finishing Touches
A final touch to make it homey:
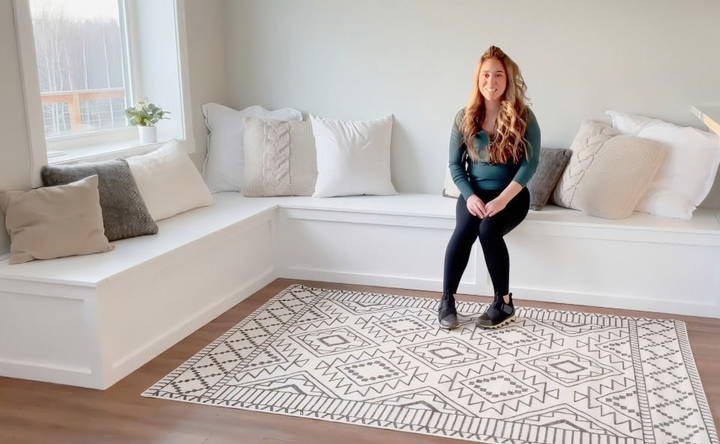
- Fill and Sand: I filled any nail holes with wood filler, then sanded the entire bench smoothly using 120 grit sandpaper initially, followed by 220 grit for the finish.
- Paint: Using a semi-gloss paint and primer combination, I painted the bench. It took three coats, with light sanding in between for a smooth finish.
Tips:
- Remove all sanding dust before painting.
- Allow each coat to dry thoroughly before applying the next.
FAQs About DIY Banquette Bench
Discover faqs about DIY banquette bench! Get tips, materials, dimensions, and step-by-step guides for crafting your perfect seating.
A DIY banquette bench is a custom-built seating solution, typically integrated into a dining nook or kitchen area. It maximizes space efficiency by utilizing wall space and often incorporates storage compartments beneath the seating area.
Absolutely! The beauty of a DIY banquette bench is the ability to tailor it to your specific needs and preferences. You can customize the dimensions, add backrests, incorporate armrests, and choose upholstery that aligns with your style.
Comfort is crucial. To enhance the seating experience, ensure adequate depth and width for comfortable seating. Adding cushions and backrests can further enhance comfort and provide support.
Maximize the functionality of your banquette bench by incorporating storage compartments beneath the seating area. You can use hinged lids, drawers, or even open shelves to store items like blankets, pillows, or kitchen essentials.
Securely attaching the bench to the wall is essential for stability and safety. Use appropriate brackets, L-brackets, or cleats to ensure a sturdy connection between the bench and the wall studs.
Final Reflections and Advice
After completing the project, I found a deep sense of satisfaction not just in the new seating and storage solution, but also in having buildd something functional and beautiful with my own hands. The bench fits perfectly into my space and meets my family's needs admirably.
Useful Advice:
- Plan Ahead: Adequate planning, including measurements and materials, saves time and effort.
- Patience and Precision: Rushing leads to mistakes—take your time for accurate and neat results.
- Customization: Feel free to modify dimensions or finishes to suit your personal taste and home's style.
Building this DIY banquette seating taught me the value of patience and meticulousness. With this guide and a bit of elbow grease, I hope you can build your own DIY banquette bench, adding both utility and a personal touch to your living space.


