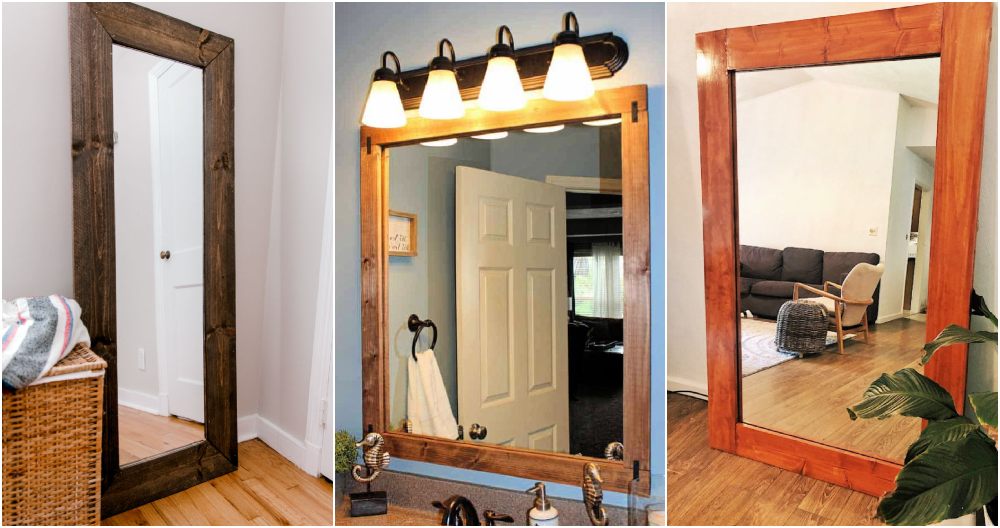
Learn how to DIY bathroom mirror frame with this easy step-by-step guide. Adding a frame to your bathroom mirror is one of the simplest and most cost-effective ways to upgrade the space. For just $10 and a bit of creativity, you can elevate the aesthetics of any bathroom, making it look polished and intentional. Whether you're sprucing up a rental, preparing a property for Airbnb, or giving your primary home a quick refresh, framing a bathroom mirror is the perfect solution. Here's how to do it step-by-step.
Why Frame Your Bathroom Mirror?
Bathroom mirrors are often overlooked, but they're a focal point in the room. Framing a plain mirror instantly adds character and sophistication. It's particularly useful in:
- Rental Properties: Frames can add a touch of luxury without breaking the bank.
- Airbnb Units: A framed mirror gives guests the impression of a well-maintained and thoughtful space.
- Budget Makeovers: With minimal investment, you can make a big visual impact.
- Moisture-Prone Areas: A properly sealed frame protects against warping and humidity damage.
This project is straightforward and requires only basic tools and materials, making it accessible for beginners.
Tools and Materials Needed
Here's a list of tools and materials you'll need to frame your bathroom mirror:
Tools:
- DeWalt Miter Saw (or any saw capable of making precise 45-degree cuts)
- Framing Triangle for accuracy in measurements
- Sandpaper (80-grit and 120/240-grit)
- Paintbrush or Staining Rag
- Caulking Gun
- Painter's Tape
- Dust Mask for safety while sanding
Materials:
- 1x3 Pine Wood Boards (cost-effective and easy to work with)
- Wood Stain (Minwax Early American was used in the example for a classic finish)
- Pre-Stain Conditioner (Minwax Pre-Stain ensures an even application of stain)
- Polyurethane or Clear Coat (Semi-gloss or high-gloss for durability and easy cleaning)
- Mirror Adhesive or Construction Glue (to secure the frame)
- Optional Sanding Sealer (for added moisture resistance)
If you don't already have these materials, the total cost will slightly exceed $10. However, most of these items (e.g., stain, glue) are reusable for multiple projects.
Step by Step Instructions
Learn how to frame your bathroom mirror with this step-by-step DIY guide. Budget-friendly tips for a stylish and easy home upgrade!
Step 1: Measure and Cut the Wood
- Measure Your Mirror: Measure the height and width of the mirror. Add a little extra length to each piece to ensure the wood covers the mirror's edges.
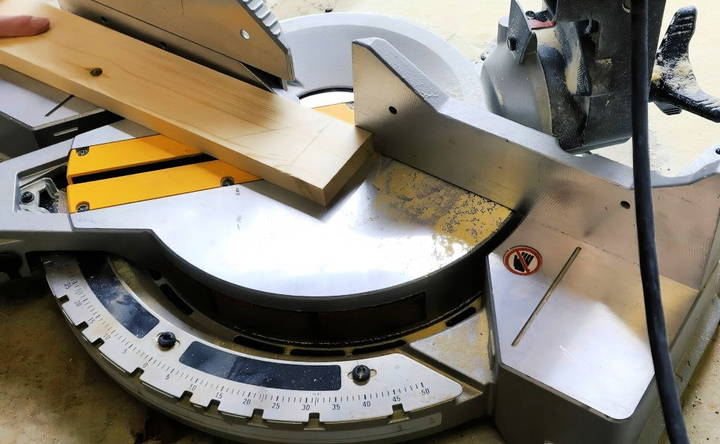
- Mark and Cut: Use a miter saw to cut four pieces of wood at 45-degree angles. These angles allow the frame pieces to fit together seamlessly.
Pro Tip: Ensure that the angles align properly to form tight corners.
Step 2: Sand the Wood
- Initial Sanding: Begin with 80-grit sandpaper to remove rough edges and imperfections.
- Smooth Finish: Use finer grit (120-240) sandpaper for a polished surface.
- This step is crucial for achieving a smooth finish and preventing splinters during handling.
- Wipe Clean: Remove sanding dust with a damp cloth or tack cloth.
Step 3: Apply Pre-Stain Conditioner
- Why Use Pre-Stain? Pine wood often absorbs stain unevenly. A pre-stain conditioner ensures a consistent finish.
- Application: Apply the conditioner with a brush or rag, ensuring all surfaces are covered. Let it sit for 5-10 minutes before moving on to the stain.
Step 4: Stain the Wood
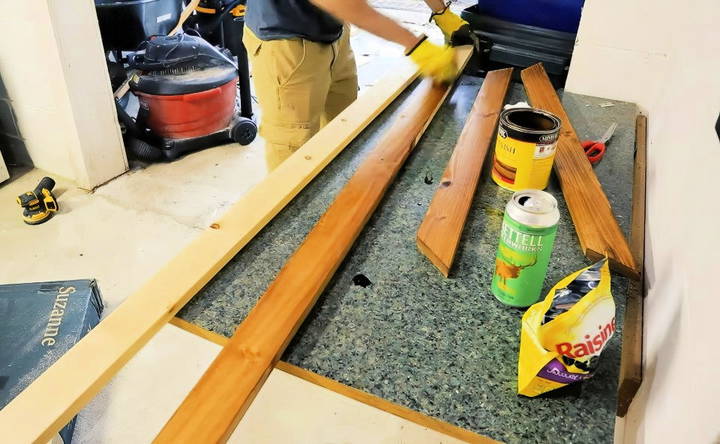
- Choose Your Stain: For this tutorial, Minwax Early American was used, offering a warm, classic tone.
- Apply Stain: Use a rag to rub the stain into the wood, simultaneously wiping off excess stain. This technique gives a clean, natural look.
- Dry Time: Allow the stain to dry fully. This usually takes a few hours, depending on humidity levels.
Step 5: Seal the Wood
- Apply Clear Coat: Use polyurethane or a similar clear coat to protect the wood from moisture. A high-gloss finish is ideal for bathrooms because it's easy to clean and resists water damage.
- Multiple Coats: Apply three coats, sanding lightly between each coat to eliminate bubbles or imperfections.
- Pro Tip: Don't skip sealing the back of the frame. Sealing all sides prevents warping due to humidity changes.
Step 6: Assemble and Attach the Frame
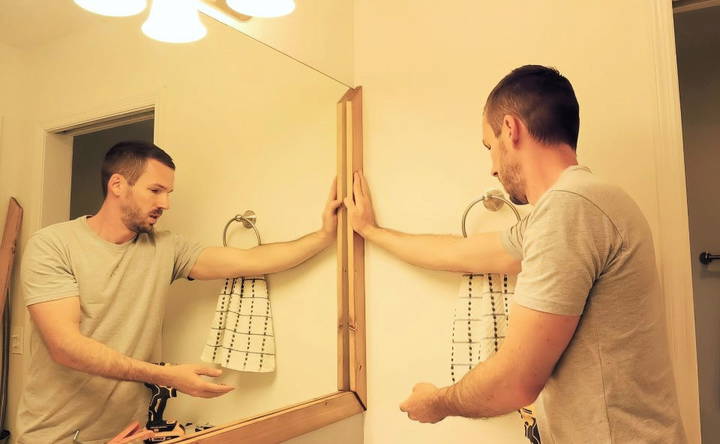
- Dry Fit: Place the cut wood pieces around the mirror to ensure a proper fit.
- Glue Application: Apply adhesive dots along the backside of each frame piece, focusing on areas that will touch the wall.
- Avoid applying glue too close to the edges to prevent it from oozing out.
- Secure with Painter's Tape: Use painter's tape to hold the frame pieces in place while the adhesive dries.
Step 7: Finishing Touches
- Remove Tape: Once the adhesive is dry (typically a few hours), carefully remove the painter's tape.
- Check Alignment: Ensure the frame is straight and all corners are flush.
Tips and Tricks
- Budget-Friendly Supplies: Check for leftover materials from previous DIY projects. Often, you'll already have sandpaper, caulk, or stain on hand.
- Customize the Look: Experiment with different stain colors or paint the wood for a modern, vibrant frame.
- Protect Against Moisture: Bathrooms are humid environments. Sealing all sides of the wood prevents issues like warping or mold.
- Upgrade Over Time: This project works well as a temporary upgrade while saving for larger bathroom renovations.
Before and After: A Transformation Worth $10
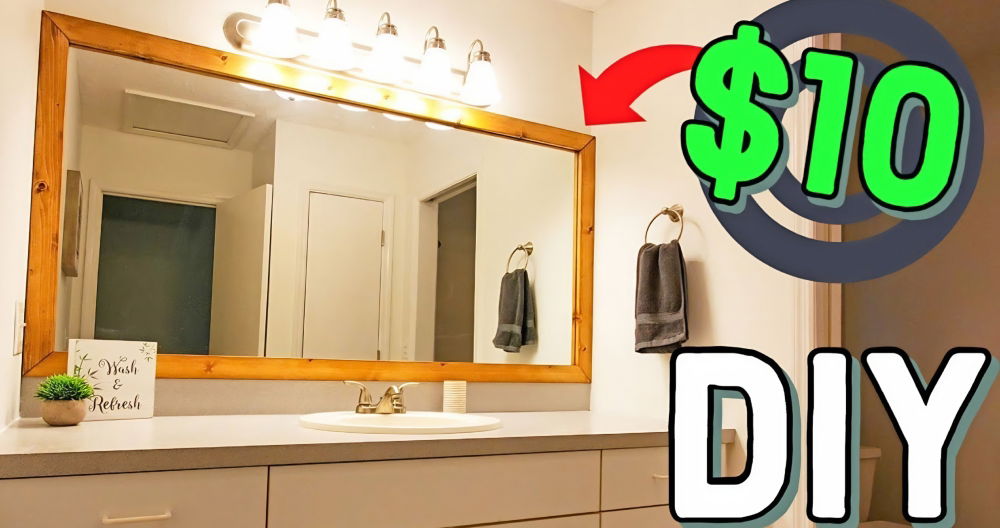
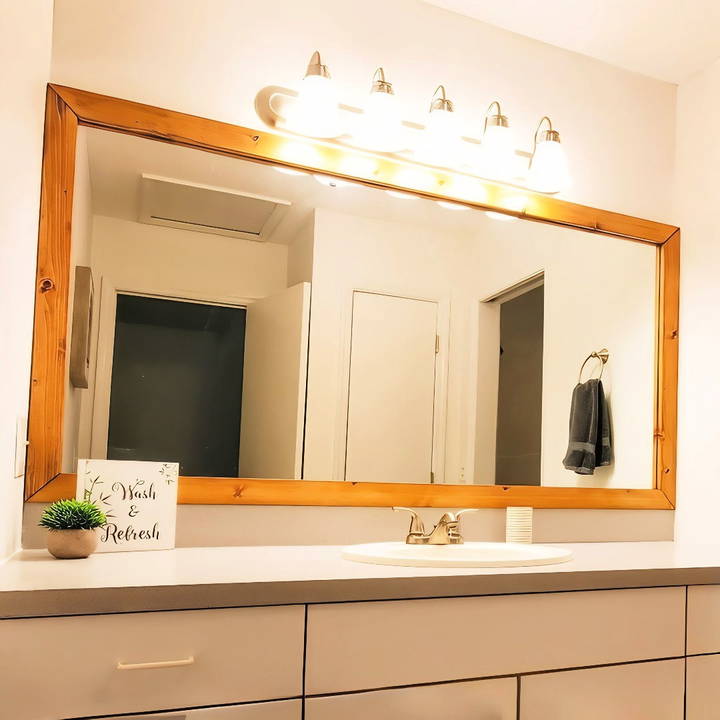
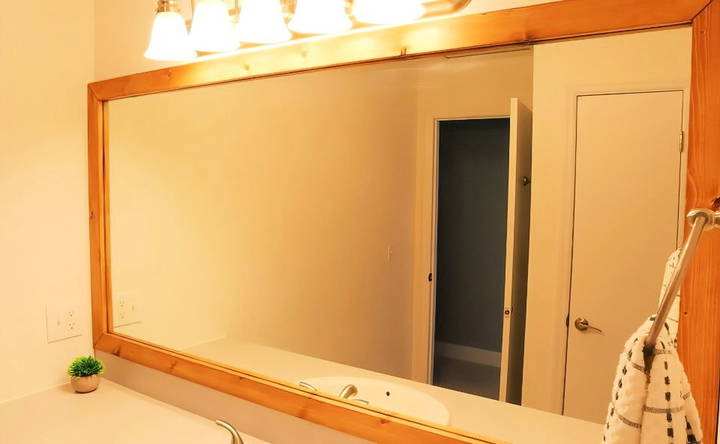
Even in a plain, all-white bathroom, adding a frame to the mirror transforms the space. It adds warmth, texture, and a sense of completion. Whether you're hosting guests or just enjoying a refreshed look for yourself, the results are well worth the minimal effort.
Conclusion: Elevate Your Bathroom Today
Framing a bathroom mirror is an inexpensive, beginner-friendly project that delivers maximum impact. With just $10 and a few tools, you can achieve a polished look that rivals professional installations. So why wait? Gather your materials, follow these steps, and give your bathroom the upgrade it deserves!
Let us know how your project turns out or if you have any tips for other DIY enthusiasts. Happy crafting!
FAQs About DIY Bathroom Mirror Frame
Discover answers to common questions about making your own DIY bathroom mirror frame with our helpful FAQs.
You can carve notches in the back of the frame to fit around the clips. Use a flathead screwdriver and hammer, or a drill with a large bit, to make small craters where the clips protrude. This ensures the frame sits flush against the mirror.
No, staining is not required if you plan to paint the frame. Instead, apply a primer before painting to ensure the paint adheres well and provides an even finish.
A miter box and handsaw are cost-effective alternatives for creating accurate 45-degree cuts. They are simple to use and available at most hardware stores.
Mirror adhesive or construction-grade glue like Liquid Nails works well. Apply small dots along the back of the frame to avoid excess glue squeezing out.
For metal trims, frame over them directly if the trim lies flat. For round mirrors, consider making an octagonal or hexagonal frame, which can be easier to construct than a perfect circle.
If you have tools and leftover materials, the cost can be as low as $10 for the wood and glue. However, if you need to buy everything (tools, stain, sandpaper, etc.), expect to spend $50-$100 depending on your mirror size and material choices.
Yes, if you use small adhesive dots or non-permanent double-sided tape. For glued frames, carefully pry them off with a flat tool to avoid damaging the mirror.
Use sturdier materials like 1x4 pine for better support, and ensure all sides are well-secured with adhesive or brackets. Pre-cutting and measuring are critical for large frames.
Use 240-grit sandpaper to lightly smooth out imperfections between coats of clear polyurethane for a polished finish.
Yes, lightweight alternatives like decorative molding, PVC trim, or even painted foam boards can be used. These materials are moisture-resistant and easier to work with in some cases.


