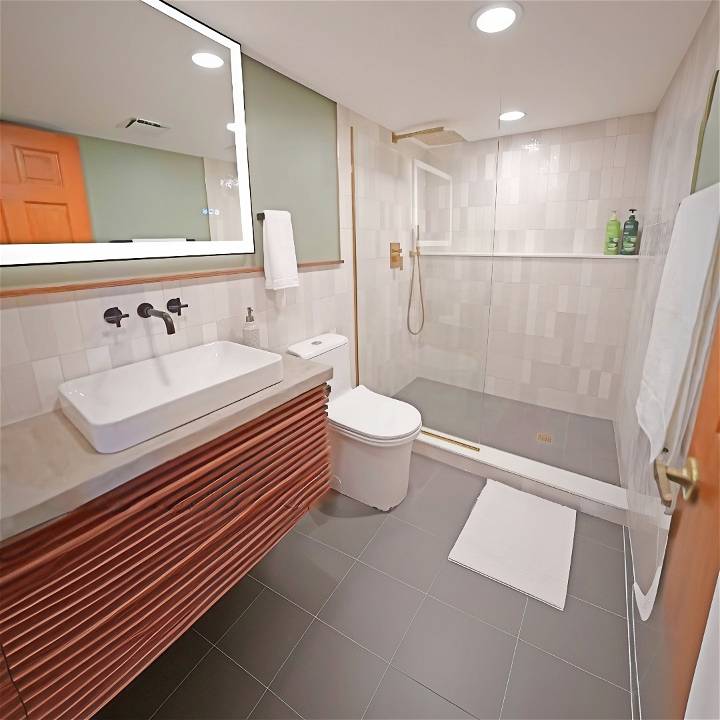
Renovating a small bathroom from start to finish can seem like a daunting task—especially if, like me, you're embarking on such a massive project for the first time. However, with a dash of perseverance and a sprinkle of trial and error, I transformed my cramped, dimly-lit basement bathroom into a bright, welcoming space. Here's a step-by-step guide to how I achieved this makeover, armed with insights and practical advice to inspire your own renovation journey.
Step by Step Instructions
Follow this step-by-step guide for a complete bathroom renovation, from demolition to finishing touches. Learn electrical, plumbing, tiling, and more!
The Beginning: Demolition Day
Before starting, it's vital to understand what you're working against. My bathroom's original state featured peel and stick linoleum tiles, a drop ceiling, and a tiny, dark shower. Demolition highlighted an essential tip: expect the unexpected. Removing the shower and tiles revealed a plethora of hidden issues, from a challenging fiberglass shower removal to an unexpected bed of unadhered mortar. Materials Needed:
- Sledgehammer: For removing stubborn structures like the fiberglass shower tray.
- Sawzall: For cutting through large pieces.
Electrical and Plumbing Overhaul
After demolition, the real work began. Installing new electrical wiring and plumbing required precision and patience. Materials Needed:
- Wafer LEDs & 14-2 cable: To brighten the space effectively.
- PEX piping and connectors: For a modern, reliable plumbing system.
Important Insight: If electrical and plumbing work isn't in your wheelhouse, consulting with or hiring professionals is invaluable. My venture into this terrain was supervised by a licensed professional to ensure safety and compliance with local codes.
Drywall Drama
Hanging the drywall taught me an invaluable lesson: meticulous planning is non-negotiable. A mishap with an inadvertently moved ceiling joist caused a minor flood—an event that underscored the importance of double-checking work areas for potential hazards. Materials Needed:
- Drywall sheets: Key for restoring walls and ceilings.
- Compound & Tape: To smooth over seams and prepare surfaces for painting.
The Tiling Marathon
Tiling was, by far, the most physically demanding and creatively fulfilling part of the renovation. Shower tiles, wall tiles, and floor tiles: each required a different approach, but a consistent strategy was ensuring all tools and materials were prepared and accessible.
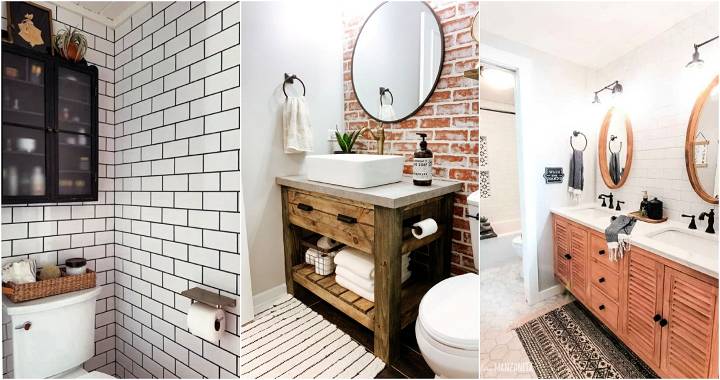
- Shower Tiles: Opting for larger tiles required precise cuts and patience but resulted in a sleek, modern look.
- Floor Tiles: I chose a heated floor system for extra comfort. This required careful cable laying and an uncoupling membrane to prevent tile cracking.
- Wall Tiles: The handmade aspect of zellige tiles introduced a unique variance in color and texture that demanded a flexible layout approach.
Materials Needed:
- Tile saw: For precise cuts.
- Mortar & Trowel: Essential for laying tiles.
- Spirit Level & Spacers: For even, symmetrical tile placement.
Finishing Touches: Vanity, Countertop, and LED Lights
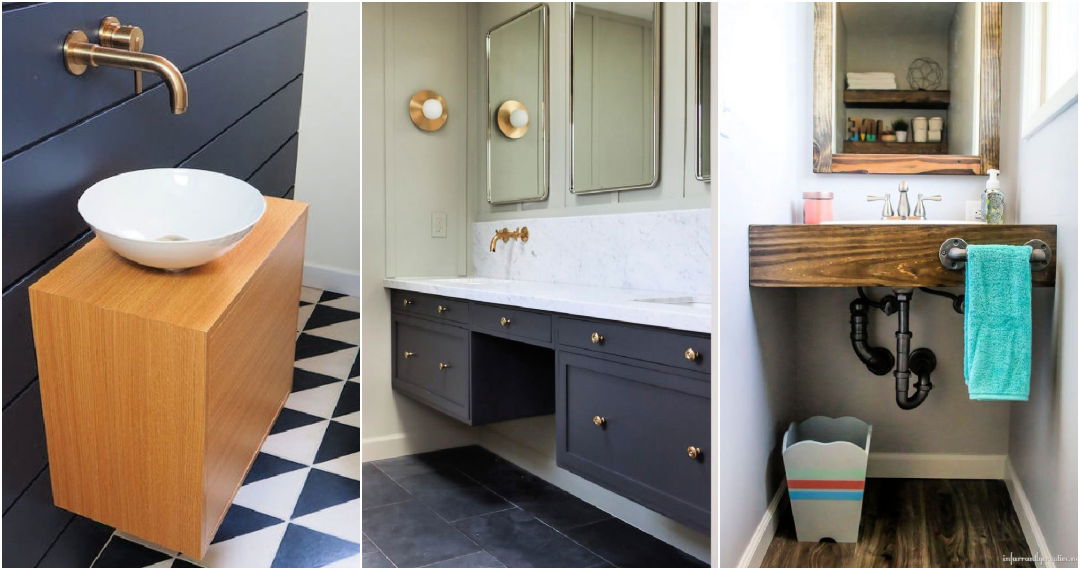
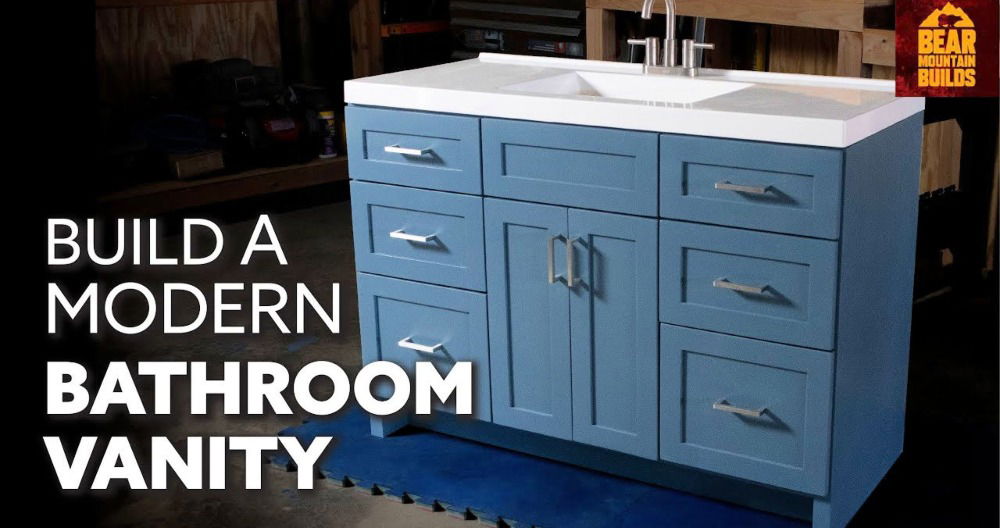
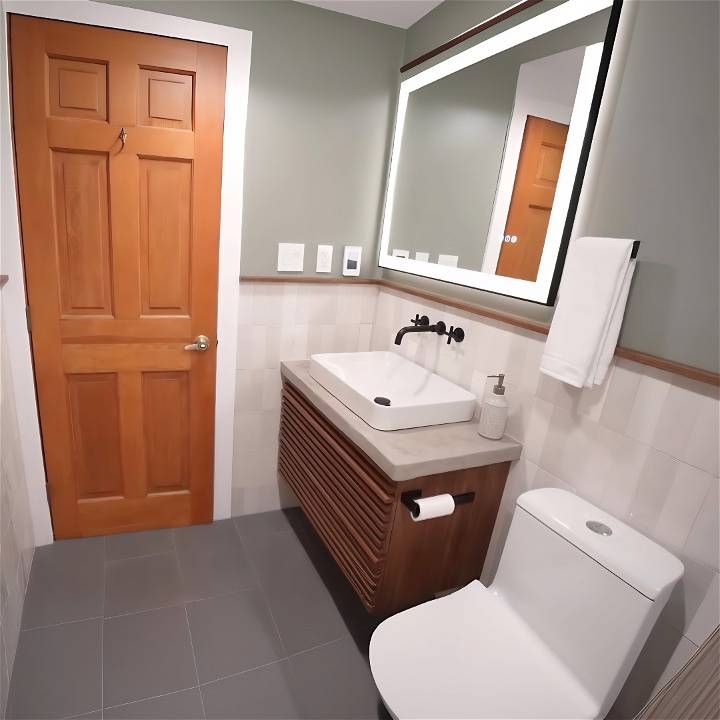
Building a custom countertop and installing vanity breathed life into the bathroom. I built my countertop with plywood, applied a feather finish for texture, and secured it with a waterproof sealant. The LED strips under the vanity and the shower niche brought a luxurious ambiance I didn't know I needed until I flipped the switch.
Materials Needed:
- Plywood & Feather Finish: For a custom, budget-friendly countertop.
- LED Strip Lights: For a modern lighting solution that's both effective and efficient.
Learning Through Doing
Beyond the tangible tools and materials, resilience and adaptability were the real MVPs of this project. Mistakes were inevitable, but each one was a learning opportunity that I wouldn't trade.
Embracing the New Space
The transformation from a dingy, cramped space to a bright, functional bathroom was beyond rewarding. By tackling each step with thorough research, careful planning, and a sprinkle of creativity, I was able to execute a remodel that not only improved the functionality and aesthetic of the space but also significantly increased the value of my home.
Common Mistakes to Avoid in DIY Bathroom Remodeling
Embarking on a DIY bathroom remodeling project can be an exciting endeavor, but it's also fraught with potential pitfalls. To ensure your renovation goes smoothly, here are some common mistakes to avoid:
Overlooking Ventilation
Ventilation is crucial to prevent mold and mildew. Ensure you have a properly functioning exhaust fan that vents outside your home.
Ignoring Waterproofing
Water damage can ruin your remodel quickly. Use waterproof materials for flooring and walls, especially around the shower and tub.
Choosing the Wrong Materials
Not all materials are suitable for the high humidity of a bathroom. Select materials that can withstand moisture, such as porcelain tiles, rather than ones that can warp or mold, like certain woods.
Forgetting About Storage
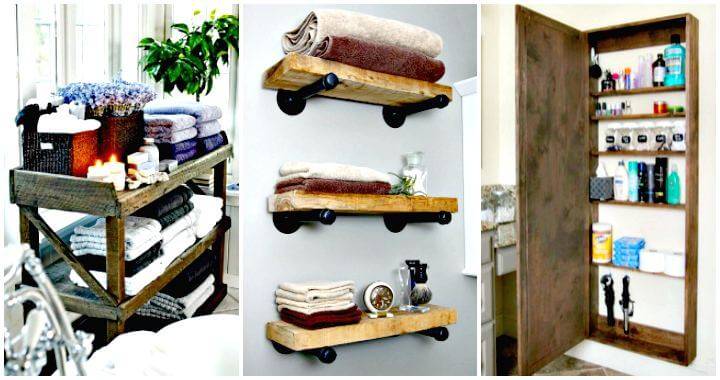
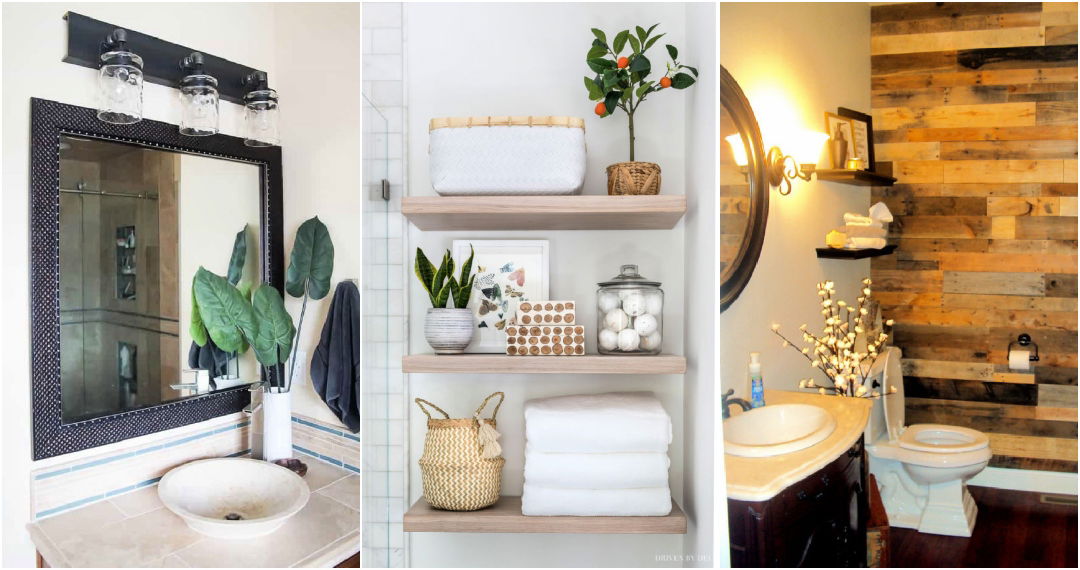
Storage is key in a bathroom. Plan for enough cabinetry and shelving to keep your space organized and clutter-free.
Inaccurate Measurements
Even small measuring mistakes can lead to big problems, like fixtures that don't fit. Double-check measurements before cutting or installing anything.
Skimping on Lighting
Good lighting is essential in a bathroom. Consider task lighting around the mirror and ambient lighting for the rest of the space.
Disregarding Electrical Safety
Water and electricity are a dangerous mix. Ensure all electrical outlets are GFCI protected to prevent shocks.
Neglecting the Budget
It's easy to overspend on a remodel. Keep a detailed budget and track your expenses to avoid financial strain.
Rushing the Process
Take your time with each step of the remodel. Rushing can lead to mistakes that are costly and time-consuming to fix.
Doing It All Alone
Some tasks might require professional expertise. Don't hesitate to hire a plumber or electrician for complex jobs to ensure safety and quality.
By avoiding these common mistakes, you'll be on your way to a successful DIY bathroom remodel that's both beautiful and functional.
Maintenance and Upkeep for Your Bathroom Remodel
After investing time, effort, and resources into remodeling your bathroom, maintaining its new condition is crucial. Here's a detailed guide on how to keep your bathroom looking and functioning like new:
- Regular Cleaning: Consistent cleaning prevents the build-up of mold, mildew, and limescale. Use gentle, non-abrasive cleaners to protect surfaces and fixtures.
- Sealant Check: Inspect and replace caulk and grout as needed to ensure waterproof seals around your tub, shower, and sink remain intact.
- Ventilation: Run the exhaust fan during and after showers to reduce humidity and protect against moisture damage.
- Soft Water: If you have hard water, consider installing a water softener to prevent mineral deposits on fixtures and glass.
- Prompt Repairs: Address leaks or drips quickly to avoid water damage and costly repairs down the line.
- Protect Surfaces: Use trivets or mats to protect countertop surfaces from hot tools like hair straighteners or curling irons.
- Avoid Harsh Chemicals: Harsh chemicals can damage finishes. Opt for mild soaps and cleaning agents, and rinse surfaces thoroughly after cleaning.
- Update Fixtures: Keep an eye on the condition of your fixtures. Replacing worn-out parts can prevent leaks and maintain functionality.
- Regular Inspection: Periodically check all aspects of your bathroom, from plumbing to lighting, to ensure everything is in working order.
By following these maintenance and upkeep tips, you can enjoy your remodeled bathroom for many years to come. Regular care will not only keep it looking beautiful but also help in retaining its value.
FAQs on DIY Bathroom Remodel
Discover answers to all your DIY bathroom remodel questions in our comprehensive FAQs guide. Learn tips, tricks, and expert advice for a successful renovation.
What should I consider before starting a DIY bathroom remodel?
Before you begin, assess your skills and the scope of the project. Consider the budget, design, and time frame. Ensure you understand the plumbing and electrical systems, and don't forget to check if you need any permits.
How can I keep my bathroom remodel within budget?
To stay within budget, plan meticulously and prioritize tasks. Opt for cost-effective materials and do what you can yourself, but don't skimp on professional help for complex tasks like plumbing and electrical work.
What are some common design mistakes to avoid?
Avoid choosing the wrong materials for a humid environment, neglecting storage space, and underestimating the importance of lighting. Make sure the design is functional and fits your lifestyle.
How do I choose the right materials for my bathroom?
Select materials that are moisture-resistant and durable, such as porcelain tiles for flooring and quartz for countertops. Research and compare products to find the best quality within your budget.
Can I do the plumbing and electrical work myself?
If you have experience and knowledge, you might tackle some tasks. However, for safety and compliance with local codes, it's often best to hire licensed professionals for plumbing and electrical work.
What should I do after completing my bathroom remodel?
After the remodel, maintain your new bathroom by cleaning regularly, checking for leaks, and ensuring good ventilation. This will help keep your bathroom in top condition for years to come.
Final Thoughts
This journey reinforced the importance of patience, preparation, and persistence. Whether you're a seasoned DIYer or a novice eager to learn, remember:
- Double-Check Everything: Especially when it involves plumbing and electrical work.
- Be Ready for Surprises: Whether it's an unforeseen repair or an unexpected design opportunity.
- Take Your Time: Rushing leads to mistakes. Enjoy the process, and learn from it.
A successful DIY renovation isn't just about the before and after—it's about the lessons learned along the way. Happy building, and may your projects bring you as much joy and satisfaction as my bathroom remodel brought me.


