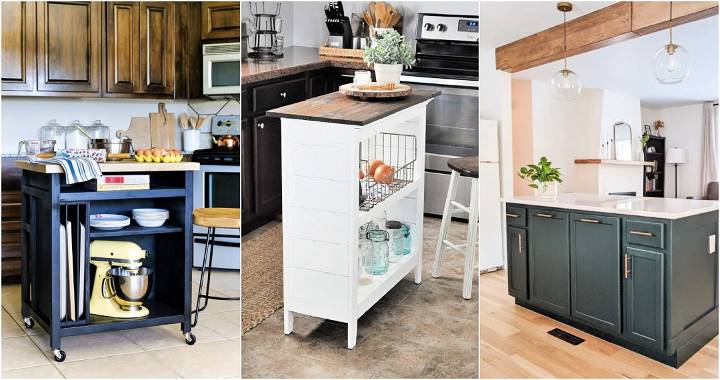
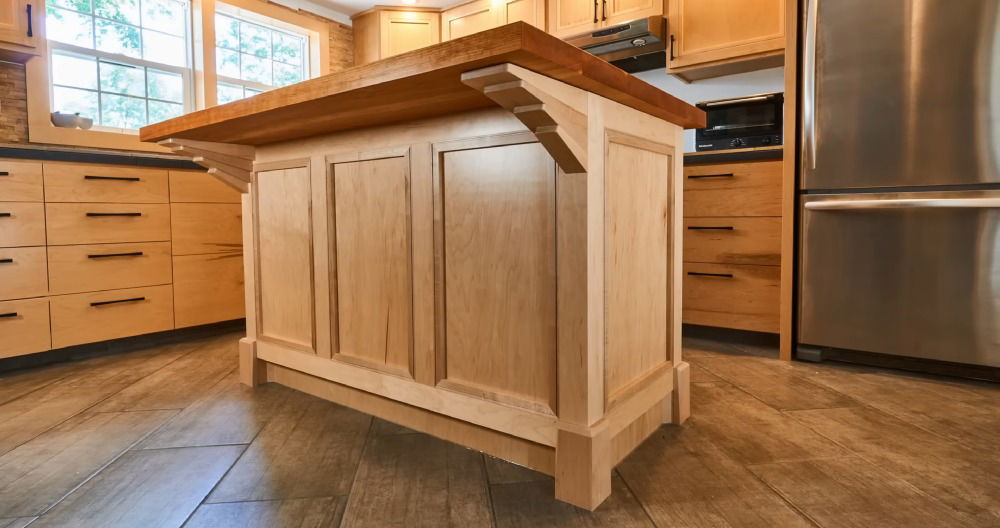
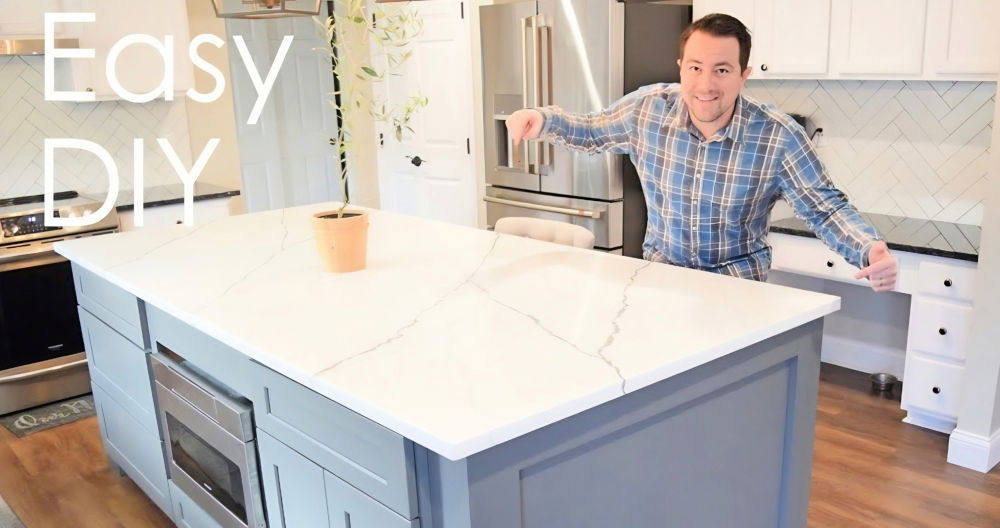
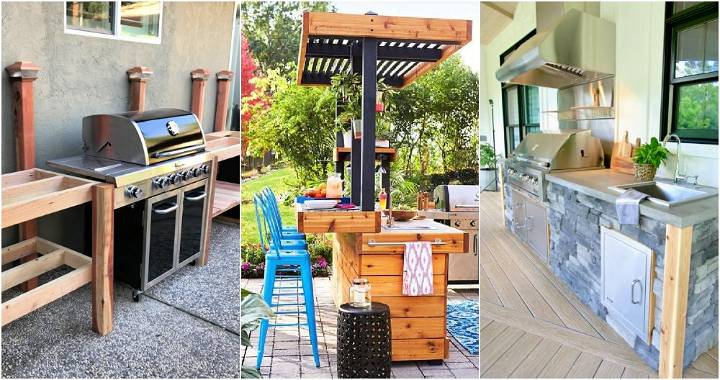
Building a DIY BBQ island can transform your outdoor space into a perfect gathering spot for friends and family. These islands serve as functional cooking stations, enhancing your grilling experience. They provide convenience with built-in storage and workspace, making it easier to prepare meals outdoors. Building your own outdoor BBQ island allows you to customize its design and materials to fit your style and space.
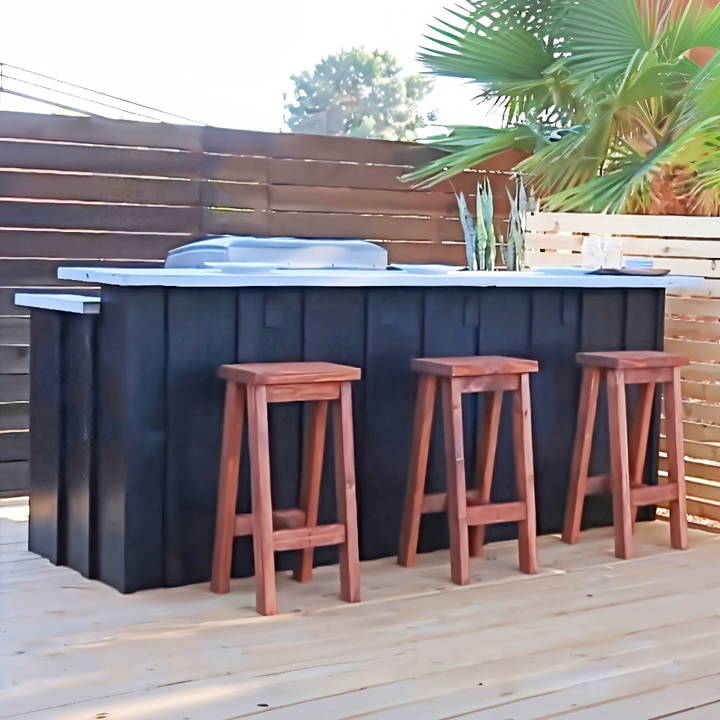
This project might seem daunting, but it can be a rewarding experience. With the right tools and materials, you can build an inviting outdoor space that showcases your culinary skills. Dive into the next section for a step-by-step guide on how to design and build your own outdoor BBQ island. Transform your backyard into a culinary haven where memorable meals are shared!
Planning Your Space
Before you start building, planning your space is crucial. Consider the size of your backyard, where you'd like to place your BBQ island, and how much room you'll need. You'll want to ensure adequate space for your grill, counter space for food prep, and a bar area for seating.
Materials Needed and Why
- Lumber (Two by eights and Two by fours): These are for the frame of your bar and BBQ island. Their sturdiness is essential for a durable structure.
- Concrete Mix and Melamine: For the countertops. Concrete provides a resilient and heat-resistant surface, while melamine sheets are used to mold the countertops.
- Screws: To assemble the frame securely.
- Grill: The centerpiece of your BBQ island.
- Bar Stools: To build a comfortable seating area at your bar.
- Flow Control Additive: Makes the concrete easier to pour and manage.
The quality of your materials will significantly influence the durability and appearance of your outdoor kitchen.
Step by Step Instructions
Learn how to build your own BBQ island with our step-by-step instructions, from constructing the frame to adding the finishing touches. Perfect for DIY enthusiasts!
Step 1: Constructing the Frame
Start by cutting your lumber to the necessary lengths. For my project, I cut the two by eights into segments for the bar top frame, making two cuts at 90 inches for the length and six cuts at 36 inches for the supports. Assemble the frame with screws to ensure a sturdy foundation. Tip: Use a power drill to make assembling the frame easier and more efficient.
Step 2: Bar Top and Counter Surfaces
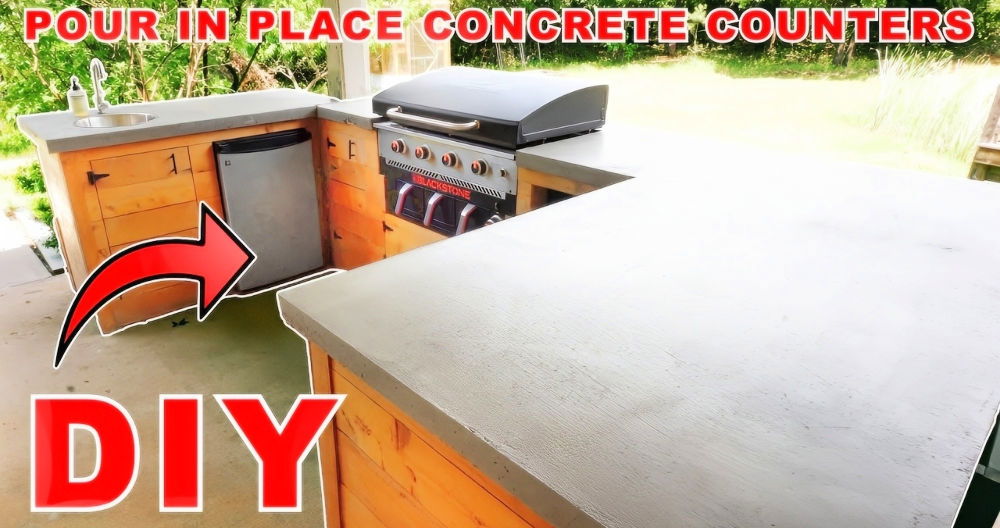
I decided on concrete countertops for their durability and aesthetic appeal. The process involves building a mold out of melamine to pour the concrete mix into. Measure and cut the melamine according to the dimensions of your bar and BBQ island tops. Mix the concrete, starting with five quarts of water per 55-pound bag of mix. Once you achieve a peanut butter-like consistency, add the flow control to make the mixture easier to pour into your molds.
Step 3: Pouring the Concrete
Pour the concrete into your melamine molds, smoothing the top with a trowel. This process can be messy, so I recommend wearing gloves and protective eyewear. Allow the concrete to cure according to the manufacturer's instructions—usually about 24 hours before removing them from the molds.
Step 4: Installing the Countertops
Once the concrete countertops are cured and removed from the molds, install them onto your frame. This step may require assistance due to the weight of the concrete. Secure the countertops with construction adhesive for extra stability.
Step 5: Adding the Finishing Touches
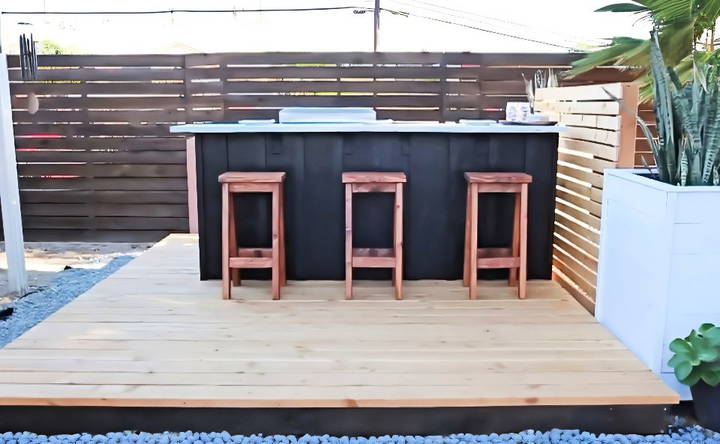
With your countertops installed, the basic structure of your BBQ island and bar is complete. Now, it's time to install your grill and add any desired amenities, such as storage for cooking utensils or a mini-fridge. Finally, add your bar stools for seating. I found mine for an incredible deal online, which added the perfect touch to the space.
Design Customization Ideas
Building a DIY BBQ island offers a fantastic opportunity to add a personal touch to your outdoor space. Here's how you can tailor your island to suit your style and needs:
Choose Your Base Materials Wisely
Start with the base of your island. Common materials include brick, stone, and stucco. Consider the overall look of your home and garden when selecting materials to build a cohesive design.
Countertop Choices
For countertops, durability is key. Granite, concrete, and tile are popular choices. Each has its own benefits: granite is tough and sleek, concrete can be shaped and colored, and tile offers endless design possibilities.
Incorporate Storage Solutions
Think about storage. Drawers for utensils and cabinets for seasonings and accessories keep everything tidy and within reach. A space for your propane tank or a built-in trash can adds convenience.
Add a Personal Touch
Personalize your BBQ island with decorative accents like mosaic tiles or custom handles on drawers. Even the color of your island can reflect your personality—whether it's a natural stone hue or a vibrant painted finish.
Lighting for Ambiance and Safety
Don't forget lighting. LED strips under the countertop or solar-powered lanterns can build ambiance and help you cook after sunset.
Plan for the Elements
If you live in a region with variable weather, consider a pergola or canopy for protection. This will make your BBQ island a year-round feature.
By considering these design customization ideas, you'll ensure your BBQ island is not only functional but also a reflection of your unique style.
Seasonal Care for Your DIY BBQ Island
Taking care of your DIY BBQ island throughout the seasons is crucial to ensure it remains a centerpiece for gatherings year after year. Here's how you can protect and maintain your outdoor cooking space:
Winterize Your Space
In colder months, moisture can be a BBQ island's enemy. Cover your grill and countertops with waterproof covers. If you're in a region with freezing temperatures, drain any sinks or ice makers to prevent pipe damage.
Beat the Heat
During hot summers, direct sunlight can fade surfaces and overheat metal components. Use UV-resistant covers to shield your BBQ island and consider installing a patio umbrella or awning for added shade.
Guard Against Spring Showers
Spring brings rain that can lead to rust and water damage. Ensure all metal parts are coated with a rust-resistant layer and that your island has proper drainage to avoid water pooling.
Prepare for Autumn Leaves
Fallen leaves and debris can clog drains and build a mess. Regularly clear off your BBQ island and consider a leaf guard for any outdoor sinks.
Regular Cleaning
No matter the season, regular cleaning is key. Wipe down surfaces, clean grates after use, and check for any signs of wear and tear that could be exacerbated by weather conditions.
Inspect and Repair
Before each season begins, inspect your BBQ island for any damage. Look for cracks, rust, and other issues. Addressing these early on will save you time and money in the long run.
Follow these seasonal care tips to keep your DIY BBQ island in shape all year. A little effort preserves your outdoor kitchen's beauty and function.
Safety Precautions
When building and enjoying your DIY BBQ island, safety is paramount. Here's how to ensure a secure environment:
Proper Installation
- Grill Placement: Position your grill at least 10 feet away from your home and any flammable materials. This reduces fire risk.
- Ventilation: Ensure proper ventilation to prevent dangerous gas build-ups, especially if you're using a gas grill.
Safe Material Use
- Non-Flammable Surfaces: Choose non-flammable materials for surfaces near the grill. Stone, brick, and metal are safe options.
- Heat-Resistant Barriers: Install heat-resistant barriers around the grill area to protect the structure of your BBQ island.
Regular Equipment Checks
- Gas Leaks: For gas grills, routinely check for leaks. Apply soapy water to connections; bubbles indicate a leak.
- Electrical Safety: If your island has electrical outlets, ensure they are weatherproof and have ground-fault circuit interrupters (GFCIs).
Fire Safety
- Extinguisher: Keep a fire extinguisher nearby. Make sure it's suitable for grease and electrical fires.
- Escape Plan: Have an escape plan and ensure everyone knows what to do in case of a fire.
Child and Pet Safety
- Barriers: Consider barriers to keep children and pets at a safe distance when the grill is hot.
- Supervision: Never leave the grill unattended, especially when children or pets are around.
By following these safety precautions, you can enjoy your BBQ island with peace of mind, knowing you've taken steps to protect yourself, your loved ones, and your property.
FAQs About DIY BBQ Island
Discover answers to common questions about DIY BBQ Island projects, including materials, design tips, and construction steps.
The layout and size of your BBQ island should be based on the space available and how you intend to use it. Consider the number of people you usually entertain and the types of appliances you want to include, like a grill, smoker, or fridge. Always check the manufacturer’s specifications for safety and clearance requirements.
No, it's not recommended to use a regular mini fridge outdoors. For a BBQ island, you should choose a mini fridge designed for outdoor use, which has additional weatherproofing, insulation, and sturdy components to handle varying weather conditions and temperatures.
Design ideas for a DIY BBQ island can range from simple structures using cinder blocks and wood to more elaborate setups with steel studs. You can add features like a pergola, built-in mini fridge, or a bar area. The design can be tailored to fit your space, needs, and budget.
To ensure safety, use materials suitable for outdoor use and follow all manufacturer guidelines for appliance installation. Avoid placing built-in grills on wooden decks, and ensure proper ventilation and clearance from combustible materials. Regularly inspect your island for any signs of wear or damage.
To maintain and protect your DIY BBQ island, you should regularly clean all surfaces and appliances to prevent rust and deterioration. Use protective covers for the grill and countertops when not in use. Apply sealants to wood and stone surfaces to guard against moisture. If possible, install your BBQ island under a patio cover or pergola to shield it from direct sun and rain. Additionally, during harsh weather, consider storing removable items indoors.
Conclusion
In conclusion, building your own DIY BBQ island can elevate your outdoor cooking experience. With the right materials and planning, you can design a space that's perfect for gatherings. Enjoy grilling and making memories in your backyard!


