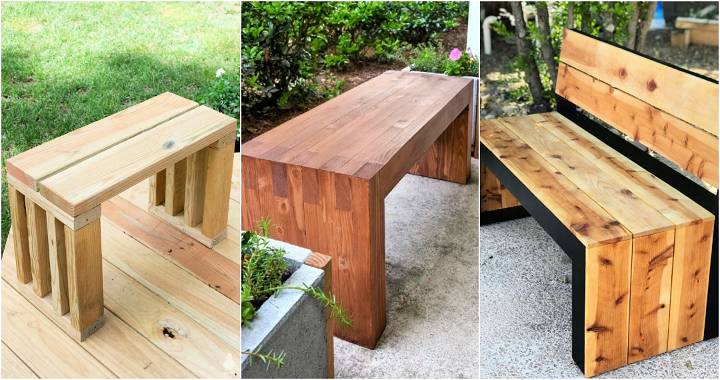
Building a bench might seem like an intimidating project at first glance. However, with the right materials, tools, and a bit of patience, it's an incredibly rewarding DIY project that beginners and seasoned woodworkers alike can enjoy. I recently undertook this project myself, and I'm here to guide you through each step, ensuring you can craft a stunning and sturdy bench for your home.
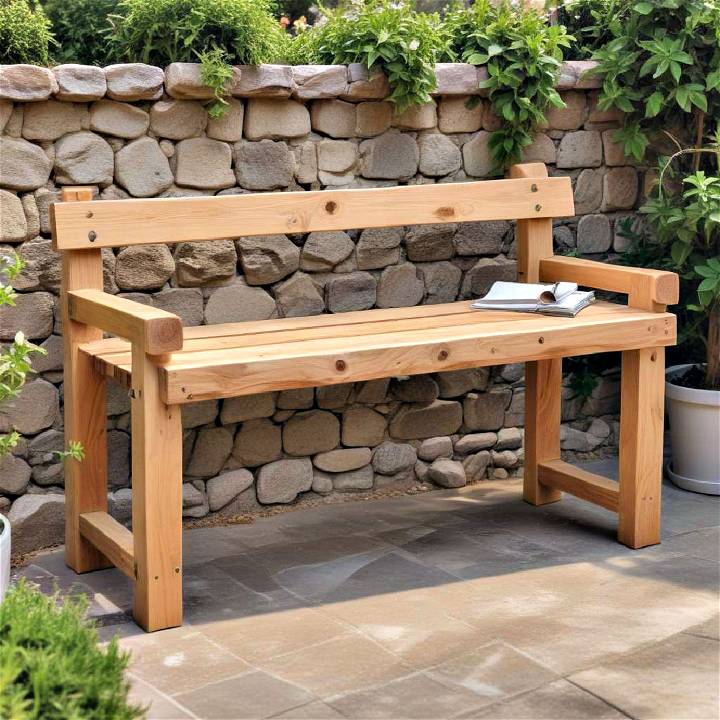
Materials Needed and Why
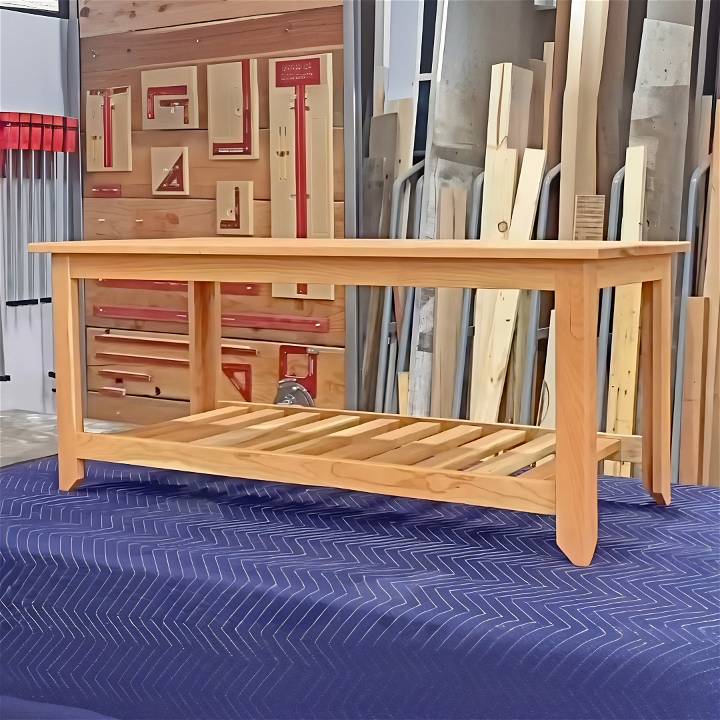
- Character Cherry Wood: I chose character cherry for its rich color and durability. You'll need about 20 board feet. It's always better to have a little extra to account for any mistakes.
- Glue: Wood glue is essential for bonding pieces together securely. Opt for a strong, wood-specific glue.
- Metal Z Clips: These clips are perfect for attaching the bench top to the base, allowing for wood movement and ensuring a stable, long-lasting structure.
- Sandpaper: For smoothing out all surfaces and edges. This ensures a professional, splinter-free finish.
- Wood Finish: Protects the wood and enhances its natural beauty. Choose a finish that complements the character cherry wood.
Step by Step Instructions
Learn how to build a DIY bench in just 6 easy steps! From preparing your wood, gluing panels, to assembly and finishing touches - all covered here.
Preparing Your Wood
The first step in this endeavor involved milling the cherry wood down to manageable pieces. This process is crucial as it ensures that all pieces are of uniform thickness and width, making the assembly process smoother. Remember, the beauty of working with wood lies in transforming these raw materials into something functional and aesthetically pleasing.
Gluing the Panels and Legs
After milling, the next step was to glue up the panels for the top of the bench and the pieces for the legs. Accuracy in this stage is vital for a symmetrical and stable bench. For the legs, a unique 90-degree corner design was implemented, enhancing the bench's stability and aesthetic appeal. Ensure you've got a snug fit and allow ample drying time as per your glue's specifications.
Cutting and Prepping Pieces
With all pieces milled and some glued, it was time to cut everything down to the exact measurements as per my plan. This step requires precision as inaccuracies can lead to assembly issues later on. Don't rush through this; take your time to measure twice and cut once.
Assembly and Joinery
Joining the base pieces together was the next hurdle. Using a domino jointer made this step much more manageable, making strong, reliable joints with ease. It's remarkable how modern tools can simplify traditional woodworking techniques. If you don't have a domino joiner, there are alternatives like dowels or mortise and tenon joints, though these might require more skill and patience.
Attaching the Top with Z Clips
Attaching the bench top to its base was one of the final steps. The metal Z clips were chosen for their flexibility and durability, allowing the wood to move naturally without compromising the structure. Ensuring everything was perfectly aligned, the clips were screwed in, firmly securing the top in place.
Finishing Touches
With assembly complete, the focus shifted to sanding and finishing. Sanding each piece before assembly helped, but a final once-over ensured a uniform, smooth finish. Applying the wood finish not only protected the bench but also brought out the natural beauty of the cherry wood. It was satisfying to see the wood grain pop under the finish, a testament to the effort put into the project.
Reflections and Advice
Building this bench myself was an incredibly fulfilling experience. It taught me patience, precision, and the value of quality craftsmanship. For those looking to embark on this journey, my advice is to take your time, enjoy the process, and don't be discouraged by mistakes—they're just learning opportunities.
Finishing Techniques for Your DIY Bench
When it comes to finishing your DIY bench, attention to detail can transform a simple wooden structure into a beautiful and functional piece of furniture. Whether you're a seasoned woodworker or a beginner, follow these practical tips to achieve a professional-looking finish:
1. Sanding: The Foundation of a Smooth Finish
- Why Sanding Matters: Sanding is the crucial first step in achieving a polished look. It smooths out rough edges, removes splinters, and prepares the wood for staining or painting.
- Choose the Right Sandpaper: Start with coarse-grit sandpaper (around 80-120 grit) to remove imperfections. Gradually move to finer grits (220-400) for a silky-smooth surface.
- Sand Along the Grain: Always sand in the direction of the wood grain to avoid scratches.
2. Staining or Painting: Adding Color and Protection
- Staining: If you want to enhance the natural beauty of the wood, choose a wood stain. It penetrates the wood fibers, highlighting the grain pattern. Apply evenly with a brush or cloth, wiping off excess.
- Painting: For a bold, colorful finish, opt for paint. Use a high-quality brush or foam roller. Sand lightly between coats for a flawless result.
3. Clear Protective Coats: Seal the Deal
- Varnish or Polyurethane: These clear protective finishes shield the wood from moisture, scratches, and UV rays. Choose water-based options for easy cleanup.
- Application: Apply thin coats using a brush, foam pad, or spray. Sand lightly between coats for better adhesion.
4. Waxing: A Natural and Low-Maintenance Option
- Why Wax?: Wax provides a soft, matte finish and enhances the wood's natural texture. It's ideal for rustic or vintage-style benches.
- Application: Rub a thin layer of furniture wax onto the surface using a clean cloth. Buff gently for a subtle sheen.
5. Distressing Techniques (Optional)
- Aged Look: If you love the distressed, weathered appearance, try distressing techniques. Use sandpaper, chains, or hammers to build small dents and scratches.
- Stain Over Distressed Areas: Apply a darker stain to the distressed spots for an authentic aged effect.
Remember, the finishing touches are what make your bench stand out. Experiment with different techniques to find the look that suits your style and complements your space.
Customization Ideas for Your DIY Bench
When it comes to making a customized DIY bench, the possibilities are endless! Personalizing your bench not only adds character but also ensures it perfectly fits your space and style. Here are some creative ideas to inspire you:
1. Colorful Cushions and Pillows
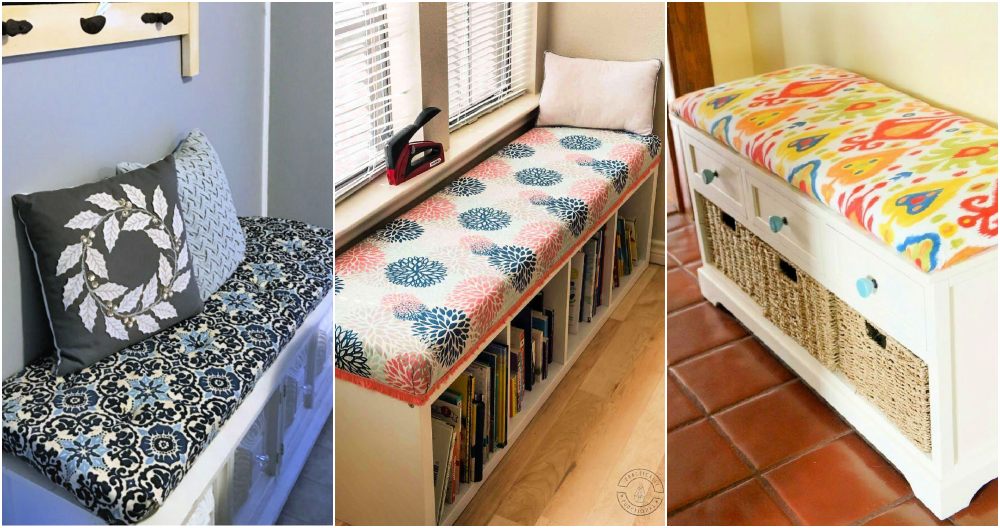
Adding cushions and pillows is an easy way to make your bench more comfortable and inviting. Consider the following:
- Outdoor Benches: Opt for weather-resistant cushions in vibrant colors. Mix and match patterns for a playful look.
- Indoor Benches: Choose soft, plush cushions that complement your room's color scheme. Consider adding lumbar pillows for extra support.
2. Engraved Messages or Quotes
Make your bench truly unique by engraving meaningful messages, quotes, or dates. Here's how:
- Memories: Engrave special dates (anniversaries, birthdays) or names of loved ones.
- Inspirational Quotes: Select uplifting quotes that resonate with you. Keep it simple and elegant.
3. Built-In Storage
Maximize functionality by incorporating storage into your bench design:
- Under-Seat Storage: Build a hinged seat that opens to reveal hidden storage. Perfect for stashing outdoor cushions, gardening tools, or kids' toys.
- Shelves or Cubbies: Add open shelves or cubbies underneath for shoes, books, or decorative baskets.
4. Integrated Planters
Bring nature into your bench design with built-in planters:
- Flower Boxes: Attach small planter boxes to the sides of your bench. Plant colorful flowers or herbs.
- Succulent Trough: Build a long, narrow trough in the center of the bench for succulents or cacti.
5. Convertible Bench
Design a bench that adapts to different needs:
- Picnic Table Combo: Build a bench that easily converts into a picnic table. Ideal for small outdoor spaces.
- Fold-Down Backrest: Install a foldable backrest that transforms the bench into a daybed or lounge chair.
6. Upcycled Materials
Get creative with materials:
- Pallet Wood: Use reclaimed pallet wood for a rustic, eco-friendly look.
- Old Doors or Shutters: Repurpose old doors or shutters as the bench backrest.
- Vintage Headboards: Turn vintage headboards into Charmin
Conclusion:
In conclusion, this DIY bench project is something I am immensely proud of, not just for its aesthetics and function but also for the hands-on skills and knowledge I gained. Whether you're a complete novice or an experienced woodworker, making your own furniture brings a sense of accomplishment like no other. Armed with the right plan, tools, and materials, anyone can build something beautiful and lasting. Happy woodworking!


