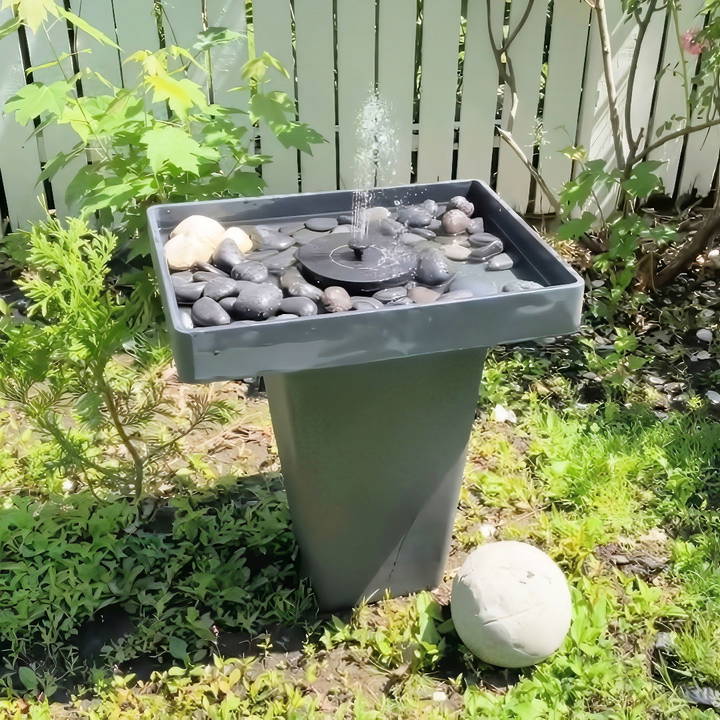
Building a DIY bird bath fountain is a fantastic way to bring a relaxing water feature into your garden. Not only does it provide birds with a place to drink and bathe, but the gentle sound of flowing water also adds a calming ambiance to your outdoor space. In this article, I'll walk you through how to make a budget-friendly, solar-powered bird bath fountain with easy-to-find materials, I'll include tips on how to add creative elements like a concrete ball decoration. This guide will cover everything you need to know for this project, including tools, materials, and step-by-step instructions.
Why Build a DIY Bird Bath Fountain?
A bird bath fountain offers multiple benefits for both you and the local wildlife. Birds rely on clean, shallow water for drinking and bathing. A solar-powered fountain keeps the water moving, preventing stagnation and making it more appealing to birds. Additionally, the soothing sound of running water is known to reduce stress and promote relaxation for humans, turning your backyard into a tranquil retreat.
Solar-powered fountains are eco-friendly, using renewable energy from the sun. They're easy to set up, with no need for electricity or batteries. This makes them ideal for any garden, balcony, or patio. Let's get started with the project!
Materials Needed
Before you begin, gather the following materials for your DIY bird bath fountain:
Basic Bird Bath Fountain Supplies:
- Solar-powered fountain: This can be purchased online or at garden centers. The one used in this project costs around $10. It operates on solar energy, so there's no need for wiring or batteries. The only requirement is direct sunlight.
- Basin: A shallow container that serves as the bird bath. This can be a refurbished item, like an old sink, bowl, or planter, as long as it holds water. The basin should be shallow, ideally about 3 inches deep.
- Pebbles or small rocks: These will help stabilize the fountain and provide a landing area for birds. Black pebbles are recommended for both functionality and aesthetics.
- Planter or base: To elevate your bird bath, use a planter or any sturdy base. This adds height and makes the bird bath more accessible to birds.
Optional Decorative Elements:
- Concrete for making a garden ornament: This project also involves making a concrete ball to decorate the bird bath area. This is optional but adds a unique, creative touch to your setup.
Step by Step Instructions
Make a stunning DIY bird bath fountain with our step-by-step guide, from basin prep to solar installation and decorative touches. Perfect for any garden!
Step 1: Selecting and Preparing the Basin
The first step is to find a suitable basin for your bird bath. In the example from the project, an old shallow sink was repurposed. If you don't have an old sink lying around, any shallow bowl or bin can work as long as it's not too deep. A depth of around 3 inches is ideal for birds to comfortably access the water.
- Tip: Make sure the basin has a drain hole. This makes it easier to clean and refresh the water. If it doesn't have one, no worries—it just means you'll need to tilt the basin to drain the water during cleaning.
Instructions:
- Clean the basin thoroughly. If it's been outdoors, remove any dirt or grime that may have accumulated.
- If the basin has a drain hole, ensure it is sealed properly. A drain cover or stopper can be used. Test it by filling the basin with water and checking for leaks.
Step 2: Choosing the Base
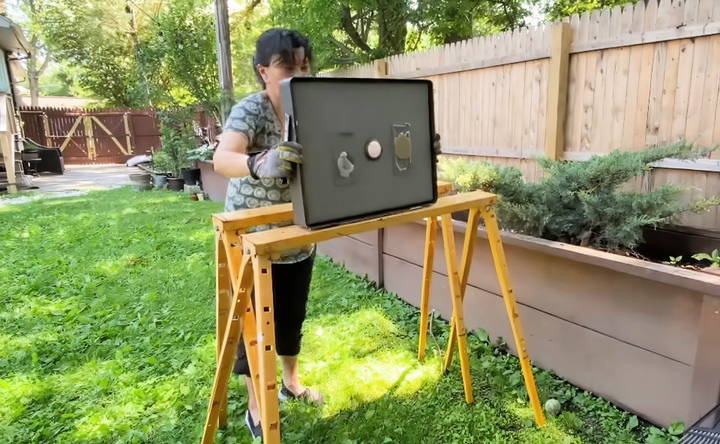
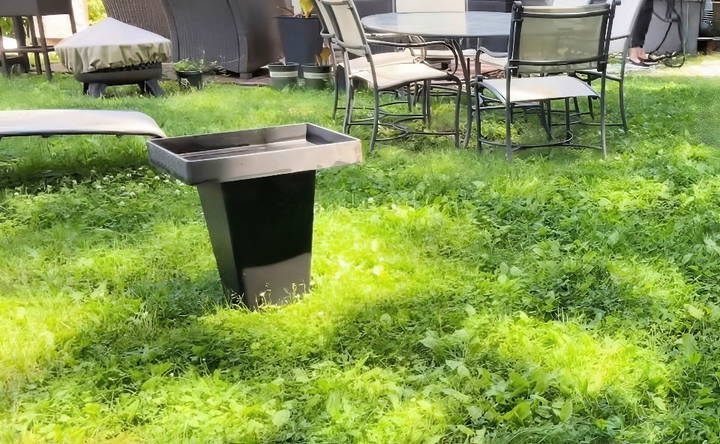
To elevate the bird bath, you'll need a sturdy base. A planter was used in this project as the base. It should be large enough to hold the basin securely and add some height, making the bird bath more visible to birds and less accessible to ground-dwelling predators.
- Tip: Choose a base and basin that complement each other in terms of color and style for a cohesive look.
Step 3: Installing the Solar-Powered Fountain
The heart of this project is the solar-powered fountain, which brings the bird bath to life. These fountains are small, inexpensive, and come with various nozzle attachments to make different water spray effects.
Instructions:
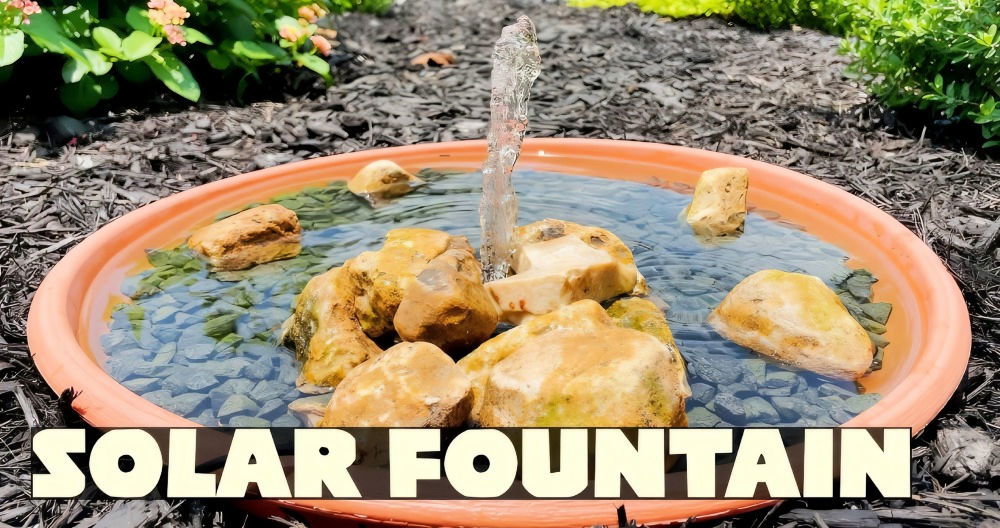
- Place the solar fountain disc in the center of the basin. The fountain doesn't need batteries or wiring, as it will activate automatically when exposed to direct sunlight.
- Test the fountain by placing it under full sunlight. It will begin to spray water, and you can adjust the nozzles to achieve the desired water effect.
- If the fountain keeps drifting to the sides of the basin, you can stabilize it by adding pebbles or small rocks around the fountain. This keeps it in place and prevents water from splashing out of the basin.
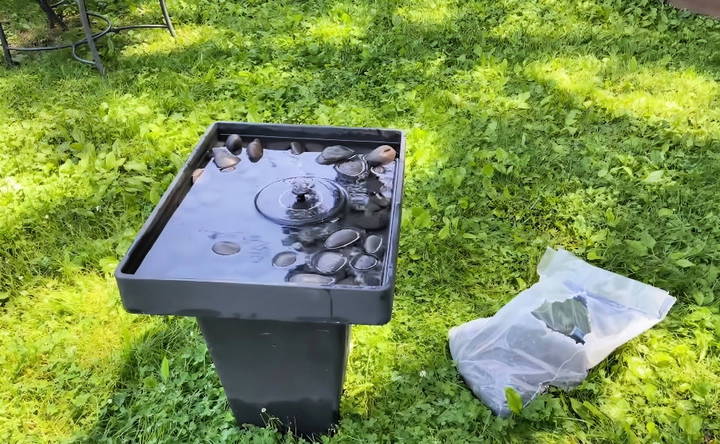
Note: Cheaper solar fountains will only work when in direct sunlight. If the area is shaded, consider investing in a fountain that stores solar energy to continue running even when the sun isn't directly overhead.
Step 4: Adding Pebbles for Aesthetics and Functionality
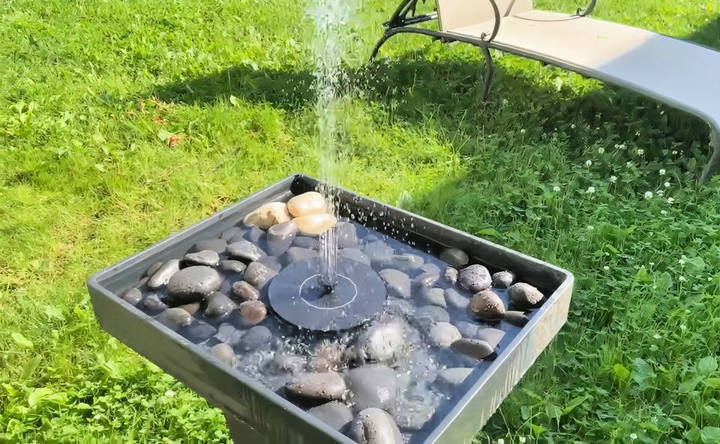
To make your bird bath more attractive and functional, you'll want to add a layer of pebbles at the bottom of the basin. Black pebbles, in particular, make a visually striking contrast with the water and the fountain.
Instructions:
- Scatter a layer of pebbles around the base of the fountain. This not only looks great but also provides a safe landing surface for birds to stand on while they drink or bathe.
- Make sure the pebbles are arranged so they don't block the fountain's spray. You can use them to stabilize the fountain in the center if needed.
Step 5: Making a Decorative Concrete Ball
For an extra creative touch, you can make a concrete ball to place beside your bird bath. This is a simple DIY project that adds personality to your garden. Although the example in the video used a basic mold, you can experiment with different shapes and sizes.
Instructions:
- Mix cement and water according to the instructions on the cement package.
- Pour the mixture into a round mold. An old bowl or ball can work as a mold.
- Let the concrete dry for 24 hours. Once dry, remove it from the mold.
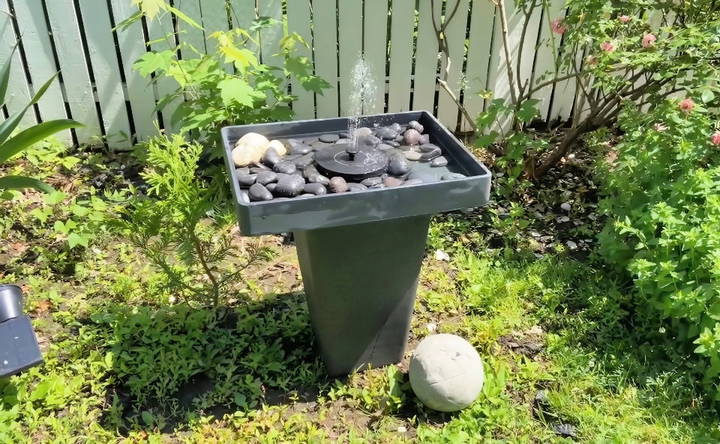
- Place the concrete ball next to the bird bath for a decorative touch.
Tip: If you want to get more creative, try making multiple concrete decorations in different sizes or even paint them for a pop of color in your garden.
Maintenance Tips for Your Bird Bath Fountain
Now that your bird bath fountain is complete, it's essential to maintain it to keep the water clean and ensure it remains an inviting place for birds. Here are some tips for keeping your bird bath fountain in top condition:
- Refill the water regularly: Especially during hot days, the water can evaporate quickly. Keep the basin filled to ensure the fountain works and birds have enough water to drink.
- Clean the fountain: Once a week, clean the basin and the solar fountain to prevent algae buildup. Use mild soap and water to scrub the basin, and rinse thoroughly to remove any soap residue.
- Protect the fountain during winter: In colder months, bring the solar fountain inside if you live in an area that experiences freezing temperatures. Frozen water can damage the fountain and basin.
- Adjust the fountain position: If you notice the fountain sputtering or turning off, it may not be receiving enough sunlight. Move it to a sunnier spot or adjust its position for better sun exposure.
Final Thoughts
Building a DIY bird bath fountain is a simple, rewarding project that enhances your garden with both beauty and function. By using a solar-powered fountain, you can make a sustainable water feature that attracts birds and other wildlife to your outdoor space. This eco-friendly project is budget-friendly, easy to complete in just a few hours, and customizable to fit your style. Add decorative touches like pebbles or a concrete ball, and you've got a stunning bird bath fountain that will impress visitors and provide endless enjoyment for you and the birds alike.
FAQs About DIY Bird Bath Fountain
Discover answers to common questions about DIY bird bath fountains. Learn how to make, maintain, and enjoy your own bird-friendly water feature!
You can use any shallow container for the basin, such as a large bowl, planter, or plastic bin. The depth should ideally be around 3 inches, shallow enough for birds to bathe comfortably.
Basic solar fountains need direct sunlight to function. However, some pricier models store solar energy and can operate in partial shade. For continuous function, place the bird bath in a sunny spot.
No, as long as the water is kept moving, mosquitoes won’t have the chance to lay eggs. Ensure the fountain operates regularly, especially in warmer months, to prevent stagnant water.
While a deeper basin might work, it’s not ideal. Birds prefer shallow water, and if the water is too deep, they may avoid it. Stick to a shallow container, around 3 inches, for best results.
Use small pebbles or rocks to stabilize the fountain and prevent it from drifting. Additionally, place the bird bath in a sheltered area to reduce the impact of strong winds.
Algae thrive in sunlight, so cleaning your bird bath regularly is essential. Every few days, rinse the basin and scrub it with a brush to prevent algae buildup.
Yes, this DIY bird bath fountain can be adapted for a balcony. Use a small, sturdy container as the base and ensure it receives enough sunlight to power the fountain.
The concrete ball should harden in about 24 hours. Make sure to let it dry fully before removing it from the mold.
Check if the fountain has enough water and is receiving direct sunlight. If neither is an issue, clean the solar panel and the pump to remove any debris that could be blocking the flow.


