Insulating your garage or attic is a powerful way to improve energy efficiency and make a comfortable space in your home. In this article, we will guide you through a beginner-friendly process for installing blown-in cellulose insulation. With the right tools, some preparation, and a bit of teamwork, you can tackle this project with ease.
Let's dive into the step-by-step process, tips, and insights to ensure your DIY insulation project is a success.
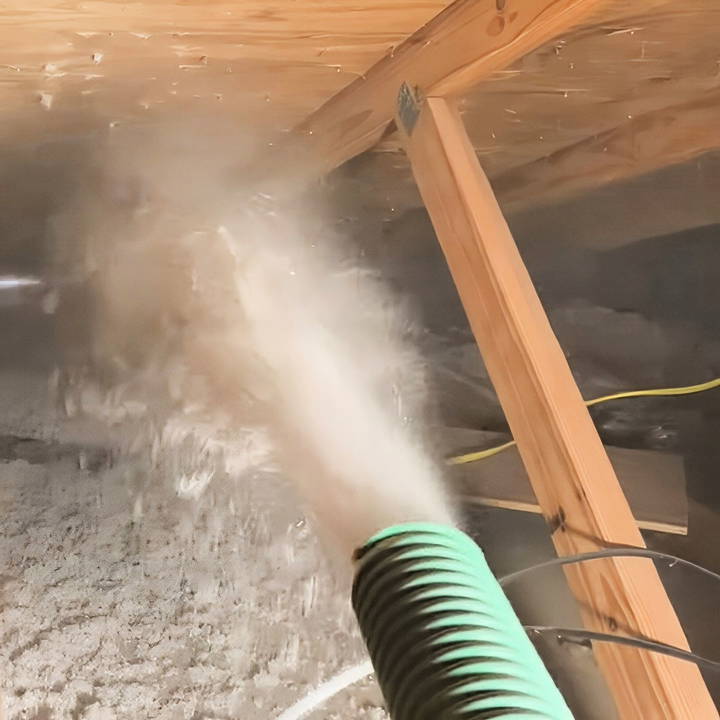
Why Choose Blown-In Insulation?
Blown-in cellulose insulation offers several benefits:
- Energy Efficiency: It improves your home's thermal performance, reducing energy bills.
- Eco-Friendly: Cellulose insulation is often made from recycled materials.
- Even Coverage: The blower helps distribute insulation uniformly, filling gaps in your attic or walls.
- High R-Value: Adding layers increases the R-value, enhancing thermal resistance.
Tools and Materials You'll Need
Before starting, gather these tools and materials:
- Cellulose Insulation: Purchase enough bags to achieve the desired insulation thickness (typically 10–12 inches for R-30 to R-35).
- Blowing Machine: Rent a blower from your local home improvement store. Most stores offer it free with the purchase of insulation.
- Protective Gear: Safety goggles, gloves, and a dust mask to protect from airborne particles.
- Duct Tape: For securing the hose sections.
- Ladder: To access your attic safely.
- Utility Knife: For cutting insulation bags.
- Helper: A second person to assist with loading insulation into the machine.
Step by Step Instructions
Master DIY blown in insulation with step-by-step instructions for your garage or attic. Save energy and enhance comfort today!
Step 1: Prepare Your Workspace
- Clear out any obstacles in your attic or garage to make a safe work environment.
- Inspect for existing insulation. If there is none, proceed as planned. If there is old or damaged insulation, consider removing it.
- Seal air leaks around vents, pipes, and electrical outlets to maximize insulation effectiveness.
Step 2: Set Up the Blowing Machine
- Place the blower outside or in a well-ventilated area near your project site.
- Connect the 100-foot hose (typically two 50-foot sections) using duct tape to ensure a tight seal.
- Attach the hose securely to the blower's outlet.
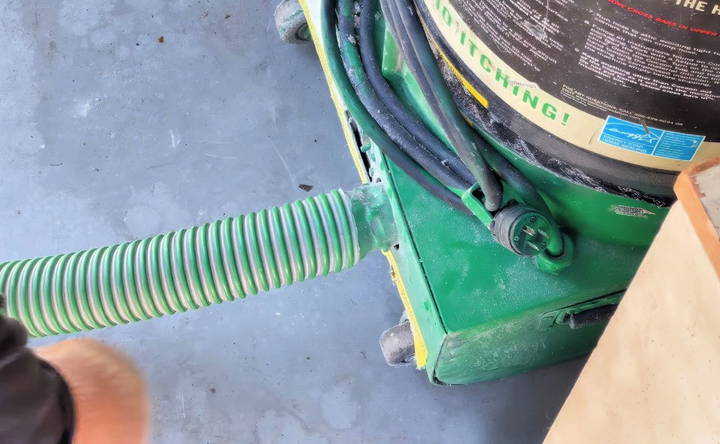
Pro Tip: Label or mark each hose section for easy troubleshooting if blockages occur.
Step 3: Load the Insulation
- Open a bag of cellulose insulation using a utility knife and break it into smaller pieces if needed.
- Feed the pieces into the blower's hopper while your helper monitors the process.
- Start the machine to familiarize yourself with its operation.
Step 4: Begin Insulating
- Position Yourself in the Attic: Start from the farthest corner and work your way back to the attic entry.
- Be cautious of ceiling joists and avoid stepping on unsecured areas.
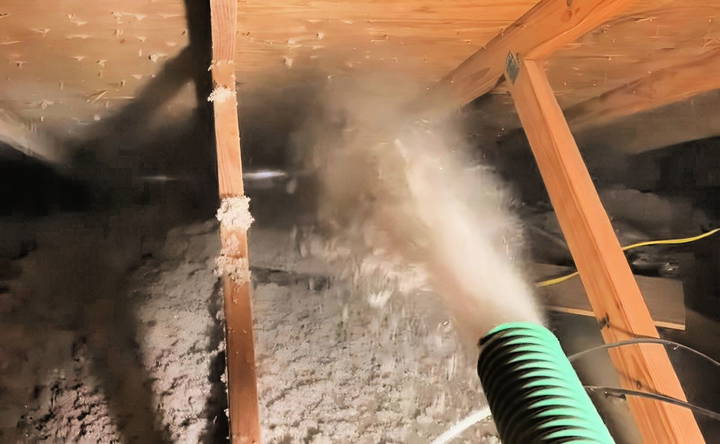
- Operate the Hose: Point the nozzle at an angle to distribute insulation evenly.
- Aim for a consistent thickness across the entire area.
- Monitor the Process: Your helper should ensure a steady flow of insulation into the blower and address any blockages.
- Important: Blown-in cellulose insulation achieves higher R-values with thickness. Aim for at least 10–12 inches for optimal performance.
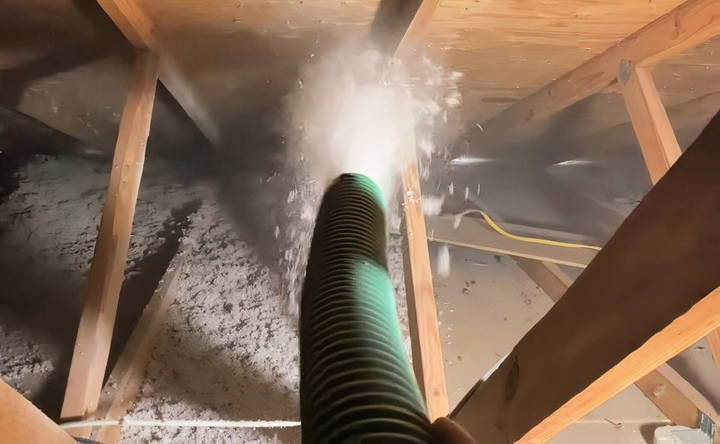
Step 5: Address Specific Areas
- Pay extra attention to spaces above converted rooms (e.g., garage-to-bedroom transformations) to ensure proper coverage.
- Insulate around obstacles like ducts and wires carefully to avoid compression or gaps.
Step 6: Clean Up
- Use the blower to clear excess insulation from surfaces and level the material.
- Return the blower and other rental tools in clean condition.
Bonus Tip: Take before-and-after pictures to appreciate the difference in insulation coverage.
Key Insights and Lessons Learned
- Teamwork is Essential: Blown-in insulation is a two-person job. One person operates the blower while the other handles the nozzle and distribution in the attic. Good communication between you and your helper is crucial for a smooth process.
- Equipment is User-Friendly: The blower might seem intimidating initially, but it is straightforward to operate. A well-maintained machine will rarely clog, especially if insulation is fed steadily and evenly.
- Immediate Results: Expect to notice a temperature difference quickly. After installing 12 inches of cellulose insulation, the project space often feels 10 degrees cooler or warmer, depending on the season.
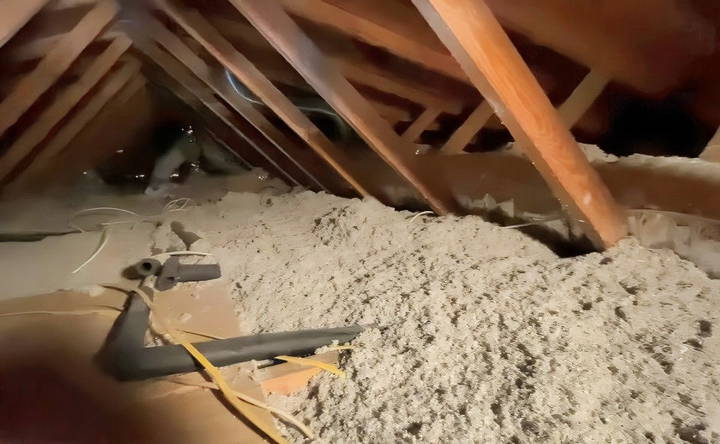
Benefits of Insulating Your Garage or Attic
- Comfortable Spaces: Insulating garages and attics makes usable, temperature-controlled areas for work or relaxation.
- Lower Energy Bills: Insulation reduces the workload on HVAC systems, saving energy.
- Improved Home Value: Energy-efficient upgrades increase your property's market appeal.
Final Thoughts
Installing blown-in cellulose insulation is a practical and rewarding DIY project. While the initial setup and unfamiliar equipment might seem daunting, the process is straightforward and delivers significant benefits. With proper planning, the right tools, and teamwork, you can insulate your space effectively and enjoy improved comfort and energy efficiency.
So, why wait? Gather your tools, call a friend to help, and tackle this project today. Transform your garage or attic into a well-insulated haven and enjoy the lasting rewards of your efforts.
FAQs About DIY Blown-in Insulation
Discover answers to common questions about DIY blown-in insulation, covering installation tips, cost, benefits, and materials needed.
The cost varies based on the size of your project and the amount of insulation needed. Renting a blower is usually free with insulation purchase, making this an affordable DIY project.
Yes, but it requires a different technique. For walls, holes are drilled, and the insulation is blown in through the openings.
Cellulose insulation is treated with non-toxic fire retardants, making it safe and effective.
If your soffits are vented, install baffles before adding insulation. Baffles keep insulation away from the vents, ensuring proper airflow and preventing moisture buildup.
Yes, air sealing is critical to prevent drafts and ensure optimal insulation performance. Seal gaps around attic penetrations, electrical outlets, and other openings before starting.
No, unless the fixtures are rated for direct contact with insulation (IC-rated). Non-IC-rated fixtures require a buffer to prevent overheating and fire risks.
For tight spots, like corners or areas above converted rooms, consider cutting a small access point, such as a gable hole, and using a long extension handle to guide the hose.
Yes, unsealed eaves or vents can invite rodents. Ensure all openings are screened or sealed before insulation to avoid nesting issues.
Plywood reduces insulation thickness in those areas, potentially lowering the R-value. Ensure insulation is adequately thick under the plywood for consistent performance.
The amount depends on the size of your attic and the desired thickness. For example, covering 1,600 sq. ft. to a depth of 12–13 inches may require around 11–12 bags.
Both work well, but cellulose offers higher density and better coverage. Fiberglass can be lighter but may be harder to distribute evenly.
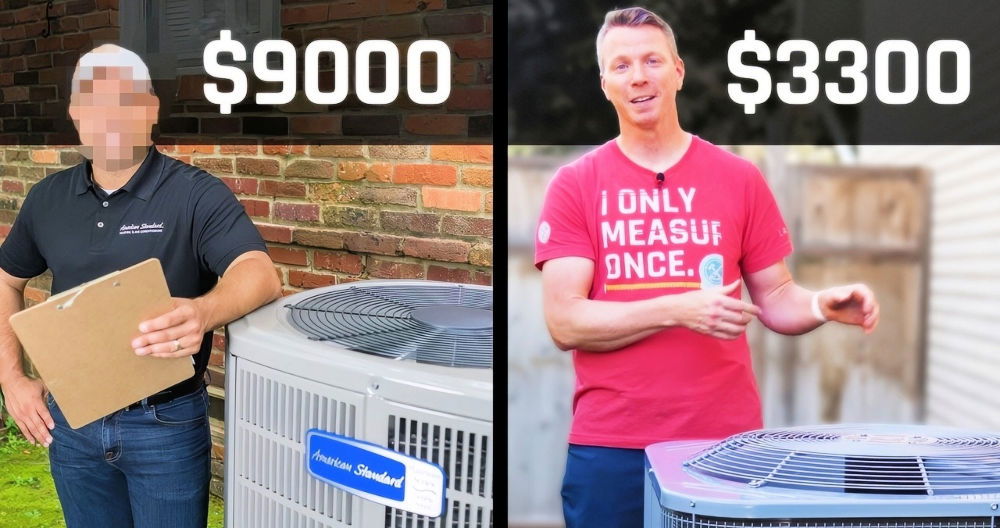
DIY typically costs less. For example, materials and blower rental can total $250, compared to $1,750 for a professional job in a similar space.


