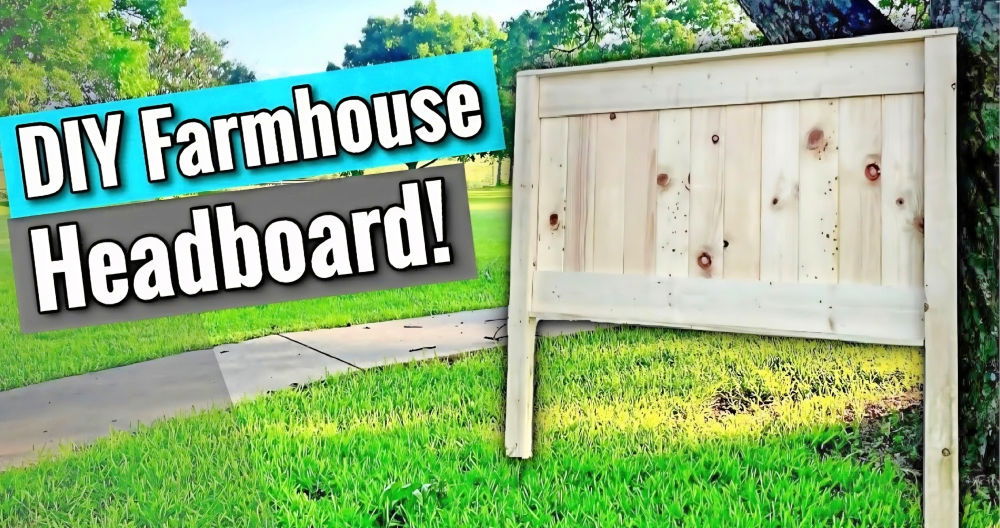
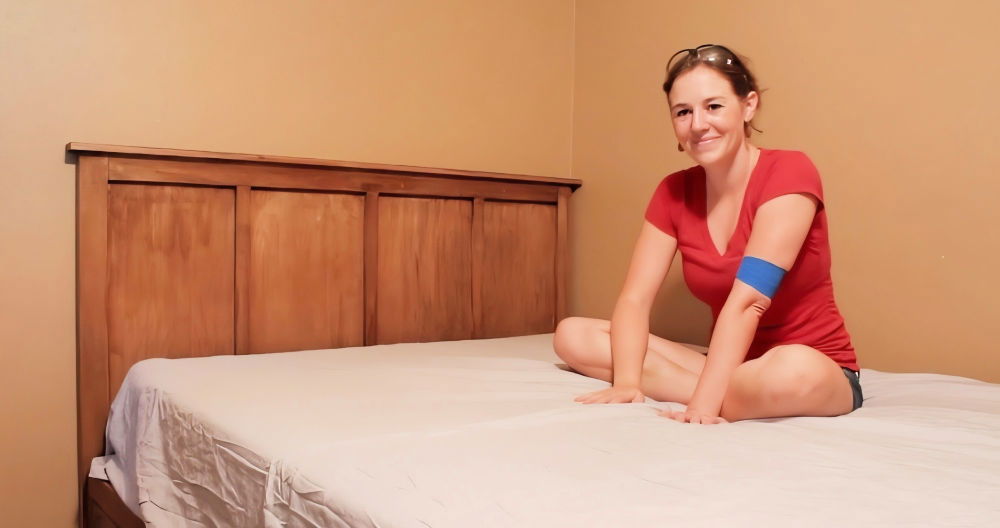
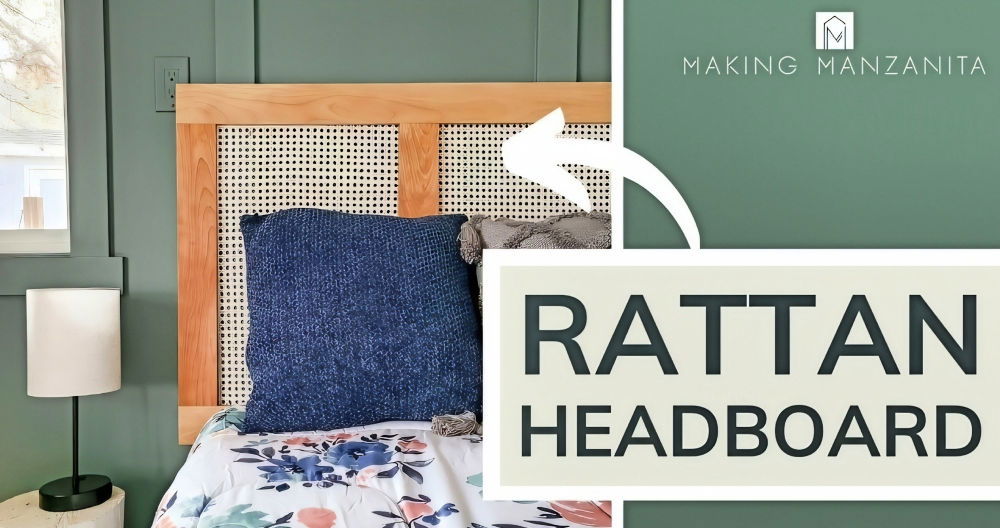
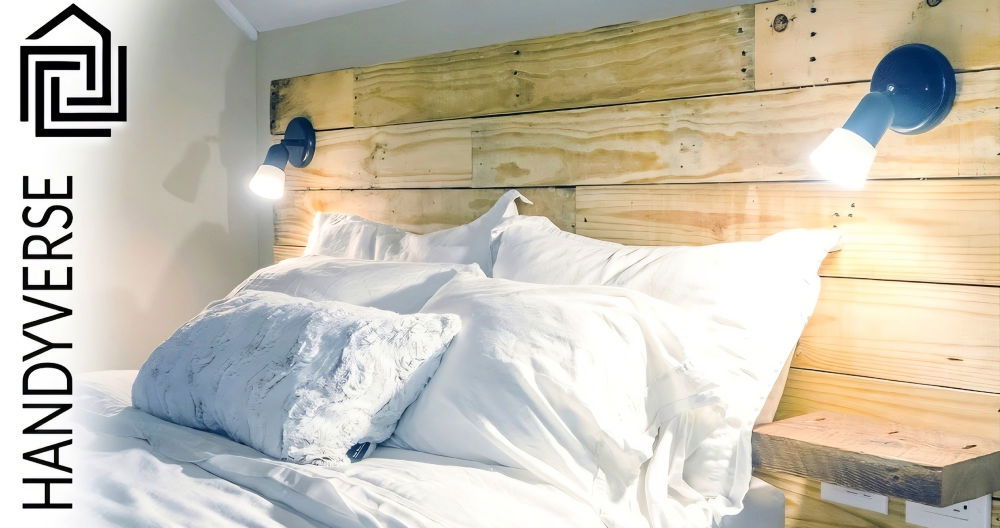
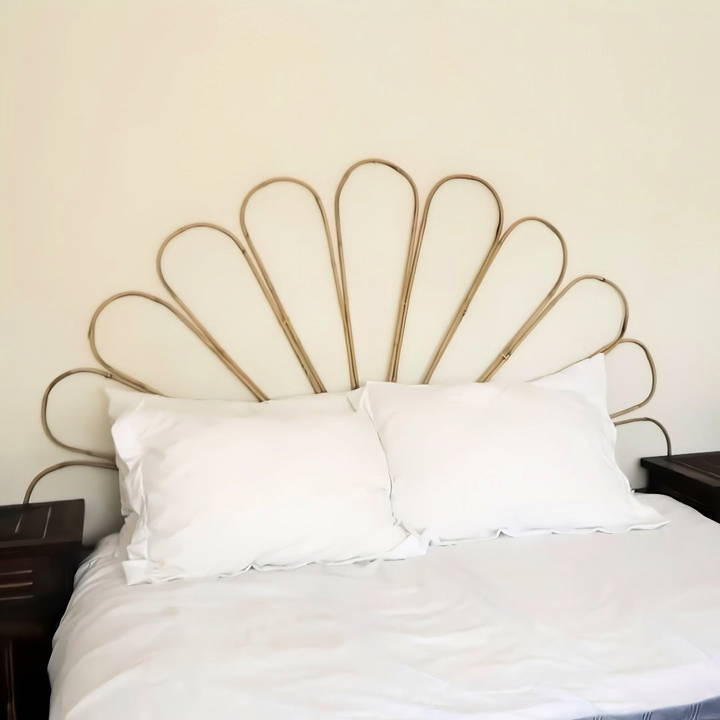
When I moved into my new home, I wanted to build a cozy and boho-chic bedroom space without spending a lot of money. One piece that I found essential to this vibe was a unique headboard that added character to the room. Inspired by a video from The Sorry Girls on YouTube, I decided to build my own DIY Boho headboard. This step-by-step guide will walk you through how I made a beautiful boho headboard on a budget using some readily available materials.
Materials You'll Need
Before jumping into the process, let's take a moment to talk about the materials needed for this DIY headboard project. Trust me, having everything laid out from the beginning makes the whole process smoother.
- U-Shaped Hoops: I picked up these U-shaped metal hoops at a discount grocery store. They are also available at places like Lowe's and Amazon. The length of the hoops matters; I went with longer ones to accommodate my queen-sized bed.
- Rubber Bands: These are used to bind the hoops together. They're easy to adjust and move around, making them perfect for securing the hoops before finalizing the shape.
- Floral Wire or Hot Glue (Optional): If you prefer something sturdier than rubber bands, you can use floral wire or hot glue to secure the hoops together.
- Nails: For attaching the headboard to the wall. Make sure to have a hammer or nail gun handy.
- Additional Items: You might find that you need extra tools or materials like a measuring tape or leveler as you go along. It's all about adjusting as you progress!
Step by Step Instructions
Learn how to make a DIY boho headboard with our step-by-step instructions. Perfect for adding a unique touch to your bedroom decor.
Step 1: Arranging the Hoops
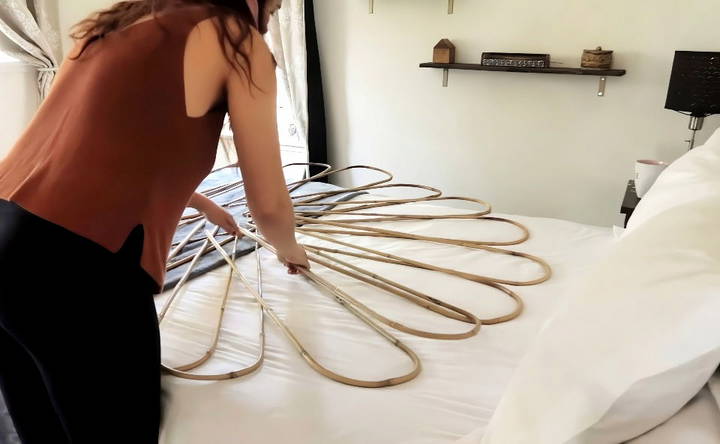
The first step was to arrange the U-shaped hoops in a semi-circular pattern. I laid them out on the floor to get a sense of how wide and tall I wanted the headboard to be. Since I wanted a wide headboard that spanned the width of my bed, I made sure to spread the hoops out evenly.
- My Tip: It helps to start with a general idea of your desired width and height. I measured the width of my bed and used it as a reference point. Also, play around with the arrangement until you find a pattern that feels right to you!
Step 2: Securing the Hoops with Rubber Bands
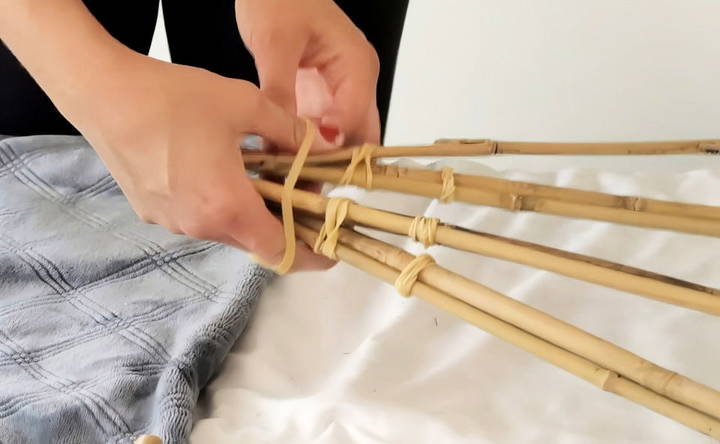
Once I was happy with the arrangement, I began connecting the hoops using rubber bands. I wrapped the rubber bands around the points where each hoop intersected. This step required a bit of patience as I wanted to ensure that everything was aligned properly.
The key here is to keep the rubber bands tight to maintain the structure's integrity. I wrapped a few bands around each joint for added stability.
- My Tip: Rubber bands are forgiving and easy to adjust if you need to reposition the hoops, so don't worry if it takes a few tries to get the alignment just right.
Step 3: Forming the Curve
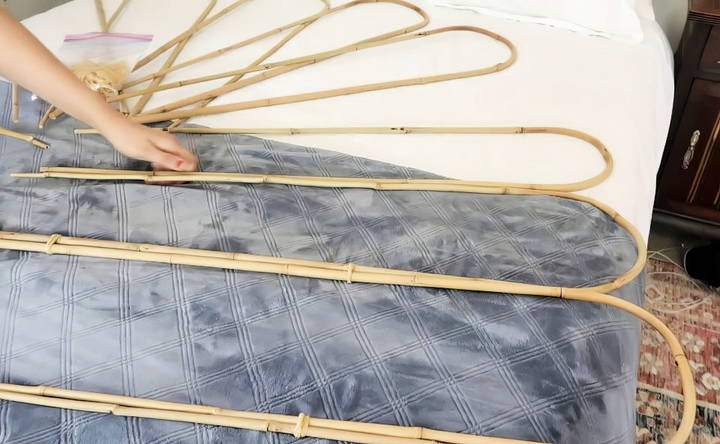
After securing the hoops together, I noticed the structure was still quite flat. To build that elegant curved shape that gives it a boho look, I added additional rubber bands to the ends of the hoops. This step allows the hoops to curve naturally, giving the headboard its distinctive shape.
- My Tip: You might need to tweak and adjust the position of the rubber bands a few times to get the desired curve. The process is more about visual balance than exact measurements, so trust your eye!
Step 4: Mounting the Headboard
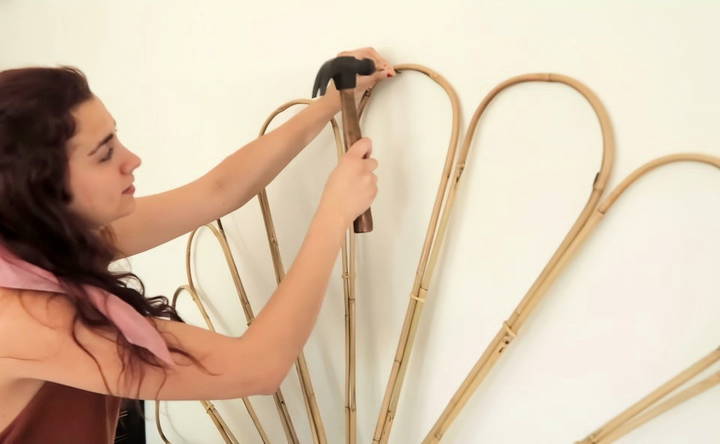
With the headboard shape formed, the next step was to mount it to the wall. I held the headboard up against the wall to decide the perfect height. Then, using a hammer and nails, I secured it in place. I opted to put nails in spots where the hoops were most stable and flat against the wall, which helped keep the headboard steady and secure.
- My Tip: If you want a more permanent solution, consider using anchors or screws instead of nails. This will provide extra stability, especially if your hoops are heavier or you want to avoid any wobbling.
Step 5: Styling the Finished Headboard
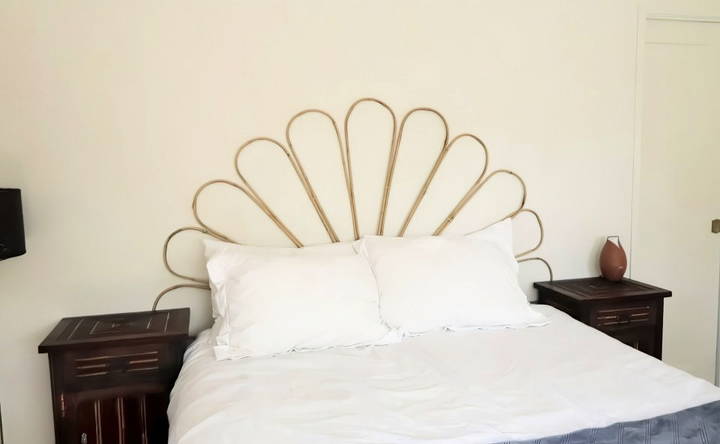
With the headboard up, it was time to add some final touches to complete the boho look. I styled my side tables with some cozy throws, house plants, and a few decorative items to complement the headboard. This small addition brought the whole room together and made it feel both inviting and stylish.
- My Tip: Think about adding textured throws, patterned pillows, or even hanging some fairy lights around the headboard to enhance the boho vibe.
Reflections and Lessons Learned
What I love most about this DIY project is how affordable and quick it was to complete. In total, the project cost me about $30 and took less than an hour to finish. I love how the headboard turned out—it's simple, chic, and has a personalized touch that you just can't buy from a store.
However, there were a few things I learned along the way:
- Be Patient with Arrangements: The process of aligning and arranging the hoops takes time. Don't rush this part; it's where the magic happens.
- Be Open to Adjustments: As I worked on securing the hoops, I realized that adjustments were necessary. Sometimes, you need to step back, look at the overall shape, and make changes.
- Enjoy the Process: This project was not only budget-friendly but also fun and creative. If you enjoy hands-on activities and a bit of DIY work, you'll find this experience quite rewarding.
Customization Ideas
Customizing your DIY boho headboard is a fun way to add a personal touch to your bedroom decor. Here are some easy and creative ideas to help you make your headboard unique and stylish.
Paint and Stain
- Color Choices: Choose colors that match your room's theme. Soft pastels can build a calm vibe, while bold colors can make a statement.
- Techniques: Try different painting techniques like ombre, stenciling, or distressing for a vintage look.
- Stains: Use wood stains to enhance the natural grain of the wood. Dark stains can add a rustic feel, while lighter stains keep it airy.
Fabric and Upholstery
- Fabric Selection: Pick fabrics that complement your room. Consider using boho patterns like paisley, floral, or geometric designs.
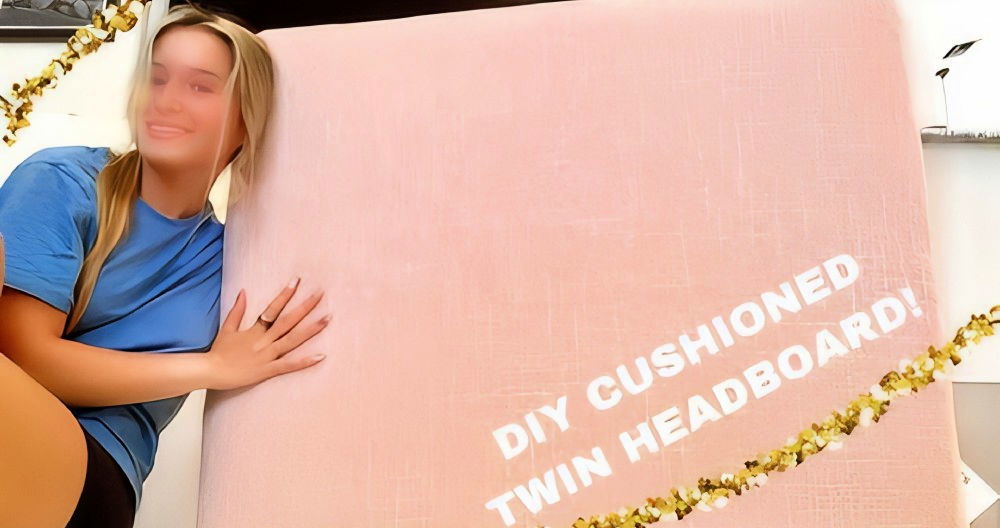
- Padding: Add padding under the fabric for a soft, cushioned headboard. This makes it comfortable to lean against.
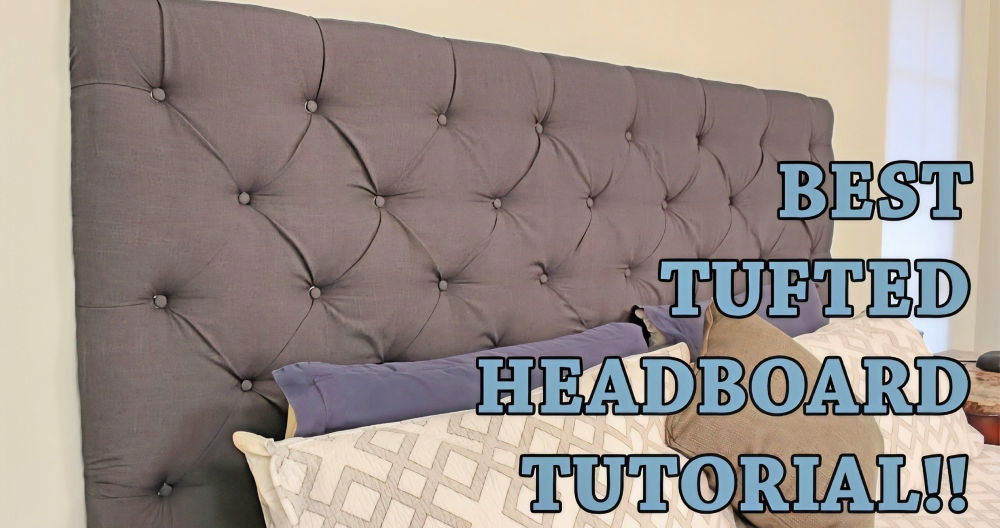
- Tufting: Build a tufted look by adding buttons or studs. This adds texture and a touch of elegance.
Decorative Elements
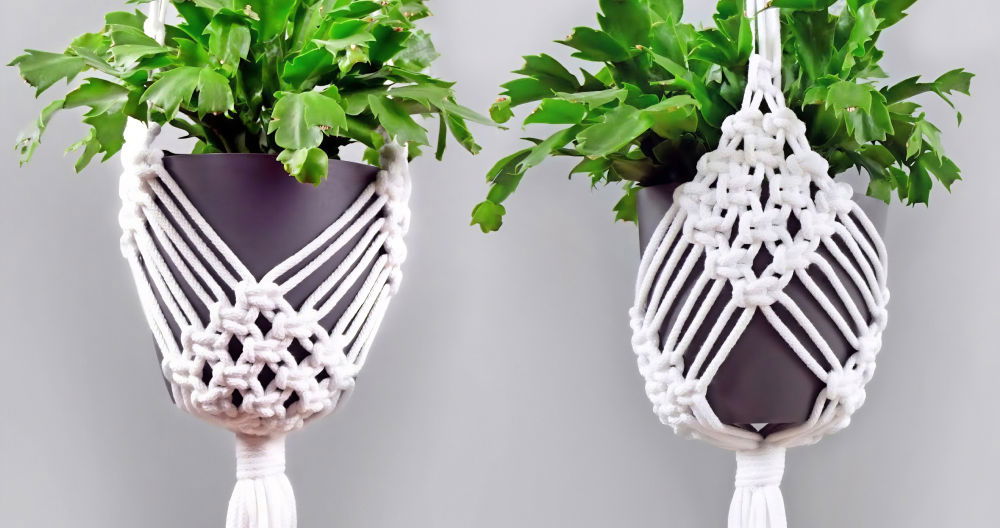
- Macramé: Incorporate macramé hangings for a true boho feel. You can make these yourself or buy pre-made pieces.
- Tassels and Fringe: Add tassels or fringe to the edges of your headboard for a playful touch.
- Mirrors and Frames: Attach small mirrors or picture frames to the headboard. This can make the room feel larger and more personalized.
Lighting
- Fairy Lights: Drape fairy lights over the headboard for a cozy, magical effect.
- Sconces: Install wall sconces on either side of the headboard for practical and stylish lighting.
- LED Strips: Use LED strips behind the headboard to build a soft, ambient glow.
Natural Elements
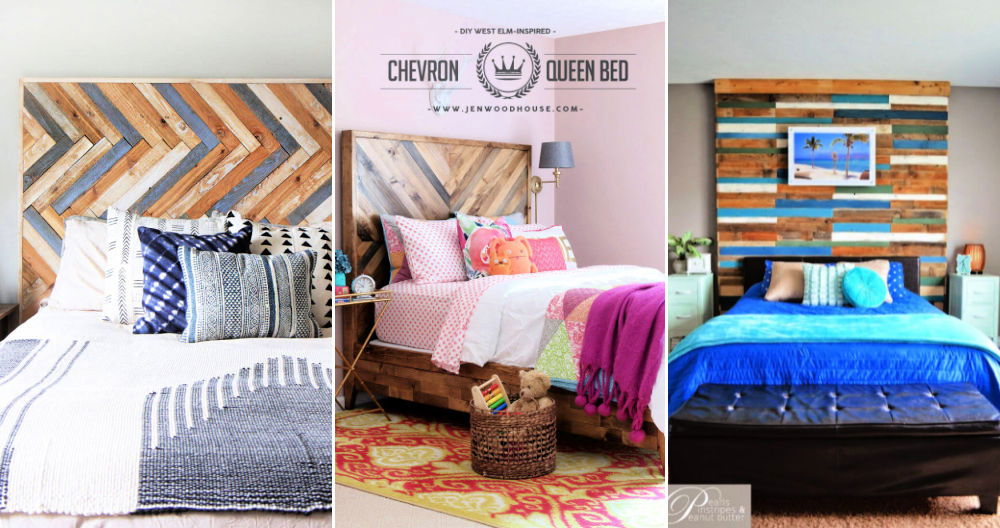
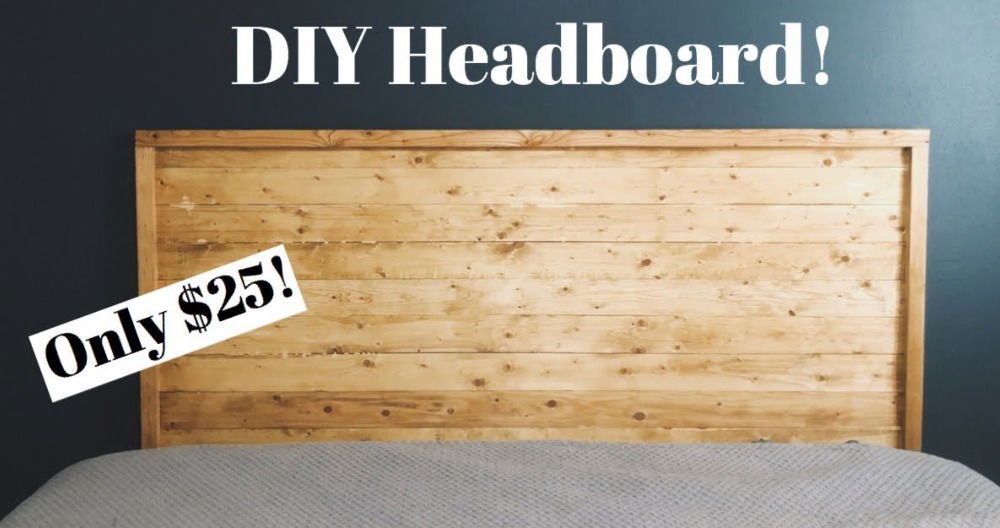
- Wood Accents: Use reclaimed wood or driftwood for a natural, earthy look.
- Plants: Attach small planters or hooks for hanging plants. This adds greenery and a fresh feel to your space.
- Stone and Shells: Decorate with stones, shells, or other natural elements for a beachy vibe.
Personal Touches
- Photos and Art: Display your favorite photos or artwork on the headboard. This makes it uniquely yours.
- Quotes and Words: Paint or stencil meaningful quotes or words onto the headboard. This can be inspiring and personal.
- Memorabilia: Attach small items that have sentimental value, like travel souvenirs or keepsakes.
Functional Additions
- Shelves: Add small shelves to hold books, plants, or decorative items.
- Hooks: Install hooks for hanging accessories like hats, scarves, or jewelry.
- Storage: Incorporate storage compartments for a practical and stylish solution.
By using these customization ideas, you can build a boho headboard that reflects your personal style and enhances your bedroom decor.
Troubleshooting Common Issues
When making a DIY boho headboard, you might encounter some challenges. Here are common issues and practical solutions to help you overcome them.
1. Uneven Cuts
- Problem: Your wood pieces are not cut evenly, causing gaps or misalignment.
- Solution: Use a measuring tape and a carpenter's square to mark precise lines before cutting. A miter saw can help achieve straight cuts. Sand the edges to smooth out any roughness.
2. Loose Screws and Nails
- Problem: Screws or nails are not holding the pieces together securely.
- Solution: Ensure you are using the correct size and type of screws or nails for your materials. Pre-drill holes to prevent wood from splitting. Use wood glue for extra strength.
3. Wobbly Headboard
- Problem: The headboard is not stable and wobbles when touched.
- Solution: Check that all joints are tight and secure. Add additional support brackets or braces if needed. Ensure the headboard is properly anchored to the wall or bed frame.
4. Paint Drips and Streaks
- Problem: Paint drips or streaks appear on the headboard surface.
- Solution: Use a primer before painting to build a smooth base. Apply thin, even coats of paint and allow each coat to dry completely before adding another. Sand lightly between coats for a smooth finish.
5. Fabric Wrinkles
- Problem: The fabric on your upholstered headboard has wrinkles or sags.
- Solution: Stretch the fabric tightly over the padding and secure it with a staple gun. Start from the center and work your way out to the edges. Use a fabric steamer to remove any remaining wrinkles.
6. Misaligned Patterns
- Problem: Patterns on fabric or wood are not aligned properly.
- Solution: Carefully measure and mark where patterns should align before cutting or attaching materials. Use painter's tape to hold pieces in place while you adjust the alignment.
7. Stains and Discoloration
- Problem: Stains or discoloration appear on the wood or fabric.
- Solution: For wood, sand the affected area and reapply stain or finish. For fabric, use a fabric cleaner or mild soap and water to remove stains. Test cleaners on a small, hidden area first.
8. Difficulty Attaching Decorations
- Problem: Decorative elements like tassels, macramé, or lights are difficult to attach.
- Solution: Use strong adhesive hooks or nails to secure decorations. For fabric elements, sew or staple them in place. Ensure all attachments are secure to prevent them from falling off.
9. Inconsistent Staining
- Problem: The wood stain appears uneven or blotchy.
- Solution: Apply a wood conditioner before staining to ensure even absorption. Use a clean cloth to apply the stain in the direction of the wood grain. Wipe off excess stain promptly.
10. Peeling Paint or Finish
- Problem: The paint or finish is peeling off the headboard.
- Solution: Sand the peeling areas to remove loose paint or finish. Apply a primer before repainting or refinishing. Use high-quality paint or finish to ensure durability.
By addressing these common issues, you can ensure your DIY boho headboard project goes smoothly and results in a beautiful, sturdy piece.
FAQs About DIY Boho Headboards
Explore FAQs about DIY boho headboards for tips, materials, and inspiration to build your own stylish and unique bedroom centerpiece.
Customization is key to achieving a unique boho look:
Paint: Use bold colors or patterns to paint your headboard.
Add Texture: Incorporate macramé, woven fabrics, or fringe.
Decorate: Add fairy lights, hanging plants, or dreamcatchers for extra boho flair.
Building a boho headboard on a budget is possible with these tips:
Repurpose Materials: Use items you already have, like old doors, shutters, or room dividers.
Shop Secondhand: Look for materials at thrift stores or online marketplaces.
DIY Decor: Make your own macramé or fabric decorations instead of buying them.
The time required to make a DIY boho headboard depends on the complexity of the design and your experience level. Simple projects, like a fabric or bamboo trellis headboard, can take as little as a few hours. More intricate designs, such as those involving woodworking or detailed macramé, might take a weekend or longer.
If you're looking to build an eco-friendly boho headboard, consider these options:
Reclaimed Wood: Use wood from old furniture or pallets.
Natural Fibers: Opt for materials like jute, hemp, or cotton.
Upcycled Items: Repurpose items like old doors, shutters, or room dividers.
Non-Toxic Paints: Use eco-friendly paints and finishes to reduce environmental impact.
Maintaining and cleaning your DIY boho headboard is essential to keep it looking fresh:
Dust Regularly: Use a soft cloth or duster to remove dust.
Spot Clean: For fabric headboards, spot clean with a mild detergent and water.
Wood Care: For wooden headboards, use a wood cleaner or polish to maintain the finish.
Avoid Moisture: Keep the headboard dry to prevent mold and mildew, especially for natural materials like bamboo or rattan.
Conclusion: A Boho Headboard Made with Love
This DIY boho headboard project is perfect for anyone looking to add a unique touch to their bedroom on a budget. It's straightforward, requires minimal materials, and can be completed in less than an hour. Whether you're a seasoned DIY enthusiast or a beginner, this project is a great way to flex your creative muscles and bring a personal touch to your living space.
If you have any questions or need more tips, feel free to ask! I'd love to hear from you and see how your projects turn out. Let's keep sharing and inspiring each other with more DIY adventures!


