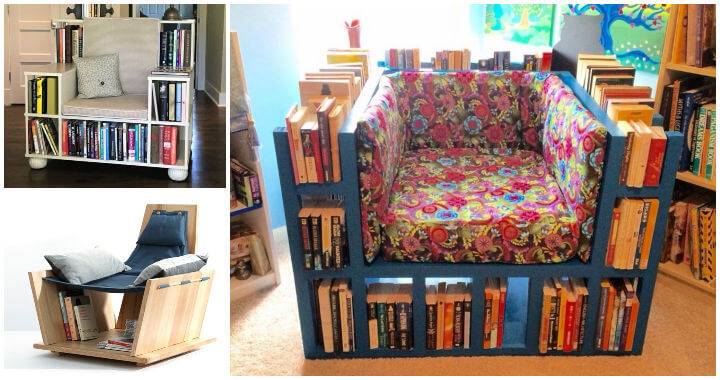
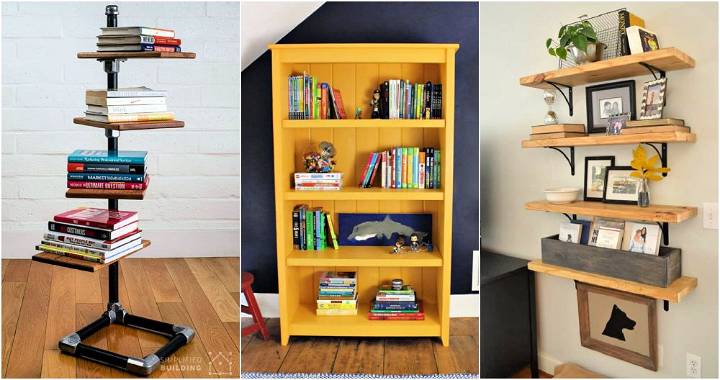
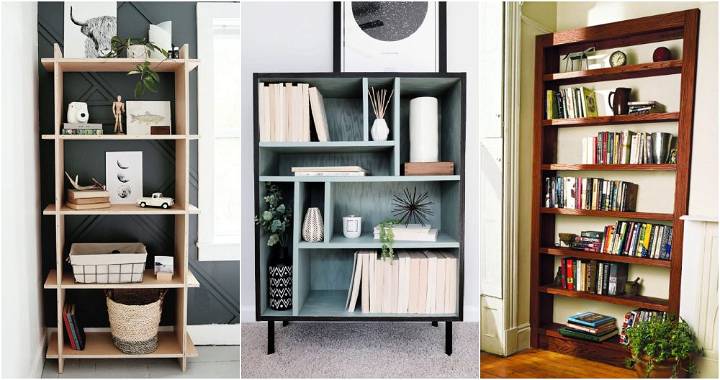
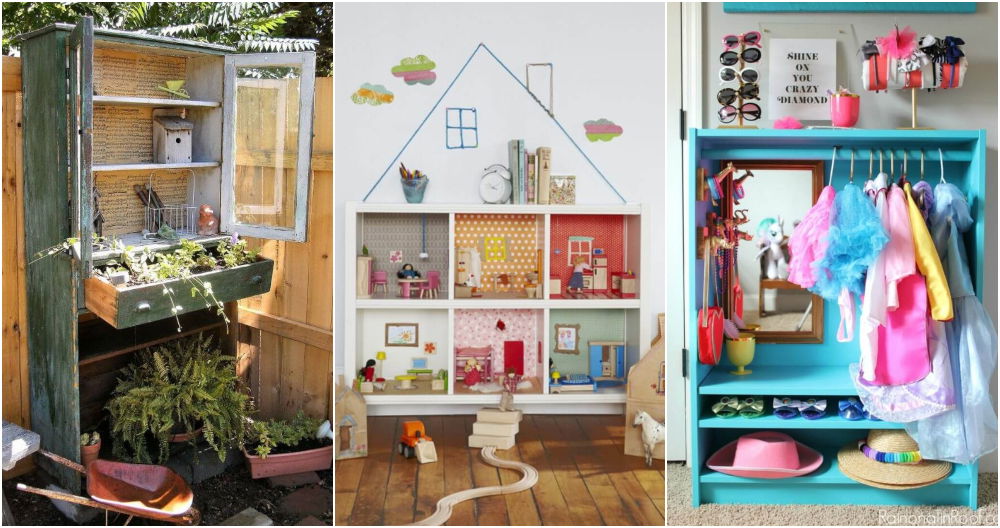
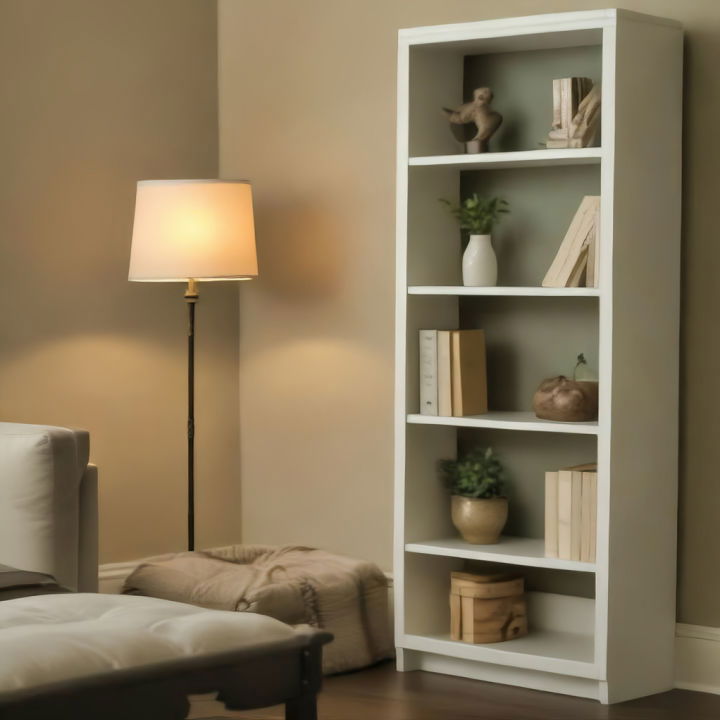
Last summer, with more free time than I knew what to do with and a growing collection of books and knick-knacks crowding my living room, I decided it was time to take on a project I'd been considering for a while: building my own DIY bookshelf. Given my limited experience with woodworking, the process seemed daunting at first. However, with thorough research and patience, I managed to build a stylish and functional six-foot bookshelf that not only holds all my books but also adds a personal touch to my home. Here's how I did it.
Gathering Materials
To start, I knew that having the right materials and tools was crucial for the success of the project. I needed:
- Lumber: I bought pre-cut lumber based on the dimensions I had measured out for my bookshelf. It's essential to get extra in case of mistakes.
- Pocket hole jig and clamps: For the shelves to attach securely to the side panels.
- Wood glue and brad gun (or hammer and nails): Needed for assembling the pieces together.
- Sander and 220-grit sandpaper: For smoothing out the wood before the final finish.
- Wood filler: To conceal any imperfections.
- Finish (paint or stain): I chose a stain to give it a classic look.
Getting these materials ready before starting helped streamline the process, ensuring that I wasn't running back and forth to the store.
The Step-By-Step Process
Preparing the Side Panels and Shelves
I began by marking the placement of the shelves on the two six-foot side panels. This step required precision, as any misalignment could lead to a wobbly bookshelf. I then moved onto prepping the shelves, including the longer sixth board that would become the top frame of the bookshelf. Using the pocket hole jig, I drilled holes at specific points to later join these pieces with the side panels.
Assembling the Bookshelf
Once the prep work was done, the assembly started. I attached the shelves to one side panel, starting with the top frame, applying wood glue, and using a brad gun for a secure fit. The bottom shelf went in next, followed by the rest, carefully lining them up with the pre-marked placements. Repeating this process on the other side, I made sure to check the alignment as I went along, adjusting where necessary.
Adding the Finishing Touches
After the basic frame was assembled, I focused on the aesthetics. The face frames, made from pre-cut one-by-twos, were attached to the frame with glue, clamps, and nails, adding a polished look to the bookshelf. Then came the molding for the top and the edges of each shelf, using wood for staining. Ensuring a snug fit for the moldings was tricky but rewarding, as it truly elevated the look.
Finishing with a Personal Touch
Finally, it was time for the finish. After filling all the holes with wood filler and giving the whole piece a thorough sanding, I chose a warm, dark stain to apply. For a splash of color and a bit of personality, I painted the back panel in a contrasting hue before attaching it to the frame. This not only made my books stand out but also allowed me to experiment with color in a subtle way.
Space Planning for Your DIY Bookshelf
Making the perfect DIY bookshelf involves more than just building a place to store your books. It's about designing a space that is both functional and harmonious with your living environment. Here's how you can plan your space effectively for your new bookshelf.
Understanding Your Space
Before you start, take a good look at the room where you'll place the bookshelf. Consider the room's layout, the amount of natural light, and how the room is used. This will help you decide the best location for your bookshelf.
Measure the area where you plan to place the bookshelf. Ensure it fits well without obstructing pathways or windows. If you're short on space, consider a corner bookshelf or wall-mounted shelves to save floor space.
Choosing the Right Size
The size of your bookshelf should match the scale of the room. A large bookshelf in a small room can overwhelm the space, while a small bookshelf in a large room might look out of place.
For smaller rooms, opt for slim, tall bookshelves that use vertical space efficiently. In larger rooms, you can afford to have wider bookshelves that make a statement.
Style and Functionality
Your bookshelf isn't just for books. It's a piece of furniture that contributes to the room's overall aesthetic. Choose a style that complements your decor, whether it's modern, rustic, or traditional.
Think about the functionality. If you need the bookshelf for storage, ensure it has enough shelves and space. If it's more for display, consider open shelving that allows you to showcase decorative items alongside your books.
Flexibility and Adaptability
Your needs might change over time, so consider a bookshelf design that can adapt. Adjustable shelves are a great feature that allows you to change the spacing depending on what you're storing.
Integrating with Existing Decor
Look at the colors and materials in your room. Your bookshelf should harmonize with these elements. If your room has a lot of wood, a wooden bookshelf might be the right choice. For a modern look, metal or glass can add a sleek touch.
Remember, the key to space planning for your DIY bookshelf is to balance functionality with aesthetics. It should serve your needs while enhancing the beauty of your room. With careful planning, your bookshelf will be a cherished addition to your home.
DIY Bookshelf: Your Questions Answered
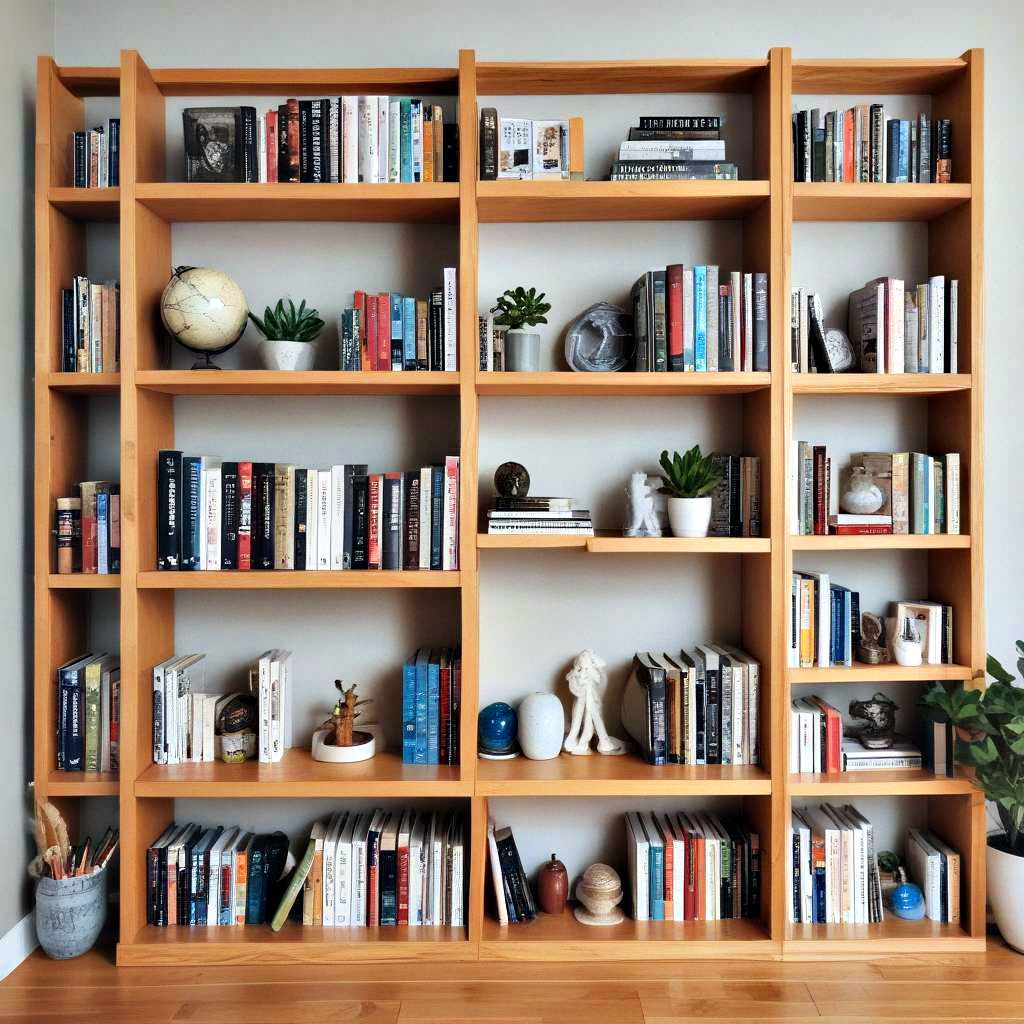
Building a DIY bookshelf can be a rewarding project that adds a personal touch to your home. To help you get started, here are answers to some frequently asked questions.
What Materials Do I Need?
To build a basic bookshelf, you'll need:
- Wood (plywood, MDF, or solid wood)
- Screws and nails
- Wood glue
- Sandpaper
- Paint or stain
- Tools (saw, drill, hammer, measuring tape)
Can I Build a Bookshelf If I Have No Experience?
Absolutely! Start with a simple design and follow a step-by-step guide. Practice makes perfect, and there are plenty of resources available for beginners.
How Do I Ensure My Bookshelf Is Stable?
Stability is key. Use sturdy materials and ensure all connections are secure. Anchor your bookshelf to the wall if necessary, especially if it's tall or will hold heavy items.
Can I Customize My Bookshelf?
Yes, customization is one of the joys of DIY. Choose the size, color, and style that best fits your space. Add unique touches like trim or decorative brackets to make it your own.
How Do I Protect My Bookshelf From Wear and Tear?
Proper finishing is essential. Use a sealer or varnish to protect the wood from moisture and scratches. Regular maintenance will keep your bookshelf looking great for years to come.
Take your time, enjoy the process, and you'll be rewarded with a bookshelf that you can be proud of.
Conclusion
Building my own DIY bookshelf was an incredibly rewarding experience. Not only did it provide a solution to my storage problem, but it also gave me a sense of accomplishment and a new hobby in woodworking. The key things I learned were the importance of precision in the initial steps, the effectiveness of taking the time to add personal touches, and the satisfaction of making something functional and beautiful with my own hands.
For those looking to embark on their own DIY bookshelf project, remember to measure twice, cut once, and don't rush the process. Good luck, and happy building!


