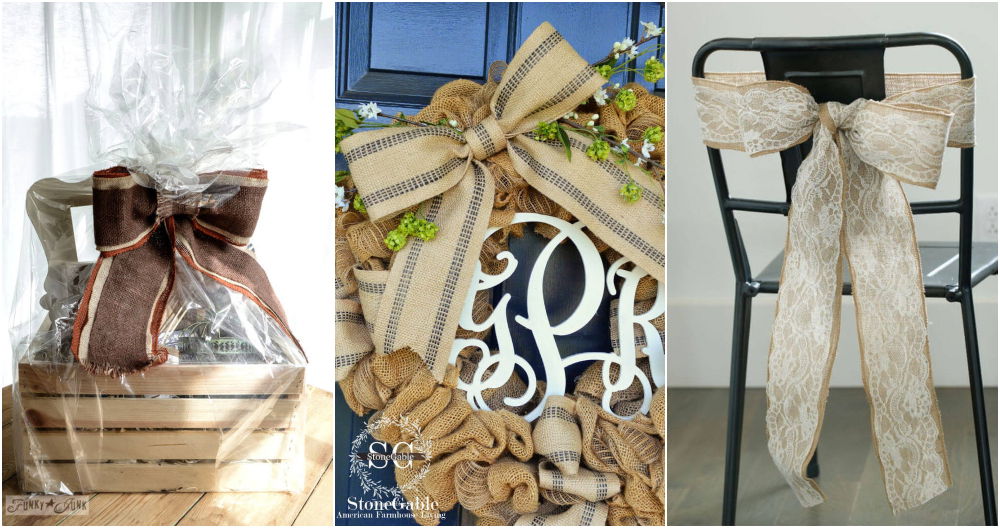
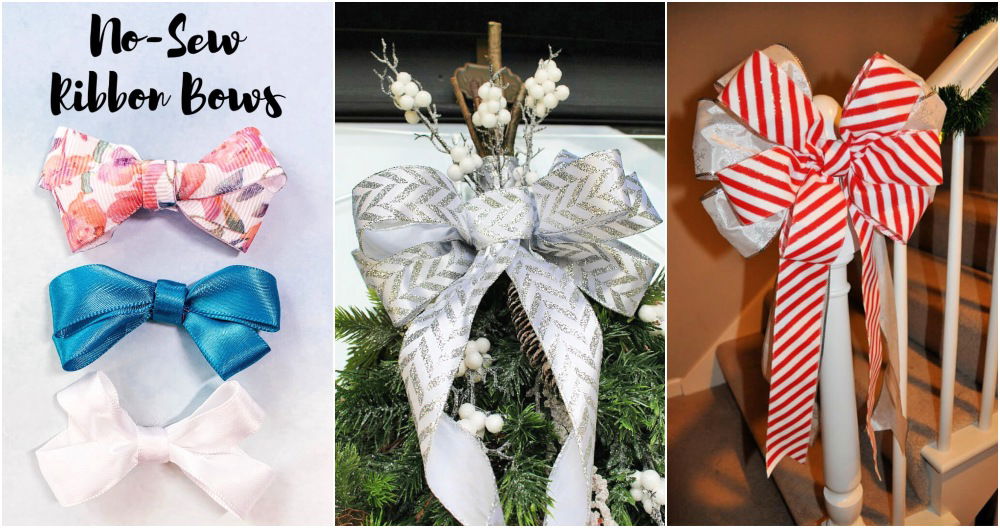
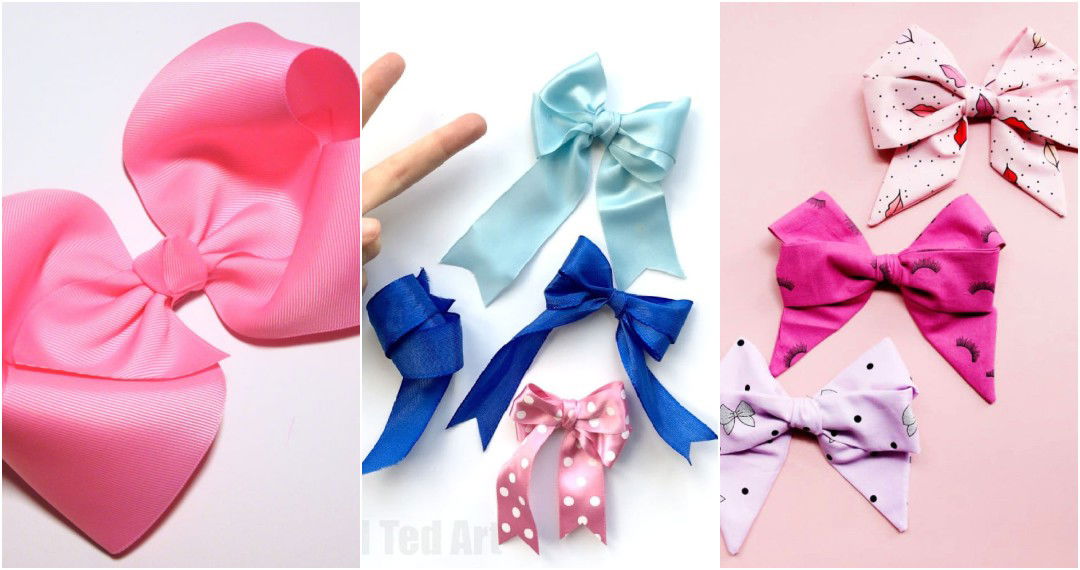
Making something from scratch always gives me a sense of accomplishment. Recently, I learned how to build a DIY bow maker at home. This nifty tool makes building bows simple and fun. I found that using basic materials had already really cut down on costs and hassle.
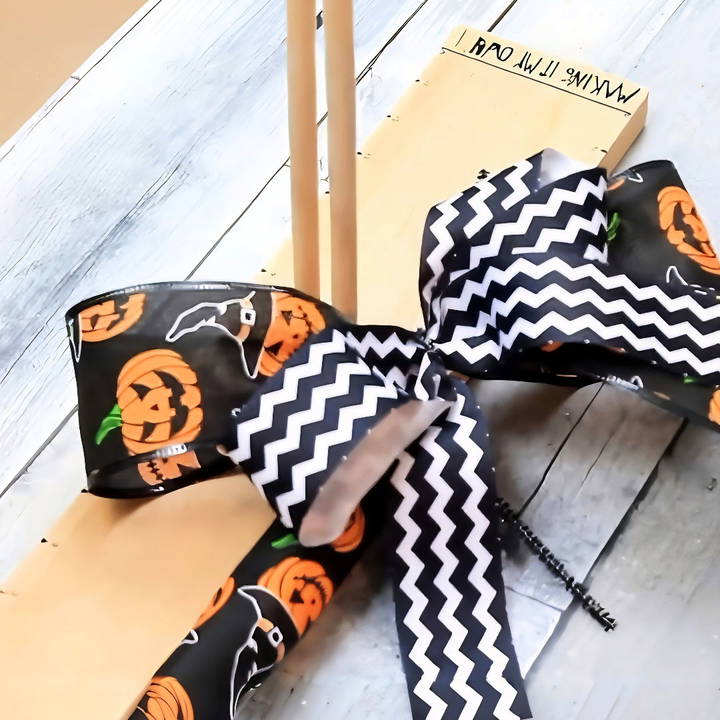
Now, I want to share this guide with you. This DIY bow maker will help you make beautiful bows for any occasion. Follow these simple steps, and you'll be crafting perfect bows in no time. I'm excited to help you get started!
Step by Step Instructions
Learn how to make a DIY bow maker with easy-to-follow step-by-step instructions. Perfect for crafting custom bows at home!
Step 1: Gather Your Materials
First things first, let's gather the materials we need. Here's a list of what you'll need and why each item is essential:
- 1x4 Piece of Wood (16 inches long): This will serve as the base of your bow maker.
- Two Dowels (same diameter as your drill bit, about a foot long): These are the rods that will help hold your ribbon as you make your bows.
- Drill and Drill Bit: You'll need this to make the holes for your dowels.
- Wood Glue (Elmer's works well): This will secure the dowels into the holes.
- Sanding Block: To smooth the dowels and the wood piece.
- Pencil and Ruler: For precise measurements.
- Clamps (optional): These will hold the dowels while the glue dries.
- Sharpie or Marker: To mark measurements on the board.
- Pipe Cleaners: These will help secure your bow once it's made.
Step 2: Preparing the Wood and Dowels
Next, let's get started on the actual bow maker.
Choosing the Right Wood
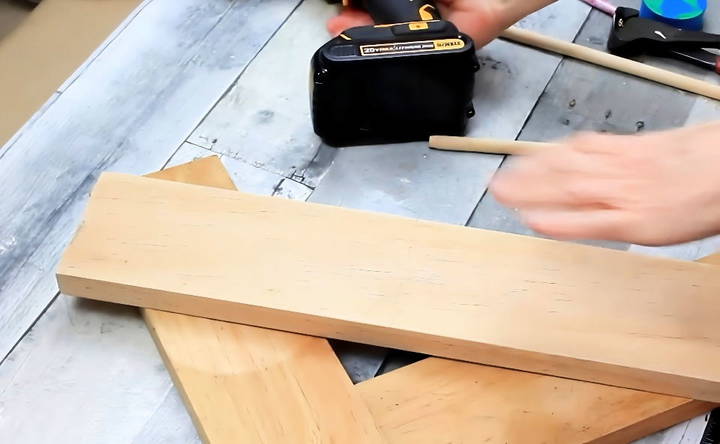
Take your 1x4 piece of wood. The 16-inch length is perfect for giving you enough space to work with your ribbons. Make sure the wood is sanded down smooth to avoid any snags on the ribbon.
Preparing the Dowels
Your dowels should be smooth on both ends. If they aren't, use your sanding block to even them out. A smooth finish ensures that your ribbons don't get caught while making a bow.
Step 3: Marking and Drilling Holes
Learn efficient techniques for marking and drilling holes, including finding the center, marking placement, drilling accurately, and smoothing edges.
Finding the Center
Using your ruler and pencil, measure the center point of the 1x4 wood piece. Mark this spot. This is where you will drill the holes for your dowels.
Marking the Placement
Now, measure two points an equal distance from the center on either side. It doesn't have to be exact, but spacing them uniformly will make your bows more balanced.
Drilling Holes
Carefully drill the holes on the marks you've made. Make sure not to go all the way through the wood. Drill slowly, and stop occasionally to clear out sawdust and check the depth.
Smoothing the Edges
Use your sanding block to smooth the drilled holes. This makes it easier to insert the dowels and ensure a snug fit.
Step 4: Securing the Dowels
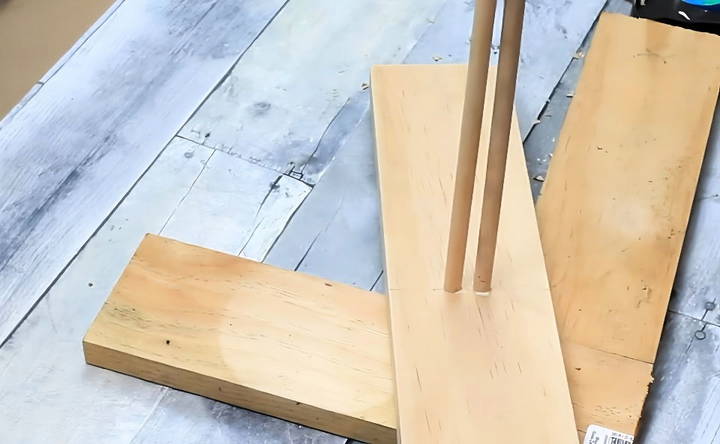
Once your holes are drilled and smoothed, it's time to secure the dowels into the wood.
Applying the Glue
Drop a bit of wood glue into each hole. Use a stick to spread the glue around, ensuring it coats the sides and the bottom of the holes.
Inserting the Dowels
Press the dowels into the holes. They should fit snugly without wobbling. Once inserted, you can use clamps to hold them in place until the glue dries. Clean up any excess glue around the holes.
Drying Time
Let the glue dry for at least 30 minutes. However, for a stronger hold, it's best to let it sit for 24 hours.
Step 5: Customizing Your Bow Maker
Customize your bow maker by marking the measurements for precision. Learn how to tailor it to your needs with our step-by-step guide.
Marking the Measurements
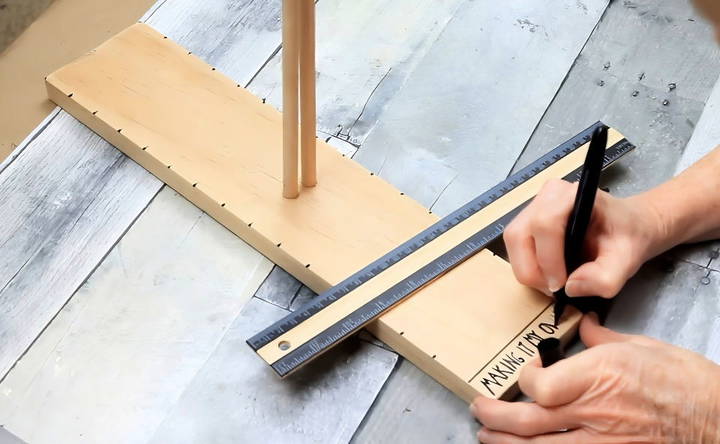
Using your ruler and Sharpie, mark inch intervals along both sides of the 1x4 board. This will help you measure your bow loops and tails more precisely. Though not necessary, you can add some artistic flair by writing something personal or painting your bow maker.
Step 6: Making Your First Bow
Learn the essentials of making your first bow, from choosing ribbon to finishing touches. Perfect your bow-making skills with this step-by-step guide.
Choosing Ribbon
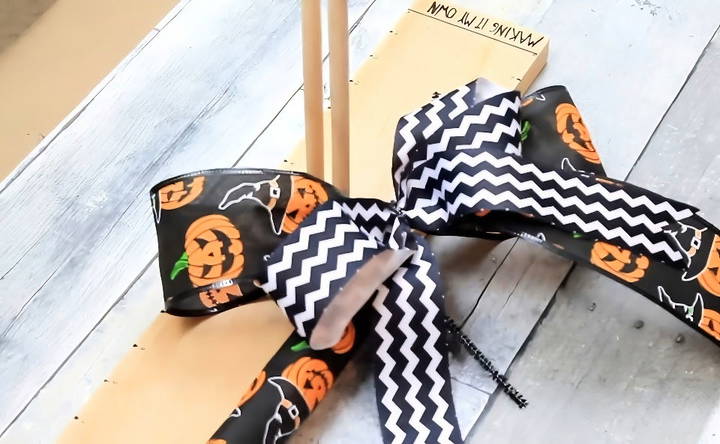
I started with a wired Halloween ribbon, which is easier to manipulate. Cut a length based on how big you want your bow to be.
Making the Loops
Wrap the ribbon around the dowels, keeping your loops even. The inch marks will help you measure accurately.
Securing the Center
Once you've formed the loops, twist a pipe cleaner around the center to hold everything in place.
Fluffing the Bow
Remove the bow from the maker and fluff out the loops. Adjust them until you're satisfied with the look.
Finishing Touches
For a polished look, dovetail the ends of your ribbon. Just fold the ribbon ends in half and cut at an angle.
Techniques for Different Bow Styles
Making beautiful bows is an art that adds a special touch to gifts, decorations, and crafts. With a DIY bow maker, you can easily craft a variety of bow styles. Here's how to make the most of your bow maker with techniques for different bow styles:
Classic Bow
The classic bow is the quintessential style for any occasion. To make this:
- Cut a length of ribbon twice the size of the desired bow width.
- Fold the ribbon in half to find the center and place it on the bow maker.
- Wrap each side around the bow maker's arms to form two loops.
- Cross the tails behind the center and bring them back to the front.
- Tie a knot with the tails over the center loop to secure the bow.
Pom-Pom Bow
Pom-pom bows are fluffy and full, perfect for adding volume:
- Use a long ribbon piece—about 10 times the width of the finished bow.
- Make continuous loops around the bow maker without cutting the ribbon from the spool.
- After 8-10 loops, cut the ribbon and secure the center with a twist tie.
- Fluff out each loop to form the pom-pom shape.
Double Bow
Double bows offer a layered look that's great for more formal presentations:
- Start with two ribbons of different widths, the wider one being the base.
- Make a classic bow with the wider ribbon.
- Make a smaller classic bow with the narrower ribbon.
- Stack the smaller bow on top of the larger one and tie them together at the center.
Bow-Tie Bow
The bow-tie bow is elegant and suitable for formal events:
- Cut a piece of ribbon about three times the length of the desired bow width.
- Make two loops at the ends of the ribbon, leaving a small tail.
- Cross the loops over each other and tie them in the middle like shoelaces.
- Adjust the loops and tails to form the bow-tie shape.
The key to perfect bows is practice and patience. Don't rush the process, and soon you'll be making bows like a pro. Keep experimenting with different ribbons and techniques to find your unique style.
Advanced Customization Tips
For craft enthusiasts who love to add a personal touch to their creations, customizing your DIY bow maker can be both fun and rewarding. Here are some advanced tips to help you personalize your bow maker:
Personalize with Paint
Give your bow maker a splash of color by painting it. Use acrylic paints to decorate the body and arms of your bow maker. Choose colors that inspire you or match your crafting space. Remember to seal the paint with a clear coat for durability.
Add Measurement Marks
For consistency in bow sizes, add measurement marks along the arms of your bow maker. You can use a ruler and a fine-tip marker to make small lines at regular intervals. This will help you quickly measure ribbon lengths for different bow sizes.
Make Interchangeable Arms
If you're feeling adventurous, make interchangeable arms for your bow maker. This allows you to switch between different arm lengths and thicknesses. You can use screws and wing nuts for easy swapping. It's perfect for making a variety of bow sizes.
Attach a Ribbon Dispenser
To keep your workspace tidy, attach a ribbon dispenser to the side of your bow maker. You can repurpose a paper towel holder or build a custom one. This will help you pull and cut ribbons without them getting tangled.
Incorporate a Storage Compartment
Consider adding a small storage compartment to your bow maker base. It's a handy place to keep your scissors, tape, and other small tools. You can use a small wooden box or make a drawer for this purpose.
Ergonomic Enhancements
If you make bows frequently, think about ergonomic enhancements. Add soft padding to the areas where you apply pressure. This will reduce strain on your hands and make the crafting process more comfortable.
By implementing these advanced customization tips, you'll have a bow maker that's not only unique but also tailored to your crafting needs.
Troubleshooting Common Issues
When crafting with a DIY bow maker, you might encounter a few hiccups along the way. Here's a helpful guide to troubleshooting common issues, ensuring your bow-making experience is smooth and enjoyable.
Bows Are Too Loose or Too Tight
- Solution: Adjust the tension of your ribbon. If the bow is too loose, pull the ribbon a bit tighter as you wrap it around the bow maker's arms. If it's too tight and the loops are deforming, loosen your grip slightly.
Uneven Bow Loops
Solution: Ensure that you're wrapping the ribbon evenly around both arms of the bow maker. Use the measurement marks as a guide to keep the loops symmetrical.
Ribbon Fraying
- Solution: Use sharp scissors to cut the ribbon cleanly. If fraying persists, lightly singe the edges of the ribbon with a lighter or use a fray check solution.
Difficulty Tying the Bow Center
- Solution: If tying the center knot is challenging, use a separate, smaller piece of ribbon or a twist tie to secure the center before fluffing the loops.
Bows Not Holding Shape
- Solution: Choose stiffer ribbons like grosgrain or wired ribbons for bows that need to maintain their shape. For softer ribbons, consider using a light starch spray.
Bow Maker Slipping
- Solution: Place a non-slip mat under your bow maker or add rubber feet to the bottom to keep it steady while you work.
By addressing these common issues, you'll be well on your way to building perfect bows every time. Practice makes perfect, and each bow you make will teach you something new.
FAQs About DIY Bow Maker
Discover answers to common questions about DIY bow makers. Get tips, tricks, and essential information for perfect bows every time.
A DIY bow maker is a simple tool that helps you create uniform and professional-looking bows for various decorative purposes. It usually consists of a flat base with multiple dowels that can be positioned to adjust the size of the bows.
To use a DIY bow maker, wrap the ribbon around the dowels in a figure-eight pattern to form the bow. Once you've achieved the desired shape, slide the bow off the dowels and secure it at the center with a wire or pipe cleaner.
Yes, by changing the spacing between the dowels on your bow maker, you can create bows of various sizes. Closer dowel spacing results in smaller bows, while larger spacing allows for bigger bows. This adjustability makes the DIY bow maker a versatile tool for different projects.
Absolutely! One of the benefits of a DIY bow maker is that you can tailor it to your specific needs. You can add measurement markings for precision or paint it to match your craft room decor. Some crafters even make SVG files to add a ruler with a vinyl cutter for extra convenience.
With a DIY bow maker, you can craft a wide variety of bows, from simple flat bows to intricate multi-looped bows. The design and complexity depend on how you wrap the ribbon around the dowels and the type of ribbon you use. Experimenting with different techniques and ribbons can yield unique and beautiful results.
Conclusion:
Give these steps a try, and you'll see how easily you can make your own DIY bow maker. This will surely enhance your crafting skills and save you time!


