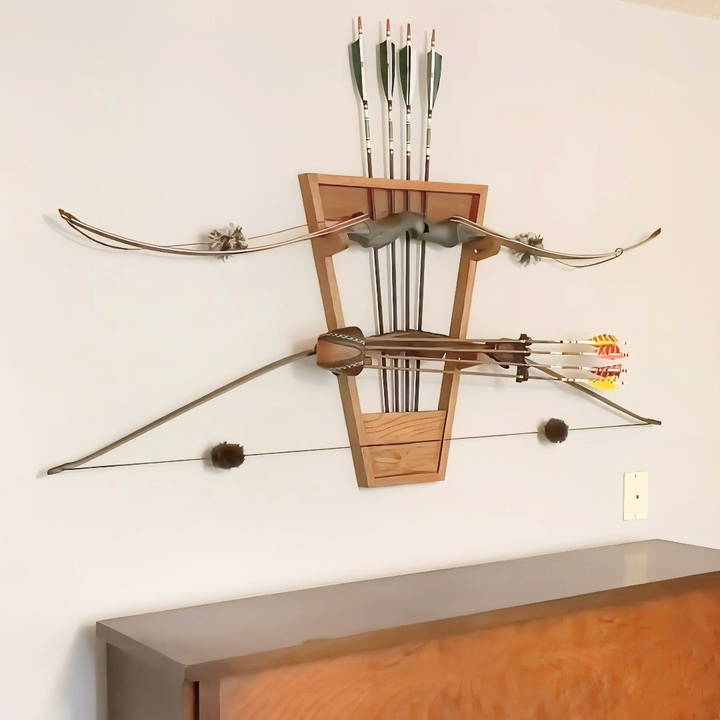
If you're a traditional archery enthusiast, you likely understand the importance of having a functional yet stylish way to store and display your bows. A DIY bow rack for a wall is not only practical but also adds a rustic, personalized touch to your home. This guide will provide detailed instructions for building a decorative and functional bow rack to safely store your traditional bows and a few arrows.
Why Build Your Own Bow Rack?
Making a DIY bow rack is a budget-friendly solution that lets you customize your storage exactly as you like. Not only does this rack keep your bows organized and safe from damage, but it also allows you to showcase them as a decorative element in your home. Plus, with simple tools and basic woodworking skills, you can build this project on your own.
Materials and Tools Needed
Before starting, gather all necessary materials and tools. This project requires:
Materials
- Wood Planks: For the frame, you'll need sturdy wood that can bear the weight of the bows. Pine or oak planks work well.
- Wood Screws: For assembling the frame.
- Wood Glue: Provides additional hold for the frame.
- Sandpaper: To smooth any rough edges on the wood.
- Varnish or Stain: For finishing the wood and protecting it.
Tools
- Saw: For cutting wood to length and for building angle cuts.
- Drill: For drilling holes in the frame to hold arrows and bows.
- Measuring Tape: To ensure accurate dimensions for the frame and hole placement.
- Angle Finder: Useful for cutting the specific angles for the frame.
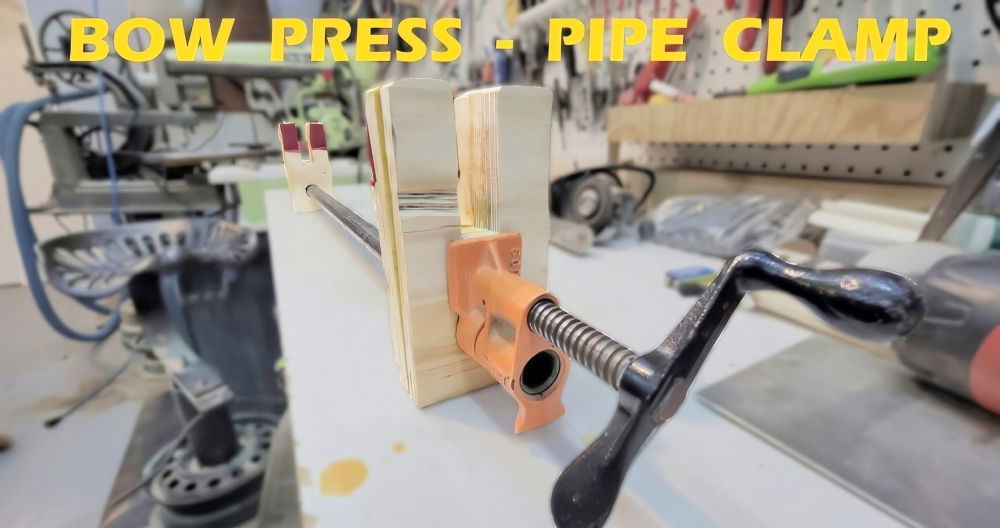
- Clamps: For holding the frame steady while you assemble it.
Step by Step Instructions
Learn to build your own bow rack with our detailed guide. From measuring to mounting, follow our step-by-step DIY instructions for a perfect display.
Step 1: Plan and Measure the Frame
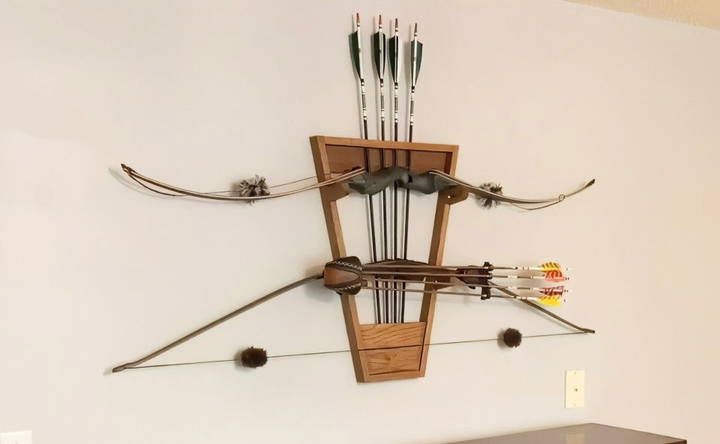
Deciding on the shape and dimensions of your bow rack is the first step. In this project, the rack is triangular, which provides stability and an aesthetic appeal.
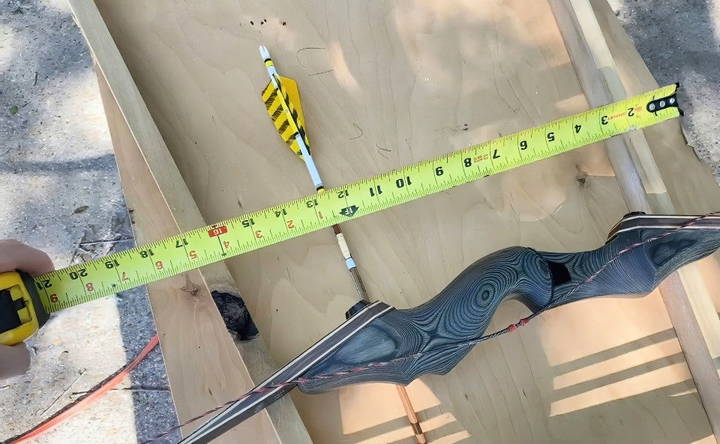
- Determine the Dimensions: This guide will follow a rack design with sides measuring approximately 26 inches in length, a bottom width of around 9 inches, and a top width of about 17 inches.
- Mark the Cuts: Use a measuring tape and pencil to mark where you'll make cuts on the wood planks.
Step 2: Cutting the Wood
Using the dimensions you've marked, start cutting your wood.
- Cut the Side Planks: Cut two side pieces, each around 26 inches long. Ensure the ends are angled to meet the top and bottom parts securely.
- Cut Cross Pieces: Cut two cross pieces, one for the bottom (9 inches wide) and one for the top (17 inches wide).
- Angle the Cuts: For this project, the sides were angled at approximately 11 degrees to build a stable triangular shape.
Tips for Cutting
- Use an angle finder to precisely measure the angles before cutting.
- Double-check measurements before making cuts to avoid wasting material.
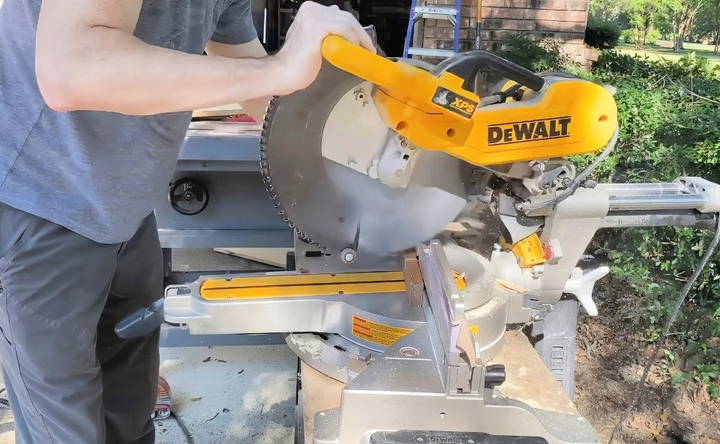
Step 3: Assemble the Frame
With all pieces cut, you can now assemble the frame.
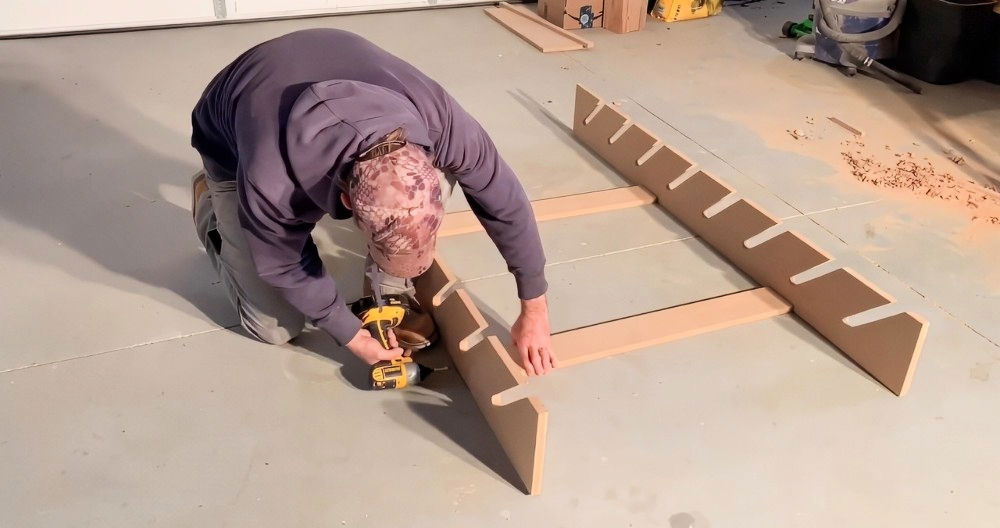
- Position the Pieces: Arrange the side pieces and cross pieces on a flat surface. Ensure the angles align properly.
- Attach with Wood Screws and Glue: Apply wood glue at each joint and use screws to fasten the pieces together. This will build a solid, stable frame.
- Clamp and Let Dry: Use clamps to hold the frame steady while the glue dries. This will also prevent shifting as you move to the next steps.
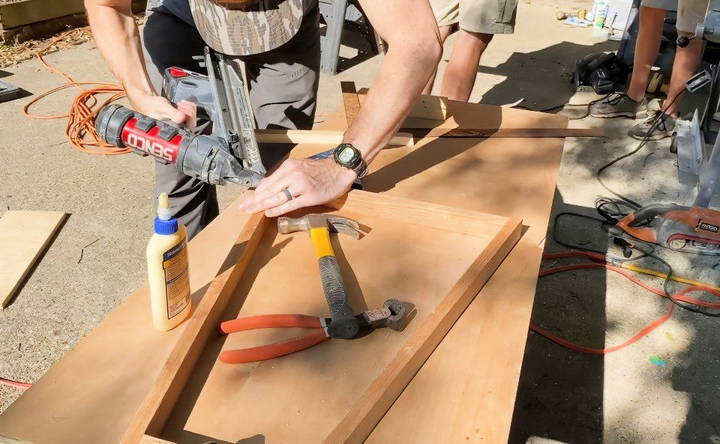
Step 4: Drill Holes for Arrows
This bow rack design incorporates spaces for arrows, which adds both functionality and style. Decide on the number of arrows you want to display, typically three to five.
- Mark the Hole Positions: Decide on the spacing for each arrow, and use a pencil to mark where each hole will be drilled.
- Drill the Holes: Use a drill with a bit slightly larger than the diameter of the arrow shafts. This ensures the arrows fit snugly without slipping.
- Sand the Edges of the Holes: Once drilled, sand the edges to smooth any rough areas, preventing splinters and ensuring a polished look.
Tips for Drilling
- Keep a steady hand and apply gentle pressure to prevent cracking or chipping around the holes.
- Make sure each hole is evenly spaced for a balanced look.
Step 5: Build Brackets for the Bows
To securely hold the bows in place, you'll need to make custom brackets. These brackets will support the bows' weight and prevent them from slipping off the rack.
- Cut Small Brackets: Use small wood pieces (about 2-3 inches in length) to build each bracket.
- Attach Brackets to the Frame: Position the brackets where the bows will rest and secure them with wood screws.
- Test the Fit: Place each bow on the rack to ensure the brackets hold them securely. Make adjustments if necessary.
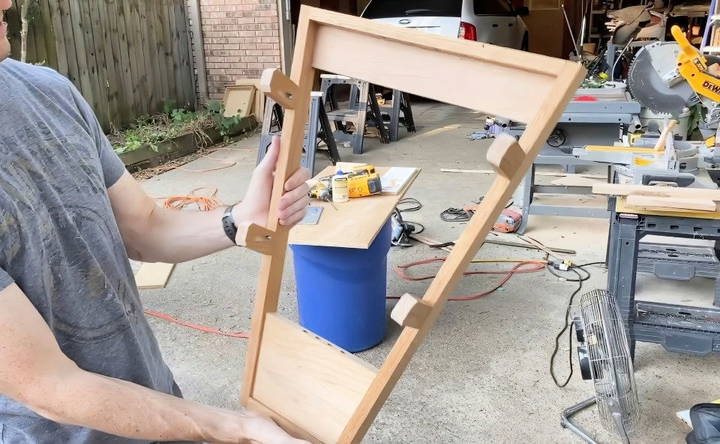
Step 6: Sand and Finish the Frame
Sanding and finishing the frame is essential for a professional, polished look.
- Sand the Entire Frame: Use medium to fine-grit sandpaper to smooth out any rough edges on the frame and brackets.
- Apply Stain or Varnish: Choose a wood stain or varnish that complements your home decor. Apply an even coat, let it dry, and add a second coat for durability.
- Let Dry Completely: Allow the finish to dry for 24 hours before mounting the rack.
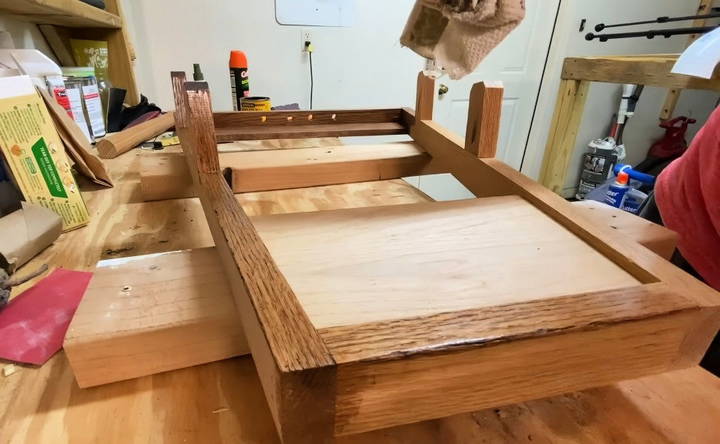
Step 7: Mount the Bow Rack
Once the frame is assembled, drilled, and finished, it's time to mount it on the wall.
- Choose a Location: Pick a spot on the wall where the rack will be both functional and visually appealing. Ensure the wall can support the weight of the rack and bows.
- Locate Wall Studs: Use a stud finder to locate the studs behind the wall for a secure mount.
- Mount the Rack: Drill screws through the frame and into the wall studs. Double-check the stability before placing your bows and arrows.
Step 8: Display Your Bows and Arrows
With the rack mounted securely, it's time to arrange your bows and arrows.
- Place the Bows on Brackets: Rest each bow on its designated bracket, ensuring it is secure and stable.
- Insert Arrows into the Holes: Slide the arrows into the drilled holes, building an organized, decorative display.
- Make Adjustments as Needed: Adjust the positioning of the bows and arrows for an even, visually pleasing arrangement.
Tips for Customizing Your DIY Bow Rack
- Add a Personal Touch: Engrave your name or a favorite design into the wood for a personal touch.
- Experiment with Finishes: Try different stains, paints, or wood finishes to match your decor style.
- Adjust the Size: Make the rack larger or smaller to accommodate more or fewer bows and arrows.
Maintenance and Care
- Dust Regularly: Keep the rack and bows dust-free to maintain the wood's finish.
- Avoid Excessive Weight: Ensure the rack only holds the intended number of bows to prevent damage.
- Check the Mounts Periodically: Ensure the screws and mounts remain secure, especially if the bows are used frequently.
Conclusion:
Building a DIY bow rack is an affordable and enjoyable project that provides a functional and decorative way to store your bows. By following this step-by-step guide, you can build a personalized rack that fits your space and style. With a few tools, some wood, and a bit of creativity, your traditional bows can be displayed proudly and kept safe from harm.
Whether you're a seasoned DIYer or new to woodworking, this bow rack project is straightforward and rewarding. Enjoy showcasing your bows in style!
FAQs About DIY Bow Rack
Discover answers to the most common questions about DIY bow racks. Get tips and guidance for crafting the perfect storage for your bows.
If you have low ceilings, consider using shorter arrows or inexpensive arrows that can be permanently displayed. For higher ceilings, you can remove arrows easily, but with low ceilings, keeping arrows as fixed decor is a practical solution.
This rack works well for traditional bows, like longbows and recurve bows. For instance, a Black Hunter longbow and a Centaur triple carbon longbow were used in the original project, and the rack securely supported both.
For those with low ceilings, using arrows as permanent decorative pieces is an option. If you need functional arrows accessible, you might want to store them separately or use shorter arrows on the rack for easy access.
Yes, you can modify the frame size to accommodate more bows. Adjust the length and width of the frame, ensuring the wood is strong enough to support additional weight and that there’s enough space between each bow.
You can experiment with wood stains, natural oil finishes, or even paint to match your decor. A clear varnish will highlight the natural wood grain, while a darker stain or paint can give a more rustic or modern look.
Yes, but it’s essential to secure the rack into wall studs for stability. Alternatively, if studs are unavailable, use heavy-duty wall anchors rated for the weight of the rack and bows to prevent the rack from pulling out of the wall.
If you lack some tools, consider borrowing them, renting from hardware stores, or even visiting a local workshop. Pre-cut wood pieces may also be available from lumber suppliers, which can simplify the project and reduce the tools required.


