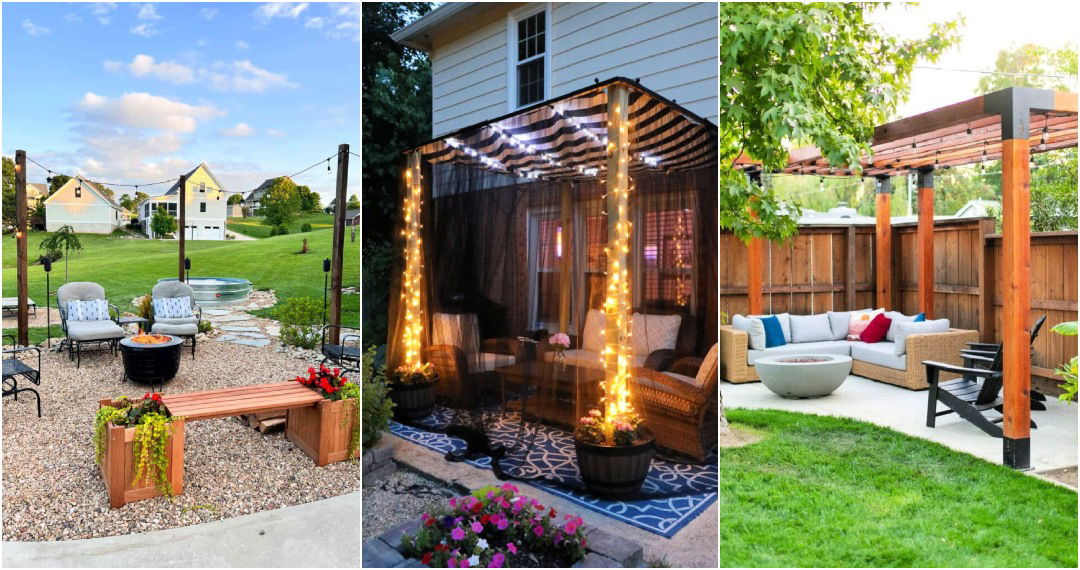
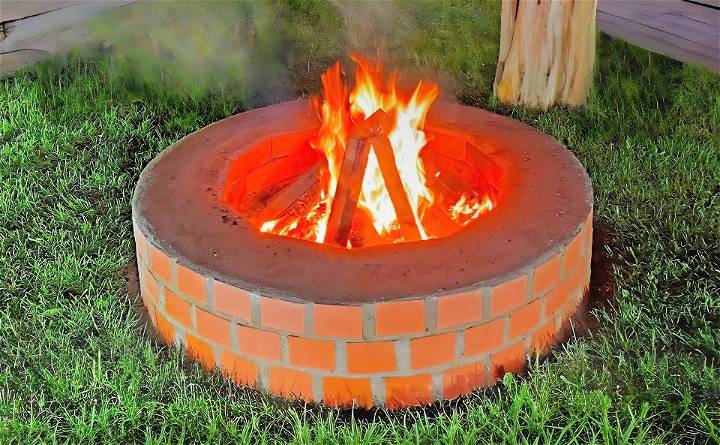
I've always been the outdoor type, enjoying the crisp air of late evenings and the mesmerizing dance of flames in a fire pit. So, I decided to build my own brick fire pit, a cozy backyard addition for those chilly nights. Drawing inspiration and guidance from various resources, including a particularly helpful YouTube tutorial by Craig Phillips, I embarked on this fulfilling DIY project. Here's how I did it, step by step, and how you can do it too.
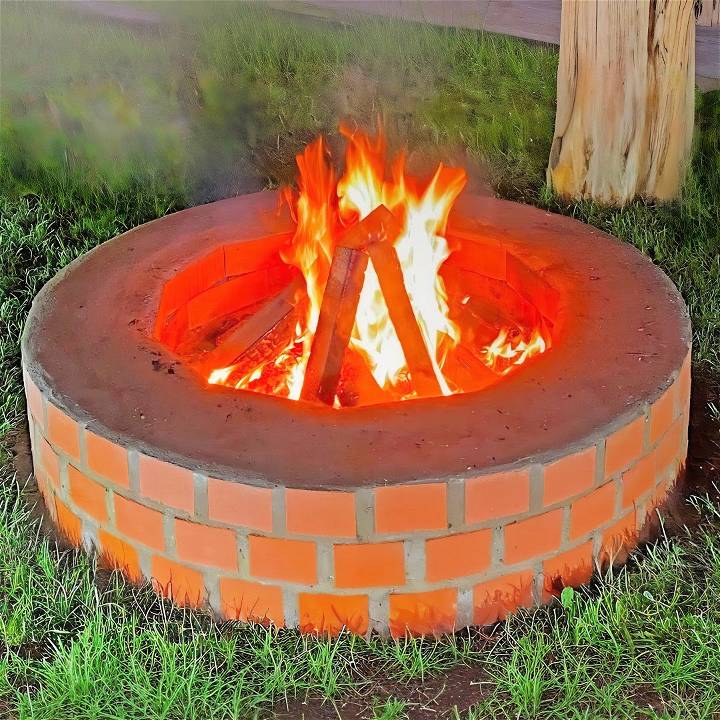
Materials and Tools Needed
For this project, I needed:
- Bricks: Fire bricks for the inner layer and engineered bricks for the outer layer.
- Mortar: A mix of sand, cement, and fire cement.
- Tools: Shovel, lump hammer, brick trowel, pointing trowel, pointer, spirit level, metal spike, string, spray paint.
Why these materials? Fire bricks can withstand high temperatures, which is crucial for the fire pit's durability. The mortar mix, including fire cement, provides the necessary resistance to heat. The tools are essential for the preparation, construction, and finishing phases of the project.
Step by Step Instructions
Learn how to build a brick oven in 8 easy steps - from setting out your area to finishing touches and first fire. Follow our step-by-step instructions!
Step 1: Setting Out Your Area
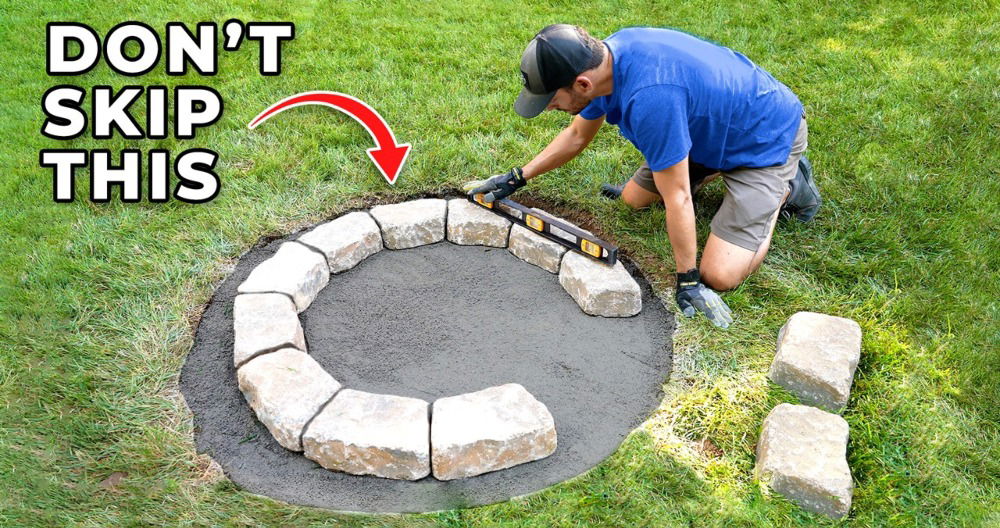
First, I marked the desired location for my fire pit in the backyard. Using a metal spike and string attached to a spray canister, I drew a circle with a diameter that suited my space. Then, I dug out the topsoil and compacted the earth using a lump hammer.
Step 2: Laying the Foundation
I buildd a concrete base by mixing concrete and water and pouring it into the dug-out area, ensuring it was level and compact. This base would support the weight of the bricks and withstand the heat from the fire.
Step 3: Arranging the First Layer of Bricks
Once the base was dry, I started laying out the fire bricks in a circle, applying mortar between each brick. I ensured that each brick was level and aligned correctly, making a solid foundation for subsequent layers.
Step 4: Building Up
After the first layer, I layered more bricks, alternating between fire bricks on the inside and engineered bricks on the outside. Each layer was staggered to increase stability. I kept checking the levels and alignment as I went along to ensure a uniform and stable structure.
Step 5: Mortar Mixing and Application
I mixed the mortar with a specific ratio of three parts sand to one part cement, adding fire cement for heat resistance. The mixture needed to be consistent but not too wet, to ensure the bricks adhered well but also to withstand the high temperatures.
Step 6: Finishing Touches
Once I reached the desired height, I made the final layer smooth and aesthetically pleasing. I filled any gaps with mortar, smoothing it out with the trowel, and removed excess material for a clean finish.
Step 7: Making a Drainage Layer
To prevent water accumulation, I filled the bottom of the pit with gravel and broken bricks, allowing for adequate drainage and heat storage, crucial for maintaining the fire pit's integrity.
Step 8: Curing and First Fire
I allowed the mortar to cure for several days before initiating a small fire, gradually increasing the size over the next few days. This step was essential to avoid cracking due to sudden temperature changes.
Personal Insights and Advice
Building this fire pit was not only a project but a journey. Here are some personal insights and advice:
- Patience is key: The project requires time, especially for curing. Rushing can compromise the structure.
- Precision matters: Ensuring each brick is level and evenly spaced makes a significant difference in the stability and appearance of your fire pit.
- Safety first: Always wear protective gear when working with heavy materials and tools.
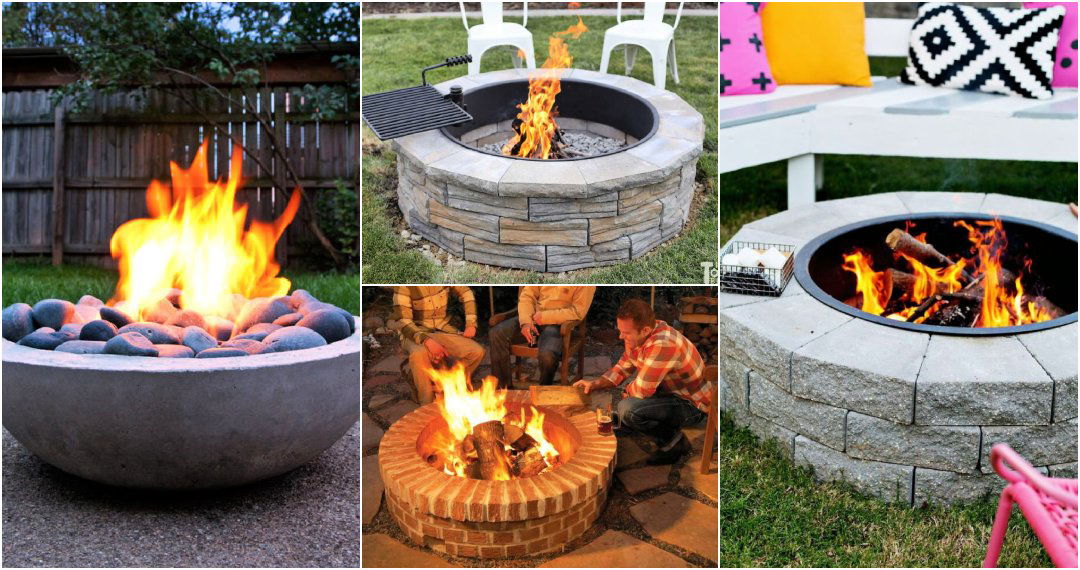
Design Ideas and Inspiration for Your DIY Brick Fire Pit
Building a DIY brick fire pit can be a fun and rewarding project. It's a great way to add a warm and inviting element to your backyard. Here are some design ideas and inspiration to help you build a beautiful and functional fire pit.
- Classic Round Design: A traditional round fire pit is timeless and can fit into any backyard style. You can use red bricks for a rustic look or go for a more modern approach with grey or white bricks. The circular shape encourages gathering and conversation, making it perfect for social events.
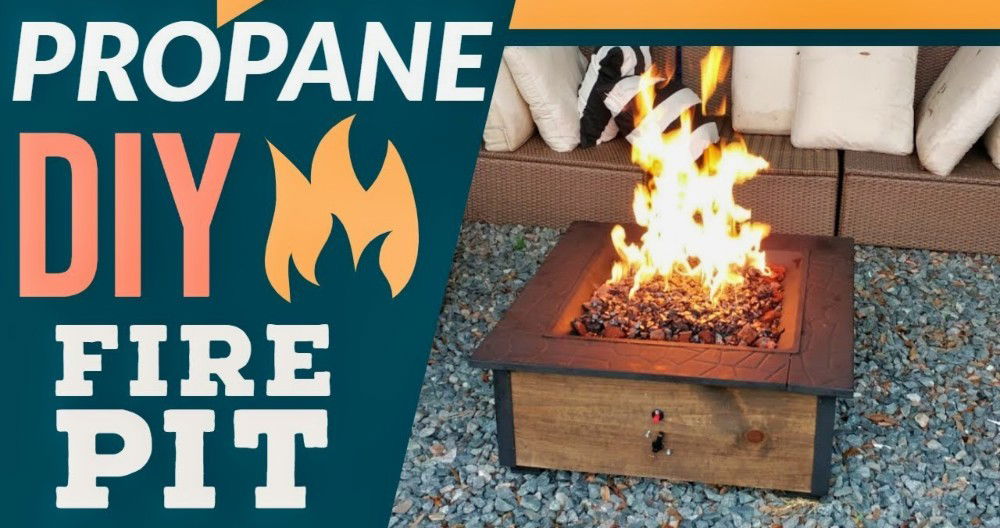
- Square or Rectangular Fire Pit: For a more contemporary look, consider a square or rectangular fire pit. These shapes can provide a sleek and modern feel to your outdoor space. They also offer a larger area for the fire, which is ideal if you plan to entertain bigger groups.
- In-Ground Fire Pit: An in-ground fire pit can blend seamlessly with your lawn and garden. It's a subtle option that doesn't take up much space and can be a great choice if you prefer a more natural look.
- Multi-Level Fire Pit: Adding different levels to your fire pit can build depth and interest. You can use the levels for planting herbs or flowers, which adds a touch of greenery and fragrance to your fire pit area.
- Fire Pit with Built-In Seating: Incorporate seating into the design of your fire pit for convenience and style. Permanent benches made of the same bricks as your fire pit can build a cohesive look.
- Portable Fire Pit: If you're not ready to commit to a permanent structure, consider a portable fire pit. You can move it around your yard to suit different occasions or store it away when not in use.
- Decorative Elements: Personalize your fire pit with decorative elements. You can use different colored bricks to build patterns or add a mosaic tile border for an artistic touch.
- Accessorize: Enhance your fire pit experience with accessories. A grill grate can turn your fire pit into a barbecue, while a spark screen can provide safety and peace of mind.
Remember, successful DIY project = planning. Carefully design fire pit: yard size, materials, space use. Get creative & build enjoyable fire pit.
Troubleshooting Common Issues with DIY Brick Fire Pits
When building a DIY brick fire pit, you might encounter a few common issues. Here's a helpful guide to identify and resolve these problems, ensuring your fire pit is safe and enjoyable for years to come.
- Cracks in Bricks: Over time, the heat can cause bricks to crack. To prevent this, choose firebricks, which are designed to withstand high temperatures. If cracks do appear, replace the damaged bricks promptly to maintain the integrity of your fire pit.
- Mortar Deterioration: The mortar between bricks can deteriorate due to weather and heat. Use a high-temperature mortar mix specifically for fire pits. If the mortar crumbles, remove the loose material and reapply the mortar to keep the structure stable.
- Uneven Fire Pit Base: An uneven base can lead to instability. Ensure the ground is level before you start building. If settling occurs, dismantle the affected area, level the ground, and rebuild as necessary.
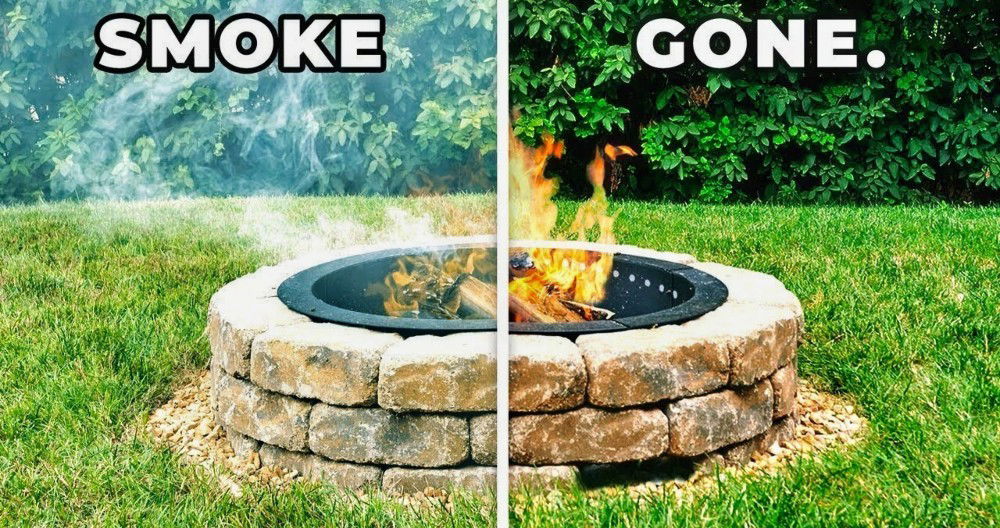
- Poor Ventilation: Good airflow is crucial for a fire pit. If smoke is not drawing properly, check for obstructions and confirm that your fire pit has enough ventilation holes. Adjust the design if needed to improve airflow.
- Water Accumulation: Water can collect in your fire pit, leading to damage. Make sure your design includes proper drainage or cover your fire pit when not in use to protect it from rain.
- Loose Bricks: Bricks may become loose over time, especially if the fire pit is frequently used. Check the structure regularly and use a strong adhesive designed for high temperatures to secure any loose bricks.
By addressing these common issues, you'll ensure your DIY brick fire pit remains a safe and inviting centerpiece in your outdoor space.
FAQs About DIY Brick Fire Pits
Discover everything you need to know about DIY brick fire pits with our comprehensive FAQs guide. Learn tips, tricks, and safety precautions today!
What type of bricks should I use for a fire pit?
For a fire pit, it's best to use fire-rated clay bricks or firebricks. These are designed to withstand high temperatures and will be more durable than regular bricks when exposed to heat.
How do I ensure proper airflow in my fire pit?
Good airflow is essential for a fire pit to function correctly. Make sure to include ventilation holes or gaps between the bricks in your design. This will allow oxygen to feed the fire and smoke to escape.
Can I use mortar for my brick fire pit?
Yes, you can use mortar, but it should be a high-temperature mortar mix made for fire pits. This type of mortar can handle the heat without cracking or crumbling.
How deep should the foundation for a fire pit be?
The foundation of your fire pit should be dug to a depth of about 6-8 inches. This provides a stable base and helps with drainage.
What is the best way to maintain my brick fire pit?
Regularly remove ash and debris from the pit. Check for any loose bricks or deteriorating mortar, and make repairs as needed. Covering your fire pit when it's not in use can protect it from the elements.
Are there any legal considerations I should be aware of before building a fire pit?
Yes, always check local regulations before building a fire pit. Some areas require permits, and there may be specific codes regarding the size and placement of your fire pit.
Conclusion
Building my brick fire pit was an incredibly rewarding experience. It provided not only a functional space for warmth and cooking but also a sense of accomplishment. With careful planning, attention to detail, and a bit of hard work, anyone can build a beautiful fire pit in their backyard. Whether you're an experienced DIY enthusiast or a novice, the key is to approach the project with enthusiasm and patience. Now, as I sit back and enjoy the warmth of my fire pit on a cool evening, I'm reminded of the journey it took to get here – a project well worth the effort.


