Making a budget binder from scratch can be a game-changer in managing your finances and staying organized. I've been budgeting for years, and putting together my own DIY budget binder was one of the best decisions I made. It's not just functional but also customizable, inexpensive, and super easy to make. Here's how I did it, the materials I used, and some tips and insights that I learned along the way.
What You'll Need
Before jumping into the process, let's go over the materials you'll need. These items are affordable and easy to find, and I'll share where I got them and how much they cost me. Feel free to substitute with what works best for you!
- Three-Ring Binder: A 1-inch binder works perfectly. I got mine from Walmart for $4.97, but you can find similar ones at the Dollar Tree or other stores for less.
- Divider Tabs: Essential for organizing different sections. I bought a set of 12 divider tabs for $4.32 at Walmart.
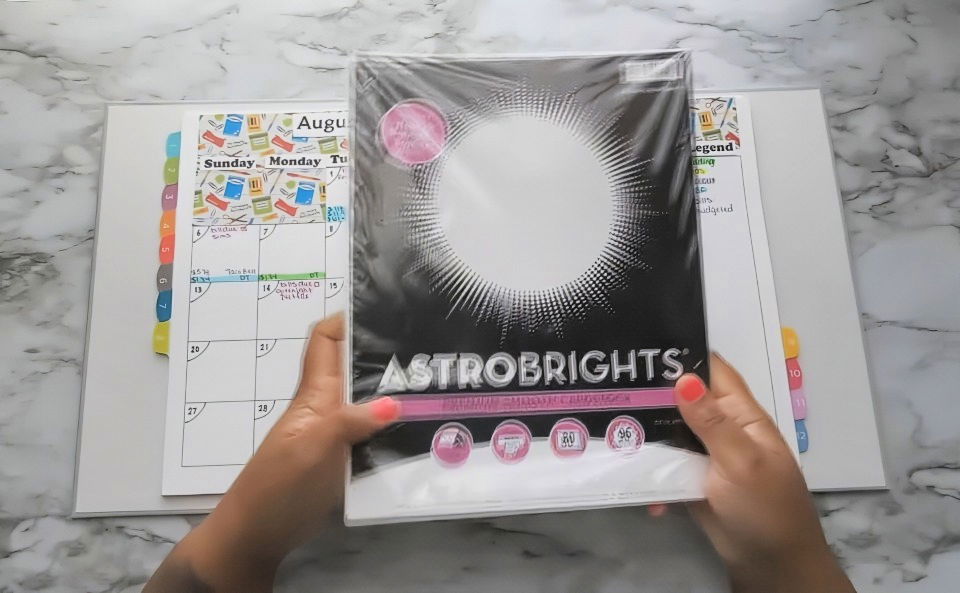
- Cardstock Paper: This makes the pages sturdier and more durable. I got a 96-sheet pack of cardstock from Walmart for $5.97.
- Decorative Paper: Adds a personal touch to your binder. I found some great options at Hobby Lobby for $0.69 per sheet, often on sale.
- Tape Runner or Double-Sided Tape: Used for sticking things down. I prefer a tape runner from Hobby Lobby, which costs $3.99, with refills at $2.49 each.
- Scissors, Hole Puncher, Pen, Pencil, and Ruler: These basic tools are necessary for cutting, measuring, and drawing lines.
Step by Step Instructions
Discover DIY budget binder setup, from choosing dividers and paper to designing, assembling, and customizing your binder.
Step 1: Setting Up the Binder
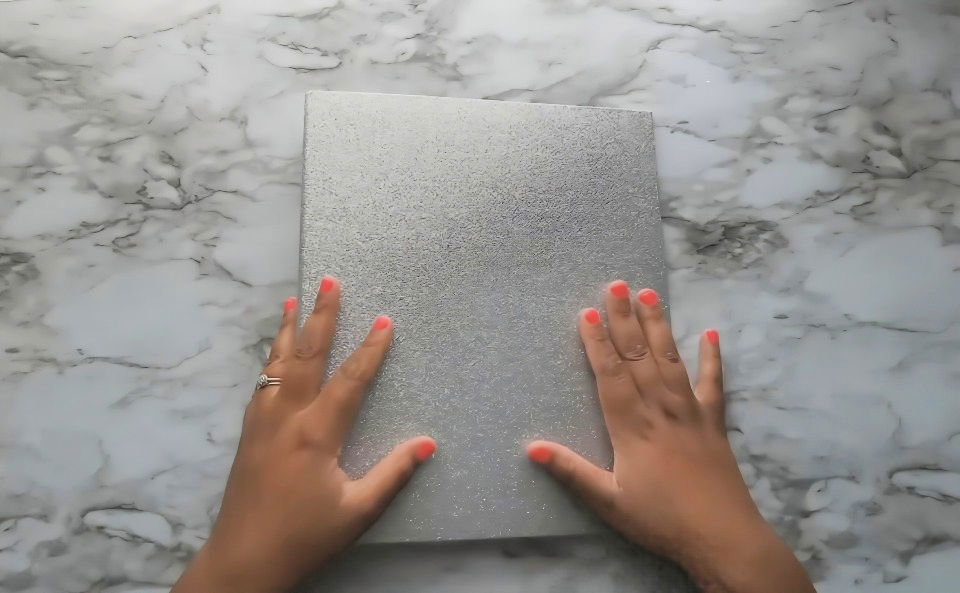
The binder is the backbone of this project. I went with a one-inch three-ring binder because it's compact yet has enough space to fit all my budgeting sheets and sections. A binder from Walmart worked well for me, but feel free to choose any design that suits your style.
- Tip: If you prefer something more compact, you could go for a half-inch binder or a disc-bound planner system.
Step 2: Making Divider Tabs
Divider tabs are crucial for keeping everything organized. I use 12 divider tabs, one for each month. I like to label them with specific categories such as "Monthly Overview," "Paycheck Budget," "Expense Trackers," "Weekly Check-Ins," and "Sinking Funds."
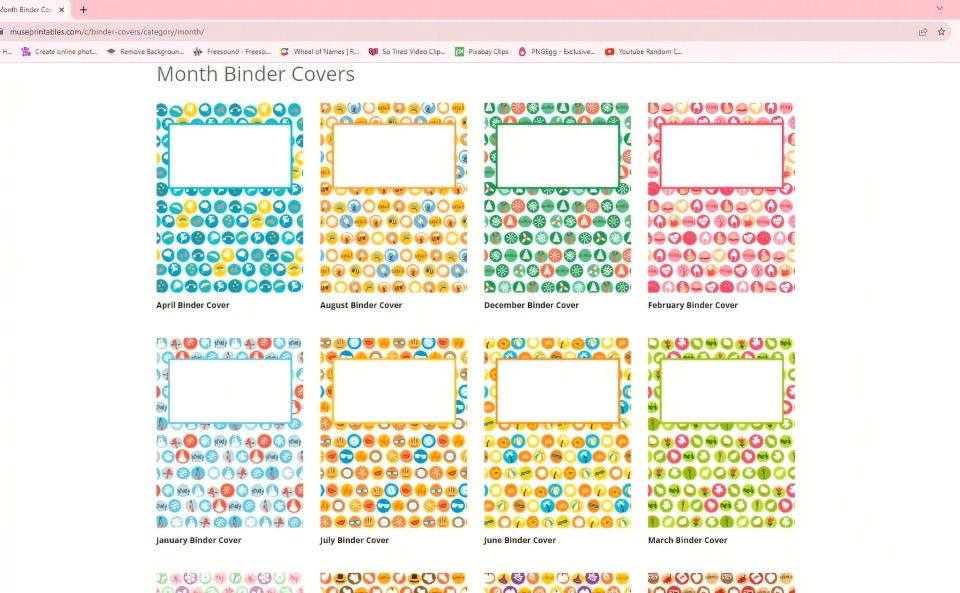
I designed my own binder covers using Bindercovers.net, which provides both free and paid options. I went for the paid option ($3.49) to remove watermarks, but there's a free version if you don't mind them.
- Insight: Choose divider tabs that are durable. If you're looking for a budget-friendly option, consider using clear adhesive labels to make your own.
Step 3: Choosing the Right Paper
I highly recommend using cardstock instead of regular printer paper. It's sturdier and less likely to tear when flipping through your binder. Everything in my binder is printed on cardstock to ensure it holds up well over time. You can find cardstock at most craft stores or online.
For the decorative paper, I chose designs from Hobby Lobby to match each month's theme. For example, for January, I went with a cool blue winter pattern, while for October, I chose a cozy autumn leaf print.
- Pro Tip: Always buy an extra sheet of decorative paper for each month. You'll need at least two sheets to complete the layout properly.
Step 4: Printing and Designing Your Pages
Once you have all your materials ready, it's time to start designing the actual pages for your budget binder. I maked my own sheets using simple software like WordPad and drew the lines with a ruler and Sharpie pen. I found this approach worked best for me because I could control the layout and spacing exactly as I wanted.
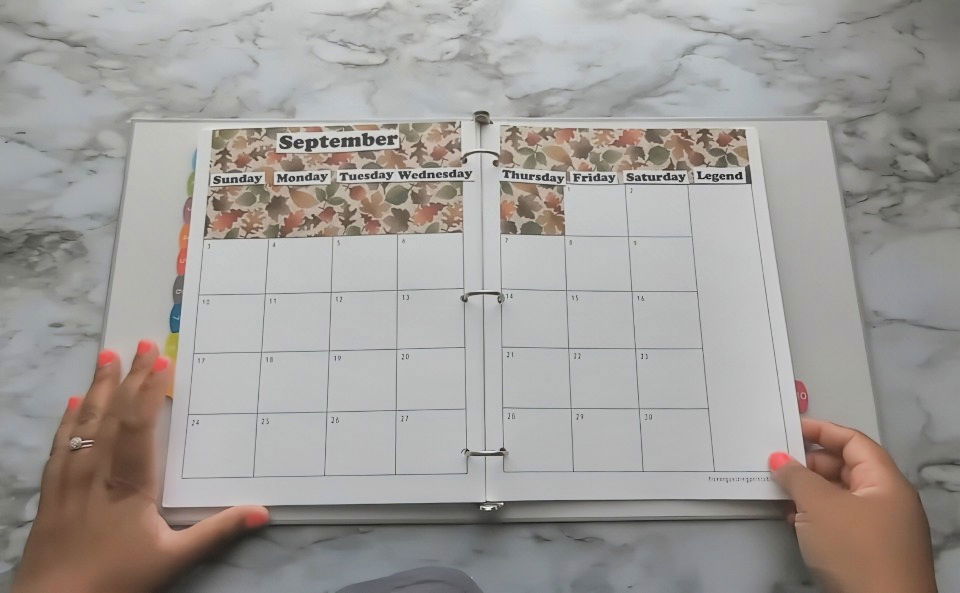
- Calendar Pages: I prefer a two-page calendar layout, so I downloaded a free printable from OrganizingPrintables.com. This gave me enough space to track expenses, bills, and reminders in a visually organized way.
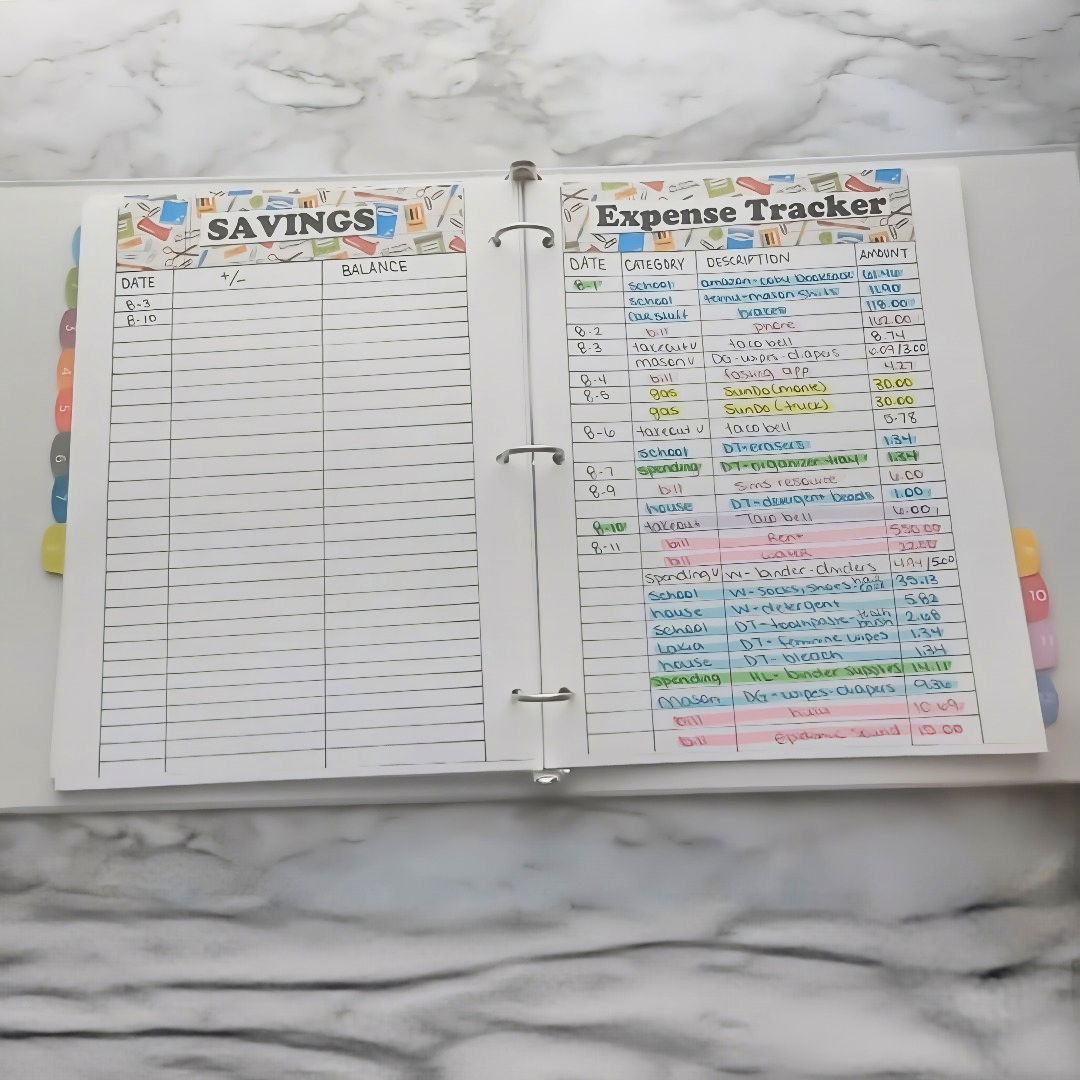
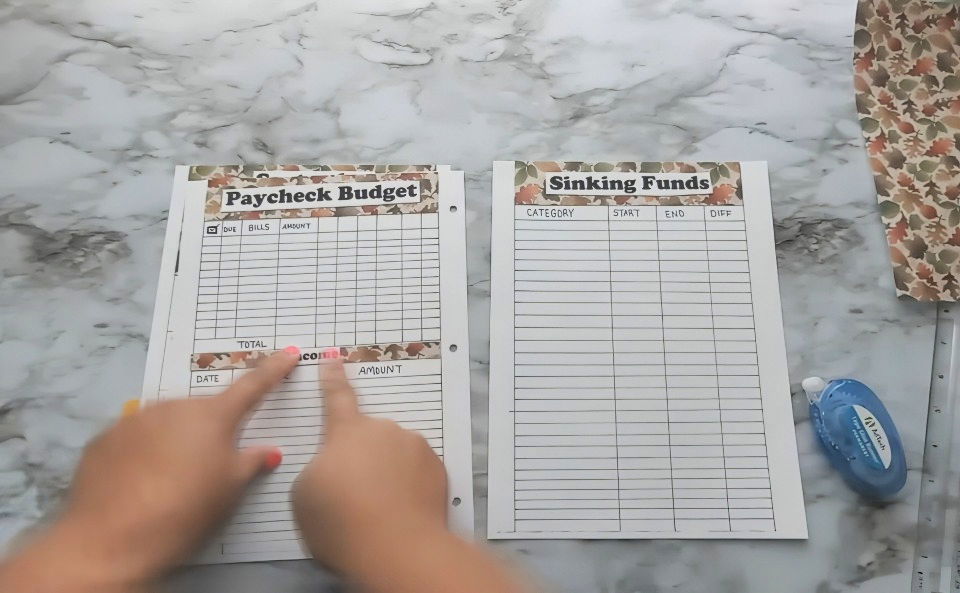
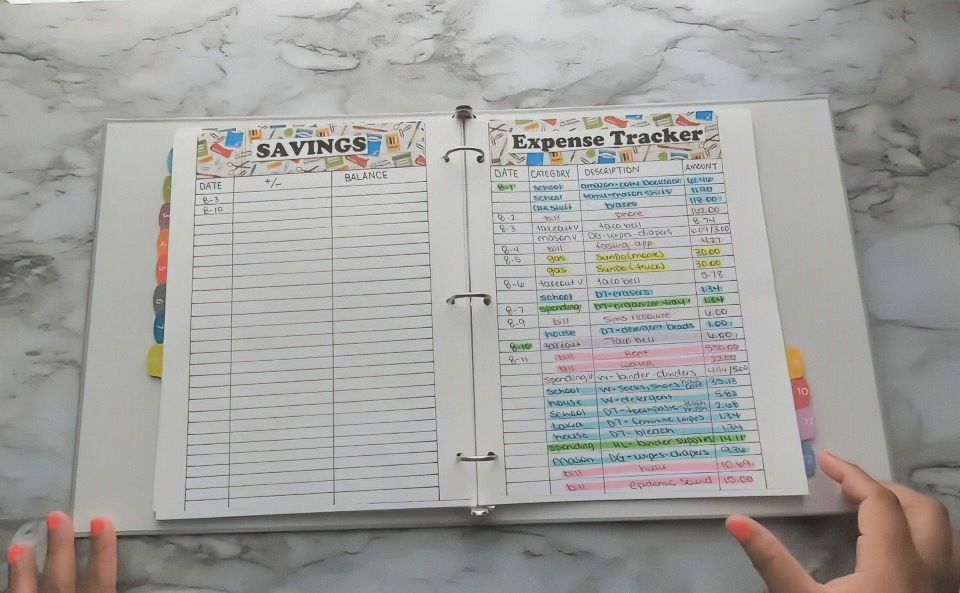
- Budget Sheets: These include a monthly overview, paycheck budget, sinking funds tracker, and expense tracker. I hand-drew all the lines, scanned them, and printed them on cardstock. This method saved me a lot of time in the long run.
- Weekly Check-In Pages: Since I get paid weekly, I maked a weekly check-in sheet to track my spending in categories like groceries, gas, and dining out.
- Advice: If drawing and scanning seem like too much work, you can use free software like Google Sheets or Canva to design your printables. Just make sure to print them on cardstock to ensure durability.
Step 5: Assembling the Binder
This is where everything comes together! Here's how I assemble my budget binder:
- Start with the Divider Tabs: Insert your printed and labeled divider tabs first. This helps set the structure for the rest of your binder.
- Add Calendar Pages: For each month, I insert a two-page calendar spread. This is where I jot down all my bill due dates, paydays, and financial goals.
- Insert Budget and Expense Sheets: Behind each month's divider tab, I place the corresponding budget and expense tracker sheets.
- Decorative Touches: To make my binder more visually appealing, I cut decorative paper to size and glued it onto each page using a tape runner. This helps me stay motivated and makes budgeting feel less like a chore.
- Tip: Always line up your decorative paper properly before gluing it down. Once it's on, it can be tricky to adjust.
Step 6: Customizing and Maintaining Your Binder
Your binder is now ready to use! Here are a few ways I customize mine to make it even more effective:
- Color-Coding: I use different colors for each spending category. For example, green for groceries, blue for utilities, and red for savings. This makes it easy to see where my money is going at a glance.
- Weekly Updates: Every week, I update my expense trackers and sinking funds. This helps me stay on top of my finances and adjust my budget as needed.
- Using Sticky Notes: I use sticky notes for temporary reminders or to highlight important upcoming expenses. They're easy to remove or move around as needed.
Step 7: Lessons Learned and Final Thoughts
One of the key lessons I've learned in making my budget binder is the importance of customization. What works for me may not work for everyone, and that's okay. The beauty of a DIY binder is that you can tailor it exactly to your needs.
- Keep It Simple: Start with the basics, and don't overwhelm yourself with too many sections or details. You can always add more as you get comfortable with the process.
- Stay Consistent: Make it a habit to update your binder regularly. It only takes a few minutes, but it can save you from financial headaches down the line.
Making a budget binder doesn't have to be complicated or expensive. With a bit of creativity and effort, you can build a powerful tool that helps you take control of your finances. Plus, it's a fun project that adds a personal touch to your budgeting journey!
https://www.youtube.com/watch?v=tX44NeMH7vs
Customizing Your Binder
Customizing your budget binder can make it more engaging and tailored to your personal style. Here are some easy and creative ways to personalize your binder:
Choose a Binder That Reflects Your Style
Start by selecting a binder that you love. It could be a simple, solid color or something with a fun pattern. The key is to pick something that makes you excited to use it.
Use Colorful Dividers and Tabs
Organize your binder with colorful dividers and tabs. This not only makes it visually appealing but also helps you quickly find different sections. You can label each tab with categories like “Monthly Budget,” “Expenses,” “Savings,” and “Debt.”
Add Personal Touches
Incorporate personal touches like stickers, washi tape, or even photos. These elements can make your binder feel more like a personal project rather than a chore. Plus, it adds a bit of fun to the process.
Make a Cover Page
Design a cover page for your binder. This could include your name, a motivational quote, or even a financial goal you're working towards. A personalized cover page sets the tone every time you open your binder.
Use High-Quality Printables
Invest in high-quality printables for your budget sheets. There are many free and paid options available online. Look for ones that are well-designed and easy to use. This will make your binder not only functional but also aesthetically pleasing.
Incorporate Inspirational Quotes
Add inspirational quotes throughout your binder. These can serve as little reminders to stay motivated and focused on your financial goals. You can print them out or write them in yourself.
Include a Vision Board Section
Dedicate a section of your binder to a vision board. This can be a place where you paste images, write down goals, and track your progress. A vision board can be a powerful tool to keep you inspired and on track.
Use Different Fonts and Colors
When filling out your binder, use different fonts and colors for different sections. This can help differentiate between various types of information and make the binder more visually appealing.
Add a Pocket Folder
Include a pocket folder in your binder for loose papers, receipts, or bills. This keeps everything in one place and ensures you don't lose important documents.
Regularly Update and Review
Finally, make it a habit to regularly update and review your binder. This keeps the information current and ensures that your binder remains a useful tool in managing your finances.
By customizing your budget binder, you make it a more enjoyable and effective tool for managing your finances.
FAQs About DIY Budget Binders
Explore the top FAQs about DIY budget binders. Learn how to make and use them to manage your finances effectively. Find answers to common questions now!
A budget binder is a tool to help you organize and manage your finances. It typically includes sections for tracking income, expenses, savings, and financial goals. Using a budget binder can help you stay on top of your finances, identify areas where you can save money, and achieve your financial goals more effectively.
A comprehensive budget binder should include the following sections:
Cover Page: Your name and the year.
Financial Goals: Short-term and long-term financial goals.
Income Tracker: A log of all your income sources.
Expense Tracker: A detailed record of your monthly expenses.
Debt Tracker: Information on any debts you have and your repayment plan.
Savings Tracker: Your savings goals and progress.
Monthly Budget: A monthly budget plan to track your spending and savings.
Bill Payment Log: A log to track your bill payments and due dates.
To use your budget binder effectively:
Set Clear Goals: Define your financial goals and write them down.
Track Regularly: Update your income, expenses, and savings regularly.
Review Monthly: At the end of each month, review your budget to see where you can improve.
Adjust as Needed: Make adjustments to your budget based on your financial situation and goals.
You can find printable budget sheets on various websites that offer free resources. Some popular options include:
Money for the Mamas
Living Richly on a Budget
Clever Girl Finance
Customizing your budget binder can make it more effective and enjoyable to use. Here are some tips to tailor it to your needs:
Choose a Binder Size: Select a binder size that fits your lifestyle. A smaller binder is more portable, while a larger one can hold more information.
Personalize the Cover: Add your name, a motivational quote, or a design that inspires you.
Add Extra Sections: Consider adding sections like: Meal Planning: To help you budget for groceries.
Holiday Budget: To save for special occasions.
Emergency Fund: To track your emergency savings.
Use Color Coding: Assign different colors to various sections or types of expenses to make it easier to navigate.
Incorporate Digital Elements: Use apps or spreadsheets in conjunction with your binder for more detailed tracking and analysis.
Conclusion:
Wrapping up, making a DIY budget binder is a simple and effective way to take control of your finances. With easy-to-find materials and a few thoughtful touches, you can stay organized and on track with your budgeting goals. This budget binder can help you manage your money efficiently and save more in the long run. Get started today and watch how this small change can make a big impact on your financial health!


