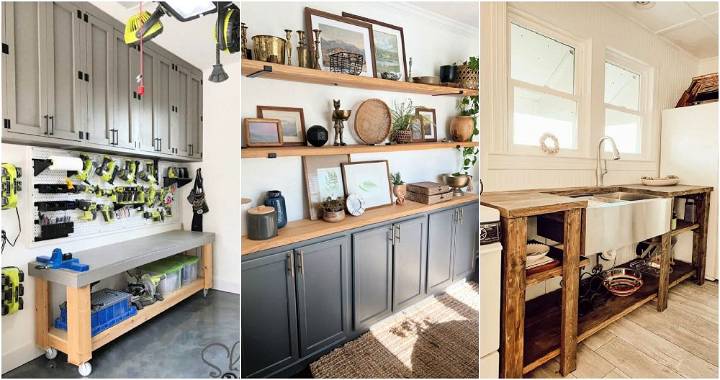
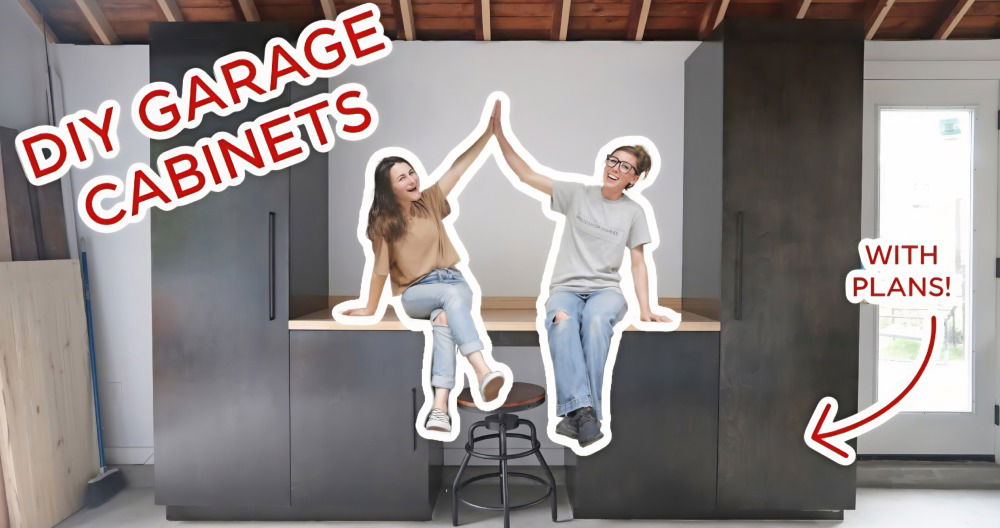
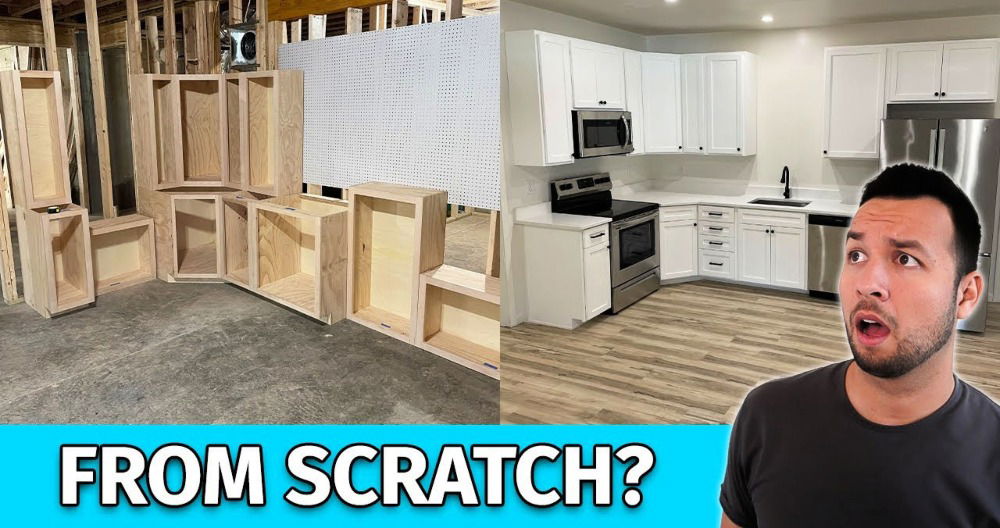
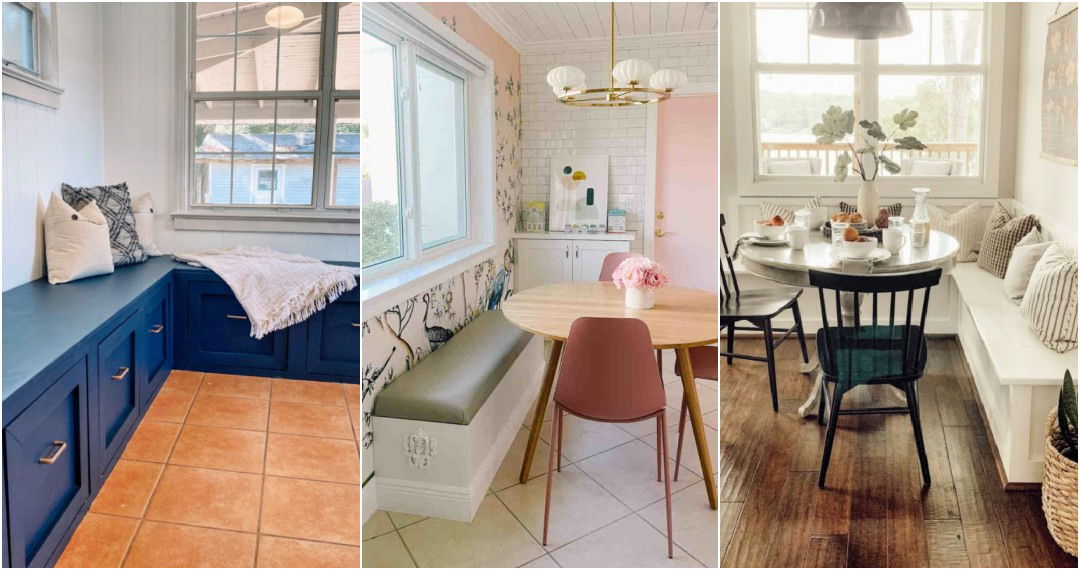
Starting a DIY project can be so rewarding. I remember the first time I tried building DIY built-in cabinets for my living room. I was nervous but excited. With some basic tools and materials, I began by planning the design and taking measurements. Following a clear guide, step-by-step, helped me stay on track and avoid mistakes. It was all about patience and precision.
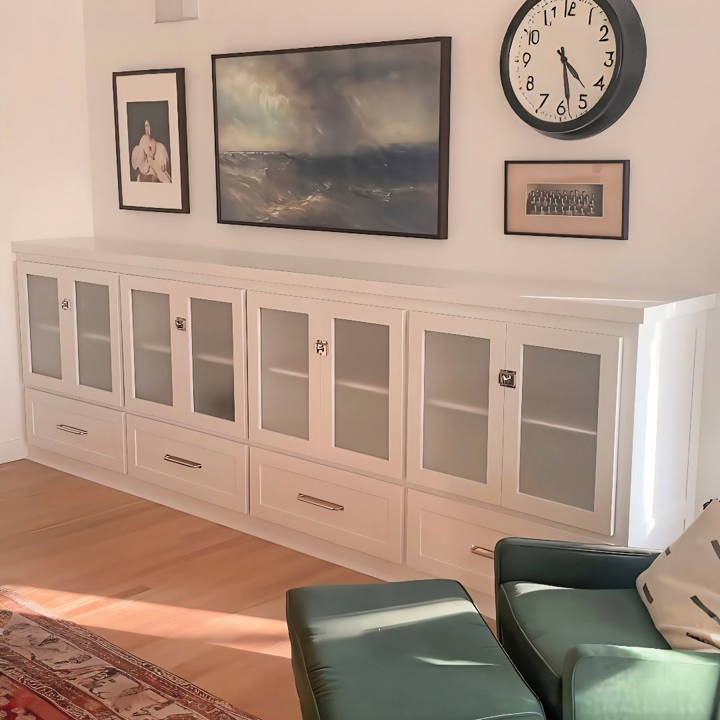
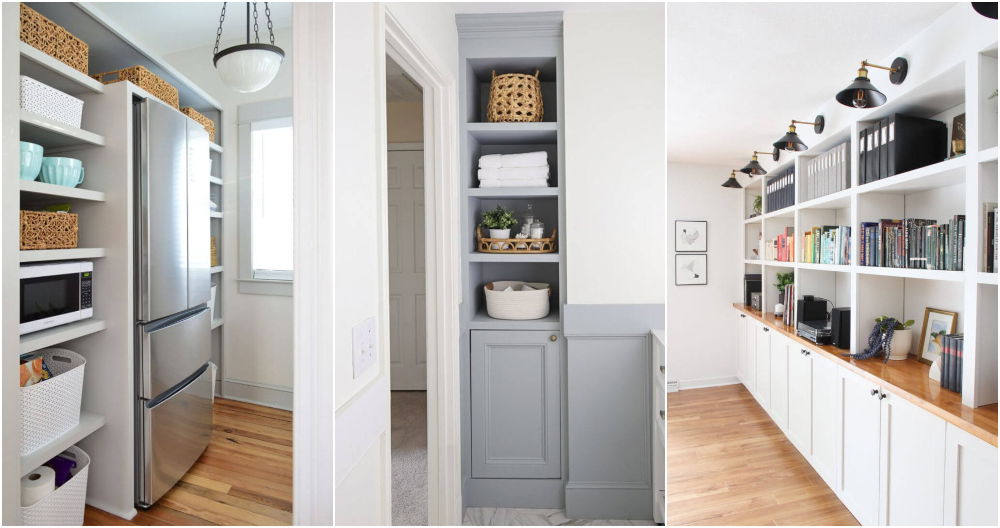
Making my DIY built-in bookshelves was a fun project. The shelves added a lot of character to our space. I used some leftover wood to customize the shelves to my liking. The whole experience boosted my confidence and added a personal touch to our home. You can achieve this, too, with some simple steps and dedication. Trust me; these tips will help you get started.
Materials You Will Need
- A1 Birch Plywood: Birch plywood is strong and lightweight, making it excellent for cabinet construction.
- Poplar Wood: Used for the face frame because it’s easy to work with and paints beautifully.
- Table Saw and Chop Saw: Essential for cutting precise and consistent pieces.
- Dado Stack: Used for creating grooves for the panels.
- Pocket Hole Jig and Screws: Perfect for strong, hidden joints.
- Wood Glue: Provides a durable bond for assembly.
- Clamps: Necessary for holding pieces together as the glue dries.
- Measuring Tape and Squares: Ensures accurate measurements and squareness.
- Mallet: For tapping pieces into place and making sure fits are snug.
Step by Step Instructions
Learn how to build DIY built-in cabinets with our simple, step-by-step instructions. Perfect for any home improvement project!
Step 1: Planning and Cutting
Sketching the Design
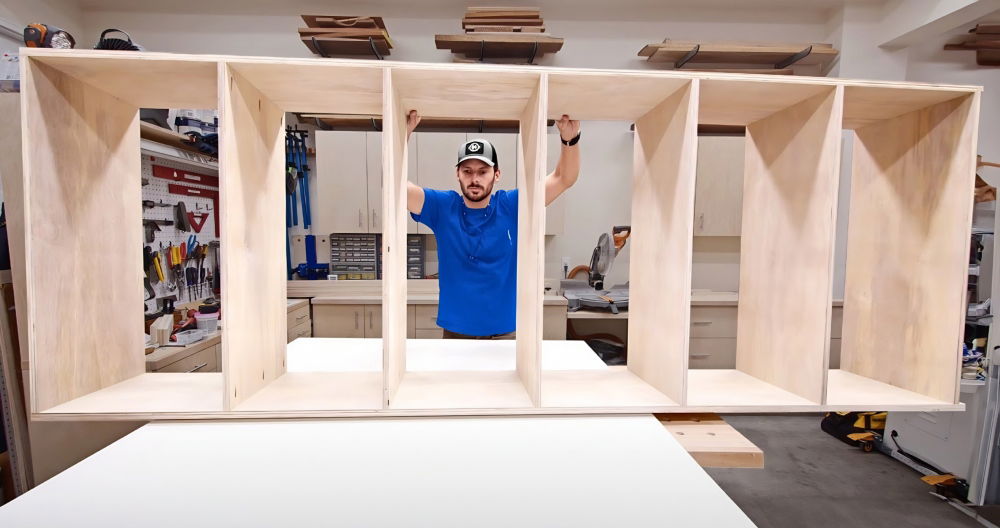
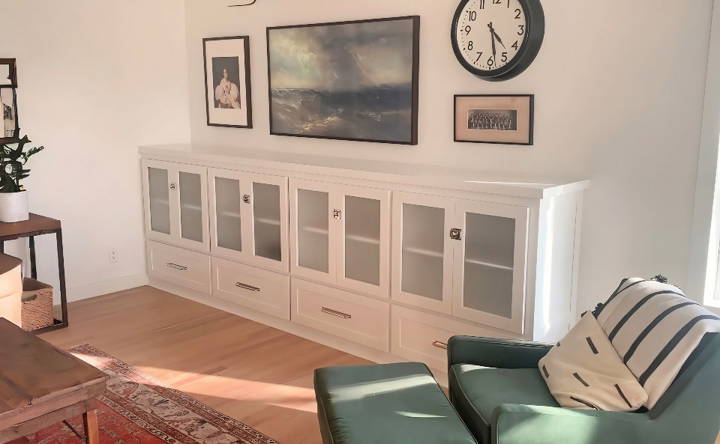
I designed the entire built-in on SketchUp. This allows you to see your project in 3D and get precise measurements. My design includes four separate boxes with cabinet doors on top and drawers on the bottom. The back features inset panels and decorative casing on the visible ends.
Cutting the Pieces
Now, it’s time to cut the plywood. First, set your table saw to the desired width, in my case, 15 and a half inches, and start slicing. Then, move the cut pieces over to the chop saw to get them to the right length.
Tip: Consistent width makes the assembly much smoother.
Step 2: Prepping Panels and Grooves
After cutting your primary pieces, it’s time to add grooves.
Quarter Inch Groove
- Use a quarter inch setup block to measure and set the blade height to a quarter inch.
- Run each piece through the table saw to create an eighth-inch groove.
- Slide the blade over slightly and run again to make a quarter inch groove.
Mistake note: Initially, I accidentally used a half inch setup block instead of a three-quarter inch one. This caused a hiccup down the line, so make sure to double-check your setup blocks.
Step 3: Assembling the Boxes
Adding Braces
Cut down three and a half inch pieces for internal braces. These provide structural strength.
- Drill pocket holes into the braces.
- Apply wood glue to the dado grooves and insert the braces.
- Secure with screws.
Final Assembly and Clamping
Apply glue into the assembled grooves and insert the back panel. Once snug, use woodpecker clamps to ensure everything is square. Secure with screws.
Tip: Do this assembly on a flat surface to avoid warping and ensure stability.
Step 4: Building the Face Frame
Cut and Attach the Pieces
For the face frame, you want to use poplar wood. The first step is to create the outer frame by cutting the top and bottom pieces to length and attaching them with pocket screws.
- Vertical Dividers: Measure from the end for consistency and accuracy.
- Cut spacer blocks to ensure even spacing.
- Clamp and screw in place making sure everything stays square.
- Drawer Dividers: Repeat the same process for horizontal dividers using new spacer blocks.
Tip: Always double-check measurements and use clamps to hold everything firmly before screwing.
Adding the End Cap and Trim
To cover exposed screws and give a finished look:
- Plane poplar stock down to a quarter inch.
- Glue and tack it to the end of the cabinet using a pin nailer.
- Make sure your end caps are flush with the face frame.
Step 5: Installing Shelf Pins and Shelves
Using a shelf pin drilling template, drill holes where you want your shelves. This ensures shelves are evenly spaced and level.
- Cut and edge band birch plywood for the shelves.
- Insert shelves and ensure they fit snugly.
Step 6: Prepping for Installation
Before installing, ensure you have everything pre-drilled and ready to mount.
Attaching Drawer Slides
Blum under-mount drawer slides are my go-to for ease of installation:
- Measure and attach rear brackets inside the cabinet.
- Insert drawer slides and secure in place.
Building Drawer Boxes
Use pre-cut birch plywood and assemble with glue and screws. For strength, insert a quarter inch plywood bottom into pre-cut grooves.
Final Step: Painting and Installation (Coming Next)
With our built-in cabinet now assembled, it’s time to prepare it for painting and installation. This part of the process will be covered in the next video. Stay tuned for detailed steps on painting and integrating this giant cabinet into your home.
Putting It All Together
Now, it’s easier to transport and install in four separate sections. Once in place, the face frame will be attached, and finishing touches will be added to make everything look seamless and professional.
Customization Ideas for DIY Built-In Cabinets
When it comes to adding a personal touch to your DIY built-in cabinets, the possibilities are endless. Customization not only adds character to your space but also ensures that your cabinets meet your specific needs. Here are some ideas to inspire your creativity:
- Choose Your Style: Start by deciding on the overall look you want to achieve. Do you prefer a modern, sleek design with minimal hardware and smooth surfaces? Or are you drawn to a classic, traditional style with ornate moldings and rich wood tones? Select a style that complements your home's existing decor.
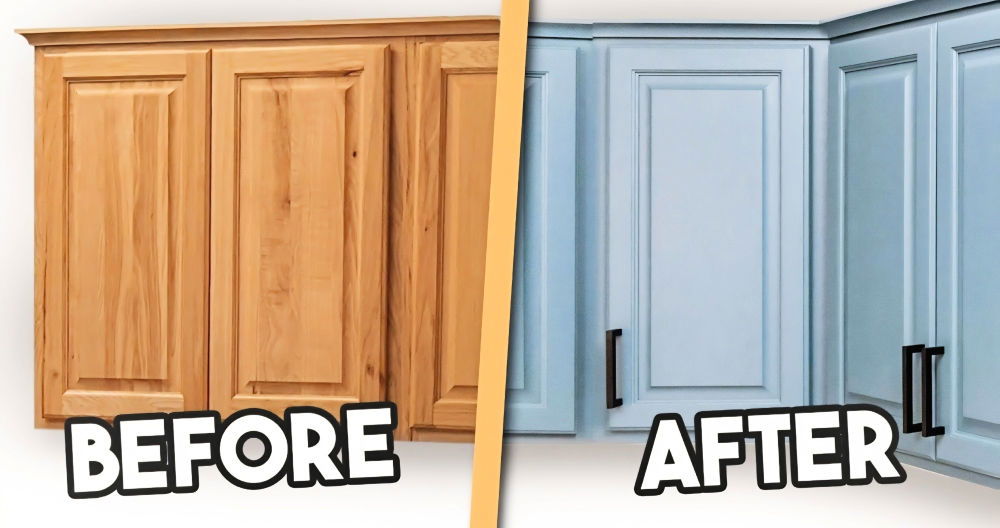
- Paint and Finish: The color and finish of your cabinets can dramatically change the ambiance of a room. Opt for light, neutral colors to make a small space feel larger, or go bold with dark or vibrant shades for a statement piece. Consider using chalk paint for a matte finish or high-gloss paint for a shiny, reflective surface.
- Hardware Selection: The hardware on your cabinets is like jewelry for your furniture. Choose knobs and pulls that reflect your style and enhance the cabinets' functionality. Mix and match different metals, or use glass or ceramic for a unique touch.
- Lighting: Incorporate lighting into your built-ins to highlight your favorite items or to add ambiance. LED strip lights or puck lights can be installed under shelves or inside cabinets to make a warm glow.
- Adjustable Shelving: Make your cabinets work for you by installing adjustable shelving. This allows you to rearrange the shelf heights to accommodate items of various sizes, from books to decorative vases.
- Innovative Storage Solutions: Think beyond traditional shelves and drawers. Install pull-out baskets for easy access to items, use drawer dividers for organization, or add a hidden compartment for valuables.
- Decorative Elements: Add decorative elements such as crown molding at the top of your cabinets or base molding at the bottom for a finished look. Incorporate beadboard or shiplap backing for added texture and visual interest.
- Functionality Features: Consider what you'll be storing and include features that enhance functionality. For example, if you're storing electronics, ensure proper ventilation and cable management. If it's for a home office, include a built-in desk or workspace.
Plan thoroughly for customization. Consider your needs and personalize your cabinets. These tips will help you make a functional, stylish space that reflects you.
Troubleshooting Common Issues with DIY Built-In Cabinets
Building your own cabinets can be a rewarding project, but it's not without its challenges. Here are some common issues you might encounter and how to solve them:
- Doors Won't Close Properly: If your cabinet doors aren't closing correctly, check the hinges. They may need tightening or adjusting. Make sure the doors are hung evenly and that the frames are square.
- Shelves Are Sagging: Over time, heavy items can cause shelves to sag. To prevent this, use thicker wood or add support brackets underneath. For existing sagging shelves, you can either add a support strip along the front edge or replace them with a stronger material.
- Drawers Stick: Drawers that stick are usually due to poor alignment or slides that need lubrication. Check that the drawer slides are installed evenly at a level. A bit of silicone spray or soap on the slides can make them glide smoothly.
- Gaps in Joinery: Gaps can appear if the wood wasn't cut precisely or has warped over time. You can fill small gaps with wood filler and sand it down for a smooth finish. For larger gaps, you may need to re-cut the pieces or add a trim piece to cover the gap.
- Finish Looks Uneven: If the finish on your cabinets looks blotchy or uneven, it could be due to uneven sanding or stain absorption. Sand the surface evenly before applying stain or paint, and consider using a pre-stain conditioner on porous wood.
- Cabinet Is Not Level: An unleveled cabinet can cause doors and drawers to function improperly. Use a level to check your cabinets and adjust the legs or base until everything is even.
- Scratches and Dents: Life happens, and sometimes your cabinets will get scratched or dented. For minor scratches, a matching wood marker can disguise the damage. For deeper dents, wood filler followed by sanding and refinishing will do the trick.
- Hardware Loosens Over Time: Cabinet knobs and pulls can become loose with use. Regularly check and tighten the hardware. If the screw holes have become enlarged, use a larger screw or plug the hole with a wooden dowel and re-drill.
Being prepared for common issues ensures your DIY cabinets stay beautiful and functional long-term. Patience and attention to detail are key.
Maintenance and Care for DIY Built-In Cabinets
Keeping your DIY built-in cabinets in top shape is crucial for their longevity and appearance. Here's a straightforward guide to maintaining and caring for your cabinets:
- Regular Cleaning: Dust and clean your cabinets regularly. Use a soft cloth or microfiber towel to avoid scratching the surface. For wooden cabinets, use a cleaner specifically designed for wood. For painted cabinets, a mild detergent and water solution will suffice.
- Avoid Moisture Damage: Kitchens and bathrooms are prone to moisture, which can damage cabinets. Ensure good ventilation in these rooms to prevent moisture buildup. Wipe up any spills immediately to prevent water damage.
- Protect from Sunlight: Direct sunlight can fade and damage cabinet finishes over time. Use curtains or blinds to protect your cabinets from prolonged sun exposure.
- Handle with Care: Be gentle when opening and closing doors and drawers. Slamming or forceful handling can cause misalignment and damage over time.
- Check Hardware: Periodically check the hardware on your cabinets, including hinges, knobs, and drawer slides. Tighten any loose screws and replace any worn parts.
- Touch-Up Paint or Stain: If your cabinets get chipped or scratched, touch them up with matching paint or stain. It's a good idea to keep some extra finish on hand for quick repairs.
- Oil Moving Parts: If you have any moving parts, such as drawer slides or hinges, keep them lubricated with a suitable oil or silicone spray to ensure smooth operation.
- Refresh Sealant: If your cabinets are sealed, the sealant may wear off over time. Reapply sealant as needed to protect the wood from moisture and stains.
Maintain your DIY cabinets with these simple tips, and they'll look great and work well for years.
FAQs About DIY Built-In Cabinets
Discover essential FAQs about DIY built-in cabinets, from materials and tools needed to tips for design and installation. Perfect for your next home project!
Start by measuring the space where you want to install the cabinets. Consider the height, width, and depth, as well as any obstacles like electrical outlets or vents. Plan your cabinet layout on paper or using a design software, ensuring that the cabinets will fit the space and meet your storage needs.
Yes, building built-in cabinets can be a beginner-friendly project. There are many resources available that provide step-by-step instructions and tips. Start with a simple design and as you gain confidence, you can tackle more complex projects. It’s important to follow safety guidelines and take your time to ensure quality work.
To ensure sturdiness, use quality materials and joinery techniques like pocket holes, dowels, or mortise and tenon joints. Secure the cabinets to wall studs for stability. Properly installed back panels and fixed shelves can also add rigidity to the structure.
Common mistakes include not measuring accurately, not using a level during installation, and not planning for the swing of doors or drawers. Also, avoid skimping on materials—using thinner plywood or fewer supports can compromise the durability of your cabinets.
To install and secure your built-in cabinets, you'll need to locate the wall studs using a stud finder. Once found, mark their locations. Position your cabinets where you want them installed and ensure they are level. Pre-drill holes through the cabinet's back panel into the studs, then use long screws to attach the cabinets securely to the wall. It's crucial to make sure the cabinets are well-anchored to prevent tipping or shifting.
Conclusion:
Wrapping up, learning how to build DIY built ins cabinets offers a rewarding way to enhance your living space. By following the steps, you can make custom built-in bookshelves that fit your style and needs. Enjoy transforming your home with these DIY built in cabinets and embrace the satisfaction of completing your own project.


