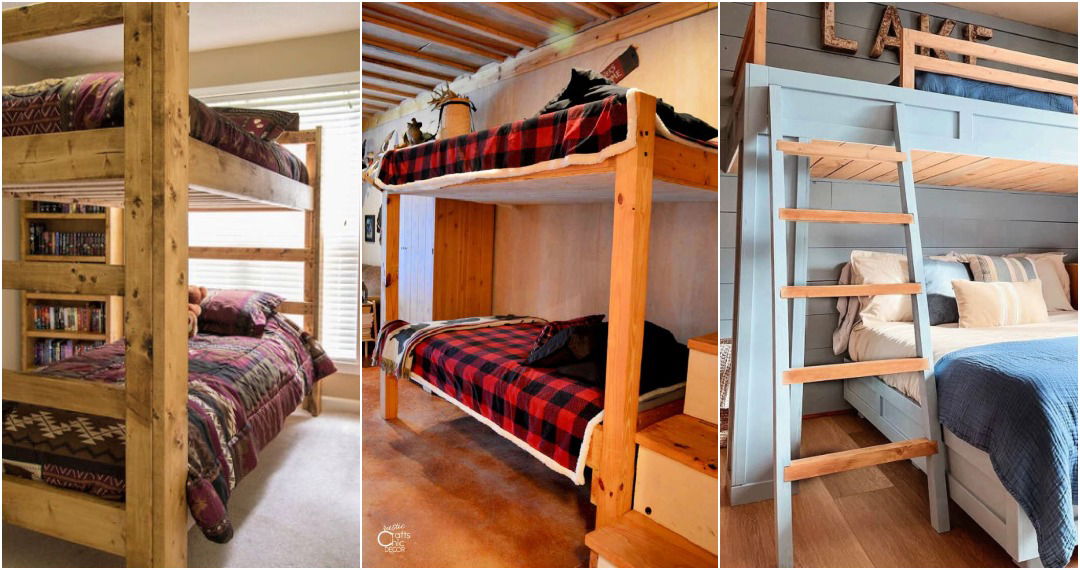
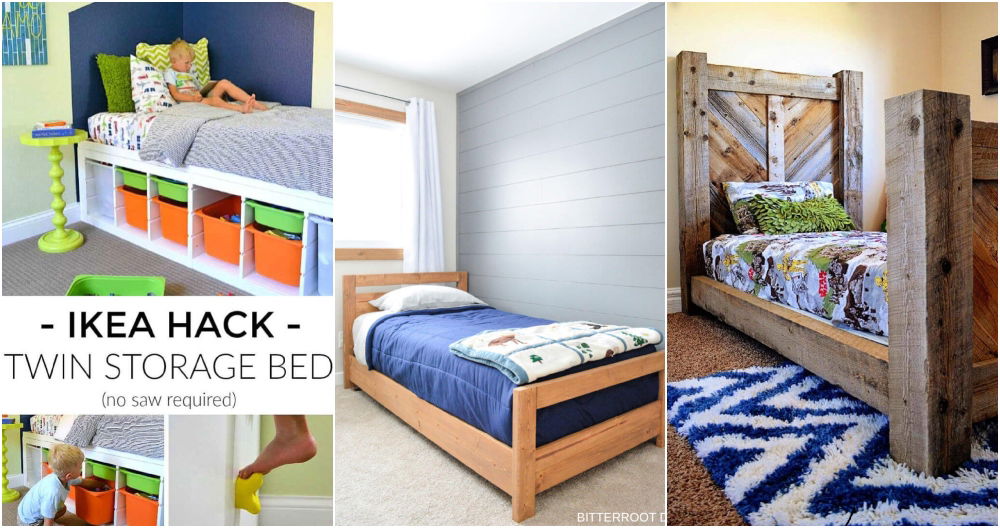
The idea of building a bunk bed for my children had been simmering in the back of my mind for quite some time. Stumbling upon a YouTube video that offered free plans and a step-by-step guide was the push I needed. The entire process, although challenging, was an enriching experience that I'm eager to share, aiming to offer valuable insights and practical advice. So, if you're considering building a DIY bunk bed yourself, here's my personal guide based on my journey, integrating the crucial steps and materials needed, all inspired by David's YouTube video.
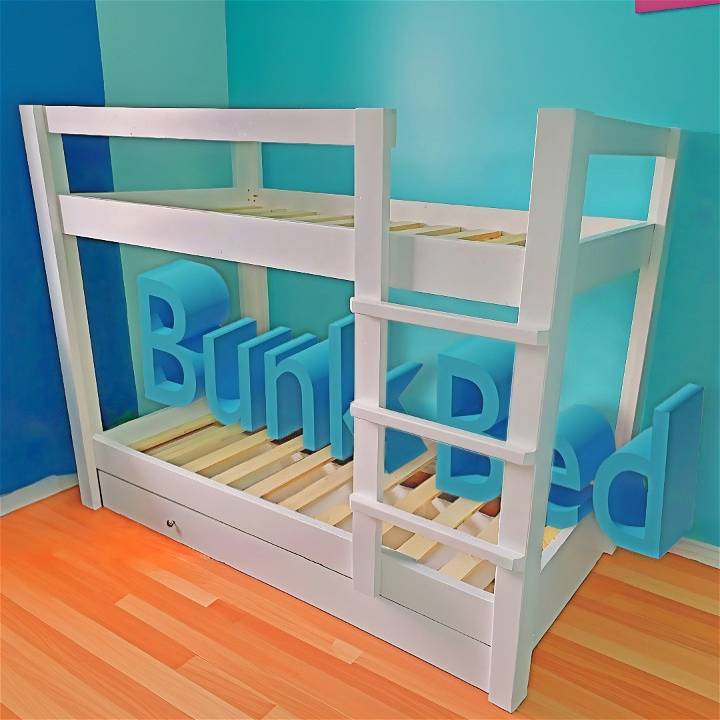
Materials Needed and Why
Before we dive into the actual building process, understanding and gathering the materials is crucial.
- Two-by-fours for the legs: They serve as the foundation, ensuring the bed's stability and strength.
- Two-by-six wood for the bed frame: This thicker piece of wood supports the mattress and withstands daily use.
- Plywood: Acts as a base for the mattress, providing a flat and stable surface.
- Screws, glue, and nails: These are the connectors, securing all pieces together, ensuring the structure can handle the rigors of children climbing and playing.
- Hand Plane: A valuable tool when you don't have an expensive jointer, to smooth out the edges of the wood.
- Drill with pocket hole jig: Essential for building strong, invisible joints.
Step-by-Step Building Guide
Discover how to build your own DIY bunk bed with our step-by-step DIY guide. Save money and customize your design with ease.
Preparing the Materials
I began with cutting the two-by-fours for the legs, intentionally leaving them longer for precise trimming later. Using a hand plane, I smoothed the rough edges, ensuring a clean finish.
Building the Frame
Gluing the two-by-fours at right angles formed the legs of the bunk bed, which was a straightforward yet crucial part. For the bed frame, I cut two-by-six wood to size, making sure each piece was identical to ensure a square frame – this would hold the mattress.
Assembling the Ledger and Supports
With leftover two-by-fours, I ripped them into squares to attach to the two-by-six bed frame, building ledgers for additional support. Drilling pocket holes for attaching the bed frame to the legs was next, providing a cleaner look and stronger bond than simply screwing the pieces together.
Attaching the Mattress Supports
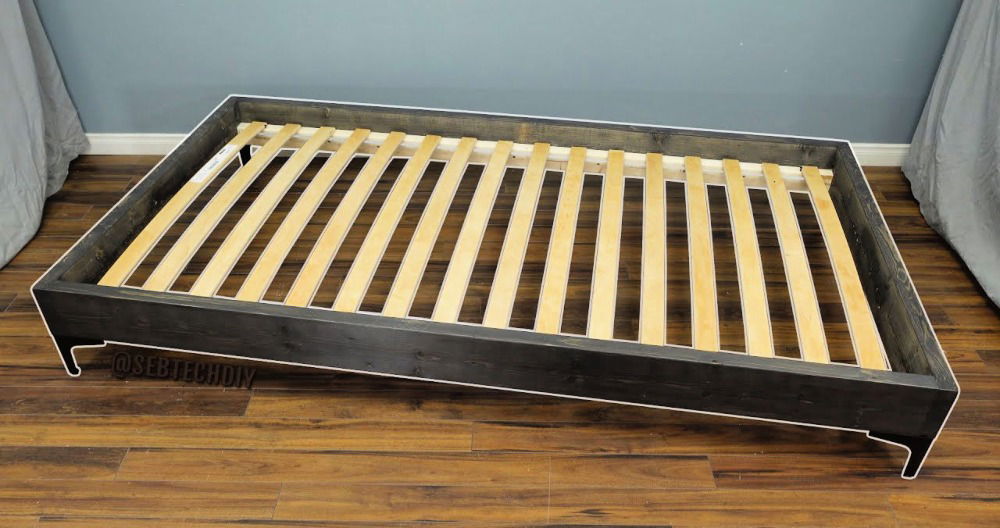
The one-by-fours served as the slats for the mattress. Using glue and a brad nailer made this process efficient, although I faced a minor hiccup here with a miscalculation. Yet, improvising is part of the journey, teaching me the importance of double-checking measurements.
Building the Ladder and Railing
The ladder and railing were crucial for safety and functionality. The ladder was integrated into the frame, providing a solid climbing structure. The railing, crafted from the same two-by-six wood as the frame, ensured safety on the top bunk, enclosing it securely.
Sanding and Finishing
Sanding all pieces before assembly gave the bunk bed a smooth finish, preventing splinters and ensuring a professional look. I chose a non-toxic paint for finishing, keeping in mind the health and safety of my children.
Final Assembly and Installation
Bringing all the pieces into the room for final assembly was exciting. Aligning the legs, attaching the frame, ladder, and railing, then laying down the mattress supports and plywood base brought the project to completion. Cross-measuring for squareness ensured a stable and square bed.
Reflections on the Building Process
This journey taught me not only about building a bed but also patience, precision, and problem-solving. The moments of frustration when things didn't go as planned were overshadowed by the joy and pride of building something from scratch for my children.
Advice for Fellow Builders
- Take Your Time: Rushing the process increases the likelihood of mistakes. Enjoy the journey.
- Double-Check Measurements: Ensuring accuracy at every step saves time and resources.
- Customize to Fit Your Needs: Feel free to modify the design to suit your space or preferences.
Customization Ideas for Your Bunk Bed: Personalize Your Sleep Space
When it comes to bunk beds, creativity knows no bounds. Transform your bunk bed project into a personalized masterpiece that reflects your style and meets your practical needs. Here are some delightful customization ideas to elevate your bunk bed design:
1. Colorful Accents and Themes
- Why stop at plain wood? Consider painting your bunk bed in vibrant colors or soothing pastels. Bright hues can add cheerfulness to a child's room, while calming shades build a serene atmosphere.
- Theme-based bunk beds are a hit with kids. Think pirate ships, princess castles, outer space adventures, or even jungle safaris. Use stencils or decals to bring your chosen theme to life.
- Coordinate with bedding: Match the bunk bed's color scheme with complementary bed linens, pillows, and curtains.
2. Built-in Storage Solutions
- Maximize space efficiency: Incorporate storage drawers or cubbies directly into the bunk bed frame. These compartments can hold clothes, toys, books, or extra bedding.
- Under-bed storage: Install pull-out drawers or rolling bins beneath the lower bunk. Perfect for stashing away seasonal items or organizing shoes.
- Shelves and book nooks: Attach small shelves to the sides of the bunk bed for displaying favorite books, toys, or decorative items.
3. Personalized Headboards and Footboards
- Wooden cutouts: Build custom headboards and footboards by cutting shapes out of plywood. Hearts, stars, animals, or initials—let your imagination run wild.
- Upholstered panels: Cover headboards and footboards with fabric or faux leather. Add padding for comfort and a touch of luxury.
- Photo collage: Attach photo frames to the headboard, showcasing family memories or travel adventures.
4. Fun Accessories and Lighting
- String lights: Drape fairy lights along the bed frame or around the ladder. They build a magical ambiance at night.
- Canopy or curtains: Hang lightweight curtains or a canopy from the top bunk. It adds privacy and a cozy feel.
- Personalized nameplates: Craft nameplates for each bunk with the occupants' names. Use wooden letters, vinyl decals, or hand-painted signs.
5. Nautical, Rustic, or Modern Touches
- Nautical bunk beds: Rope accents, weathered wood, and navy blue hues evoke a seaside vibe.
- Rustic charm: Distressed finishes, reclaimed wood, and wrought iron details lend a rustic farmhouse feel.
- Sleek modern design: Opt for clean lines, minimalistic shapes, and neutral colors.
Remember, safety always comes first. Ensure that any added elements (such as curtains or lights) don't compromise safety standards. With these customization ideas, your DIY bunk bed will be both functional and uniquely yours!
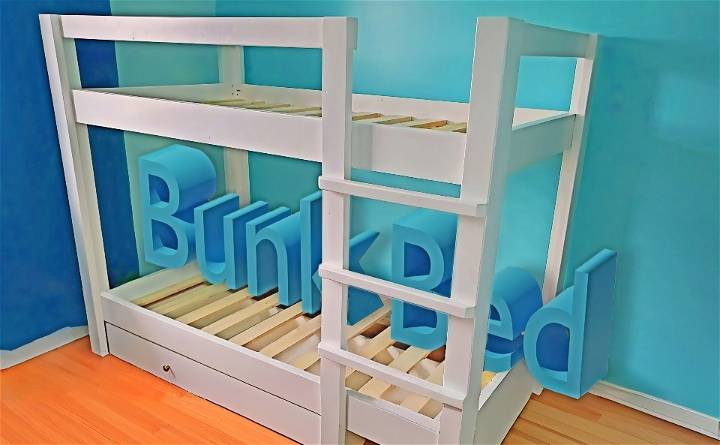
Space Optimization Strategies for Your Bunk Bed
Building a functional and efficient bunk bed setup involves more than just stacking beds. Let's explore smart space-saving strategies to make the most of your sleep space:
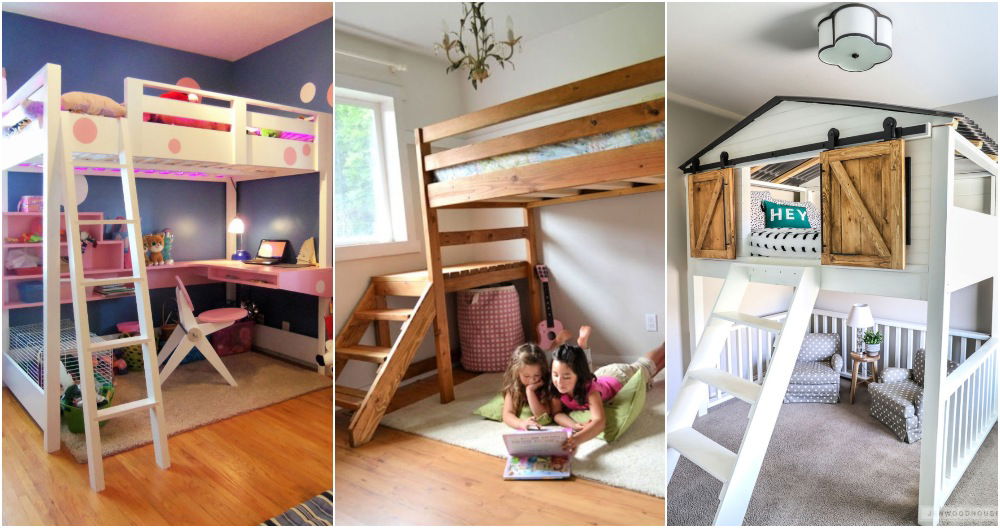
1. Lofted Bunk Beds
- What are lofted bunk beds? These beds elevate the top bunk to build usable space underneath.
- Why choose lofted bunks?
- Study nooks: Place a desk, chair, and bookshelves beneath the lofted bed. Perfect for students or remote workers.
- Play area: Kids can have a mini play zone with toys, bean bags, or a small tent.
- Storage: Install drawers, bins, or hanging organizers under the loft for clothes, shoes, or toys.
2. Built-In Storage Solutions
- Integrated drawers: Design bunk beds with built-in drawers beneath the lower bunk. Ideal for storing bedding, pajamas, or extra blankets.
- Bookshelves or cubbies: Attach shelves to the sides of the bunk bed frame. Display books, decorative items, or personal treasures.
- Vertical storage: Hang fabric organizers on the bedposts to hold shoes, accessories, or small toys.
3. Multifunctional Furniture
- Bunk beds with desks: Combine sleeping and study areas. The lower bunk becomes a workstation during the day.
- Convertible futons: Opt for a bottom bunk that transforms into a sofa for daytime lounging.
- Trundle beds: Slide an additional bed underneath the lower bunk. Perfect for sleepovers or accommodating guests.
4. Wall-Mounted Accessories
- Foldable desks or tables: Install wall-mounted desks that can be folded up when not in use.
- Hooks and pegs: Hang bags, hats, or towels on hooks attached to the bunk bed frame.
- Clip-on reading lights: Provide individual lighting for bedtime reading without cluttering bedside tables.
5. Arranging Furniture Around Bunk Beds
- Bed placement: Position the bunk bed against a wall to free up floor space.
- Clear pathways: Ensure easy movement around the bunk bed. Avoid blocking doors or windows.
- Consider other furniture: Arrange dressers, wardrobes, or toy chests strategically to maximize room flow.
Remember, safety remains paramount. Securely anchor the bunk bed to the wall, use guardrails, and follow weight limits. By implementing these space-saving ideas, you'll build a cozy and organized bunk bed haven!
FAQs About DIY Bunk Bed
Find answers to common questions about DIY bunk beds in this comprehensive FAQ guide. Learn how to build your own bunk bed with step-by-step instructions.
1. Can I Customize the Design of My Bunk Bed?
Absolutely! When building your own bunk bed, you have the freedom to customize it according to your preferences. Consider factors like room size, style, and safety. Whether you want a classic wooden design or a modern metal frame, the choice is yours. Just ensure that safety remains a priority—sturdy construction and proper guardrails are essential.
2. How Long Does It Take to Build a Bunk Bed?
The time required depends on your experience level, tools, and the complexity of the design. For a straightforward bunk bed, it might take a weekend or a few evenings. More intricate designs or customizations could extend the timeline. Remember to measure twice and cut once to avoid unnecessary delays!
3. How Much Does It Cost to Build a Bunk Bed?
Building a bunk bed yourself is cost-effective compared to buying one. The expenses vary based on materials, finishes, and any additional features you choose. Generally, you'll need lumber, screws, paint or stain, and possibly some hardware. Expect to spend anywhere from $100 to $300, depending on your choices.
4. At What Age Can a Child Use a Bunk Bed?
Safety is paramount when it comes to children and bunk beds. Most experts recommend waiting until a child is at least six years old before using the top bunk. Younger kids can occupy the lower bunk. Always follow safety guidelines, including using guardrails and ensuring the ladder is secure.
5. Do I Need a Special Mattress for a Bunk Bed?
While not mandatory, it's advisable to use bunk bed-specific mattresses. These are usually thinner (around 6 inches) to prevent the top bunk from being too high. Standard twin mattresses can work, but ensure they fit snugly within the frame. Safety first—avoid mattresses that exceed the recommended thickness.
6. Do Adults Sleep in Bunk Beds?
Certainly! Bunk beds aren't just for kids. If you're short on space or want a unique sleeping arrangement, adult-friendly bunk beds exist. Look for sturdy designs with weight capacity information. Opt for wider beds (full or queen size) to accommodate grown-ups comfortably. Remember, safety and comfort matter regardless of age!
Conclusion
Building a bunk bed from scratch was an immensely rewarding experience, providing my children with a unique piece of furniture that had personal significance. Following a detailed guide like David's, coupled with patience and creativity, made this project achievable. If you're considering taking on a similar project, I hope my experience and insights assist you on your building journey. Remember, every cut, every screw, and every stroke of paint adds character and value to your creation.


