Building a DIY bunk bed ladder from scratch was never on my list of anticipated projects when I ventured into the world of tiny house construction. Yet, here I am, about to share my story of evolving from a complete novice to someone who tips his hat to craftsmanship, particularly in the realm of crafting sturdy, reliable bunk bed ladders.
The Beginning: Frustration Meets Determination
At first, constructing ladders for loft spaces in tiny houses seemed like an insurmountable challenge. I had no prior experience, no step-by-step guide to follow, and frankly, I found the whole process quite annoying. The turning point came when I realized that if I wanted to continue building tiny houses, mastering the ladder construction was non-negotiable. So, I rolled up my sleeves and decided to tackle it head-on.
Materials Needed and Why
- Wood: The backbone of the ladder. I prefer five-quarter lumber for its strength and durability after removing half an inch for the steps to fit.
- Router and Jig: Necessary for carving notches in the wood with precision. A jig aids in maintaining a consistent angle across all steps.
- Screws and Glue: For assembling the ladder pieces securely.
- Chisel, Hammer, and Screwdriver: These are for fine adjustments and fixes during assembly.
Each tool and material plays a pivotal role. The wood's quality ensures the ladder's durability, the router and jig facilitate precision, and the screws and glue hold everything together firmly.
The Process: Step by Step
Learn the step-by-step process to build your own DIY bunk bed ladder. Easy-to-follow instructions for building a safe and sturdy ladder.
Determining the Angle
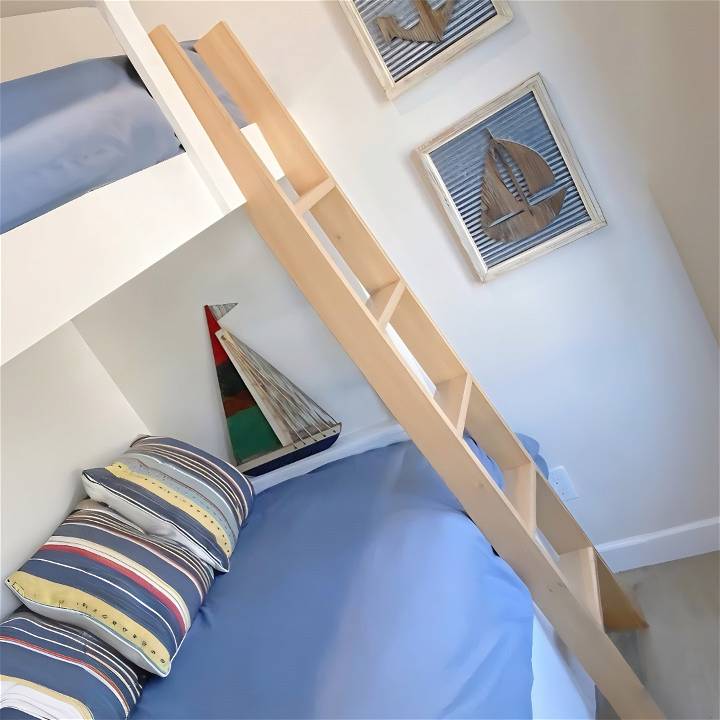
The very first step involves figuring out the angle at which the ladder will rest. This is crucial for ensuring comfort and safety while using the ladder. Through trial and error, I discovered that a 5-degree angle from the base was optimal for tiny houses, providing a balance between steepness and usability.
Crafting the Jig
Next came one of the most crucial steps: building a jig to serve as a guide for routing notches. I used a wide piece of scrap board and another piece matching the thickness of my ladder sides. By aligning them to mimic the ladder angle and securing them together, I had a reliable guide that ensured consistent notches across all steps.
Carving the Notches
Using a router with the jig was a game-changer for me. It allowed me to carve precise notches where the steps would later fit. This was a meticulous process, requiring patience and attention to detail, especially since I had to adjust the jig for each step.
Cutting the Steps
The steps themselves needed to be sized perfectly, both in width and thickness, to fit snugly into the notches. This required precise measurements and cuts, again emphasizing the importance of accuracy in this project.
Assembly: Bringing It All Together
With the sides notched and the steps cut, it was time to assemble the ladder. This involved applying glue to the notches, inserting the steps, and then securing them with screws. Clamping the pieces together while the glue dried ensured a tight, secure fit.
Reflections and Advice
Looking back on the project, I've come to appreciate the skills and patience required to build a DIY bunk bed ladder. It's a task that might seem daunting at first but is incredibly rewarding once completed. For anyone embarking on this journey, here's my advice:
- Measure Twice, Cut Once: Precision is key in every step of this project.
- Make a Sturdy Jig: It will be your best friend in ensuring consistency across all steps.
- Don't Rush the Process: Mistakes are often made in haste. Take your time, especially when routing the notches.
- Practice Makes Perfect: My first ladder was far from perfect, but each one I've made since has been better than the last.
Decorative Steps for Your Bunk Bed Ladder
When it comes to building a bunk bed ladder, functionality is essential, but adding a touch of creativity can elevate the entire project. Let's explore some decorative steps you can take to make your ladder not only practical but also visually appealing.
1. Carved Steps
Carving intricate patterns or designs into your ladder steps can transform a simple wooden ladder into a work of art. Here's how to do it:
- Choose Your Design: Consider geometric shapes, floral motifs, or even whimsical patterns. Sketch your design on paper before transferring it to the ladder steps.
- Tools Needed: You'll need a small chisel, a mallet, and sandpaper. Make sure your chisel is sharp for clean cuts.
- Carving Process:
- Mark the Design: Use a pencil to lightly mark the design on the step.
- Chisel Away: Gently chisel away the wood following your design. Take your time and work slowly.
- Smooth Edges: Sand the carved areas to build a smooth surface.
- Finishing Touch: Apply a clear wood finish or paint to protect the carved areas and enhance the design.
2. Stenciled Steps
Stenciling is an easy way to add personality to your ladder steps. Follow these steps:
- Select Your Stencil: Choose a stencil that complements your room decor. It could be a simple geometric pattern, a quote, or even a nature-inspired design.
- Paint Application:
- Position the Stencil: Secure the stencil in place on the step using painter's tape.
- Apply Paint: Use a small brush or sponge to apply paint through the stencil. Be sure to use a contrasting color for visibility.
- Remove Stencil: Carefully lift the stencil to reveal your design.
- Seal the Paint: Once the paint is dry, seal it with a clear varnish or polyurethane to protect it from wear and tear.
3. Colorful Steps
Why stick to plain wood tones when you can add a pop of color? Brightly colored ladder steps can make your bunk bed ladder stand out:
- Paint Selection: Opt for non-toxic, water-based paint. Consider colors that match the room's theme or your child's favorite shades.
- Prep the Steps: Sand the steps to build a smooth surface for painting.
- Paint Application:
- Base Coat: Apply a base coat of white or light gray to ensure vibrant colors.
- Colorful Layers: Use a brush or roller to apply your chosen colors. You can go for a rainbow effect or stick to a single color.
- Dry and Seal: Let the paint dry completely, and then seal it with a clear topcoat.
Ensure that your decorative ladder steps are securely attached to the bunk bed frame and can support users' weight. With these creative ideas, your bunk bed ladder will not only help you reach the top bunk but also add a delightful touch to your bedroom!
FAQs About DIY Bunk Bed Ladder
Discover everything you need to know about DIY bunk bed ladder installation, safety, and design in our comprehensive FAQs guide.
1. How do I determine the height of a bunk bed ladder?
When building a bunk bed ladder, start by considering the height of the top bunk. Measure from the floor to the top bunk's surface. For safety and convenience, aim for a ladder height that allows easy access without being too steep. I recommend a ladder height of around 60 inches but adjust based on your specific bunk bed design.
2. How do I build the ladder rails?
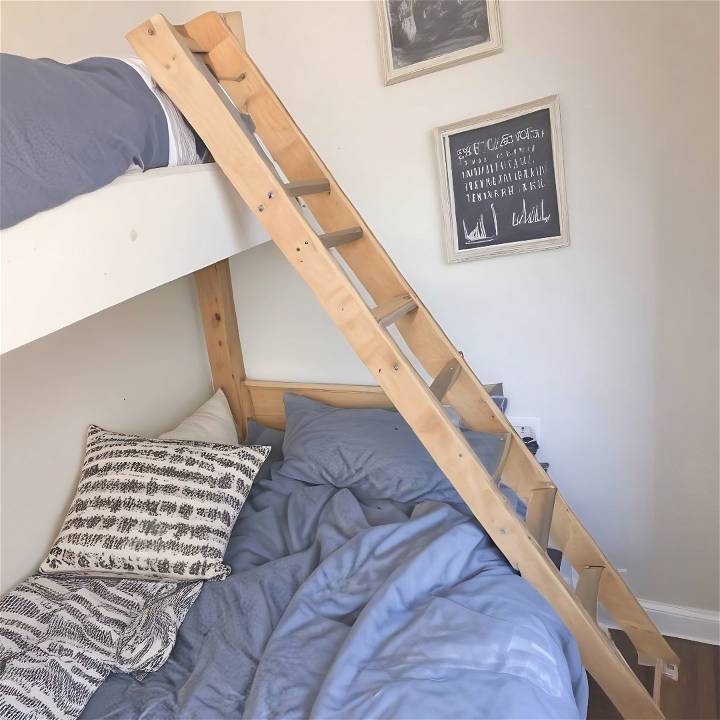
- Cut two 1x4 boards to 62 inches in length, with a 15-degree angle on each end.
- Use a jigsaw to build a straight cut from point B to point A.
- Determine the number of ladder steps (usually 5) and calculate the spacing between them (about 9 3/4 inches).
- The router out notches inside the step marks on both rails.
3. Adding ladder steps: What's the process?
- Rip-cut a 1x6 board to 4 inches in width.
- Cut it into five 15-inch pieces for ladder steps.
- Apply wood glue to the notches on the ladder rails.
- Insert each step into the notches, ensuring the top edge is flush with the rails.
- Secure steps using 1 1/4-inch finish nails.
4. How do I attach the ladder to the bunk bed?
Nail and glue a 1x4 piece (14 inches long) between the top ends of the ladder rails. This provides a secure attachment point to the bunk bed frame.
5. Any tips for a safe and slip-resistant ladder?
- Non-Slip Surface: Apply non-slip tape or adhesive pads to the ladder steps to prevent slips.
- Spacing: Keep ladder rungs approximately 10 to 12 inches apart for comfortable climbing.
- Finishing Touches: Sand sharp edges and corners for safety.
Remember, a well-built bunk bed ladder ensures safe and easy access to the top bunk, making bedtime adventures even more enjoyable!
Final Thoughts
Building a bunk bed ladder from scratch is not just about constructing a means to climb to a lofted space. It's about craftsmanship, patience, and the satisfaction that comes from building something both functional and beautiful. My journey from viewing ladder construction as an unwelcome necessity to a fulfilling craft underscores a valuable lesson: With determination and the right approach, frustrating tasks can transform into sources of pride and joy.


