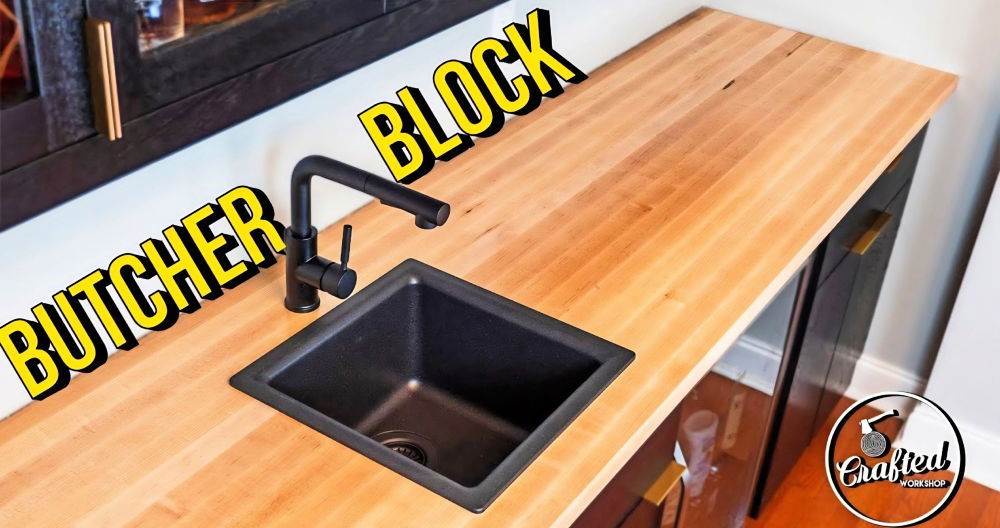
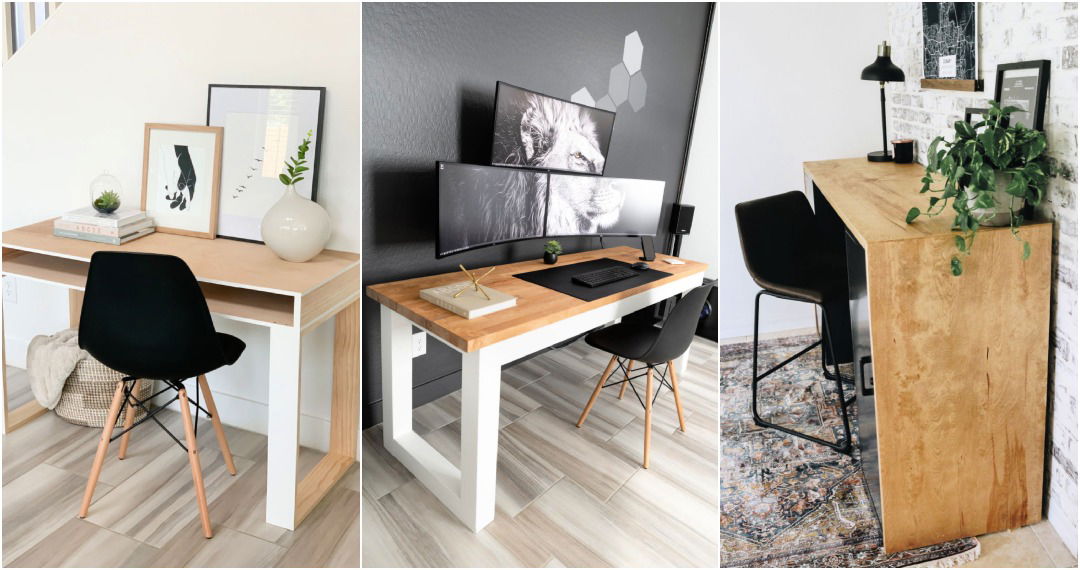
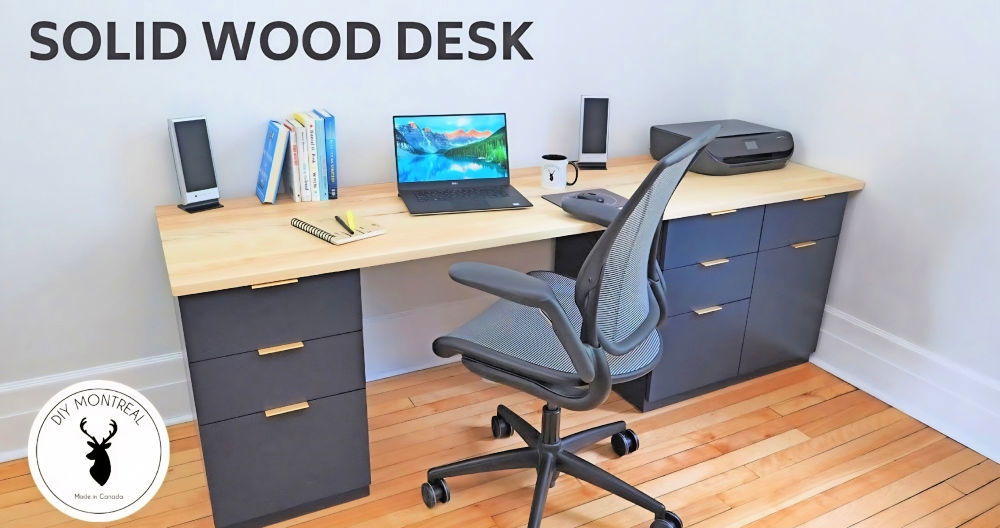
Building a DIY butcher block desk is simple and rewarding. One weekend, I decided to transform my workspace by building my own desk. First, I bought a butcher block and some sturdy legs. I sanded the butcher block to make it smooth and applied a finish to protect the wood. The process was easy to follow, even for someone like me who isn't very handy.
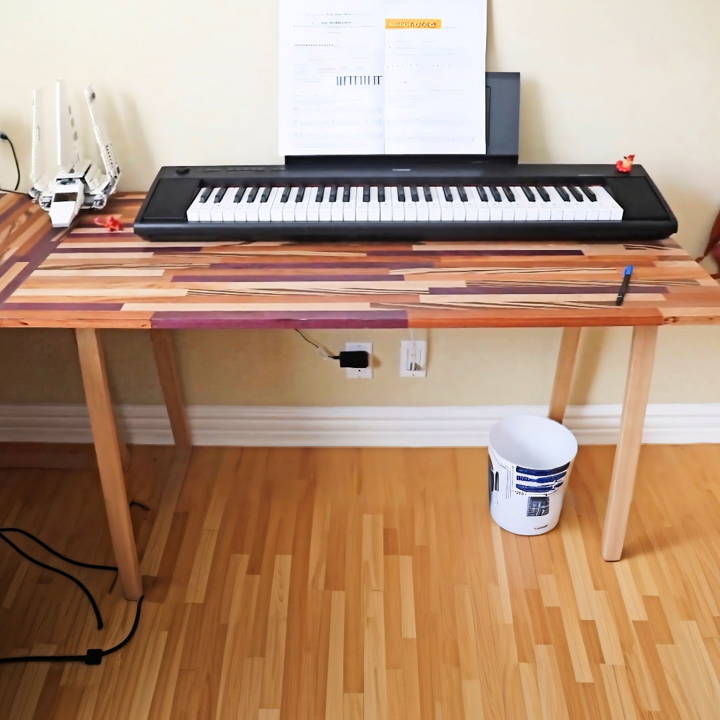
In no time, I had a sturdy and attractive desk that perfectly fit my space. The sense of accomplishment was incredible. Now, I want to help you build your own butcher block desk with these simple steps. It's a practical and beautiful addition to your home office. Give it a try, and enjoy a personalized desk that you built yourself!
Take that first step to DIY butcher block desk success. These tips will surely guide you through.
Materials Needed and Why
- Various Woods: I chose a mix of sapele, gunkalo alves, zebra wood, birch, purple heart, and jatoba. Each brings its unique color and grain, adding character to the desk.
- Parchment Paper: To protect the surface underneath from glue spills.
- Wood Glue: Essential for bonding the pieces of wood together.
- Clamps and 2x4s: To apply pressure and ensure the glued wood stays flat and tight.
- Planer: To make the wood perfectly parallel and smooth.
- Sander and 320 grit Sandpaper: For smoothing out the wood after planing.
- Polyurethane: To protect and seal the wood.
- Chop Saw: For cutting the wood pieces to the correct lengths.
- Pocket Hole Jig: An easy method to join wood pieces securely.
- Drill and Screws: For assembling the desk structure.
Step by Step Instructions
Learn to build your own stylish and durable DIY butcher block desk with our step-by-step instructions. Perfect for home and office use!
Laying Out and Gluing the Pieces
To start, I made sure to lay down a layer of parchment paper to avoid any glue sticking to my work surface. Then, I began the meticulous process of laying out the wood pieces, ensuring a visually appealing and random pattern while keeping the dimensions in mind. After being satisfied with the layout, I applied glue between each piece, pressing them together and using clamps to hold everything in place. Additional 2x4s were clamped on top to keep the surface as even as possible.
Cutting to Size and Planing
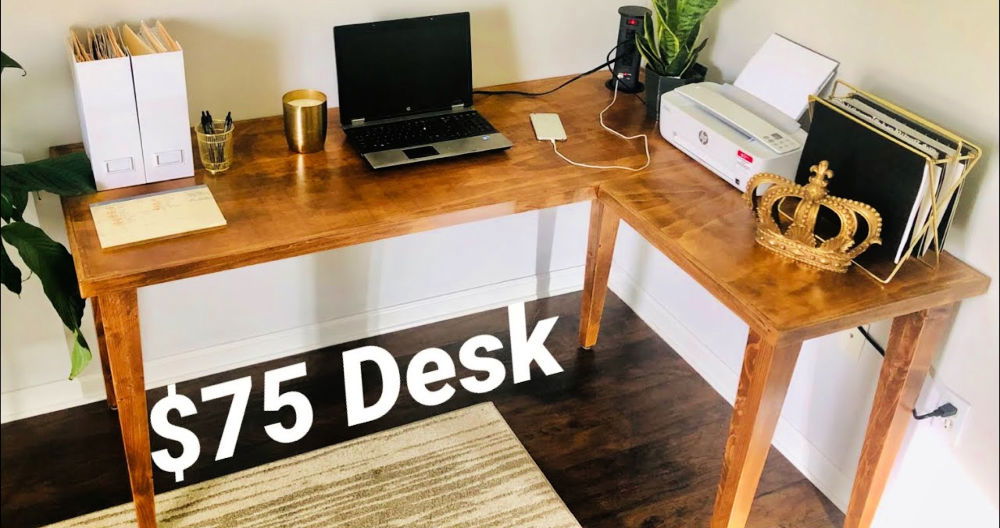
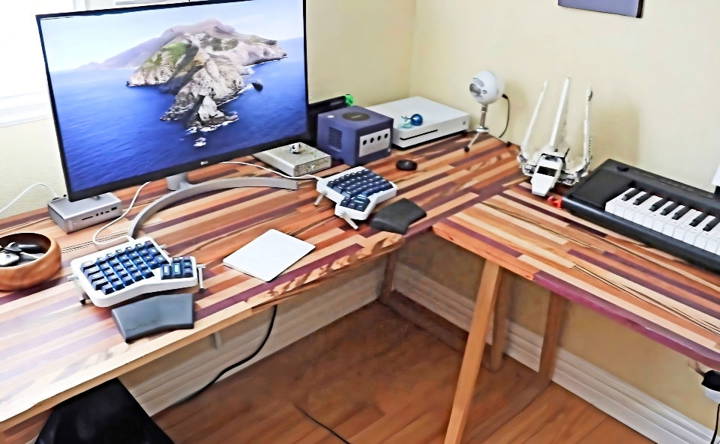
Following an overnight wait for the glue to dry, the real shape of the desk started emerging. The next task was to cut the glued wood to the exact sizes of the desk pieces (a 6x2 foot piece and a 4x2 foot piece for the L-shape). Afterward, I brought the pieces to a planer, where several passes made both sides of each piece perfectly parallel and smooth.
Building the Legs and Supports
Turning my attention to the legs, I set the desired angles on my chop saw, ensuring each piece matched perfectly to form stable legs. Additionally, I cut supports that would run underneath the desk, crucial for preventing any sagging across the long span of the desk top.
Assembly and Finishing Touches
With all wood pieces cut, planed, sanded, and ready, I drilled countersunk holes for the screws that would attach the legs to the desk. After assembling the legs and supports, I wiped everything down with a tack cloth to remove dust before applying several coats of polyurethane. Light sanding with 400-grit sandpaper between coats ensured a smooth finish.
The Final Assembly
With all pieces prepared, the final step was assembly in my chosen space. Watching the desk come together, piece by piece, was genuinely fulfilling, a testament to the planning, effort, and care that went into this project.
Design Customization
Building a DIY butcher block desk is not just about functionality; it's also an opportunity to inject your personality into your workspace. Here's how you can customize your design to make it truly yours:
- Choose Your Wood Wisely: Different woods offer different colors, grain patterns, and textures. Consider the overall aesthetic of the room where the desk will reside. For a warmer, rustic look, go for woods like oak or maple. For a modern, sleek appearance, consider bamboo or walnut.
- To Stain or Not to Stain?: Staining your butcher block can enhance its color and grain and also provide protection. If you prefer the natural look, a simple, clear sealant will do. Remember, the choice of finish will affect the desk's final look and feel.
- Edge Profiles: The edges of your butcher block can be rounded, beveled, or left square. Rounded edges are more comfortable for resting arms, while beveled edges add a touch of elegance.
- Add Personal Touches: Inlay a strip of a different wood for a striking contrast. Use stencils to add a subtle design or your initials. These small details can make your desk stand out.
- Functional Customization: Think about what you'll need. Do you want built-in slots for cables, a series of holes for a monitor stand, or a recessed area for a keyboard tray? Plan these features in advance.
- Finish with Flair: The finish isn't just about protection; it's also about feel. A glossy finish can be slippery, while a matte finish gives a more natural feel. Tung oil and linseed oil are popular choices for a natural, soft sheen.
Planning is crucial for a successful DIY project. Ensure each customization enhances your desk's look, feel, and functionality. Make your desk fit your space and inspire your work.
Troubleshooting Common Issues
When crafting a DIY butcher block desk, you might encounter a few hiccups along the way. Here's how to tackle some common issues with confidence:
- Warping or Cracking: Wood can warp or crack due to changes in humidity. To prevent this, acclimate your wood to the room's environment before assembly. If warping occurs, use clamps and cauls to gently coax the wood back into shape as you apply a sealant.
- Stains and Burns: Accidents happen, but they don't have to ruin your desk. For stains, sand the area lightly and reapply finish. For burns, you may need to sand more deeply or use wood filler before refinishing.
- Loose Joints: If your desk starts to wobble, check the joints. Tighten any screws or bolts. If you've used glue, it may need reinforcement with additional hardware.
- Finish Flaws: Bubbles or streaks in your finish can be frustrating. Sand the area lightly with fine-grit sandpaper and apply a thin, even coat of finish.
- Scratches and Dents: For minor scratches, a bit of finish or wax can fill them in. Deeper dents can be treated with steam to swell the wood fibers back into place.
- Uneven Surface: An uneven surface can be the result of improper gluing or clamping during assembly. Use a hand plane or sander to even out the high spots.
Take your time to assess and fix any issues. Your butcher block desk is not only a functional piece of furniture but also a testament to your craftsmanship.
FAQs About DIY Butcher Block Desk
Discover everything you need to know about DIY butcher block desk with our comprehensive faqs, from materials to maintenance tips.
A butcher block desk is a sturdy, flat surface made from straight cuts of wood glued together to build a solid piece. It's known for its durability and classic, warm aesthetic, often used in both kitchen prep surfaces and modern desk setups.
Selecting the right butcher block involves considering the type of wood, size, and finish. Hardwoods like maple, oak, or walnut are durable and long-lasting. Measure your space to determine the size you need, and decide if you want a prefinished block or one you can finish yourself for a more customized look.
Maintain your desk by cleaning it regularly with a mild soap and water solution, avoiding harsh chemicals. Periodically oil or reseal the surface to protect the wood and maintain its natural beauty. Protect it from excessive moisture and heat to prevent warping.
To ensure your desk is stable, select high-quality, sturdy legs and attach them securely to the butcher block. Use a drill to build pilot holes and then fasten the legs with strong screws. If your desk wobbles, check to see if the floor is level or if any of the legs need adjusting.
For a sleek, modern look, consider hairpin legs or metal frame legs. If you prefer a rustic style, wooden legs or repurposed vintage table legs can add character. You can also personalize your desk by adding features like a desk grommet for cable management or choosing a unique stain or finish to match your decor.
Conclusion:
In conclusion, a DIY butcher block desk offers a perfect blend of style and functionality for any workspace. With a butcher block desk, you can enjoy the rustic charm and durability. Building your own DIY butcher block desk is not only rewarding but also allows for customization to fit your space needs. Try this project for a personalized touch to your office or study area. With a bit of effort, you'll have a beautiful and practical desk that enhances your productivity and home decor.


