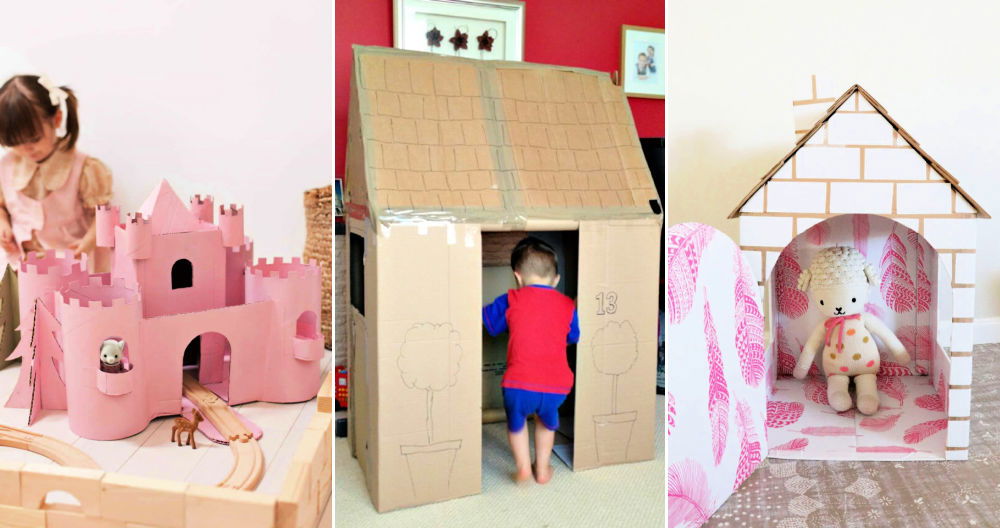
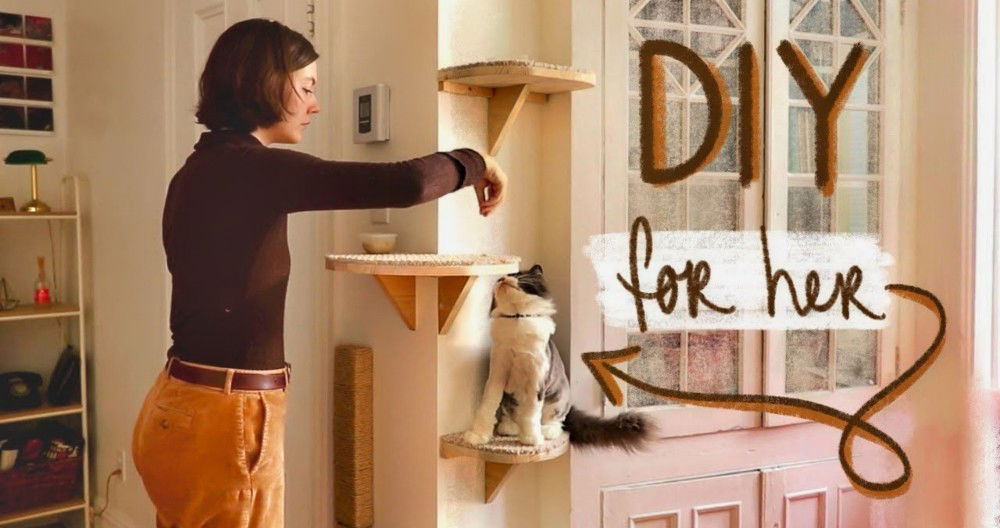
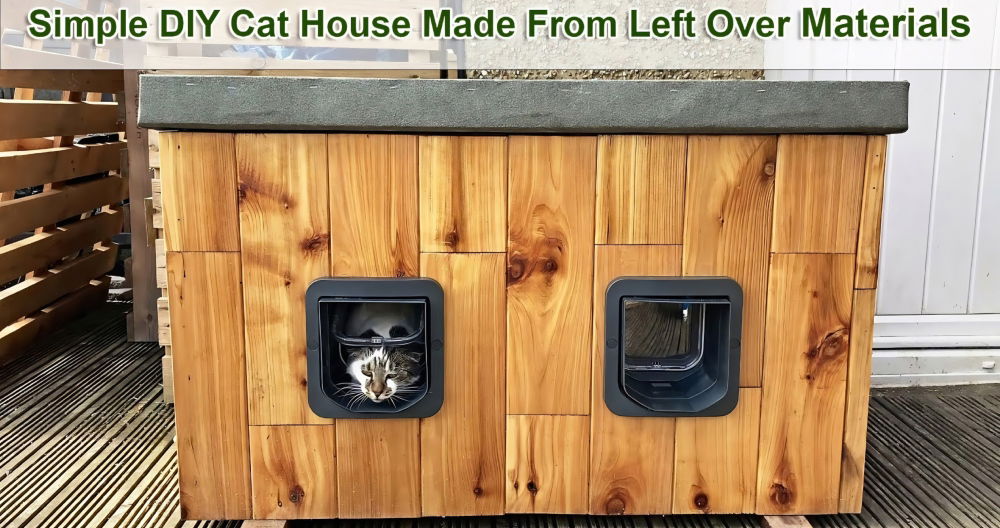
Building a cozy, eco-friendly cat house using cardboard is a fun and rewarding DIY project. Not only will you provide your cat with a space of its own, but you'll also recycle materials that might otherwise go to waste. With a few basic supplies and some creativity, you can craft a charming DIY cardboard cat house perfect for your furry friend. Follow this guide to build a durable and comfortable shelter that your cat will adore.
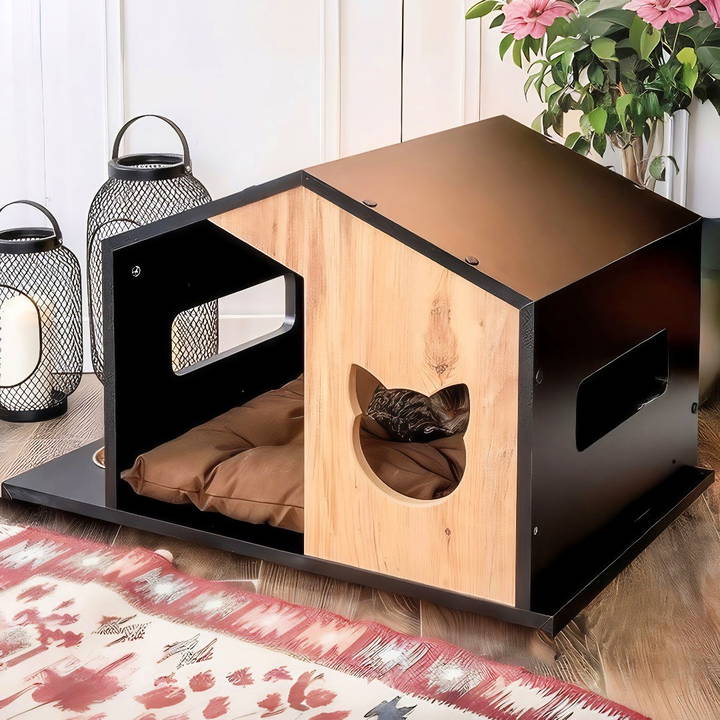
Why Make a Cardboard Cat House?
Cats love small, enclosed spaces where they can feel safe and cozy, making cardboard an ideal material for a DIY cat house. Cardboard is lightweight, easy to work with, and provides insulation to keep your cat comfortable. Building your own cat house also allows you to customize it based on your cat's size and personality, adding a personal touch to their new sanctuary.
Materials Needed
Here's a list of materials you'll need to build your cardboard cat house. Most of these items are inexpensive and readily available.
- Cardboard Boxes: Choose sturdy cardboard with thicker walls to ensure durability.
- Hot Glue Gun and Glue Sticks: For secure bonding between cardboard pieces.
- Wall Stickers or Decorative Paper: These add personality and style to the house, making it visually appealing.
- Kraft Paper: Great for adding smooth edges and finishing touches.
- Craft Knife or Scissors: For cutting the cardboard pieces accurately.
- Ruler or Measuring Tape: Ensures precise measurements for a neat finish.
- Pencil or Marker: Useful for marking cutting lines.
- Optional: Paint, fabric, or felt for additional customization.
Once you've gathered your materials, it's time to start designing and building!
Step by Step Instructions
Build the perfect DIY cardboard cat house with step-by-step instructions. From design planning to decoration, ensure safety, comfort, and durability.
Step 1: Plan the Design
Build the perfect design plan by choosing the ideal size and shape. Learn to measure and mark accurately for flawless execution.
Choose the Size and Shape
Decide on the size and shape of the cat house based on the space available in your home and your cat's size. If you have a larger cat, ensure the house dimensions provide ample room for them to stretch out comfortably. Common designs include:
- A-Frame Houses: Simple and easy to build, with two sloping walls meeting at the top.
- Box-Style Houses: A basic box with a few windows and doors for easy entry and ventilation.
- Two-Story Houses: Ideal for active cats, adding vertical space with two levels connected by a ramp or hole.
Measure and Mark
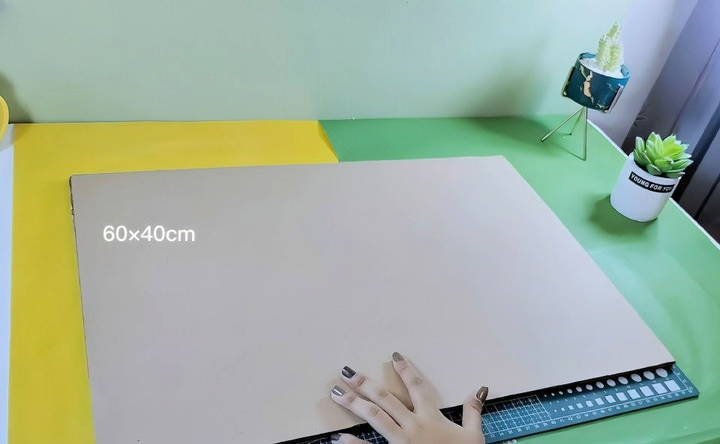
Once you decide on a design, measure and mark the cardboard based on the chosen dimensions. Use a pencil and ruler to outline where you'll make cuts. Keep measurements consistent to ensure all pieces fit together correctly.
Step 2: Cut the Cardboard
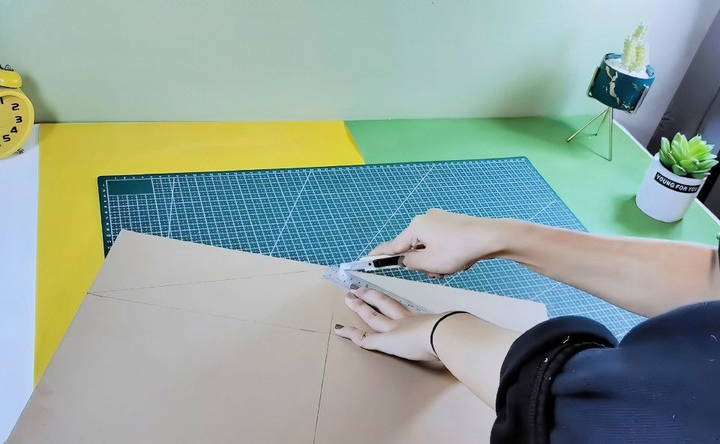
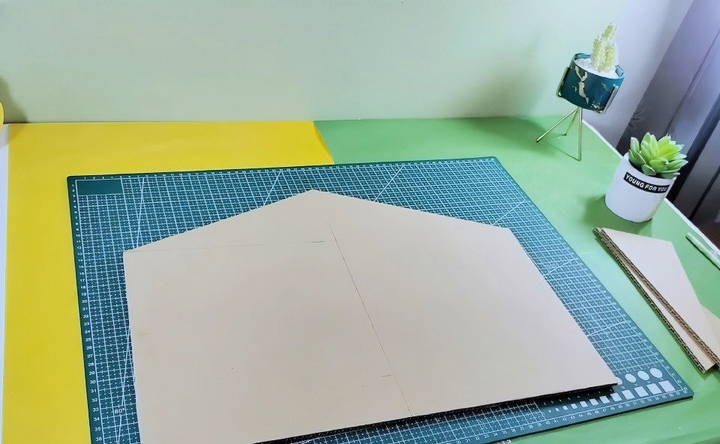
Carefully cut out each piece of cardboard using a craft knife or sturdy scissors. Here's a list of the main components you'll need:
- Base: The main floor of the house, which should be sturdy enough to support your cat's weight.
- Walls: Four pieces, one for each side. You may also cut windows in some of these walls to provide light and ventilation.
- Roof: If you're building an A-frame or gabled roof, you'll need two pieces that meet at an angle.
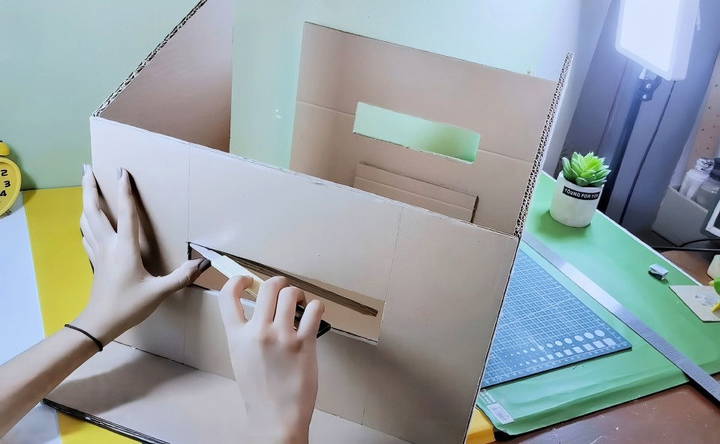
- Door: Cut a rounded or rectangular door on one of the walls, large enough for your cat to comfortably enter and exit.
Tips for Cutting Cardboard
- Use a Sharp Craft Knife: A sharp blade will give you clean edges and reduce the risk of tearing.
- Cut Slowly and Steadily: Cardboard can be tricky to cut, especially if it's thick. Take your time for the best results.
- Build Fold Lines: If you want curved edges, score the cardboard by making a shallow cut along the fold line. This makes it easier to bend without breaking the cardboard.
Step 3: Assemble the Structure
With all your pieces cut, it's time to assemble the house. Here's a step-by-step guide to ensure a solid and stable structure.
Start with the Base and Walls
- Glue the Walls to the Base: Begin by gluing one wall piece to the base using a hot glue gun. Apply glue along the bottom edge of the wall, press it against the base, and hold it in place until the glue sets.
- Attach the Remaining Walls: Continue attaching the other walls to the base, making sure they're aligned. Apply glue along the edges where each wall meets the base and each other.
- Secure the Corners: For extra stability, run a line of glue along the inside seams where the walls meet. This will reinforce the corners and prevent the house from collapsing.
Add the Roof
Once the walls are in place, add the roof by gluing it to the top edges of the walls. If you're using two pieces for an A-frame roof, attach one side first, followed by the other, and apply glue along the joining edges for a tight seal. If you prefer a flat roof, glue it directly on top of the walls.
Reinforce the Structure
For added strength, consider adding strips of cardboard along the joints, especially if you have a larger or more energetic cat. Apply these reinforcements along the interior seams using the hot glue gun to enhance durability.
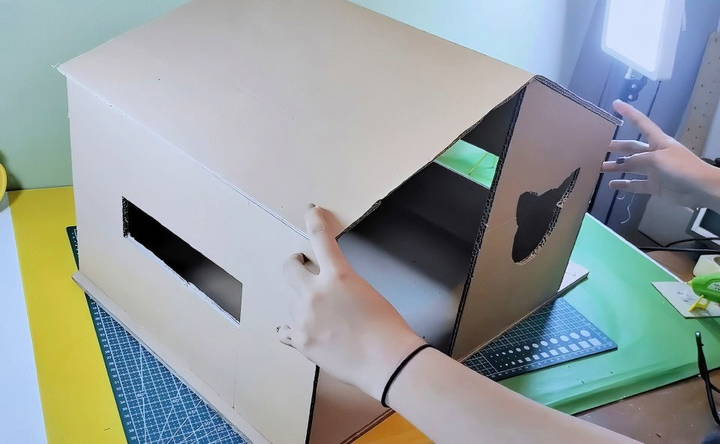
Step 4: Decorate the Cat House
Personalize the cardboard cat house to make it visually appealing and cozy for your cat. Here are some ideas to get you started:
- Wall Stickers: Add colorful stickers or decals to the walls for a fun look. Choose designs that match your home decor or opt for cat-themed stickers for a playful touch.
- Paint: Acrylic or watercolor paints can be used to add patterns or colors to the exterior. Avoid oil-based paints as they may have strong odors that could bother your cat.
- Kraft Paper: Use Kraft paper to cover rough edges for a polished finish. Attach it around the door and window frames to give a smooth, clean look.
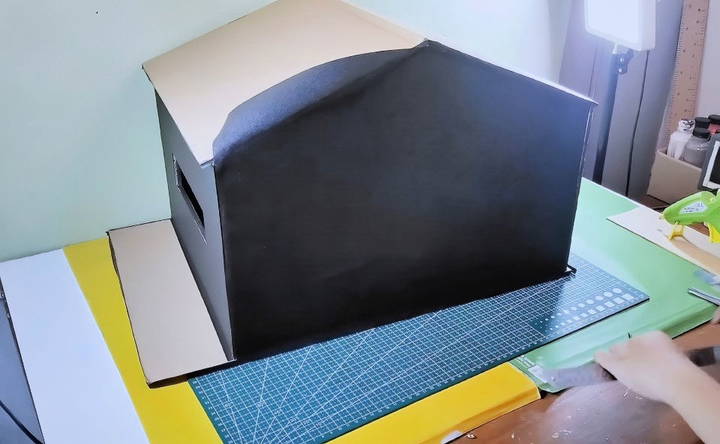
Adding Comfort
- Blankets or Cushions: Place a small blanket or cushion inside to make the house more comfortable. This will also help insulate the space and keep it warm during cooler months.
- Catnip or Toys: Make it more inviting by adding a few toys or sprinkling catnip inside the house.
Step 5: Optional Features and Add-Ons
To make your cardboard cat house even more special, consider adding a few fun features:
- Two-Story Platform: Add a second level by cutting a hole in the ceiling and inserting a smaller floor above. This will give your cat a second story to explore and adds vertical space for climbing.
- Ramps and Steps: For older cats or kittens, you can add a small ramp leading up to the entrance or an additional level. Use a piece of cardboard and attach it at an angle.
- Windows and Doors: Cut extra windows for light and ventilation. If you add more doors, your cat may enjoy the multiple entry points, especially in a multi-cat household.
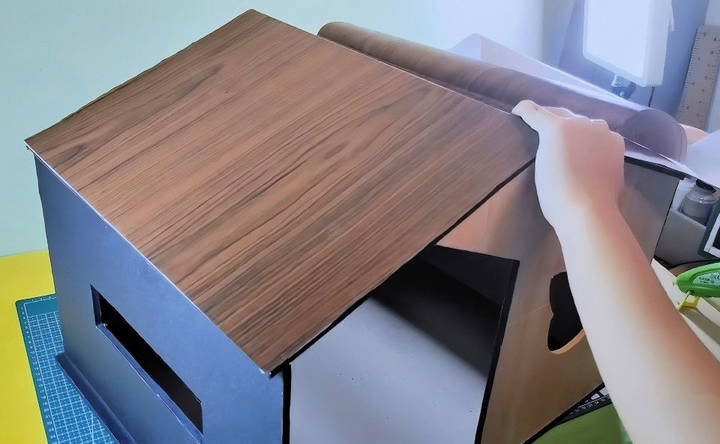
Step 6: Safety and Maintenance Tips
When building your cardboard cat house, keep safety and maintenance in mind to ensure it stays in good condition.
Safety Tips
- Avoid Small Parts: Ensure there are no loose small parts or detachable decorations that your cat could swallow.
- Monitor Wear and Tear: Over time, cardboard can wear down or get damaged from scratching. Regularly inspect the structure and reinforce or replace parts as needed.
- Use Pet-Safe Materials: Avoid using any glues, paints, or materials that could be toxic to cats. Stick to pet-safe adhesives and avoid harsh chemicals.
Maintenance
- Regular Cleaning: Remove and clean any blankets or cushions regularly to keep the space fresh.
- Replace Damaged Parts: If sections of the cardboard get scratched up or chewed, you can replace them with new pieces.
- Keep it Dry: Moisture can weaken the cardboard. Place the house in a dry area, and if it gets wet, replace the affected parts.
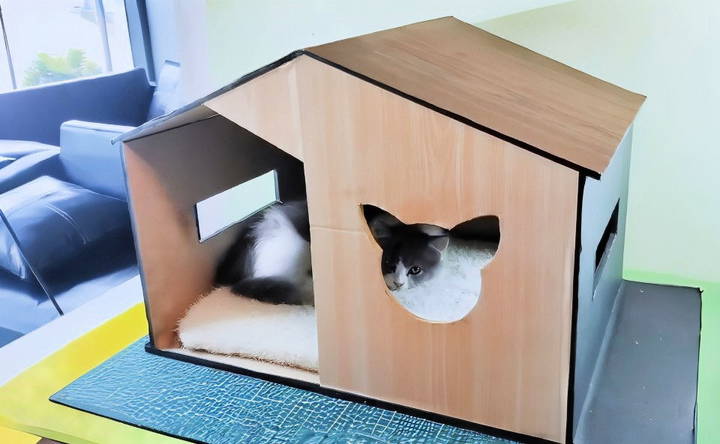
Benefits of a DIY Cardboard Cat House
Building a cardboard cat house offers numerous benefits:
- Eco-Friendly: By reusing cardboard, you're building an eco-friendly option compared to store-bought alternatives.
- Affordable: Cardboard boxes are easy to find and inexpensive, making this project budget-friendly.
- Customizable: Design the house to suit your space and your cat's needs, from size to decoration.
- Engagement for Your Cat: Cats are naturally curious, and they love exploring new spaces. This house will give them a cozy spot for play, rest, and observation.
Final Thoughts
Building a DIY cardboard cat house is a rewarding project that can bring joy to both you and your cat. This easy, customizable craft allows you to design a comfortable, safe, and eco-friendly space for your furry friend without spending a fortune. With a few basic supplies and some creativity, you can make a unique and functional cat house that will be the envy of all cat owners.
So gather your materials, unleash your creativity, and get ready to build the perfect cardboard retreat for your feline companion!
FAQs for Building a DIY Cardboard Cat House
Discover essential FAQs for building a DIY cardboard cat house. Find tips and tricks for building a cozy home for your feline friend.
Using cardboard layers totaling about 1 cm thick works well. For extra durability, you can go for thicker cardboard, around 2-3 cm, especially if your cat is active or larger.
If scratching is an issue, try covering the cardboard with fabric or a PVC wall sticker to make it less appealing to scratch. This can also add durability to the structure.
For cats prone to chewing, try reinforcing the structure with stronger materials like wood or adding a covering that they’re less likely to chew. Some users suggest masking tape or fabric as deterrents.
Yes, it’s often easier to cut windows and doors before gluing the walls together. This can help achieve cleaner edges and make assembly smoother.
While hot glue is easy to work with, wood glue or strong masking tape can offer better hold in hot climates, where hot glue may soften. Some also find that using masking tape strengthens the structure before applying decorative layers.
Prepare at least five large pieces of cardboard, though the exact amount depends on the house’s size and design. Having extra cardboard ensures you have enough material for mistakes or reinforcement.
PVC wall stickers are popular for decorating cardboard cat houses. They can be found at online marketplaces and come in a variety of designs to suit your decor.
Place the house in a dry, sheltered spot indoors. You can also add waterproofing layers like wall stickers or fabric to reduce damage from moisture and prolong its life.
A good general size is 60 cm in length, 40 cm in width, and about 37 cm in height at the center. Adjust these dimensions based on your cat's size and the space available in your home.


