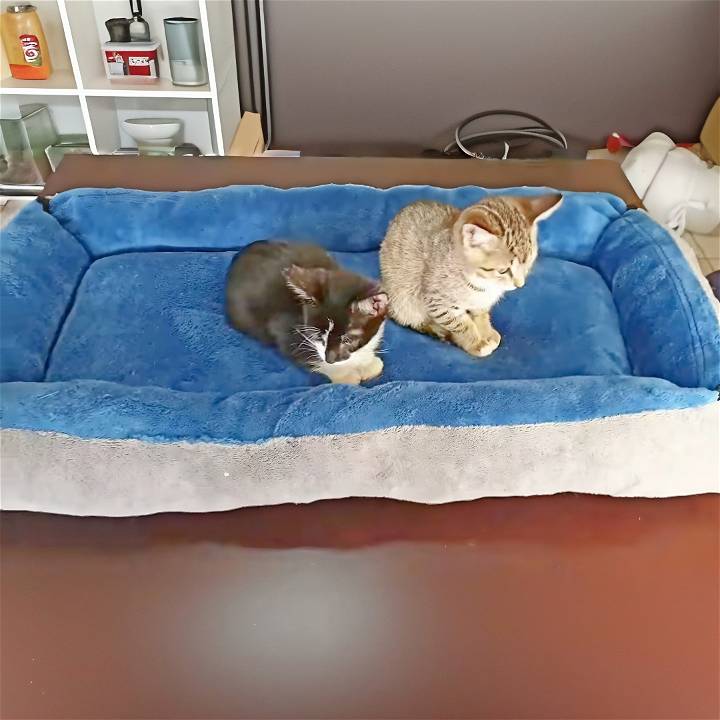
As a proud cat parent of six, the quest for the coziest, most inviting cat bed has been quite a journey. It all started when I realized how much I was spending on cat beds that didn't quite hit the mark. They either weren't soft enough, big enough, or, frankly, just not favored by my feline family. That's when I embarked on a DIY project to make the perfect cat bed, and I'm here to share my step-by-step process with you.
Materials Needed and Why
- Two different color blankets: I chose soft, fluffy ones for comfort and aesthetics. The contrasting colors add a fun visual element.
- Batting: This adds softness and volume to the bed, making it plush and cozy.
- Eight pieces of ribbon: These are for securing the corners and adding a decorative touch.
- Scissors, sewing pins, a sewing machine (or needle and thread for hand sewing): Basic sewing supplies for construction.
Each material plays a crucial role in ensuring the bed is comfortable, attractive, and durable.
Step by Step Instructions
Discover easy DIY cat bed instructions for your furry friend. Step-by-step guide to making a cozy spot they'll love. Start crafting today!
Step 1: Cutting the Material
First, I decided on the size of the cat bed. I settled on two sizes: 100 by 65 centimeters for larger lounging areas and 80 by 65 centimeters for slightly smaller spaces. After cutting the blankets to size, I made sure to pin them face side together, preparing them for sewing. This initial step is all about getting the size right for your furry friend to stretch out comfortably.
Step 2: Preparing the Corners
I measured 15 centimeters from each side and marked it before cutting the corners off. This step is crucial for when you sew and turn the bed inside out; it helps make a more defined bed shape.
Step 3: Adding Ribbon for a Decorative Touch
Placing a strip of ribbon inside each corner of the material, I ensured that, once tied, these ribbons would add both functionality and a cute look to the bed. It's important that these are placed evenly for a symmetrical finish.
Step 4: Sewing It All Together
I sewed around the blanket with everything pinned in place, leaving a small gap for the stuffing. This part requires a bit of patience and a steady hand, especially if you're sewing by machine. Remember, the gap is your gateway to turning the bed right side out and stuffing it, so don't make it too small!
Step 5: Making the Central Rectangle
After turning the material right side out, I marked and sewed a rectangle in the center. This step defines the sleeping area and gives the bed a nice structure. The key here is ensuring the lines are straight and evenly spaced for a polished look.
Step 6: Stuffing the Bed
Starting with the central rectangle, I began stuffing the bed with batting, making it as fluffy or firm as my cats prefer. The sides came next, stuffed well to provide ample support. The right amount of stuffing makes all the difference in comfort and appeal to your cat.
Step 7: Sealing the Deal
After stuffing, sewing up the gaps was next on my list. I started with the center gap and then moved to the outer one. It's a bit of a tight squeeze, but patience and carefully stuffing the batting away from the sewing line help a lot here.
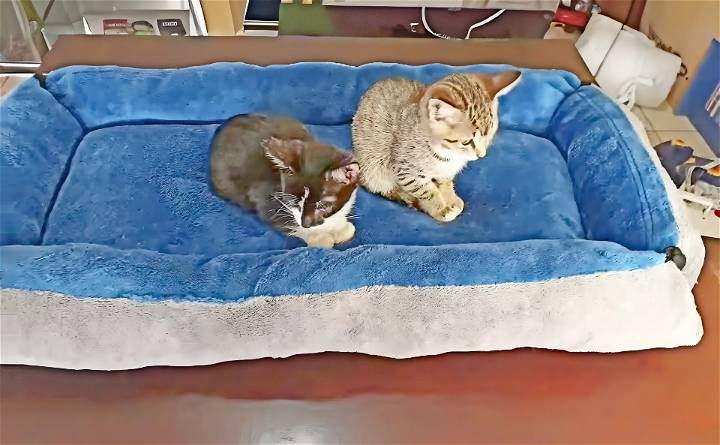
The last step was tying the ribbons on each corner, which not only secured the bed's shape but also added a charming finish. The result was a plush, inviting cat bed that my feline family couldn't wait to curl up in.
Personalization and Aesthetics
Making a cat bed isn't just about functionality; it's also an opportunity to infuse your pet's space with personality and style. Here are some tips on personalizing your DIY cat bed:
1. Fabric Selection:
Choose fabrics that resonate with your home decor and your cat's preferences. Consider the following options:
- Playful Prints: Opt for fabrics with cute paw prints, fish motifs, or whimsical patterns. These can add a touch of fun to your cat's bed.
- Neutral Tones: If you prefer a minimalist look, go for neutral colors like beige, gray, or cream. These blend seamlessly with most interiors.
- Soft and Cozy: Cats love soft textures. Fleece, faux fur, or plush fabrics provide comfort and warmth.
2. Custom Embellishments:
Add small embellishments to make the bed uniquely yours:
- Buttons: Sew decorative buttons onto the bed cover. Ensure they are securely attached to prevent choking hazards.
- Ribbons and Bows: Tie a ribbon around the bed's edge or attach a fabric bow. These simple additions can elevate the overall look.
- Patches or Appliqués: Iron-on or sew-on patches featuring cat-related designs (paws, fish, or cat faces) can be delightful.
3. Cat-Safe Accessories:
Consider functional accessories that enhance both aesthetics and usability:
- Removable Cushion Covers: Design cushion covers with zippers or Velcro closures. This allows easy removal for washing or changing the fabric.
- Personalized Name Tags: Craft a small fabric tag with your cat's name. Attach it discreetly to the bed.
- Embroidery: If you enjoy embroidery, stitch your cat's name or a cute motif onto the bed cover.
4. Matching Bedding Sets:
Extend the personalization to other cat-related items:
- Matching Blankets: Make a coordinating blanket for chilly nights. Use the same fabric or complementary colors.
- Cat Toys: Craft small stuffed toys using leftover fabric. These can be placed inside the bed or hung nearby.
5. Placement and Harmony:
Consider where the cat bed will be placed in your home:
- Natural Light: Cats love basking in the sunlight. Position the bed near a sunny window.
- Quiet Corners: Choose a quiet spot away from heavy foot traffic or noisy appliances.
- Blend with Decor: Ensure the bed's colors and style harmonize with the room's overall design.
Remember, personalization doesn't have to be elaborate. Even small touches can transform a simple cat bed into a cozy haven that reflects your love for your feline friend.
Maintenance and Cleaning Tips
Keeping your cat's bed clean and fresh ensures a cozy and hygienic resting place for your feline companion. Here are essential maintenance and cleaning tips for DIY cat beds:
1. Regular Fluffing and Shaking:
- Frequency: Fluff up the bed and give it a good shake at least once a week. This helps redistribute the filling and prevents it from becoming lumpy.
- Why?: Regular fluffing maintains the bed's shape and ensures your cat enjoys consistent comfort.
2. Machine-Washable Covers:
- Choose Wisely: Opt for cat bed covers that are machine-washable. Look for zippers or Velcro closures for easy removal.
- Washing Frequency: Wash the cover every 2 to 4 weeks, depending on how frequently your cat uses the bed.
- Gentle Cycle: Use a gentle cycle with cold water and mild detergent. Avoid bleach or harsh chemicals.
- Air Dry: Air-dry the cover to prevent shrinkage or damage.
3. Spot Cleaning:
- Accidents Happen: If your cat has an accident (vomit, hairball, or urine), address it promptly.
- Blot, Don't Rub: Blot the affected area with a clean cloth or paper towel. Avoid rubbing, as it can push the stain deeper.
- Stain Removers: Use pet-safe stain removers or a mixture of water and mild soap.
- Rinse Thoroughly: Rinse the spot thoroughly to remove any residue.
4. Sun and Fresh Air:
- Sunlight: On a sunny day, place the cat bed near a window. Sunlight helps kill bacteria and freshens the fabric.
- Outdoor Airing: If possible, take the bed outdoors for a few hours. The fresh air eliminates odors.
5. Vacuum and Lint Rollers:
- Regular Vacuuming: Vacuum the cat bed to remove loose fur, dirt, and debris.
- Lint Rollers: Use a lint roller to pick up stray hairs from the fabric.
6. Inspect for Wear and Tear:
- Check Seams and Zippers: Regularly inspect seams and zippers for any signs of wear. Reinforce loose stitches promptly.
- Replace Worn-Out Beds: If the bed shows significant wear or flattened padding, consider making a new one or replacing the filling.
7. Cat-Friendly Detergents:
- Avoid Strong Scents: Cats are sensitive to strong fragrances. Use unscented or mildly scented detergents.
- Rinse Thoroughly: Ensure all detergent residue is rinsed out to prevent skin irritation.
8. Rotate and Flip:
- Even Wear: Rotate the cat bed occasionally to ensure even wear on all sides.
- Flip the Cushion: If your cat bed has a cushion, flip it over to maintain its shape.
Remember, a clean and well-maintained cat bed contributes to your cat's overall well-being. Happy cat, happy home!
FAQs About DIY Cat Beds
Discover everything you need to know about making DIY cat beds! Answers to all your questions about making comfortable and stylish beds for your furry friend.
1. What About a Crocheted Cat Hammock?
- Materials: Grab your crochet hook and yarn.
- Easy Tutorial: Follow a straightforward crochet pattern to make a hammock-style bed. Hang it near a sunny window for your cat's enjoyment.
2. Can I Make a Pop-Up Cat Tent?
- From an Old T-Shirt: Flatten and cut hangers, cardboard, and fabric from a medium-sized T-shirt.
- Assembly: Follow instructions to make a sturdy pop-up tent that won't collapse.
3. What's a Chunky Crocheted Cat Bed?
- Thick Yarn: Use chunky yarn for this project.
- Stitch It Up: Crochet a plush bed that your cat will love sinking into.
4. How Do I Keep the Cat Bed Clean?
- Easy-to-Clean Materials: Opt for fabrics that are machine-washable.
- Accidents Happen: If your cat has a mishap, clean it promptly to avoid lingering smells.
- Sun and Fresh Air: Sunlight kills bacteria, so occasionally place the bed near a window.
5. Any Tips for Long-Term Maintenance?
- Regular Fluffing: Shake and fluff the bed weekly to maintain its shape.
- Inspect Seams: Check for wear and tear; reinforce loose stitches.
- Rotate and Flip: Evenly distribute wear by rotating the bed and flipping the cushion.
Remember, a well-crafted cat bed provides comfort and security for your furry friend. Happy crafting!
Conclusion
Making my cat bed was not just a fun and rewarding DIY project, but it also allowed me to tailor the beds to my cats' preferences in terms of comfort and design. The key takeaways from this experience are to choose materials carefully for comfort, take your time with the sewing to ensure durability, and personalize the bed with little touches like the ribbons. My cats now have a cozy spot that they absolutely love, and I've saved some money along the way, proving that sometimes, the best pet accessories are homemade.


