Ever found yourself with a pile of leftover materials and a couple of feline friends in need of a warm place to call their own? That's exactly where I found myself, following a garden room project I'd just completed. As autumn whispered promises of colder days, the idea struck me: why not build a cat house? So, armed with scraps and a hearty dose of DIY spirit, I embarked on what became a heartwarming project. Here's how you can do it too, step by step.
Materials and Tools Required
- Timber Beams & OSB Sheets: The core structure of our cat house. They're sturdy and I had leftovers.
- Insulation Material: Essential for keeping the space cozy. I used offcuts from previous projects.
- Plywood (6mm): For interior lining, ensuring a smooth and comfortable interior.
- Roofing Felt: Weather-proofing the roof. Mine was an extra from another outdoor project.
- Cat Flap: For easy in and out. I chose a model matching my garden room's aesthetic.
- Cladding (External): To protect and beautify. Leftover cladding provided a matching look to my garden room.
- Basic Tools: Chop saw, measuring tape, screws, nails, adhesive, and a sander.
Step by Step Instructions
Learn how to build a DIY cat house using leftover materials! Step-by-step instructions on constructing, designing, roofing, and insulating your cat's new cozy home.
Constructing the Base Frame
- Start with the Base: Chopping timber beams to desired length was the first step, using the same construction method as my garden room. I aimed for a rectangular frame, which would later be the foundation of the cat house.
- Assembly & Insulation: Once cut, I pieced the timbers together to form a base frame. In went the insulation, packed snugly to ensure warmth. Over this frame, I fixed OSB sheets, recycling the odd-sized leftovers to avoid waste.
Erecting the Walls & Designing the Entrance
- Building the Wall Frames: Mimicking the base, the wall frames followed. The back and side frames were simple rectangles. However, the front frame required special attention for the cat flap entrances, necessitating precise measuring and cutting.
- Securing OSB & Insulation: Each frame was then covered with OSB for rigidity and insulation for warmth. The front frame, with entrance cuts, was a bit of a puzzle with offcuts but patience paid off.
Roofing: Warmth from Above
- Roof Frame Creation: The roof frame was slightly larger, allowing for an overhang. Its construction mirrored the walls but included space for insulation.
- Insulation & Weather-Proofing: After insulating, I draped it in roofing felt, securing with adhesive and staples, ensuring a snug fit and ample protection against the weather.
Internal Lining & External Cladding
- Making it Homey: The interior was lined with 6mm plywood, a choice made for its thinness and ease of handling, perfect for making a cozy interior.
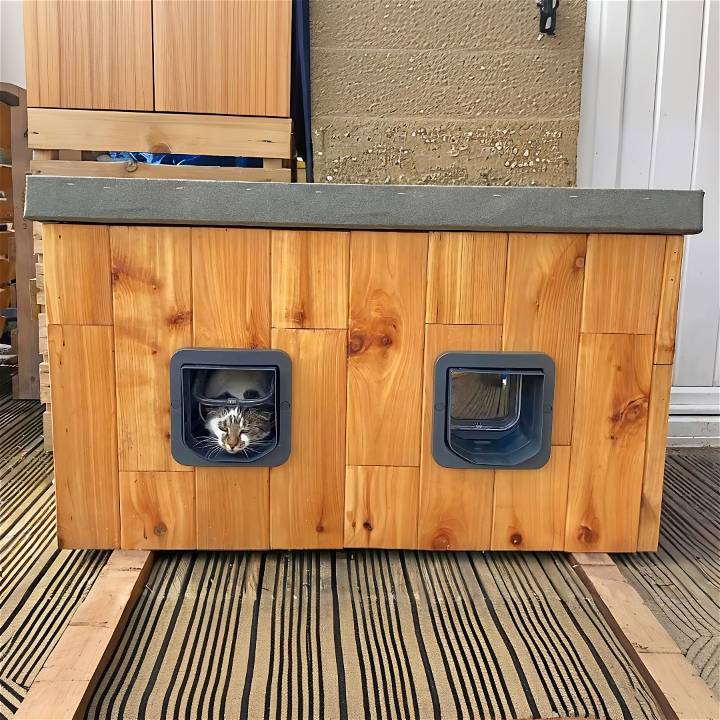
- Aesthetic and Protection: Cladding the exterior was perhaps the most creatively freeing step. Employing the staggered, patchwork method allowed me to manage the varying sizes of leftover cladding, giving the cat house a unique, rustic charm.
Final Touches: Insulation and Entrance
- Ensuring Warmth: Extra attention went into ensuring all spaces were insulated, especially around the cat flap entrance, to keep the cozy warmth in and the chilly air out.
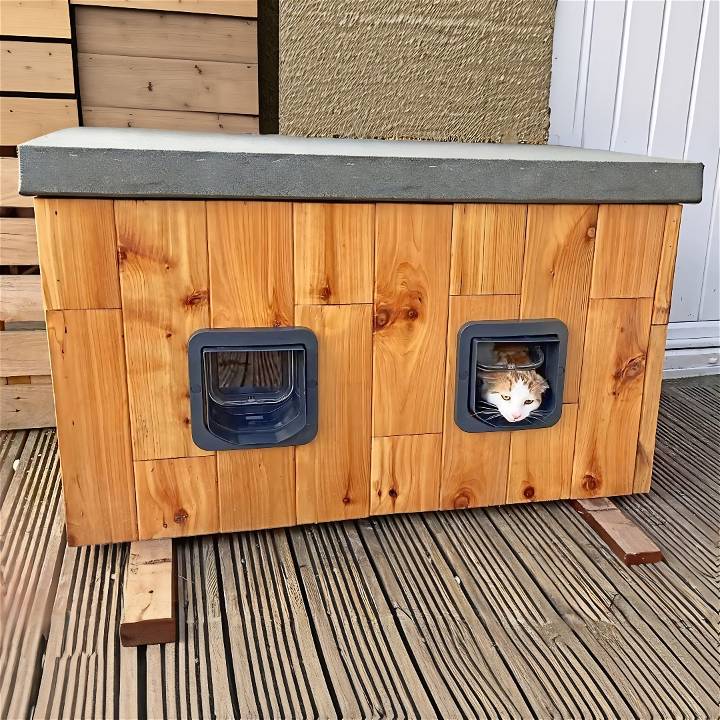
- Fitting the Cat Flap: Installing the cat flap was straightforward, the earlier measurements paid off, providing a snug fit for the sleek, anthracite-gray flaps that matched the garden room's doors.
Reflections and Cat Approval
As I stepped back, I admired the connection between repurposing items and meeting a need. I created a cozy shelter for my cats while promoting sustainability. The ultimate test was when the cats checked it out. Initially hesitant, they eventually embraced it as their favorite spot, proving its comfort and allure.
Tips for Fellow DIYers:
- Plan Before You Cut: Measure twice, cut once. Planning is paramount.
- Insulate Generously: Don't skimp here. A warm cat is a happy cat.
- Creativity is Key: Use what you have. The result might surprise you in the best way.
Embarking on this project was a journey of creativity, sustainability, and learning. I hope this inspires you to look at those leftover materials with new eyes and perhaps embark on your own DIY adventure. Who knows what cozy corners you can build from the remnants of past projects?
Optimal Design and Layout for a DIY Cat House
Building the perfect DIY cat house involves careful consideration of design and layout to ensure it's a safe, comfortable, and engaging space for your feline friend. Here's how you can design an optimal cat house that meets all your cat's needs.
Size and Space
Start with the size. Your cat house should be spacious enough for your cat to move around comfortably but cozy enough to provide a sense of security. A good rule of thumb is to make the house at least 1.5 times the length of your cat from nose to tail base. This allows ample room for stretching, lounging, and playing.
Ventilation and Insulation
Good ventilation is crucial to keep the air fresh and prevent the buildup of odors. Include multiple air vents or openings, but ensure they're not too large to avoid drafts. Insulation is equally important, especially if the cat house will be outdoors. Use natural insulating materials like straw or wool to keep your cat warm in winter and cool in summer.
Interior Features
Cats love to explore and hide, so incorporate various levels and hiding spots inside the house. You can add shelves or platforms at different heights for climbing and observing. Ensure these are stable and can support your cat's weight.
Scratching Posts
Integrate scratching posts into the design. These can be made from sisal rope or corrugated cardboard. They help satisfy your cat's natural scratching instincts and keep their claws healthy.
Easy to Clean
Design the cat house with cleaning in mind. Removable roofs or panels can make it easier to clean inside. Choose materials that are easy to wipe down and resistant to moisture.
Safety
Safety is paramount. Avoid sharp edges or small, detachable parts that could be choking hazards. Make sure the house is stable and won't tip over easily.
By following these guidelines, you'll build a cat house that's not just a shelter, but a beloved home for your pet. Remember, the key is to think from a cat's perspective and prioritize their comfort and safety.
Cat-Friendly Features for Your DIY Cat House
When designing a cat house, it's essential to build a space that not only provides shelter but also caters to your feline friend's natural instincts and preferences. Let's explore some cat-friendly features to enhance your DIY cat house:
1. Warmth and Coziness
Cats love warmth! Consider adding soft, plush bedding or blankets inside the cat house. Opt for materials like fleece or faux fur that provide comfort and insulation. If the cat house is outdoors, ensure it's well-insulated to keep your kitty warm during chilly nights.
2. Privacy Nooks
Cats appreciate privacy. Build cozy nooks within the cat house where your cat can retreat and feel safe. These can be small alcoves or hidden corners. Line them with soft fabric or cushions to make them inviting.
3. Vertical Space
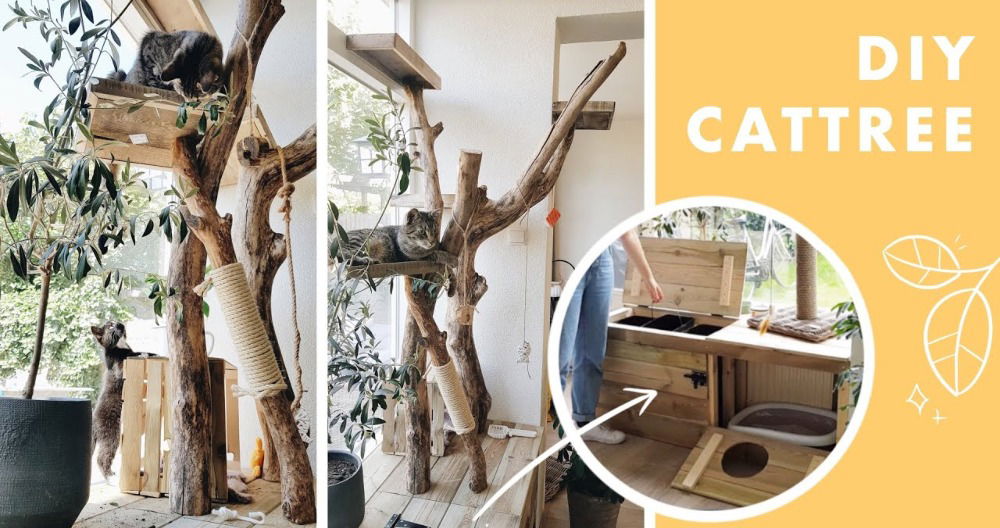
Cats are natural climbers. Incorporate vertical elements like shelves, ramps, or platforms. Cats enjoy perching at different heights to observe their surroundings. These elevated spots also serve as exercise stations for your cat's muscles and balance.
4. Multiple Entrances and Exits
Provide more than one entry point to the cat house. Cats like to have options. Having multiple doors or openings allows them to escape if they feel cornered or want to explore the surroundings.
5. Scratching Surfaces
Integrate scratching posts or pads into the design. Cats need to scratch to maintain healthy claws and relieve stress. Sisal rope or corrugated cardboard surfaces work well. Place them strategically within the cat house.
6. Sunbathing Spot
If your cat house is near a window or outdoors, build a sunny spot. Cats love basking in sunlight. Position a cozy cushion or bed where the sun's rays can reach. It's a perfect place for daytime catnaps.
7. Safe Materials
Choose cat-safe materials. Avoid toxic paints, glues, or treated wood. Cats may chew or lick surfaces, so ensure everything is non-toxic. Natural wood, untreated fabrics, and eco-friendly paints are excellent choices.
By incorporating these cat-friendly features, you'll build a delightful space that your cat will adore!
FAQs About DIY Cat Houses
Explore all your queries regarding DIY cat houses in this comprehensive FAQ guide. Get expert advice, tips, and step-by-step instructions.
How do I choose the right materials for my cat's house?
When selecting materials for your cat house, prioritize safety and durability. Opt for untreated wood, non-toxic paints, and natural fabrics. Avoid materials that could harm your cat or deteriorate quickly.
What size should my cat house be?
A cat house should be spacious enough for your cat to move comfortably. Aim for at least 1.5 times your cat's length from nose to tail base. Cozy, not cramped, is the goal.
How can I make my cat's house cozy?
Build privacy nooks within the cat house using soft bedding or blankets. Cats love warm, snug spots where they can curl up and feel secure.
Are scratching posts essential?
Yes! Cats need to scratch to maintain healthy claws and relieve stress. Incorporate scratching surfaces made of sisal rope or corrugated cardboard.
How can I ensure good ventilation?
Include multiple air vents or openings in the cat house to keep the air fresh. However, avoid drafts that might make your cat uncomfortable.
What safety precautions should I take?
Stability is crucial. Ensure the cat house won't tip over easily. Use safe materials, and avoid sharp edges or small parts that could be choking hazards.
Conclusion:
In conclusion, making a DIY cat house can be a fun and rewarding project for you and your furry friend. With simple materials and a little creativity, you can build a cozy and stylish home for your cat to enjoy. Happy crafting!


