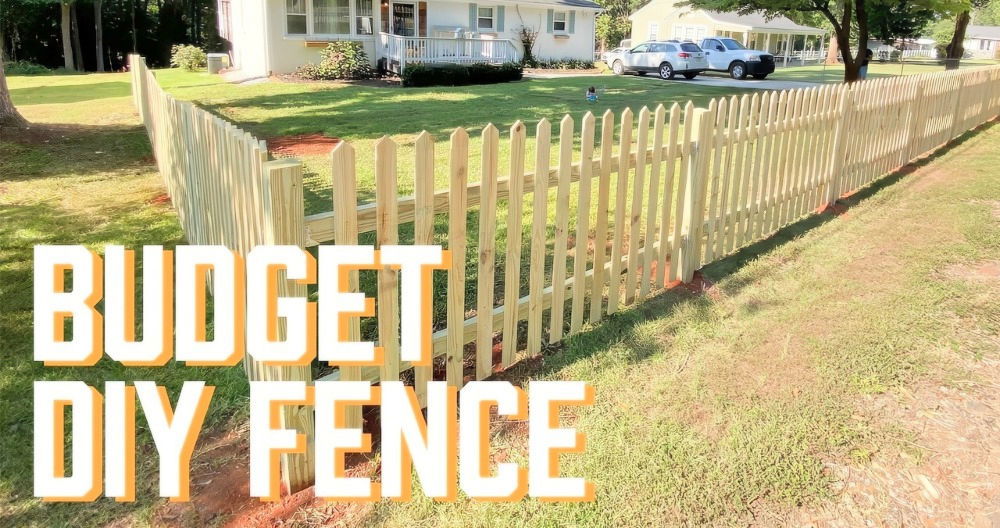
Building a DIY cat-proof fence has been one of the best projects I've taken on. It started when my curious cat kept wandering into places he shouldn't be. I knew I had to find a way to keep him safe without limiting his freedom. After doing some research, I realized I could build something effective myself without spending too much money.
I want to share my experience and tips with you, so you can make a cat-proof fence for your own home. This will give your cat the outdoor freedom they love while keeping them secure. I'm confident that following these simple steps will help you get started, and I'm here to guide you through each one.
Understanding the Need
Firstly, let's talk about why it's crucial to prevent your cat from jumping over the fence. Beyond the obvious risk of getting lost, they're also exposed to potential dangers like road traffic, predatory animals, and other territorial felines. My goal was to find a solution that was both effective and not overly intrusive or expensive. After extensive research and a bit of trial and error, I found two methods that worked wonders.
Materials and Their Importance
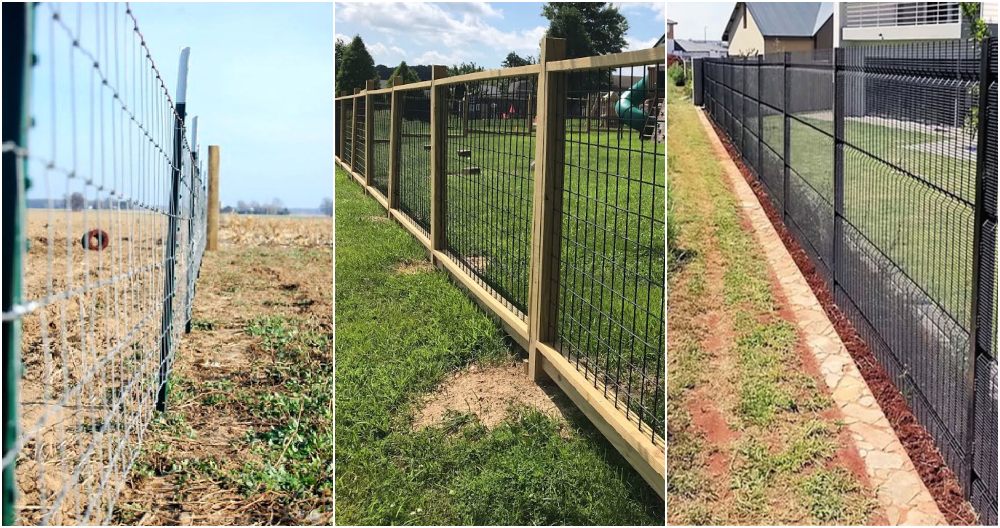
For both solutions, chicken wire emerged as the hero material. It's affordable, easy to work with, and, most importantly, it's a deterrent for cats. The first method used regular chicken wire, and the second, a more aesthetic approach, utilized PVC-coated chicken wire. Additional materials included staples, two-by-fours, metal brackets, and wood screws. Each of these materials plays a crucial role in making a sturdy and reliable barrier.
Regular Chicken Wire Method
This method is straightforward and doesn't require much in terms of aesthetics. Here's how I did it:
- Stapling Chicken Wire: I attached chicken wire directly onto the fence, ensuring half of it extended above the fence line. This overhanging deterrent was enough to dissuade my cat from attempting to leap over.
- Handling Sagging: For longer stretches, the chicken wire tended to sag due to its weight. To counter this, I employed extra wires for support, ensuring the barrier remained in form.
PVC-Coated Chicken Wire with Two-by-Fours
Seeking a more visually appealing solution for visible fence areas, I opted for PVC-coated chicken wire supported by wooden frames:
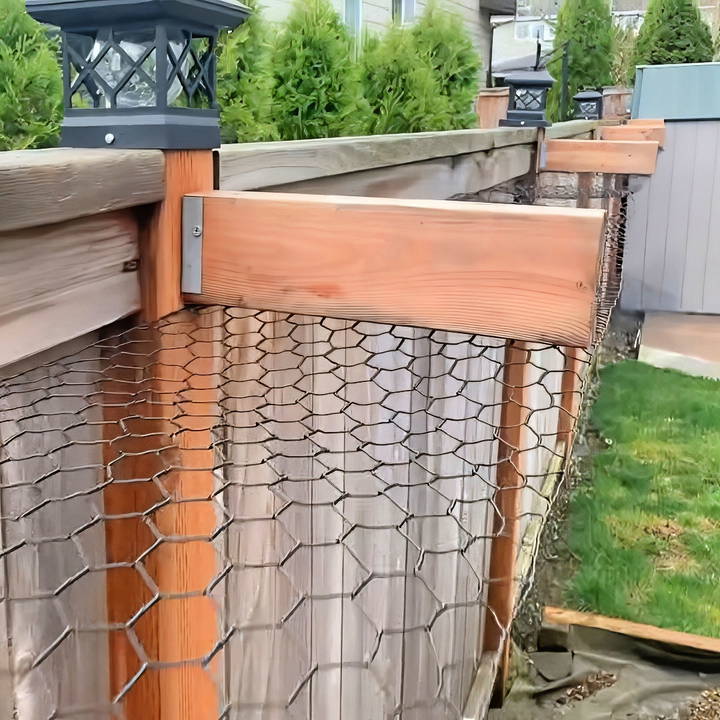
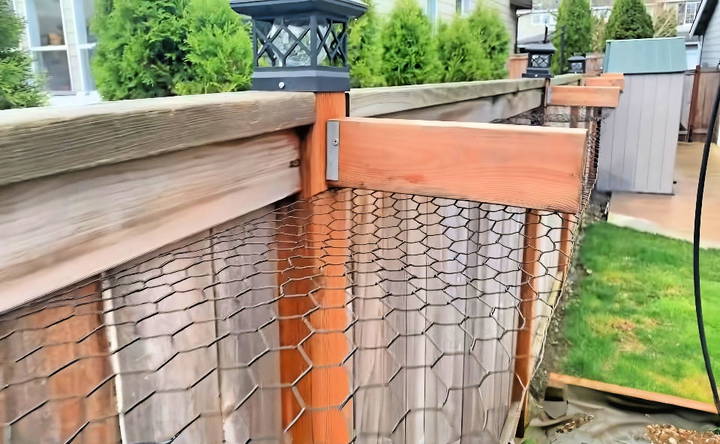
- Brackets & Two-by-Fours: First, I attached metal brackets to the fence posts, onto which I mounted one-foot pieces of two-by-fours as horizontal supports.
- Attaching Chicken Wire: I then stapled the PVC-coated wire onto the underside of the two-by-fours, rolling it out as I went along. This method hides the deterrent from view while providing the necessary barrier.
Step by Step Instructions
Discover how to build a DIY cat-proof fence using chicken wire or PVC-coated wire for a safe and stylish solution to protect your cat.
Regular Chicken Wire Installation
- Cut Chicken Wire: Measure and cut the chicken wire into manageable sections (about eight feet in length) to prevent sagging.
- Secure to Fence: Staple one side of the chicken wire directly onto your fence, allowing the other half to extend outwards at the top.
- Address Sagging Sections: If any part sags, use additional wire to build a makeshift support that holds up the loose section.
PVC-Coated Method for Aesthetic Appeal
- Mount Brackets: Secure metal brackets onto your fence posts, ensuring they are evenly spaced.
- Attach Two-by-Fours: Screw one-foot pieces of two-by-fours onto the brackets, making a frame for the chicken wire to attach to.
- Roll Out Chicken Wire: Staple the PVC-coated chicken wire to the underside of the two-by-fours, carefully rolling it out and cutting off the excess once you reach the end of the section.
Escape-Proof Techniques
Keeping your feline friend safely contained requires effective escape-proof techniques. Whether you're preventing your cat from accessing certain areas or securing an outdoor enclosure, here are practical strategies to consider:
1. Secure Anchoring
When setting up a cat barrier, ensure it stays in place. Here's how:
- Velcro Strips: Attach Velcro strips to the barrier and the adjacent surface (wall, door frame, etc.). This provides stability and prevents cats from pushing or knocking it over.
- Command Strips: Use heavy-duty Command Strips to secure lightweight barriers. These adhesive strips are easy to apply and remove without damaging surfaces.
- Wall Anchors: For freestanding barriers, anchor them to the wall or floor. Wall anchors provide stability and prevent tipping.
2. Height Considerations
Cats are agile jumpers, so the barrier's height matters. Aim for a height that discourages leaping over. Consider the following:
- Jumping Ability: Cats can typically jump several feet. A barrier that's too low won't be effective.
- Tail Clearance: Allow some space above the barrier to accommodate your cat's tail. A few extra inches prevent frustration and encourage compliance.
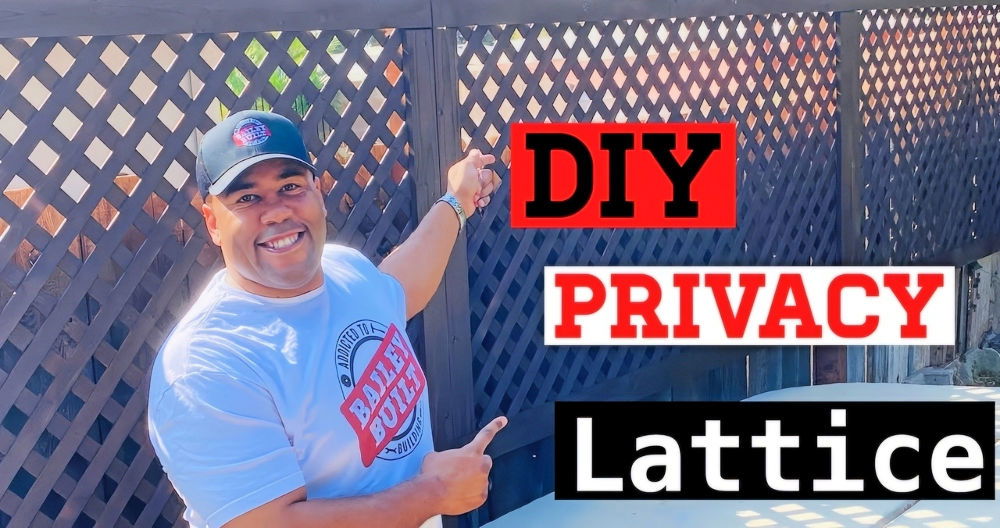
- Adjustable Heights: If using modular barriers (such as lattice or wire shelves), experiment with different heights. Find the sweet spot where your cat can't easily clear the obstacle.
3. Visual Deterrents
Enhance the barrier's effectiveness with visual cues:
- Transparent Barriers: Cats are less likely to challenge barriers they can see through. Opt for transparent materials like clear plastic or mesh.
- Decorative Elements: Attach colorful ribbons, wind chimes, or lightweight ornaments to the barrier. These distract and discourage cats from attempting to breach.
4. Escape-Proof Gate Latches
If your barrier includes a gate for human access, choose a latch that cats can't manipulate:
- Childproof Latches: Install childproof gate latches. These require dexterity to open, preventing curious cats from figuring them out.
- Vertical Latches: Use vertical latches that cats can't paw open. Horizontal latches are easier for them to manipulate.
No barrier is entirely foolproof, but combining these techniques increases the chances of keeping your cat safely contained.
FAQs About DIY Cat Barrier
Explore essential FAQs about DIY cat barriers to keep pets safe and boundaries clear in your home. Discover tips, techniques, and insights.
A DIY cat barrier is a simple and cost-effective solution to keep your feline friend safe and prevent them from accessing certain areas. It’s especially useful for indoor cats who need boundaries within your home. Whether you want to protect your plants, keep your cat away from specific rooms, or prevent them from escaping through open windows, a DIY cat barrier can be customized to suit your needs.
Creating a DIY cat barrier involves a few straightforward steps:
Materials: Gather materials such as mesh screens, wooden boards, or clear plastic sheets.
Measure and Cut: Measure the area you want to block off and cut the material accordingly.
Mounting: Attach the barrier to doorways, windows, or openings using hooks, nails, or adhesive strips.
Adjustable Options: Consider using adjustable tension rods or removable barriers for flexibility.
Several types of cat barriers can be easily made at home:
Window Screens: Install mesh screens on windows to prevent cats from escaping or falling.
Doorway Gates: Use wooden boards or baby gates to block off specific rooms or areas.
Balcony Nets: Secure netting around balconies to build a safe outdoor space for your cat.
Plant Barriers: Place mesh or chicken wire around potted plants to keep curious cats away.
Yes, DIY cat barriers can be highly effective if properly installed and maintained. Here’s why:
Safety: They prevent cats from accessing dangerous areas (e.g., balconies, staircases).
Customizable: You can tailor the barrier to fit your home’s layout and your cat’s behavior.
Budget-Friendly: DIY options are often more affordable than store-bought alternatives.
Before starting your project, keep the following in mind:
Cat Behavior: Understand your cat's habits and preferences. Some cats are more determined to breach barriers than others.
Materials: Choose sturdy materials that withstand scratching and jumping.
Aesthetics: Balance functionality with aesthetics. Ensure the barrier blends well with your home decor.
Conclusion and Additional Tips
By doing this DIY cat proof fence project, I've found that it's not as hard as it seems, and it makes a huge difference in peace of mind. I hope this guide gives you all the tools you need to get started today.


