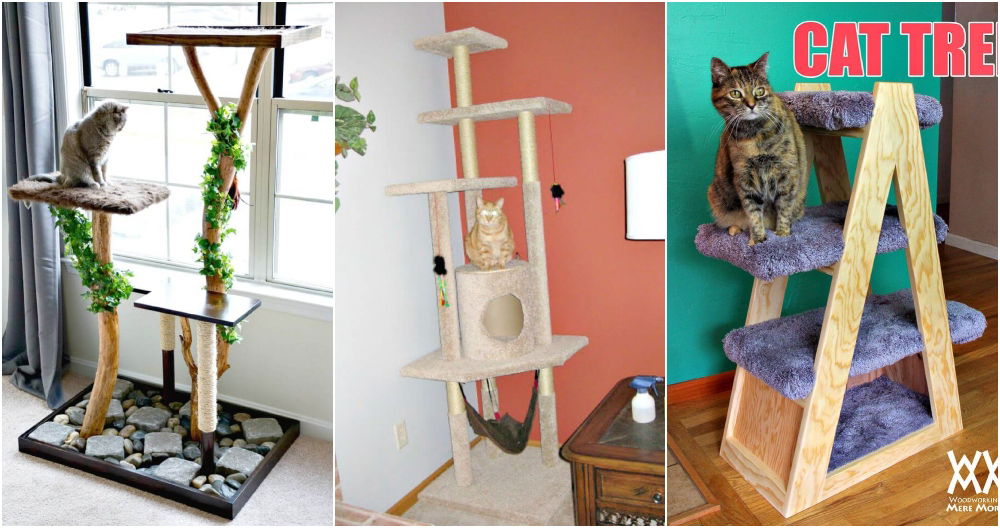
Making DIY cat shelves was one of the best decisions for my cats and home. I wanted a space where my cats could explore and enjoy while keeping them off my furniture. With simple materials from my local store, I built some cheap diy cat wall shelves. It was easy and didn't take much time.
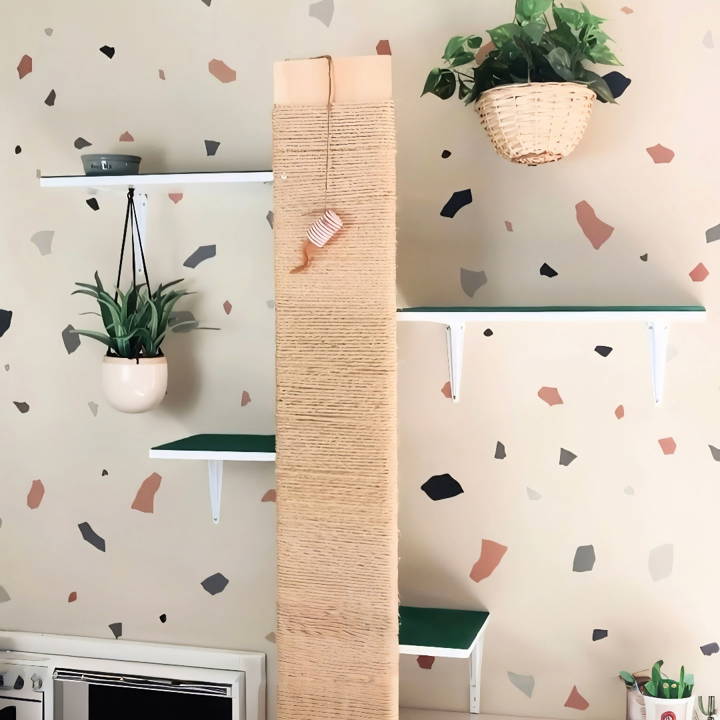
My cats instantly loved the new shelves. They spent hours climbing and playing, and I could see how happy they were. Seeing my cats so active, I felt proud of my DIY cat wall shelves. If you're looking to add some fun for your felines without hurting your budget, my experience shows it's possible and rewarding.
By making these shelves yourself, you can tailor them to fit your space perfectly. I'm excited to share my story and encourage you to try making your own DIY cat shelves. It's worth it to see the joy it brings to your cats.
Materials Needed and Their Purpose
- Wooden Boards and Brackets: The backbone of the cat wall, providing the structure for the shelves.
- Green Grass Carpet: To give the shelves a unique, stimulating texture for Cleo.
- Jute Rope: Essential for making a scratching post that Cleo could use to keep his claws in tip-top condition.
- Staple Gun, Screws, and Drill: Tools for assembling and securing everything in place.
- Painter's Tape and Craft Paper: For planning the layout and protecting the shelves during wall prep.
- Primer and Wall Paint: To prep and touch up the wall where needed.
- Wall Decals: An aesthetic touch to make the cat wall not only functional but also a decorative element in my apartment.
Step by Step Instructions
Discover easy DIY cat shelves with our step-by-step guide! From planning and prepping to the final reveal, make a fun space for your cat.
Step 1: Planning and Prepping the Wall
Using painter's tape, I mapped out where I wanted to place the shelves on the wall. This step was crucial for visualizing the final layout and ensuring that the design would be both visually pleasing and functional for Cleo. I selected a staggered stepping design to encourage climbing and exploration.
Step 2: Preparing the Shelves
I cut one of the wooden boards in half to make the first two steps at the bottom of the wall, using a jigsaw for a clean cut. Then, I covered the tops with green grass carpet, securing it with a staple gun. This gave the shelves a unique look and provided a surface that Cleo would enjoy walking and lying on.
Step 3: Mounting the Shelves
After drilling pilot holes, I mounted the wall brackets and secured the shelves in place with screws. It was essential to ensure that some shelves were anchored into studs in the wall for added stability, while others used drywall screws and anchors.
Step 4: Building the Scratch Post
Wrapping jute rope tightly around one of the wooden boards, I maked a scratch post that could be mounted vertically on the wall. This required assistance, as the jute rope was tough on my hands. Once wrapped, I secured the ends with staples to prevent unraveling.
Step 5: Adding Wall Accents and Final Touches
To integrate the cat wall seamlessly into my apartment's d* écor, I applied wall decals presenting a Terrazzo accent to the prepped and painted areas of the wall. This added an artistic flair and concealed any imperfections.
Step 6: The Reveal to Cleo
The entire process was done with Cleo's curiosity peaking around the corner. Feeding him on the shelves helped him get accustomed to his new playground. Introducing him slowly but consistently to the wall and scratch post ensured he was comfortable and ready to explore at his own pace.
Additional Insights
- Safety First: Ensuring that the shelves were securely attached to the wall was paramount. Regular safety checks are necessary to maintain a secure play area.
- Patience is Key: It took time for Cleo to fully embrace his new playground. Patience and gradual introduction helped him adapt.
- Plants for Life: The integration of real, cat-safe plants will be my next step, emphasizing the importance of making a stimulating and healthy environment for Cleo.
Customization Ideas for DIY Cat Shelves
DIY cat shelves are a fun space for your felines and a chance to enhance your home decor. Here are some tips for designing stylish, functional cat shelves:
- Choose a Theme: Reflect your cat's personality or your own style by choosing a theme for the shelves. Whether it's a jungle vibe with artificial leaves and vines or a minimalist look with clean lines and neutral colors, a theme can guide your choice of materials and decorations.
- Pick the Perfect Paint: Select non-toxic paint that complements your home's color scheme. You can go for bold colors to make the shelves stand out or choose softer tones for a more subdued look. Remember to let the paint dry completely before letting your cat use the shelves.
- Add Textures and Fabrics: Cats love different textures, so consider covering parts of the shelves with carpet or rope for scratching. Soft cushions or blankets can provide a cozy spot for napping. Mix and match textures to keep your cat interested and engaged.
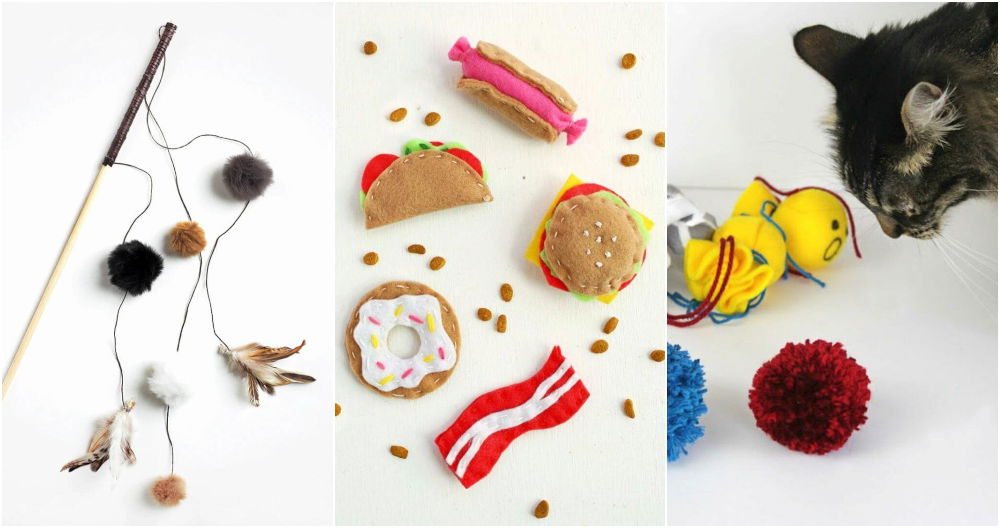
- Incorporate Playful Elements: Attach toys or dangling items to the shelves for your cat to play with. This could include feathers, balls on strings, or even small plush toys. Make sure these are securely fastened and safe for your cat to interact with.
- Personalize with Accessories: Add a personal touch with accessories like nameplates, photos, or small planters with cat-safe plants. These little details can make the shelves feel like a unique part of your living space.
- Consider Lighting: If the shelves are in a dim area, consider adding some LED lights to brighten the space and make it more inviting. Ensure any lighting is cat-safe and doesn't heat up.
- Functional Add-Ons: Think about adding elements that serve a purpose, such as a built-in feeding station on one of the lower shelves or a small compartment for toys.
Use these ideas to make cat shelves that are fun for your pet and show your style. Ensure your cat's safety and comfort, and enjoy designing!
Troubleshooting Common Issues with DIY Cat Shelves
When embarking on a DIY project like building cat shelves, you might encounter a few hiccups along the way. Here's a guide to help you troubleshoot some common issues:
- Shelves Wobble: If your shelves aren't stable, check to ensure all screws are tightened and the wall anchors are appropriate for your wall type. For drywall, use toggle bolts or heavy-duty anchors.
- Cats Ignore the Shelves: Sometimes cats need encouragement to explore new spaces. Try placing treats or catnip on the shelves to attract them. Also, make sure the shelves are accessible and positioned at a comfortable height for your cat.
- Material Wear and Tear: Cats can be tough on materials. If you notice fraying or scratches, replace the damaged sections promptly. Choose durable materials like sisal rope for scratching areas and heavy-duty fabric for resting spots.
- Difficulty Cleaning: Shelves should be easy to clean to maintain hygiene. If cleaning is a challenge, consider using removable and washable covers or design the shelves with smooth surfaces that can be wiped down easily.
- Shelf Placement Issues: Ensure your shelves are placed away from breakable items and in a location where your cat feels safe. Avoid high-traffic areas where the cat might be disturbed.
- Securing to Different Wall Types: Different walls require different fittings. For brick or concrete, use masonry screws. For plaster, find the studs for secure anchoring.
Patience and persistence are key when troubleshooting. With these tips, you'll be able to resolve common issues and make a safe and enjoyable environment for your cat.
FAQs About DIY Cat Shelves
Discover all you need to know with faqs about DIY cat shelves. Find answers on materials, assembly tips, safety, and more for a perfect feline perch.
Safety is paramount when it comes to cat shelves. Make sure the shelves are securely anchored to the wall, capable of supporting your cat’s weight. Use non-slip surfaces to prevent slipping, and ensure the shelves are spaced appropriately (12-16 inches apart horizontally and 12-18 inches vertically) to allow easy and safe movement for your cat.
Yes, there are cat shelf designs suitable for all skill levels. For beginners, consider simple staircase shelves or floating shelves that require minimal tools and materials. As you gain confidence, you can try more complex designs like a rope bridge or shelves with decorative elements.
Creative designs include steampunk metal shelves, shelves with cat silhouette decals, and rope bridges connecting different shelves. You can also build a wall-mounted cat bed or a climbing wall with integrated scratching and sleeping areas. Personalize your shelves by adding your cat’s name or other fun decorations.
To make the shelves appealing, cover them with soft padding or carpet for comfort. Place the shelves near windows or in areas where your cat likes to spend time. You can also hang toys from the shelves or place treats on them to encourage exploration. Remember, cats love to be up high, so the higher the shelves, the more enticing they will be.
Maintaining and cleaning your DIY cat shelves is important to ensure they remain a safe and enjoyable space for your cat. Regularly check for any loose screws or wear and tear. Clean the shelves with a damp cloth to remove dust and fur. If you've used carpet or fabric, vacuum the surfaces to keep them hair-free. For any stains or odors, use a mild, pet-safe cleaner. Avoid harsh chemicals that could harm your cat or deter them from using the shelves.
Conclusion
Building these DIY cat shelves could be the fun project you need, and your felines will definitely thank you for it.


