Growing up, I loved working with my hands and making things. So, when I first decided to build my own DIY chair, I felt both excited and a bit nervous. The idea of making something functional that I could actually use was thrilling. I had never built furniture before, but I knew this project could be rewarding. I began gathering materials and following simple steps online.
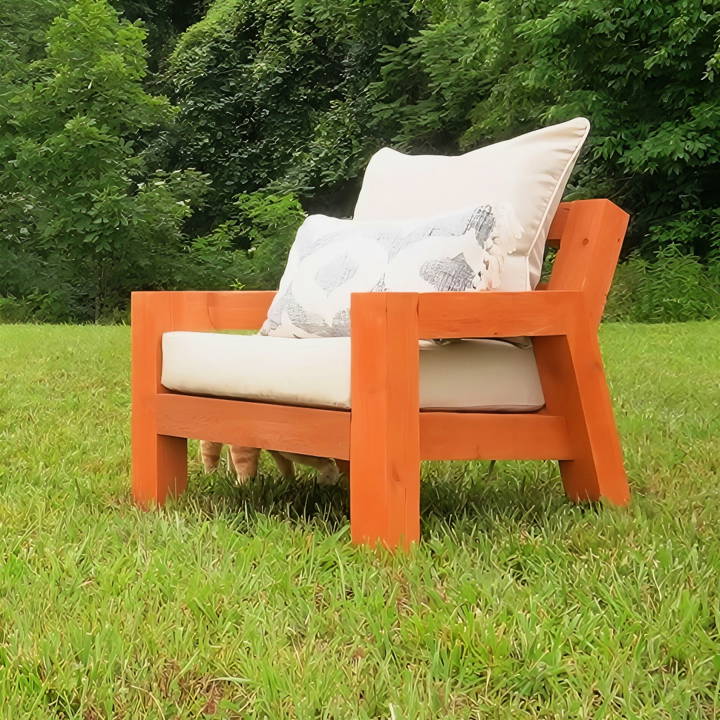
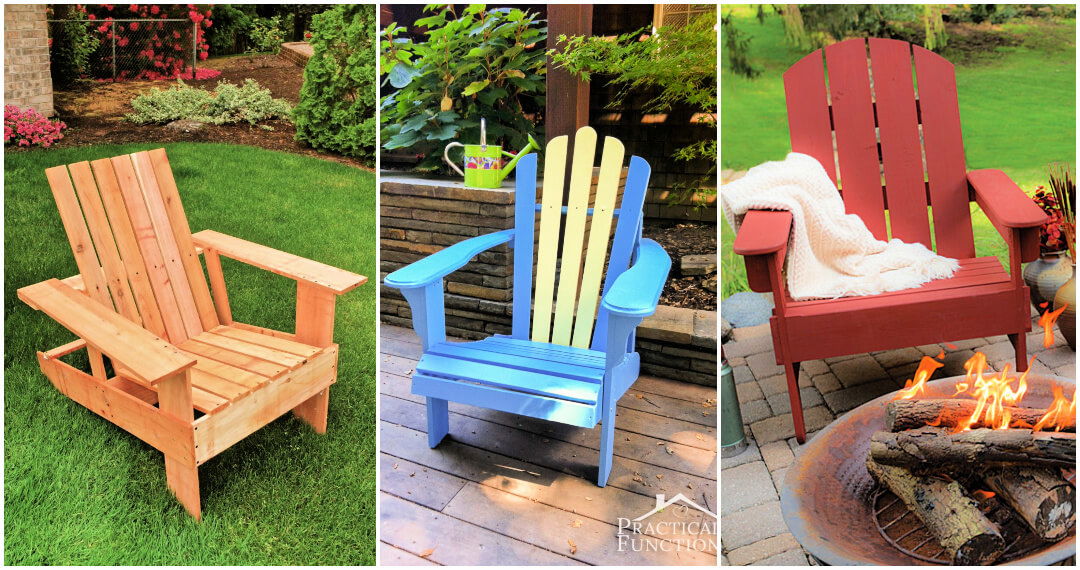
Building my DIY outdoor chair turned out to be easier than I thought. Using basic tools and some wood, I followed step-by-step instructions. Measuring and cutting the wood pieces accurately was key. Assembling the pieces and seeing the chair take shape was magical. With some finishing touches, I had a sturdy, stylish chair.
Now, I feel great satisfaction each time I sit on my handmade DIY wood chair. If I could do it, you could do it. Try building your own chair; it's rewarding and fun. These tips will help you get started.
Materials and Why They Matter
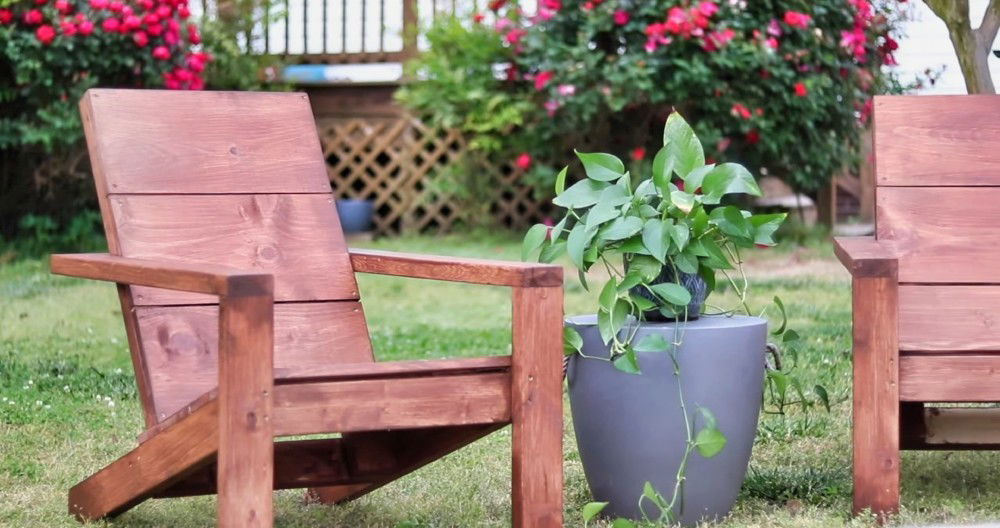
First off, let's talk materials. I opted for Cedarwood, given its durability and resistance to weather elements—perfect for outdoor furniture. Cedar 4x4s were used for the side frames, a cedar 2x4 for the seat support, and additional 2x2s and 2x4s for the back slats and seat slats, respectively.
Plus, some pocket hole screws, timber screws, feet levelers, and outdoor sealant. Proper materials ensure longevity, and the right tools and screws make the assembly process smoother and your furniture more stable.
Step by Step Instructions
Learn how to build your own chair with our step-by-step DIY instructions. From sanding and cutting to final assembly, follow these easy steps for success.
Step 1: Sanding and Cutting the Pieces
Sanding each piece was crucial. Cedar can be rough, and I certainly didn't want any splinters. Once everything was smooth as silk, it was time to cut. Following the building plans closely, I cut the front leg square and the back leg with a 20-degree miter—an angle that adds a sleek line to the chair's profile. The cedar 2x4 seat support also got a slight angle at four degrees, ensuring a comfortable, slight recline.
Step 2: Assembling the Side Frames
Assembling the side frames was somewhat familiar territory since they matched the outdoor sofa's design. However, the precision required made it no less challenging. Using pocket holes and screws for the 2x4s and extra-large pocket holes for the 4x4s provided the robustness these chairs needed. Good side frames are the foundation of sturdy outdoor chairs.
Step 3: The Back Frame and Support
Adding the back frame post required a bit more attention. Cutting the end at a 20-degree bevel and lining it up correctly ensured the back slats would have the proper support. Securing it with timber screws, I ensured everything was tight and aligned—critical for both aesthetics and safety.
Step 4: Attaching 1x2s for Back Slats
Ripping a half piece of 2x4 into * ¾ inch wide strips for the back slats support was a little tweak I decided on to avoid bulkiness. Attached inside the back post, these would hold the back slats. It was a minor deviation from the original plan but one that made a significant difference in the final look.
Step 5: Sealing Before Final Assembly
Learning from the sofa build, I opted to seal the slats and side frames separately before the final assembly. This made reaching those nooks and crannies with the sealant brush much easier, ensuring a uniform protection layer against the elements.
Step 6: Installing the Seat and Back Slats
With everything sealed and dried, assembling the rest was relatively straightforward. Installing the front support and then adding the seat and back slats was satisfying. The pocket holes made the process easier, albeit still tricky, to get everything squared and even. This step required patience and a bit of elbow grease. But once done, it was almost ready.
Step 7: Leveling the Chair
The final touch was installing feet levelers. Given the natural imperfections of handmade items and varying ground levels, the levelers were a game-changer, ensuring the chair could stand firm and not wobble, regardless of where it's placed.
Design Customization Ideas
When it comes to making a DIY chair, the beauty lies in the ability to tailor it to your personal style and needs. Here are some design customization ideas that can help you make a chair that's not only functional but also a reflection of your personality:
Choose Your Materials Wisely
- Wood: Opt for hardwoods like oak or maple for durability, or softwoods like pine for a more budget-friendly option.
- Metal: For a modern look, consider using metal frames that can be painted or treated for a rustic finish.
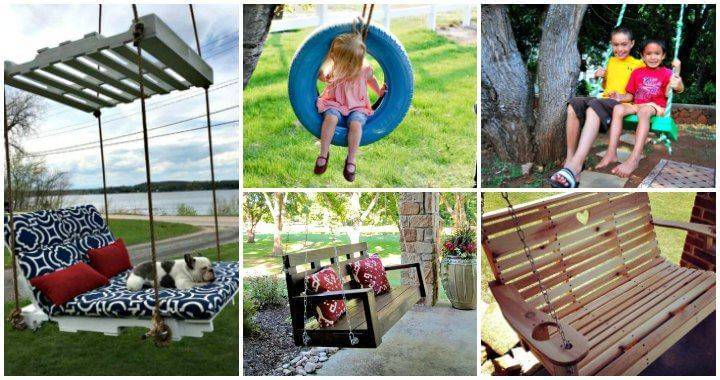
- Recycled Materials: Be eco-friendly and creative by repurposing old pallets, barrels, or even pipes.
Select a Theme
- Classic: Stick to traditional designs with clean lines and natural wood finishes.
- Modern: Go for sleek shapes, bold colors, and unconventional materials.
- Rustic: Use reclaimed wood and leave the natural imperfections for character.
Personalize with Color
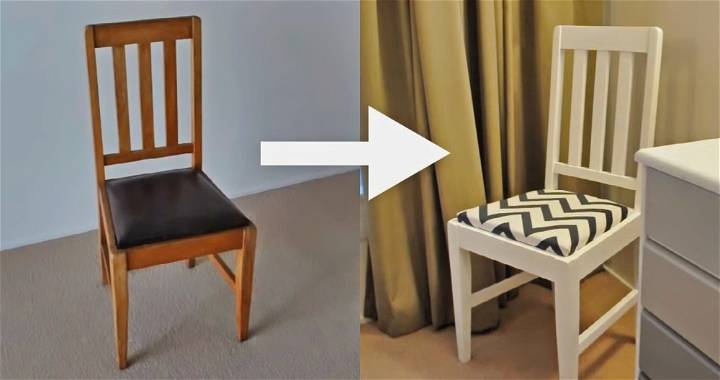
- Stains and Paints: Choose a stain to enhance the natural wood grain or paint your chair in a color that matches your decor.
- Patterns: Add stripes, polka dots, or any pattern you like with stencils or freehand painting.
Comfort is Key
- Cushions: Make or buy cushions for added comfort. Use outdoor fabric for chairs that will be used outside.
- Armrests: Add armrests for extra support. They can be simple or ornate, depending on your style.
Functionality
- Adjustable Height: Consider adding a mechanism to adjust the height for different users or activities.
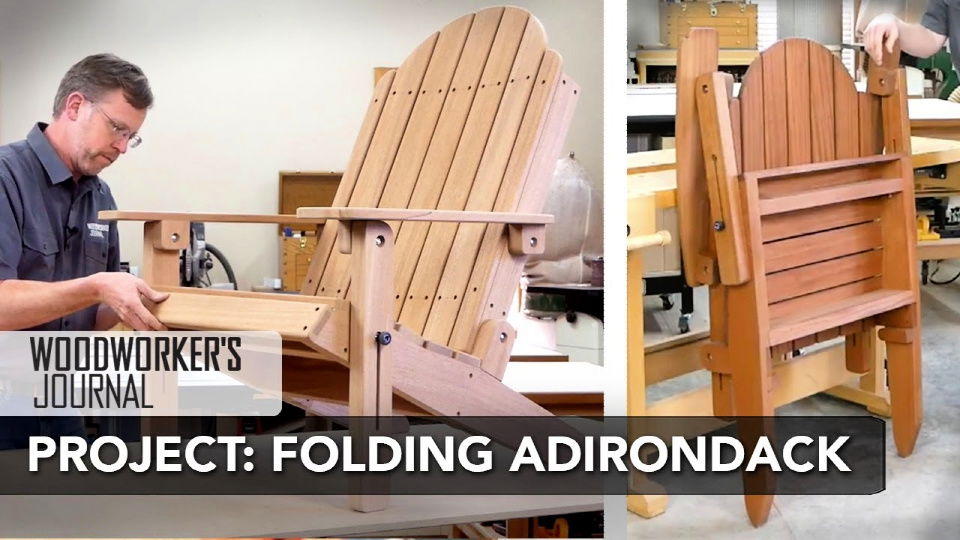
- Foldable Design: If space is an issue, build a chair that can be easily folded and stored away.
Finishing Touches
- Upholstery: Learn basic upholstery to add a professional touch to your chair.
- Accessories: Think about adding cup holders, magazine racks, or even a small side table attached to the chair.
The goal is to build a chair that not only looks great but also serves its purpose well. Take your time to plan, and don't be afraid to experiment.

Advanced Techniques
For those who have mastered the basics of chair construction and are looking to challenge themselves further, here are some advanced techniques to consider:
Joinery Mastery
- Dovetail Joints: Known for their strength and beauty, dovetail joints are ideal for connecting sides at a corner.
- Mortise and Tenon: This classic joint has stood the test of time due to its robustness, perfect for leg-to-seat connections.
Carving and Shaping
- Relief Carving: Add decorative carvings to your chair's back or legs. Start with simple patterns and progress to more intricate designs.
- Steam Bending: This technique allows you to bend wood into curved shapes, adding elegance and fluidity to your chair design.
Inlay Work
- Wood Inlays: Incorporate different types of wood or materials into your design for a contrasting effect.
- Metal Inlays: For a touch of luxury, add brass or copper inlays to your chair.
Upholstery Skills
- Button Tufting: This adds a classic, sophisticated look to any chair back or seat cushion.
- Nailhead Trim: Apply decorative nailhead trim for an elegant finish around the edges of your upholstery.
Finishing Techniques
- French Polishing: Learn this traditional method of applying shellac for a high-gloss finish.
- Ebonizing: This technique darkens the wood to mimic the look of ebony, giving your chair a striking appearance.
Structural Enhancements
- Adjustable Backrest: Incorporate a mechanism to adjust the angle of the backrest for added comfort.
- Expandable Seating: Design a chair that can extend to accommodate more people or retract for solo use.
Using these advanced techniques, you can craft a functional and artistic chair. Take your time, practice, and prioritize safety with tools and materials.
Troubleshooting Common Issues
Building a DIY chair can be a rewarding project, but sometimes, you might encounter a few hiccups along the way. Here's a guide to troubleshooting some common issues you may face:
Wobbly Chair Legs
- Cause: Uneven legs or loose joints.
- Solution: Measure and trim the legs to equal length. Tighten all joints and add corner braces if necessary.
Squeaky Joints
- Cause: Friction between wooden parts or loose fasteners.
- Solution: Tighten all screws and bolts. Apply wax or a lubricant to the joints.
Cracks in Wood
- Cause: Dry wood or stress on the material.
- Solution: Fill small cracks with wood filler and sand smooth. For larger cracks, consider using a wood patch or replacing the piece.
Sticky Drawers or Sliding Mechanisms
- Cause: Warped wood or debris in tracks.
- Solution: Remove the drawer and check for obstructions. Sand down any swollen areas and apply a lubricant to the tracks.
Finish Flaws
- Cause: Dust or bubbles in the finish coat.
- Solution: Sand the area lightly and reapply the finish. Ensure the workspace is dust-free and apply thin coats.
Weak Joints
- Cause: Insufficient glue or incorrect joint type.
- Solution: Disassemble, if possible, and re-glue using a stronger adhesive. Consider adding dowels or screws for extra strength.
Stain or Paint Problems
- Cause: Uneven application or incompatible materials.
- Solution: Sand off the problematic finish, apply a primer if necessary, and repaint or restain with even strokes.
Fixing these issues ensures your DIY chair is sturdy and beautiful.
FAQs About DIY Chair
Discover answers to common questions about DIY chair projects. Learn tips, techniques, and materials for crafting your own custom chairs at home!
Absolutely! There are many simple chair designs suitable for beginners. Start with a basic plan that requires minimal cuts and assembly. As you gain confidence, you can tackle more complex projects. There are plenty of resources and tutorials available online that cater to different skill levels.
Safety comes from proper construction and material choice. Use strong, durable wood and ensure all joints are securely fastened with screws or bolts. Test the chair's stability regularly, and don't hesitate to reinforce any part that feels weak. Applying a finish can also protect the wood and extend the life of your chair.
Definitely! One of the joys of DIY is the ability to tailor your projects. Choose a wood stain or paint color that matches your decor. Experiment with different fabrics for upholstered chairs. You can even adjust the dimensions to suit your comfort or the intended space for the chair.
Comfort in a chair comes from proper seat depth, height, and back support. Consider adding a cushioned seat or backrest for extra comfort. You can use foam padding covered with fabric of your choice. For a professional finish, use a staple gun and upholstery needle to secure the fabric to the frame. Remember to apply a couple of coats of fabric protector like Scotchgard to enhance stain resistance.
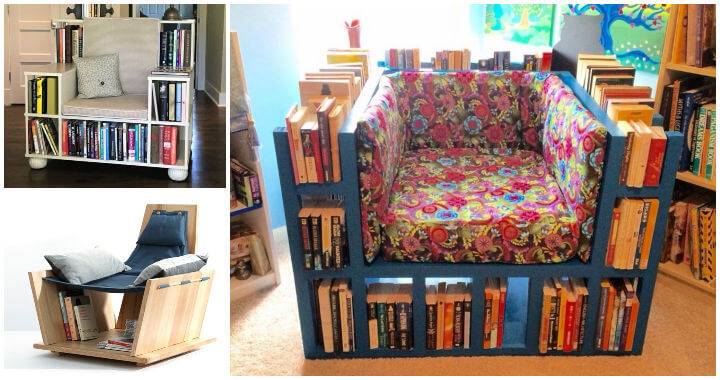
Get creative by mixing materials or adding unique features. For example, use metal or PVC pipes for the legs for an industrial look, or add a built-in bookshelf under the seat for functionality. You can also build a themed chair, like a throne chair, by incorporating ornate details or painting it in bold colors. The possibilities are endless, and there are many resources online with step-by-step guides to inspire you.
Conclusion
In conclusion, building your own DIY chair can be a rewarding experience that adds a personal touch to your home. Whether it's a DIY outdoor chair for your garden or a DIY wood chair for your living room, the possibilities are endless. Remember to choose quality materials and follow the steps carefully to build a sturdy and aesthetically pleasing chair. Enjoy the satisfaction of making unique furniture that reflects your style and creativity. Happy building!


